Now that we have Webmin installed on our Ubuntu server, we may as well configure some settings and install any updates that are available for the system. I am assuming that you are continuing from the previous step, and have opened your web browser and connected to the server. If not, have a look at the last few instructions to get where we should be for the beginning of this part of the Hyper(-V) Minecraft server.
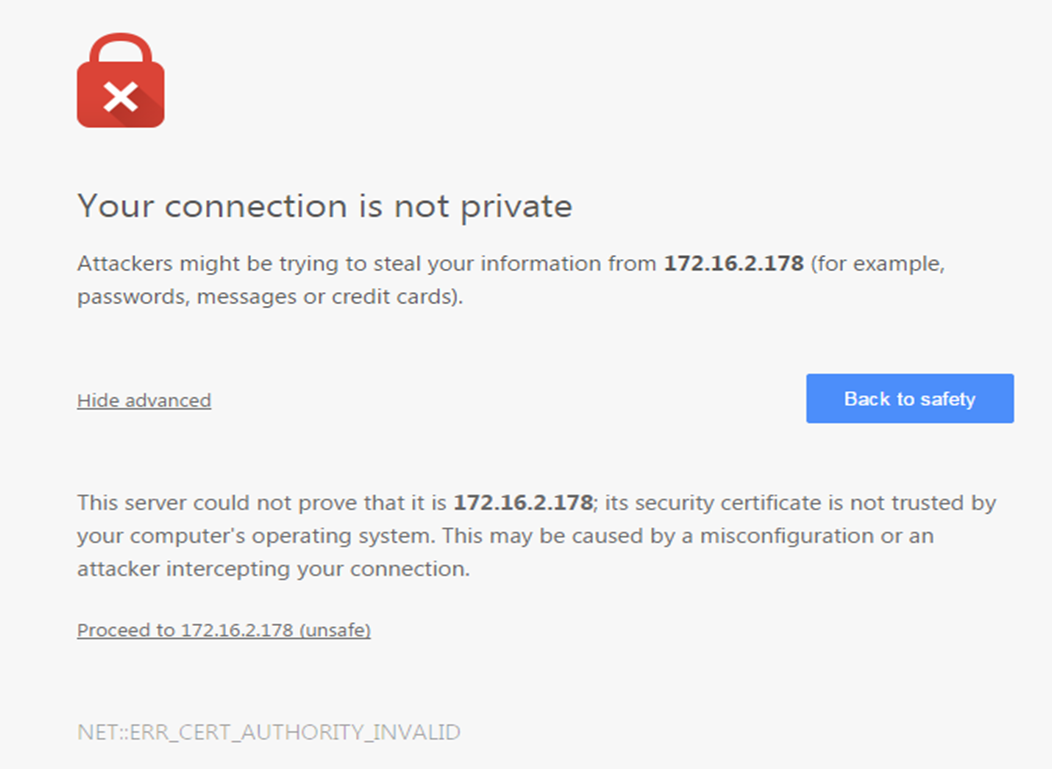
When you are connected to your server, you will probably be presented with a scary looking warning by your browser. This is fine for this site only for you to ignore this warning. The warning is displayed as Webmin is running in SSL mode, but it only has a self signed certificate, that your web browser cannot verify properly. Look for any option that says “advanced” or “I understand the risks” and click on it to be able to continue to Webmin.
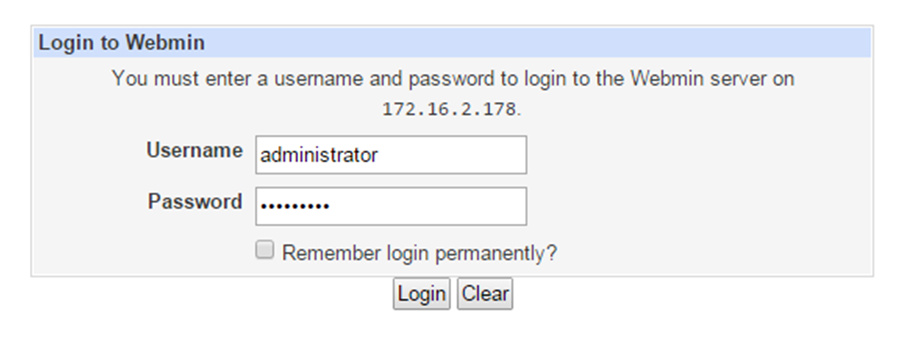
Log in with the administrator username and password that you created when Ubuntu was installed, and then press the Login button.
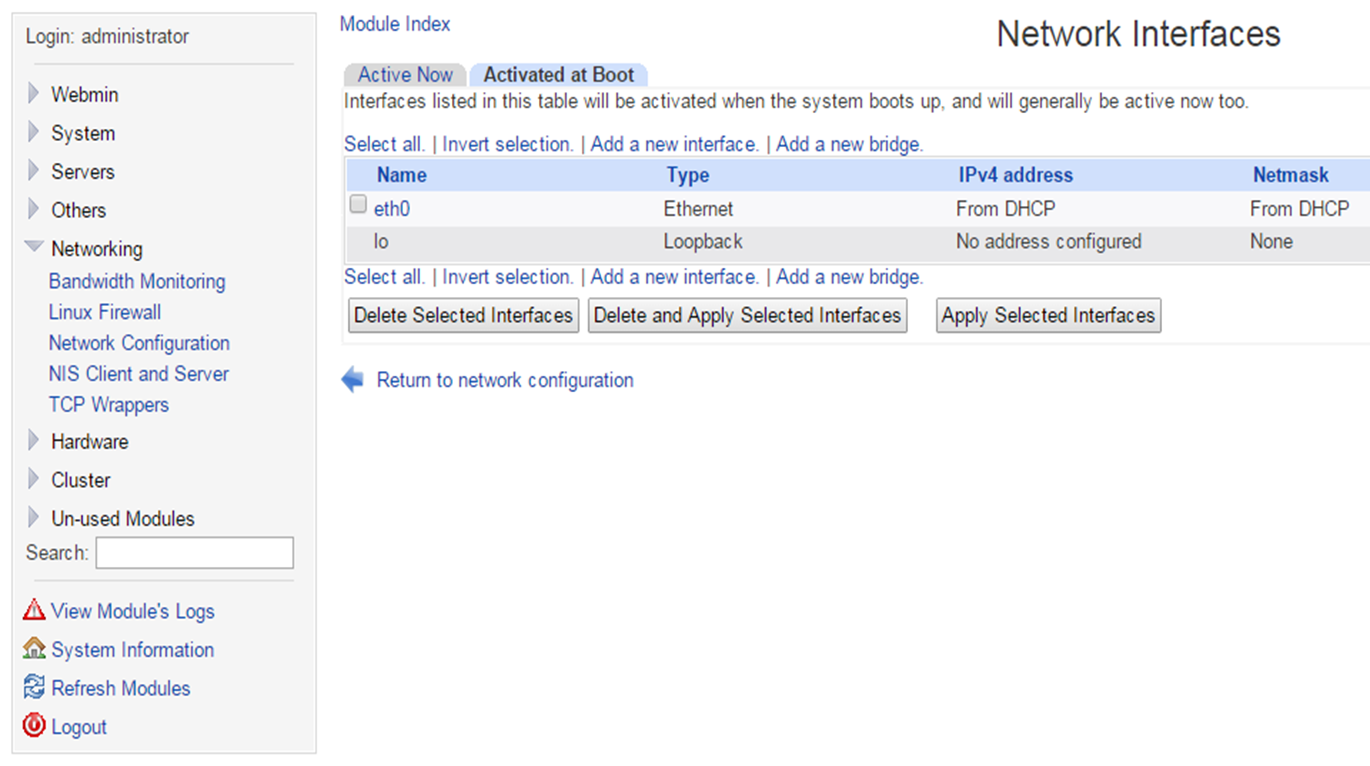
As this is a server, it makes sense to set a static IP address. These steps will cause the server to always have the same IP address, however, if you normally set static IP addresses another way in your network, do it that way instead and then skip down this page for a bit. From the left hand side, choose the “Networking” menu item, and then “Network Configuration“. When the page loads, click on the “Network Interfaces” button.

Make sure that you are on the “Activated at Boot” tab near the top of the window, then click on the “eth0” link in the table.
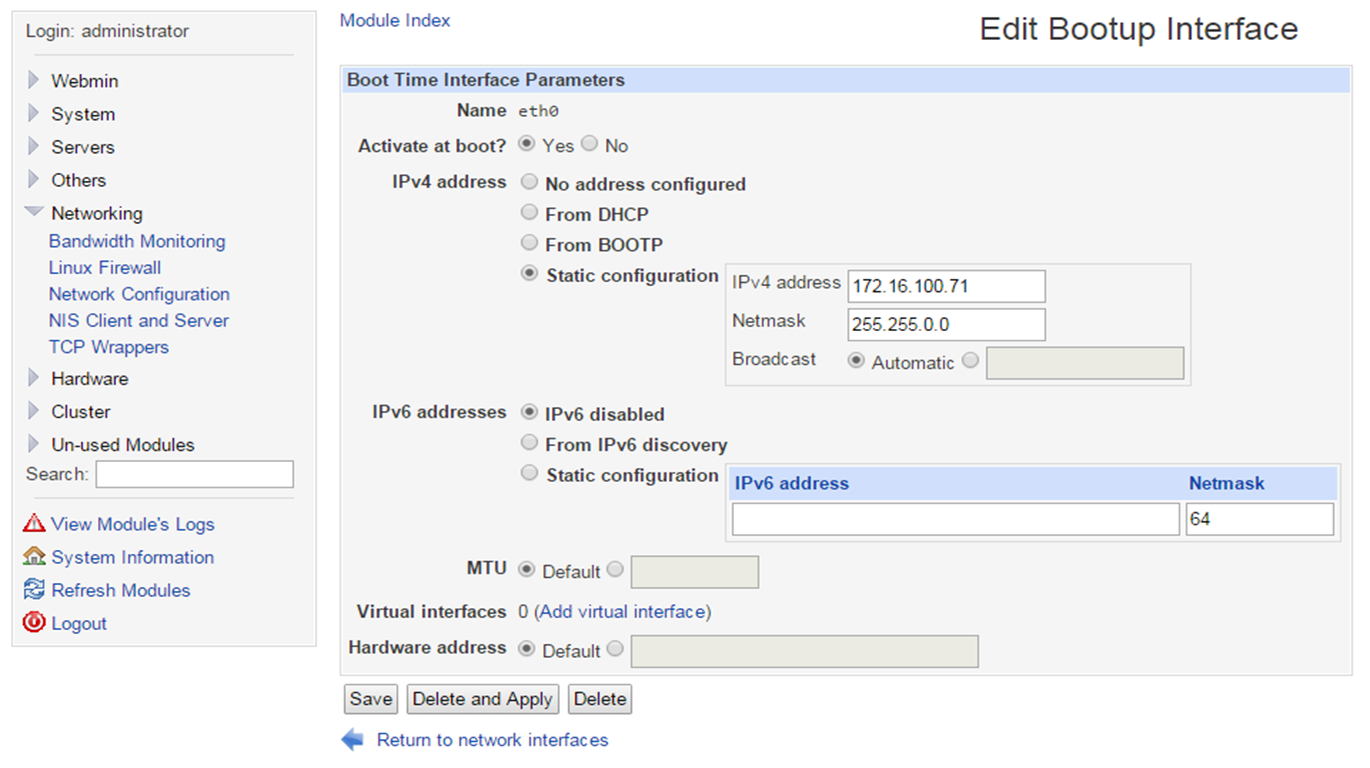
You will need to click on the “Static configuration” radio button and then fill in the IP address and subnet mask with the relevant information. If you don’t know what this is, ask your network administrator. Press the Save button when you have filled in this information.
When you are taken back to the Network Interfaces page, click on the “Return to network config” link at the bottom of the interface list. From the choice of menu options, select the “Routing and Gateways” button to open that page.
Once the Routing and Gateways page opens, on the Boot time configuration tab, select the “Gateway” radio button, and fill in the IP address of the default gateway for your network. Again, ask your network administrator what this is if you don’t know. Press the save button once the information is filled in.

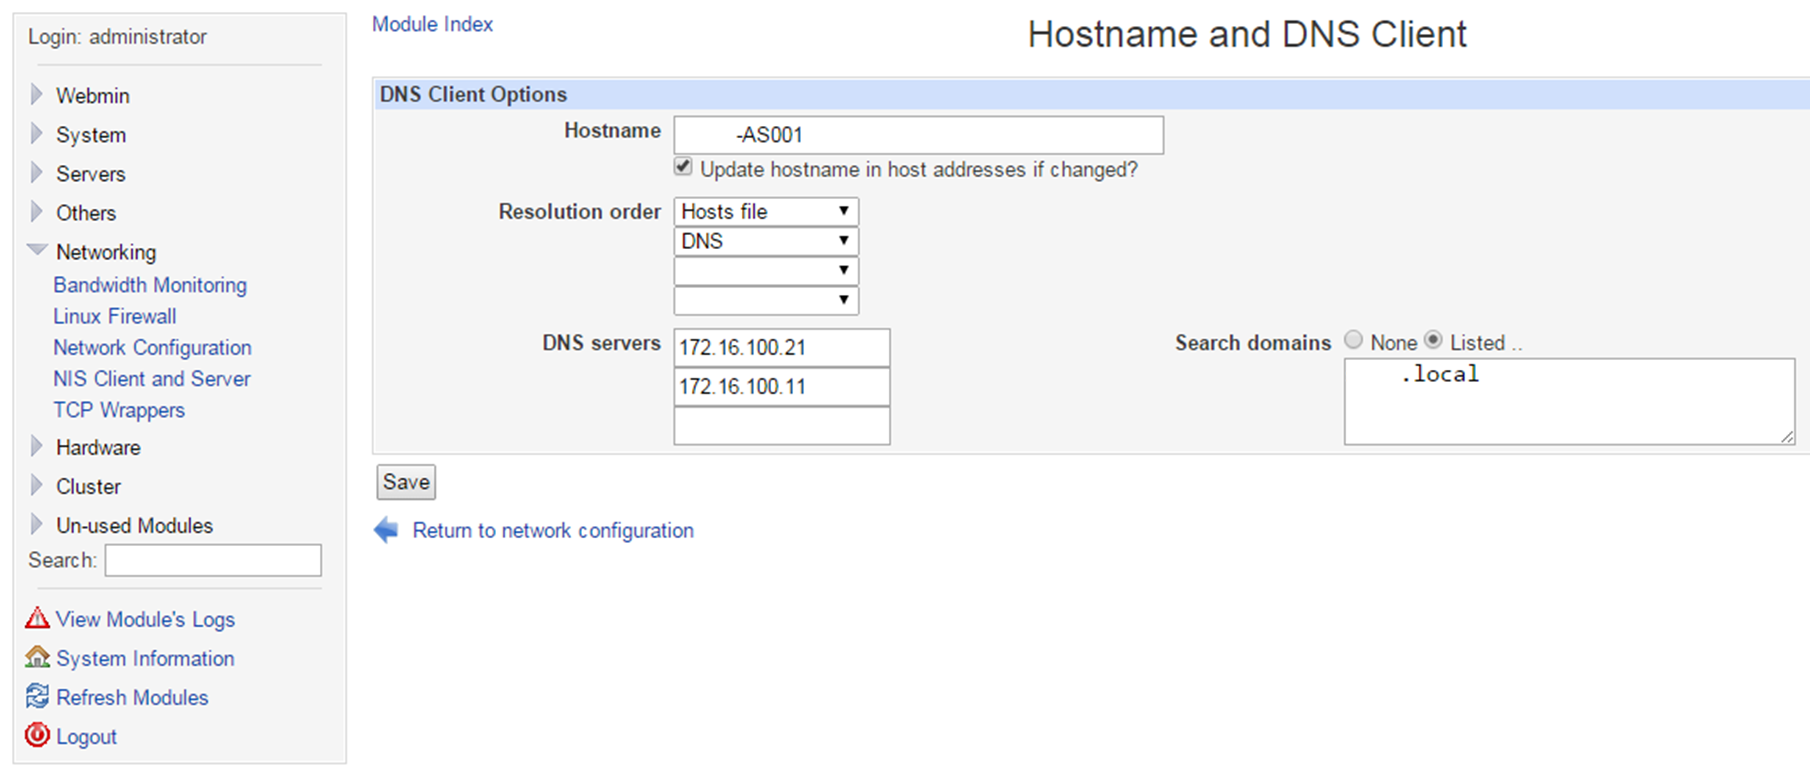
As before, you will be taken to the main Network Configuration page. Choose the “Hostname and DNS Client” button to open that page.
Check and fill in any DNS addresses in the relevant section, and also type in your domain name inside the Search Domains textbox. This part is optional, as you may not have a domain set up if you are doing this for a small network. Press Save when you have completed filling in any needed information.
All changes that we needed to make to give this a server a static IP address have been completed, so for anyone who has skipped that section should start reading from here.
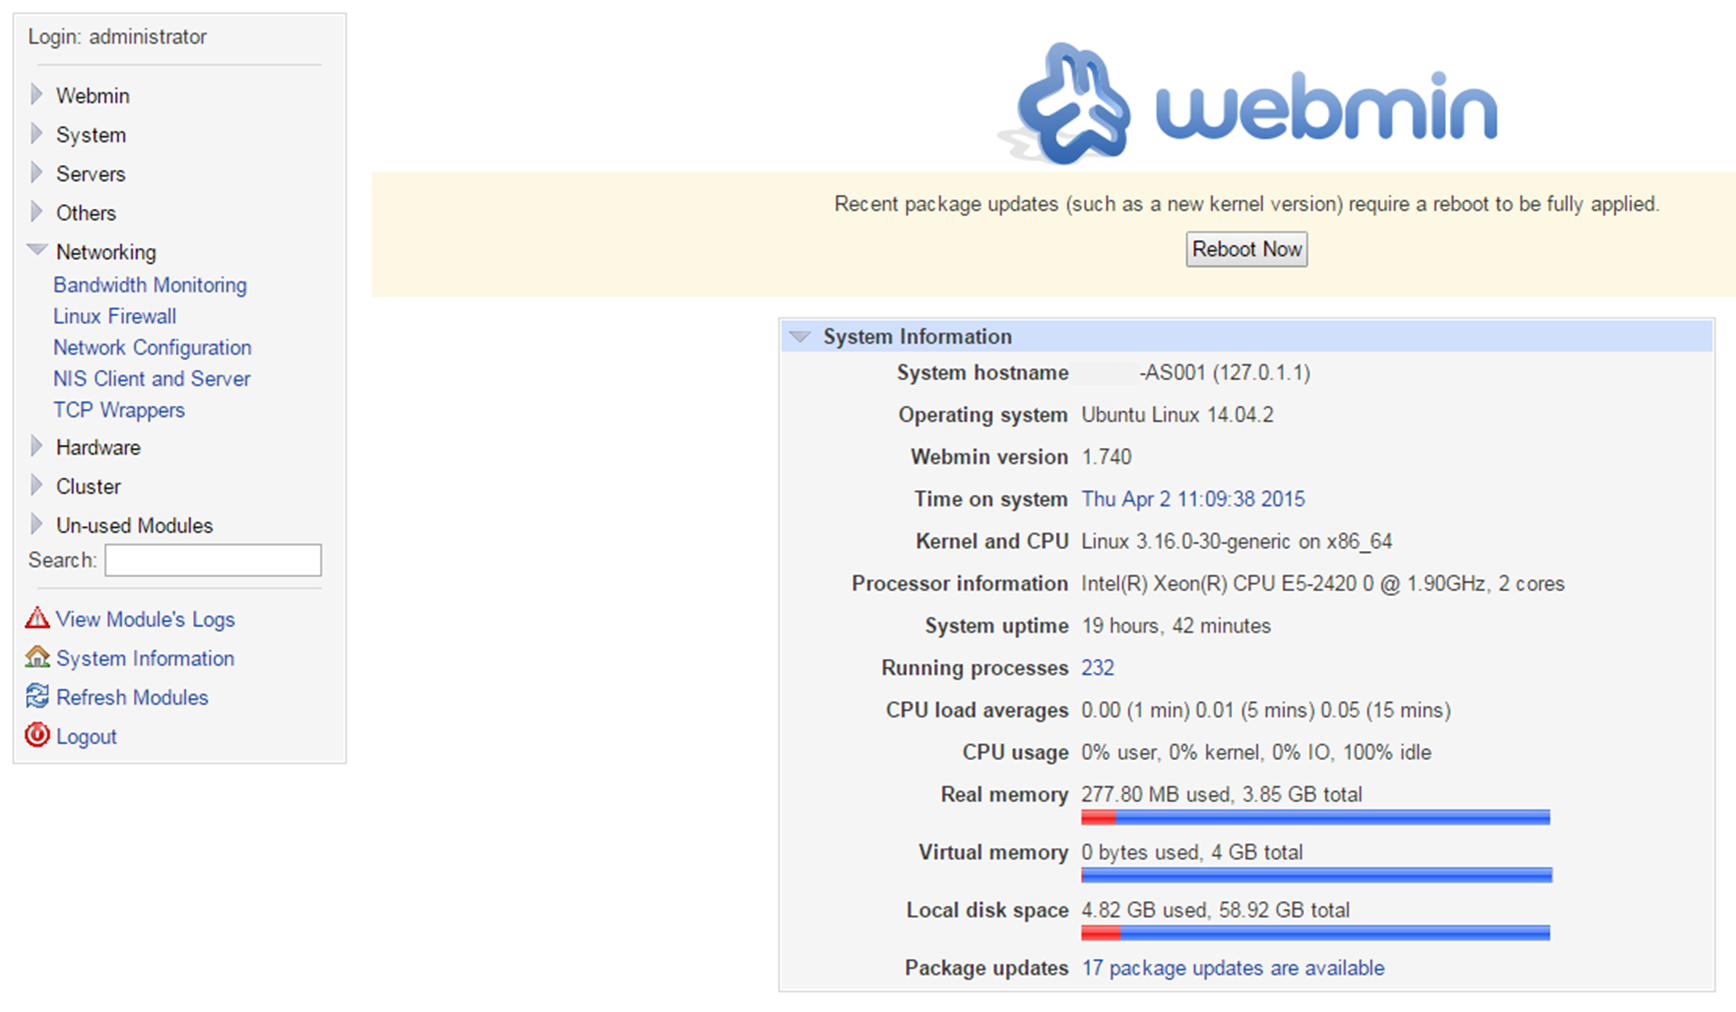
Click on the System Information link from the menu on the left, and near the bottom of the page that loads, there is a link for a number of updates. Click on this link.
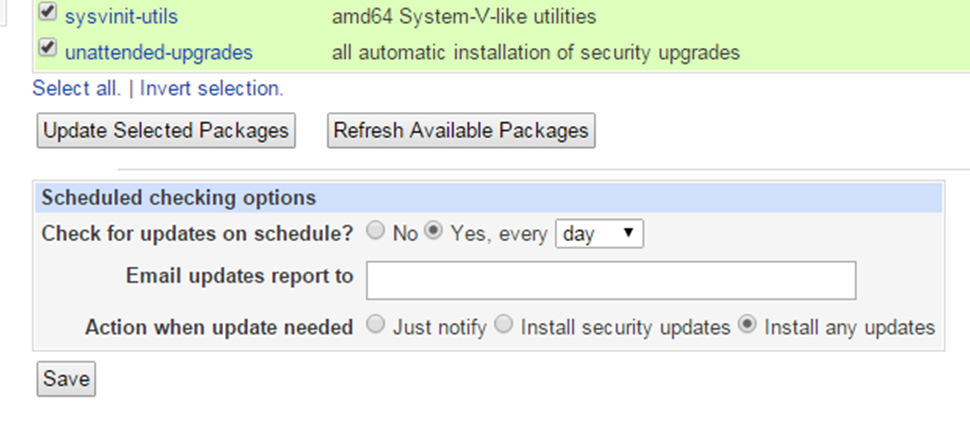
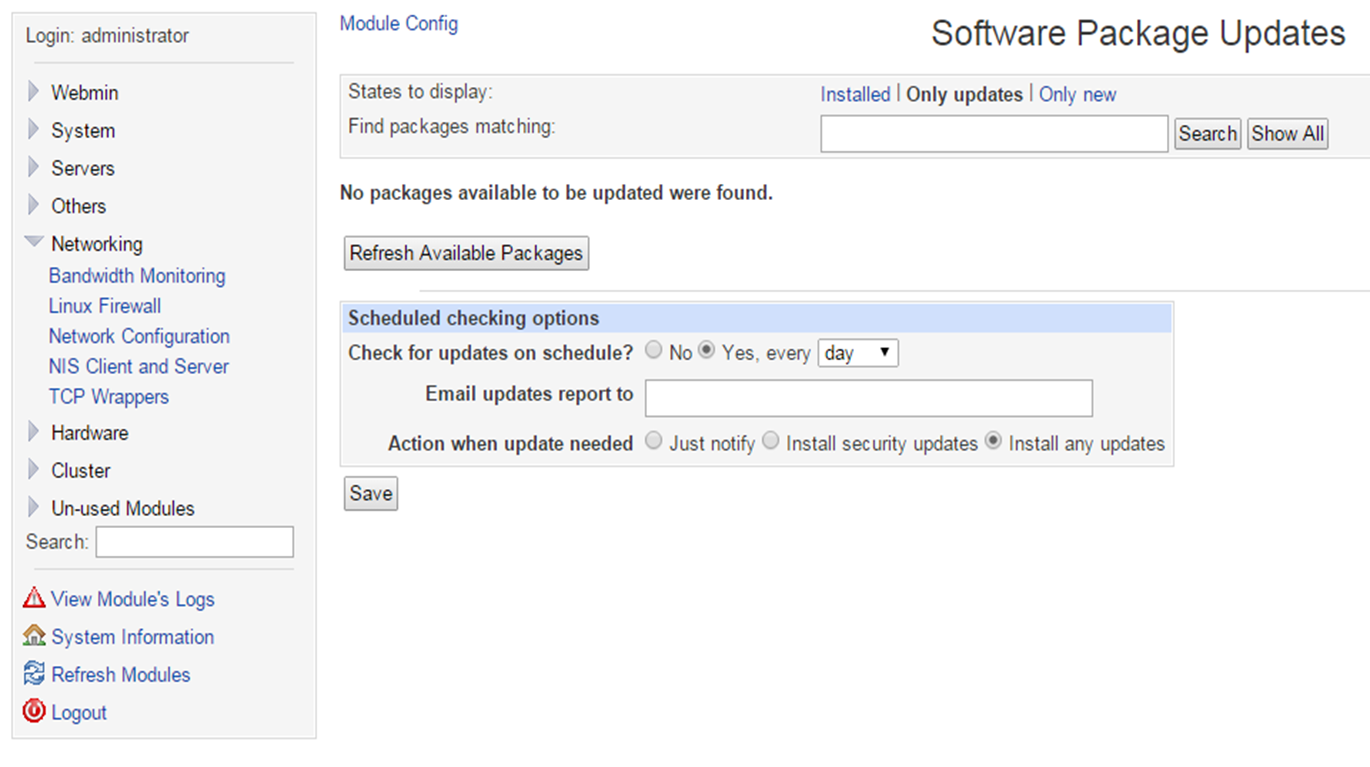
Before we install any updates, scroll to the bottom of the window to the “Scheduled checking options” section. Choose the “Yes” radio button, and from the drop-down make sure that “day” is the option selected. If you want to fill in an email address to be notified of any updates that have been installed, type one in now. For the “Action when update needed” radio buttons, select “Install any updates” Press the save button underneath it to save your changes.
You will have a message to say that schedule checking is now active, so press the “Return to package list” link to install the updates that are available already.

Once you are back on the updates page, click the “Update Selected Packages” button at the bottom of the updates list, just above where you were filling in the scheduled update options.

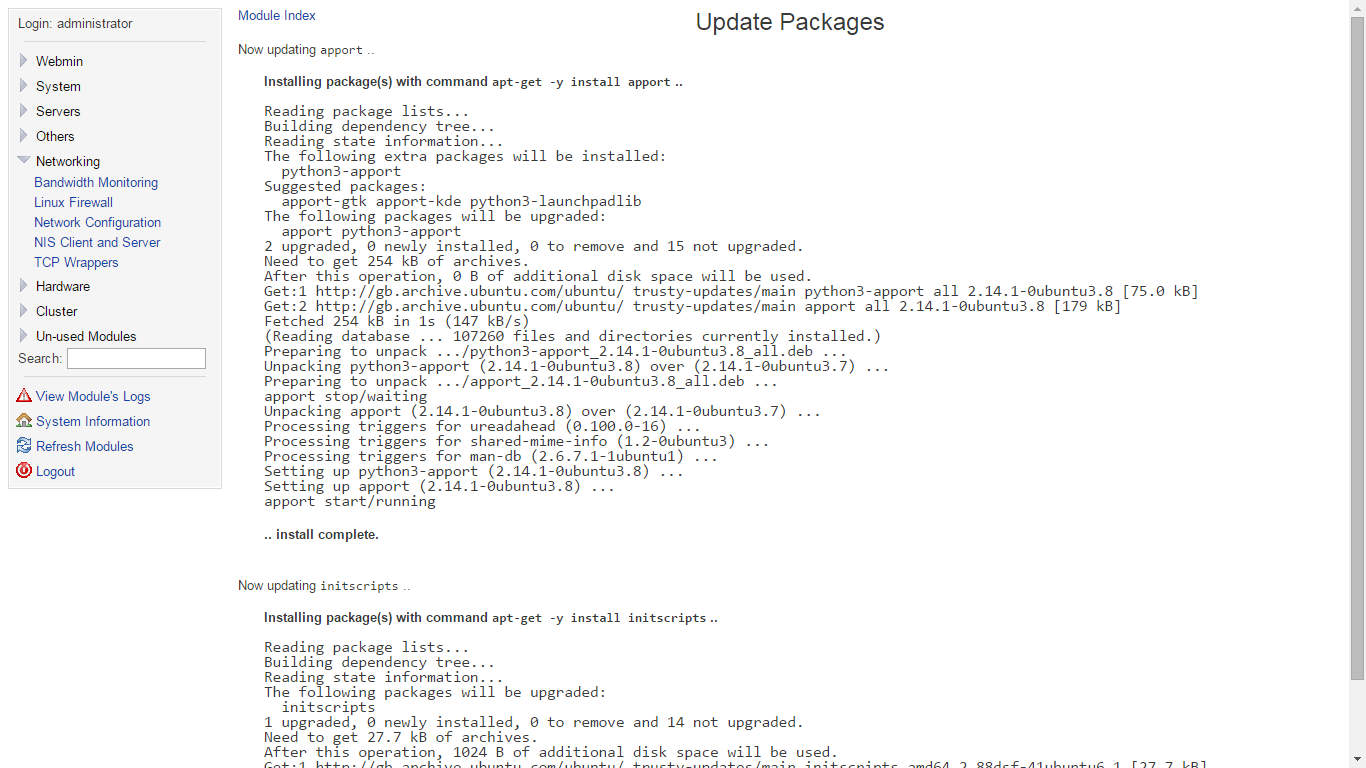
The updates that were shown on the previous page are listed again now. Click the “Install Now” button at the top of the list to start installing the updates.

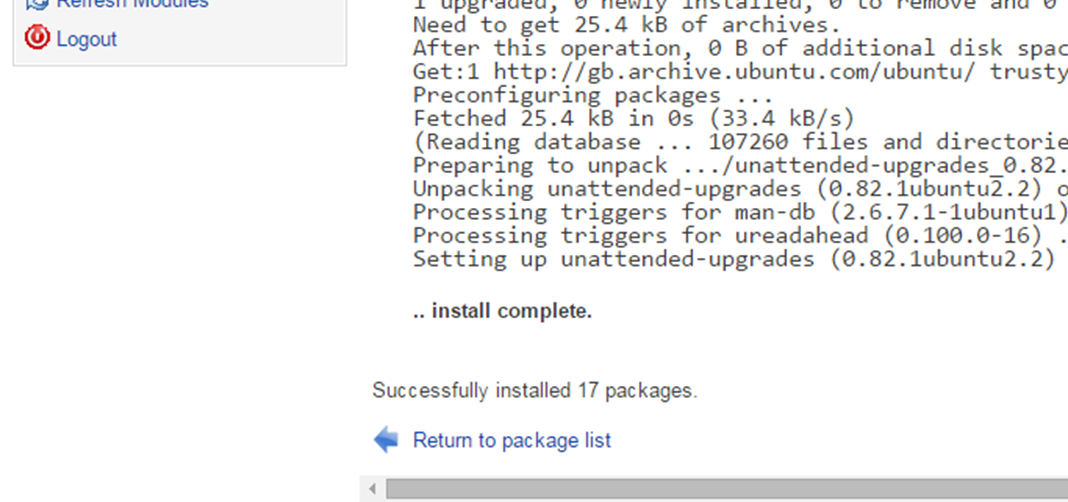
The updates will now start to be installed. Depending on how many are needed, and the speed of your Internet connection and computer, this may take quite a bit of time, so go and find something to do for a bit.
Depending on what updates have been installed, you may have the option to reboot the server. If you have, press the “Reboot Now” button. Remember: If you’ve change the IP address of the server, you’ll need to connect to the new IP address, otherwise you’ll be waiting at the reboot screen forever.

If you have installed updates that don’t need a reboot, it’s still a good idea to reboot the server (as you may have also changed the IP address anyway). Click on the “Return to package list” link at the bottom of the updates page.
You will be taken back to the Software Package Updates screen. Just make sure there aren’t any more updates to be installed first by pressing the “refresh available packages” button. Repeat the last few steps until no more are updates are needed to be installed.
To reboot the server, select the “System” menu option, and then “Bootup and Shutdown” from the left hand side, and then scroll down to the bottom of the page that loads. Click the “Reboot System button.
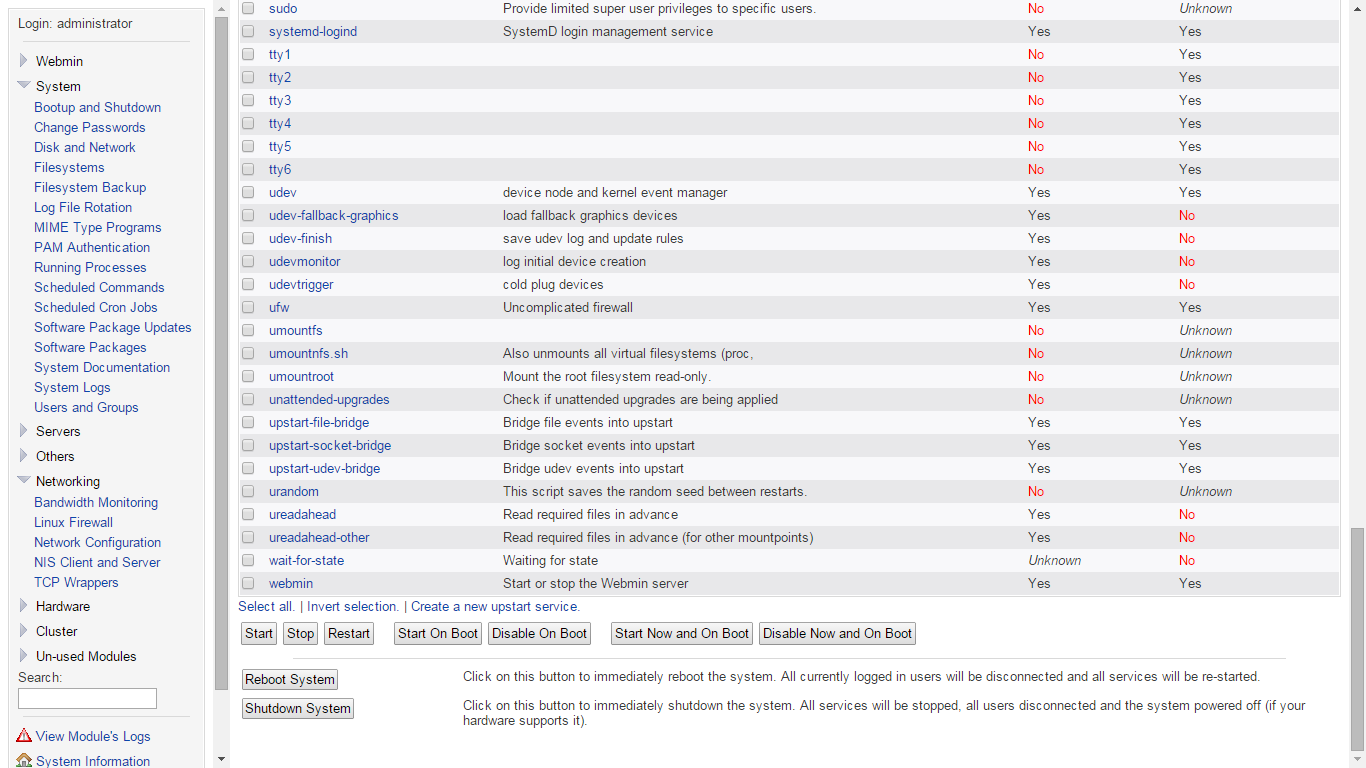
Press the “Reboot System” button to confirm that you are happy for the system to be rebooted, and it shall do so.

Remember: If you’ve change the IP address of the server, you’ll need to connect to the new IP address, otherwise you’ll be waiting at the reboot screen forever.

Once the server has rebooted, you can carry on using it as you normally would. If you don’t want to set up a Minecraft server, but simply are following this guide for installing Ubuntu and completing some basic configuration, you need read no more of my ramblings, so there’s some good news for you. If you are creating a Minecraft server, well… you’ve completed this part, so there’s some good news for you as well!