If I didn’t work in IT (or moonlight as a racing car driver), I’d always like to be the lighting technician in a theatre. I’ve always found it fascinating how the different movements, colours and effects can create an atmosphere, and when I go to see a show I’m normally watching the lights instead of the actual performance!
On the last day of term before the start of the school Summer holidays, the music teacher mentioned they are getting a new mixing desk for the main hall, one that can be controlled from a computer or tablet rather than the current one with actual sliders. It was at this point that I thought it’s about time to do something with the stage lights, or more accurately, “hey, someone else is getting something new and shiny to play with, I want to join in with this”. But first, as this post is related to the Performing Arts department, let’s have a flashback:
[imagine a wavy effect here]
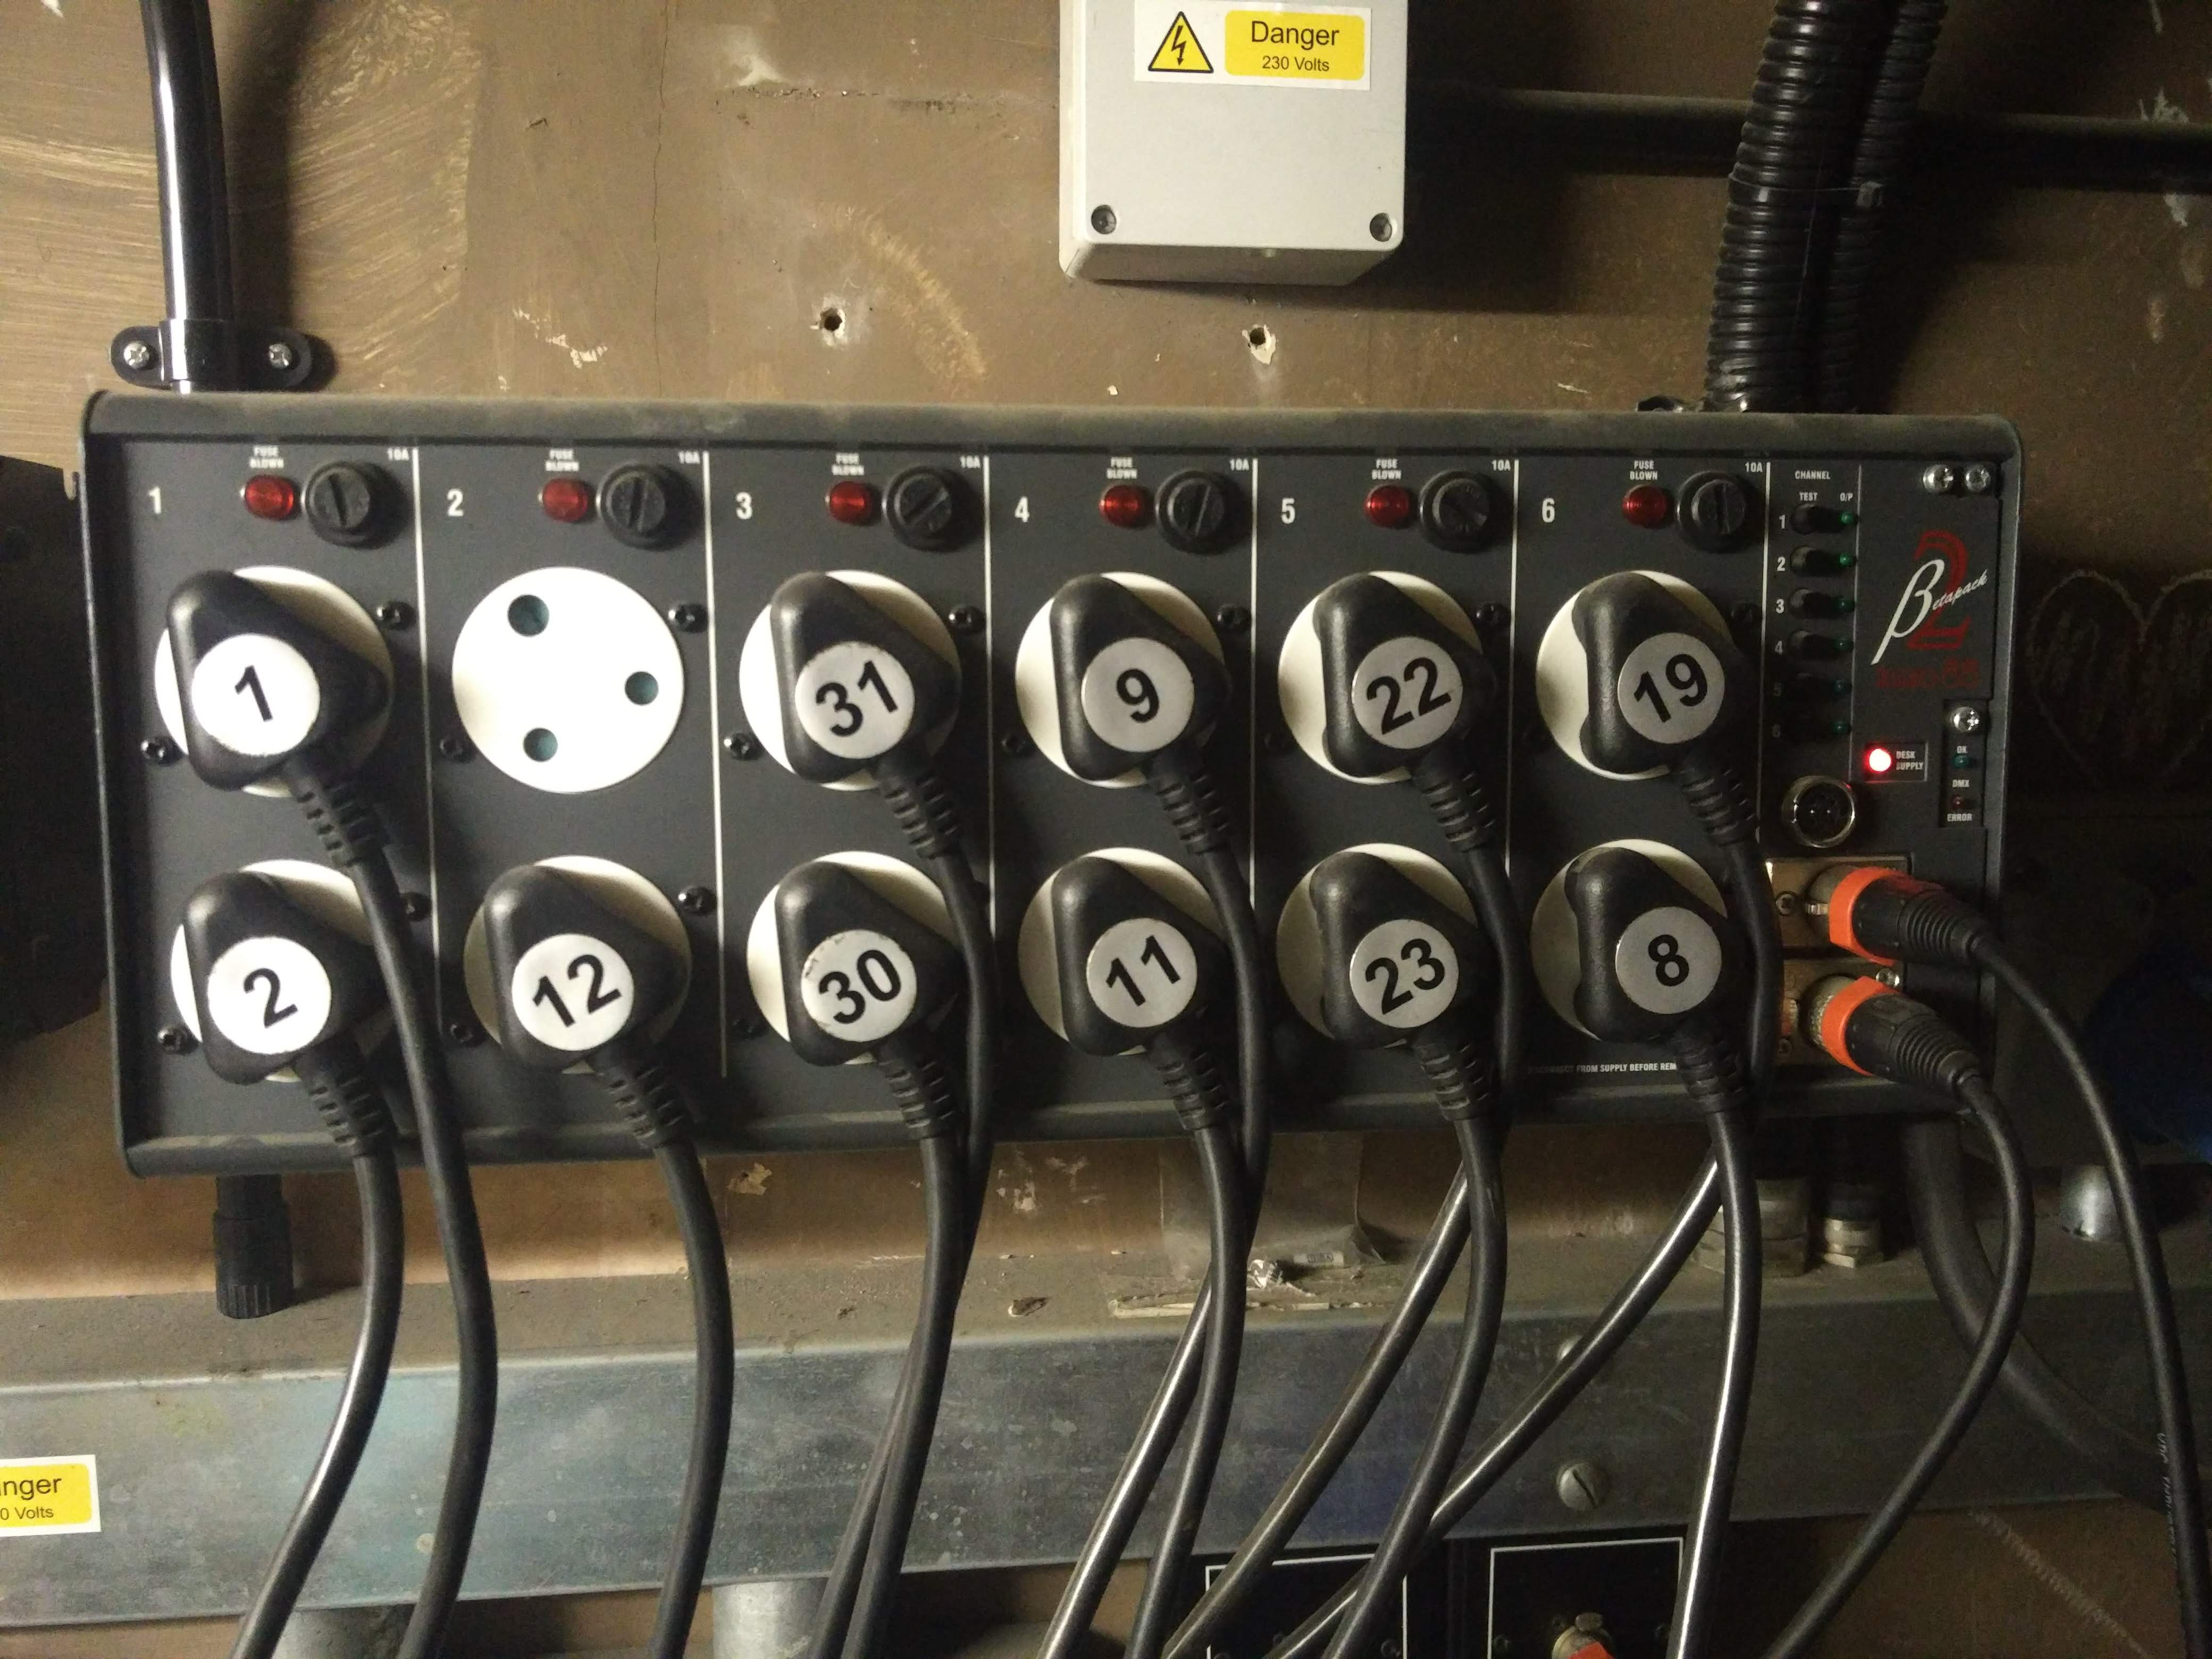
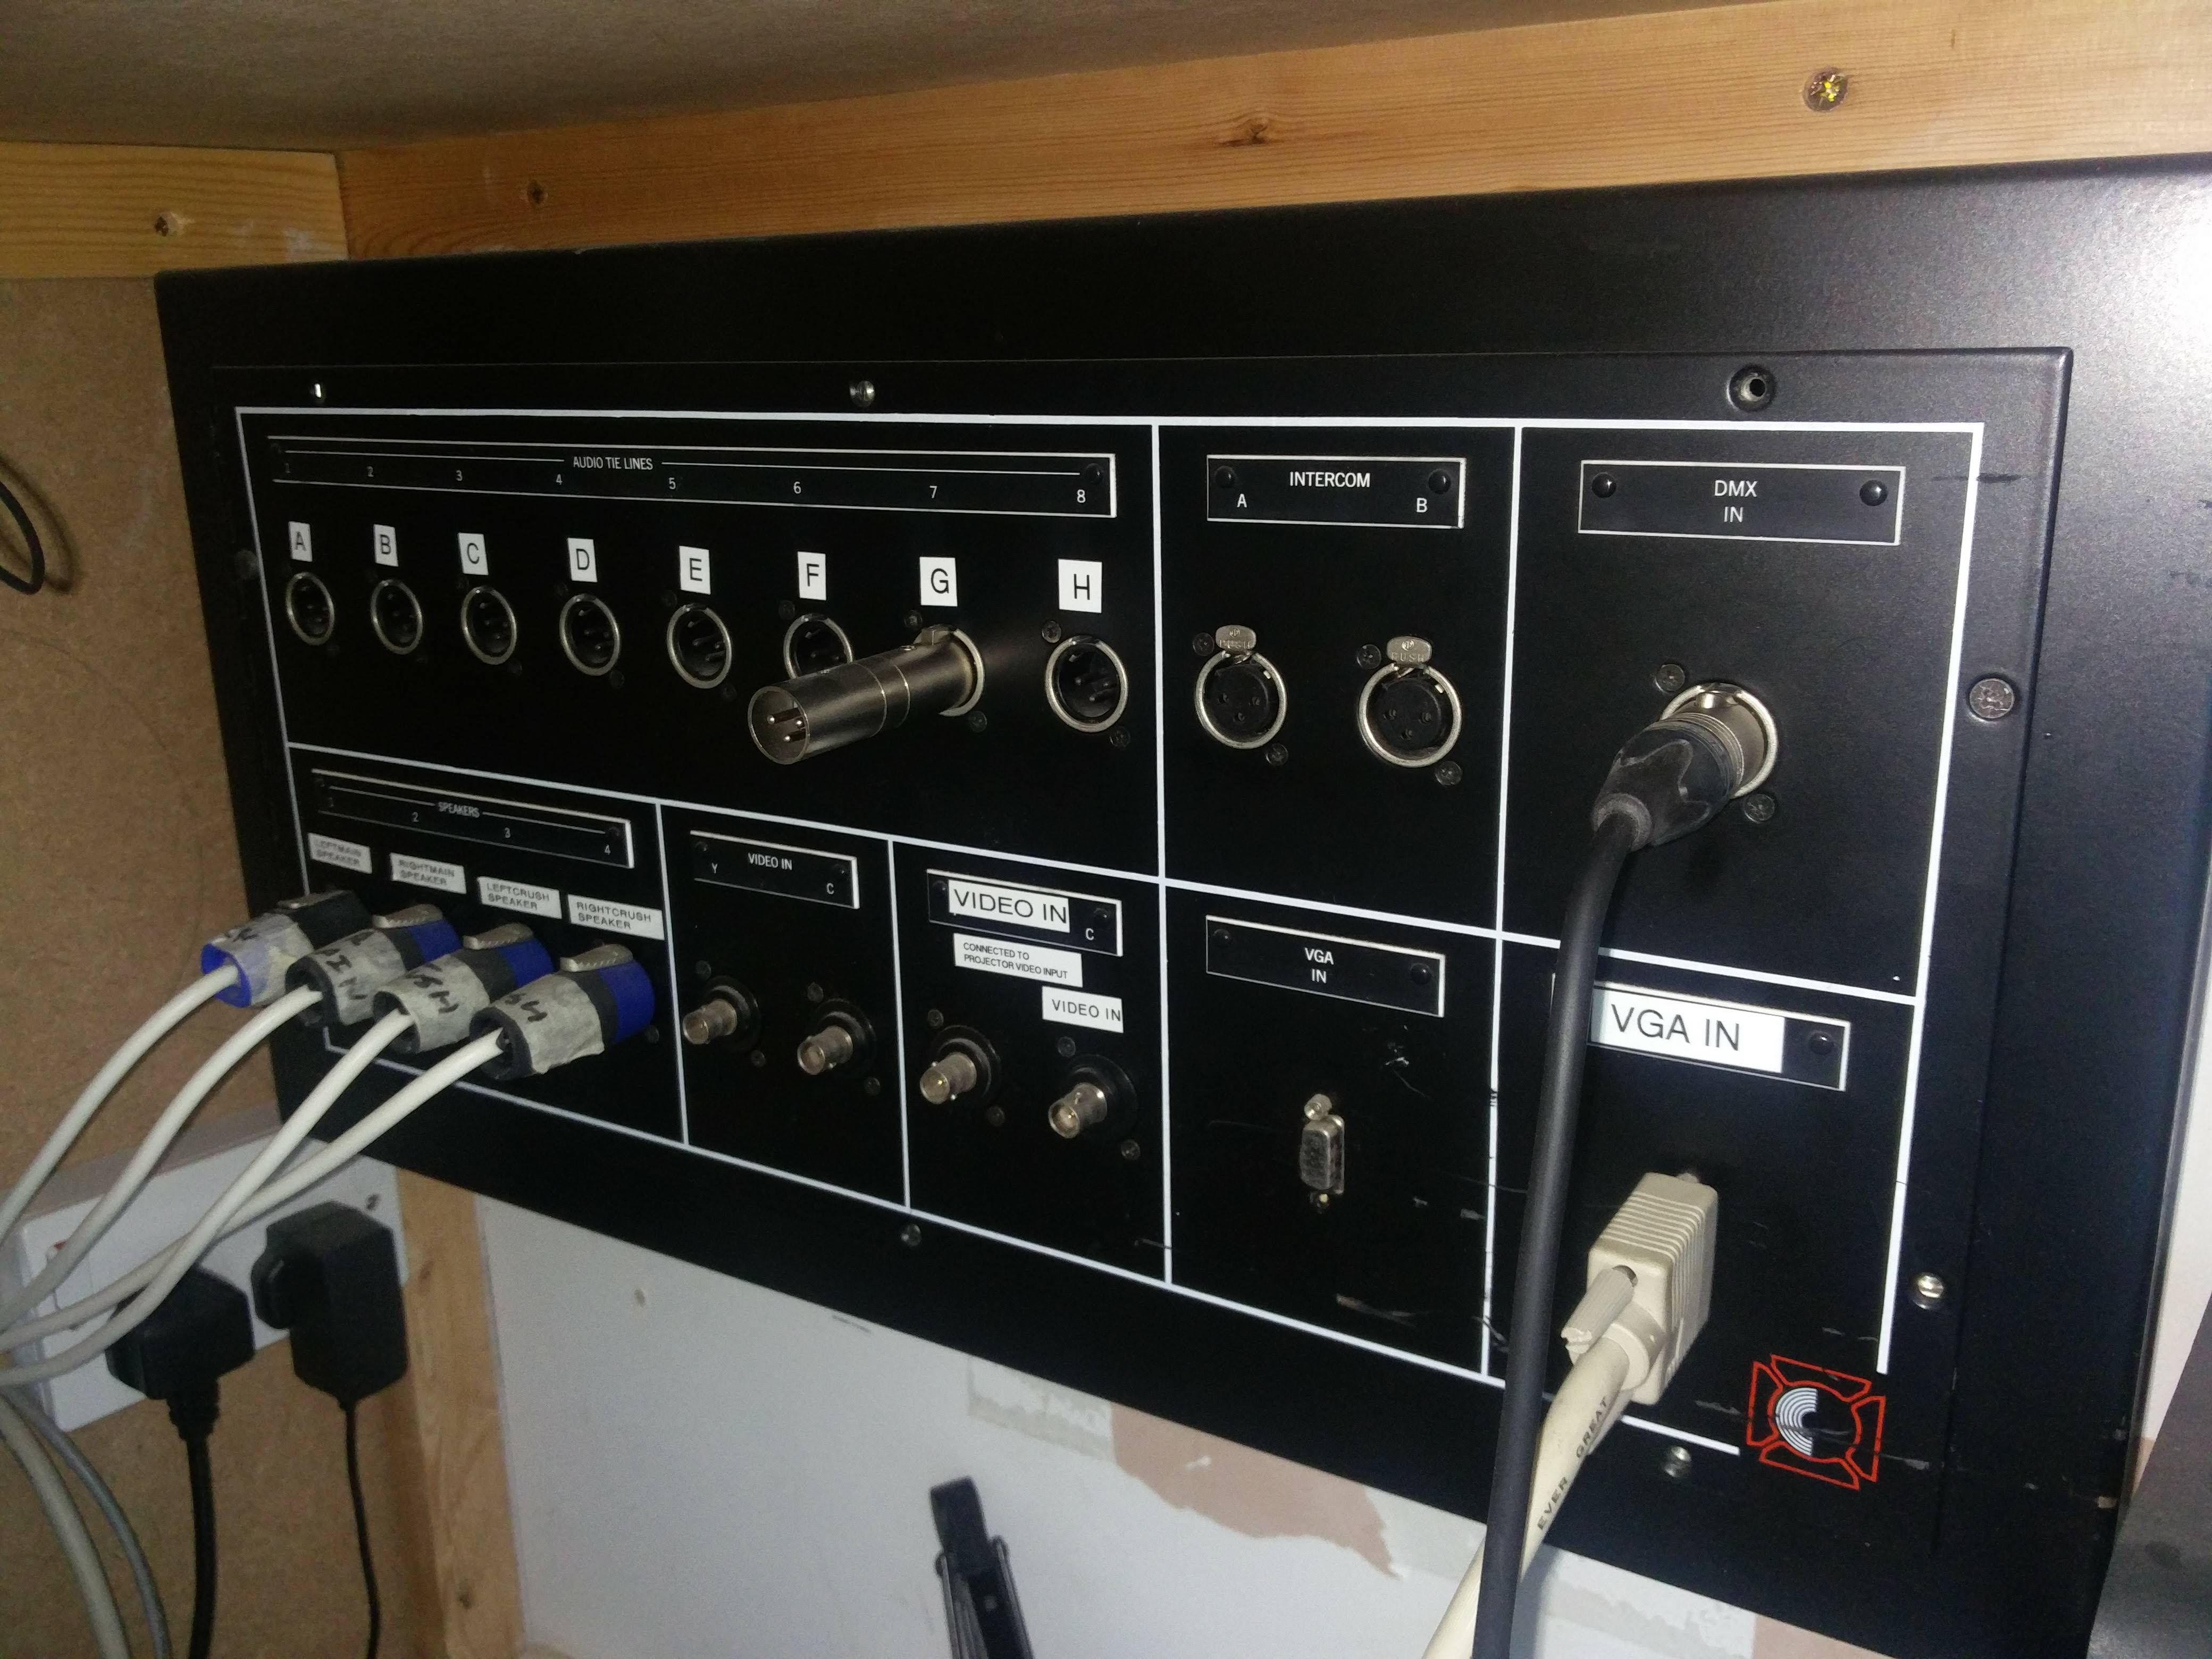
8+ years ago – At some point before I started working where I am, the hall was professionally wired up to allow the audio equipment and a simple lighting desk to be used at the back of the hall via a selection of wall sockets. There are microphone outputs at the sides of the main hall stage, which go to the back of the hall sockets, through a mixing desk and amplifiers to the sockets again, which in turn go to speakers at each side of the stage. Lighting goes from the controller to a lighting booth raised up on one side of the stage, housing two dimmer racks. These then control the lights on various lighting bars above the stage and around the sides and back of the room. Finally, there’s a VGA and HDMI connection for a computer to display output on a projector that is mounted in the middle of the hall roof.
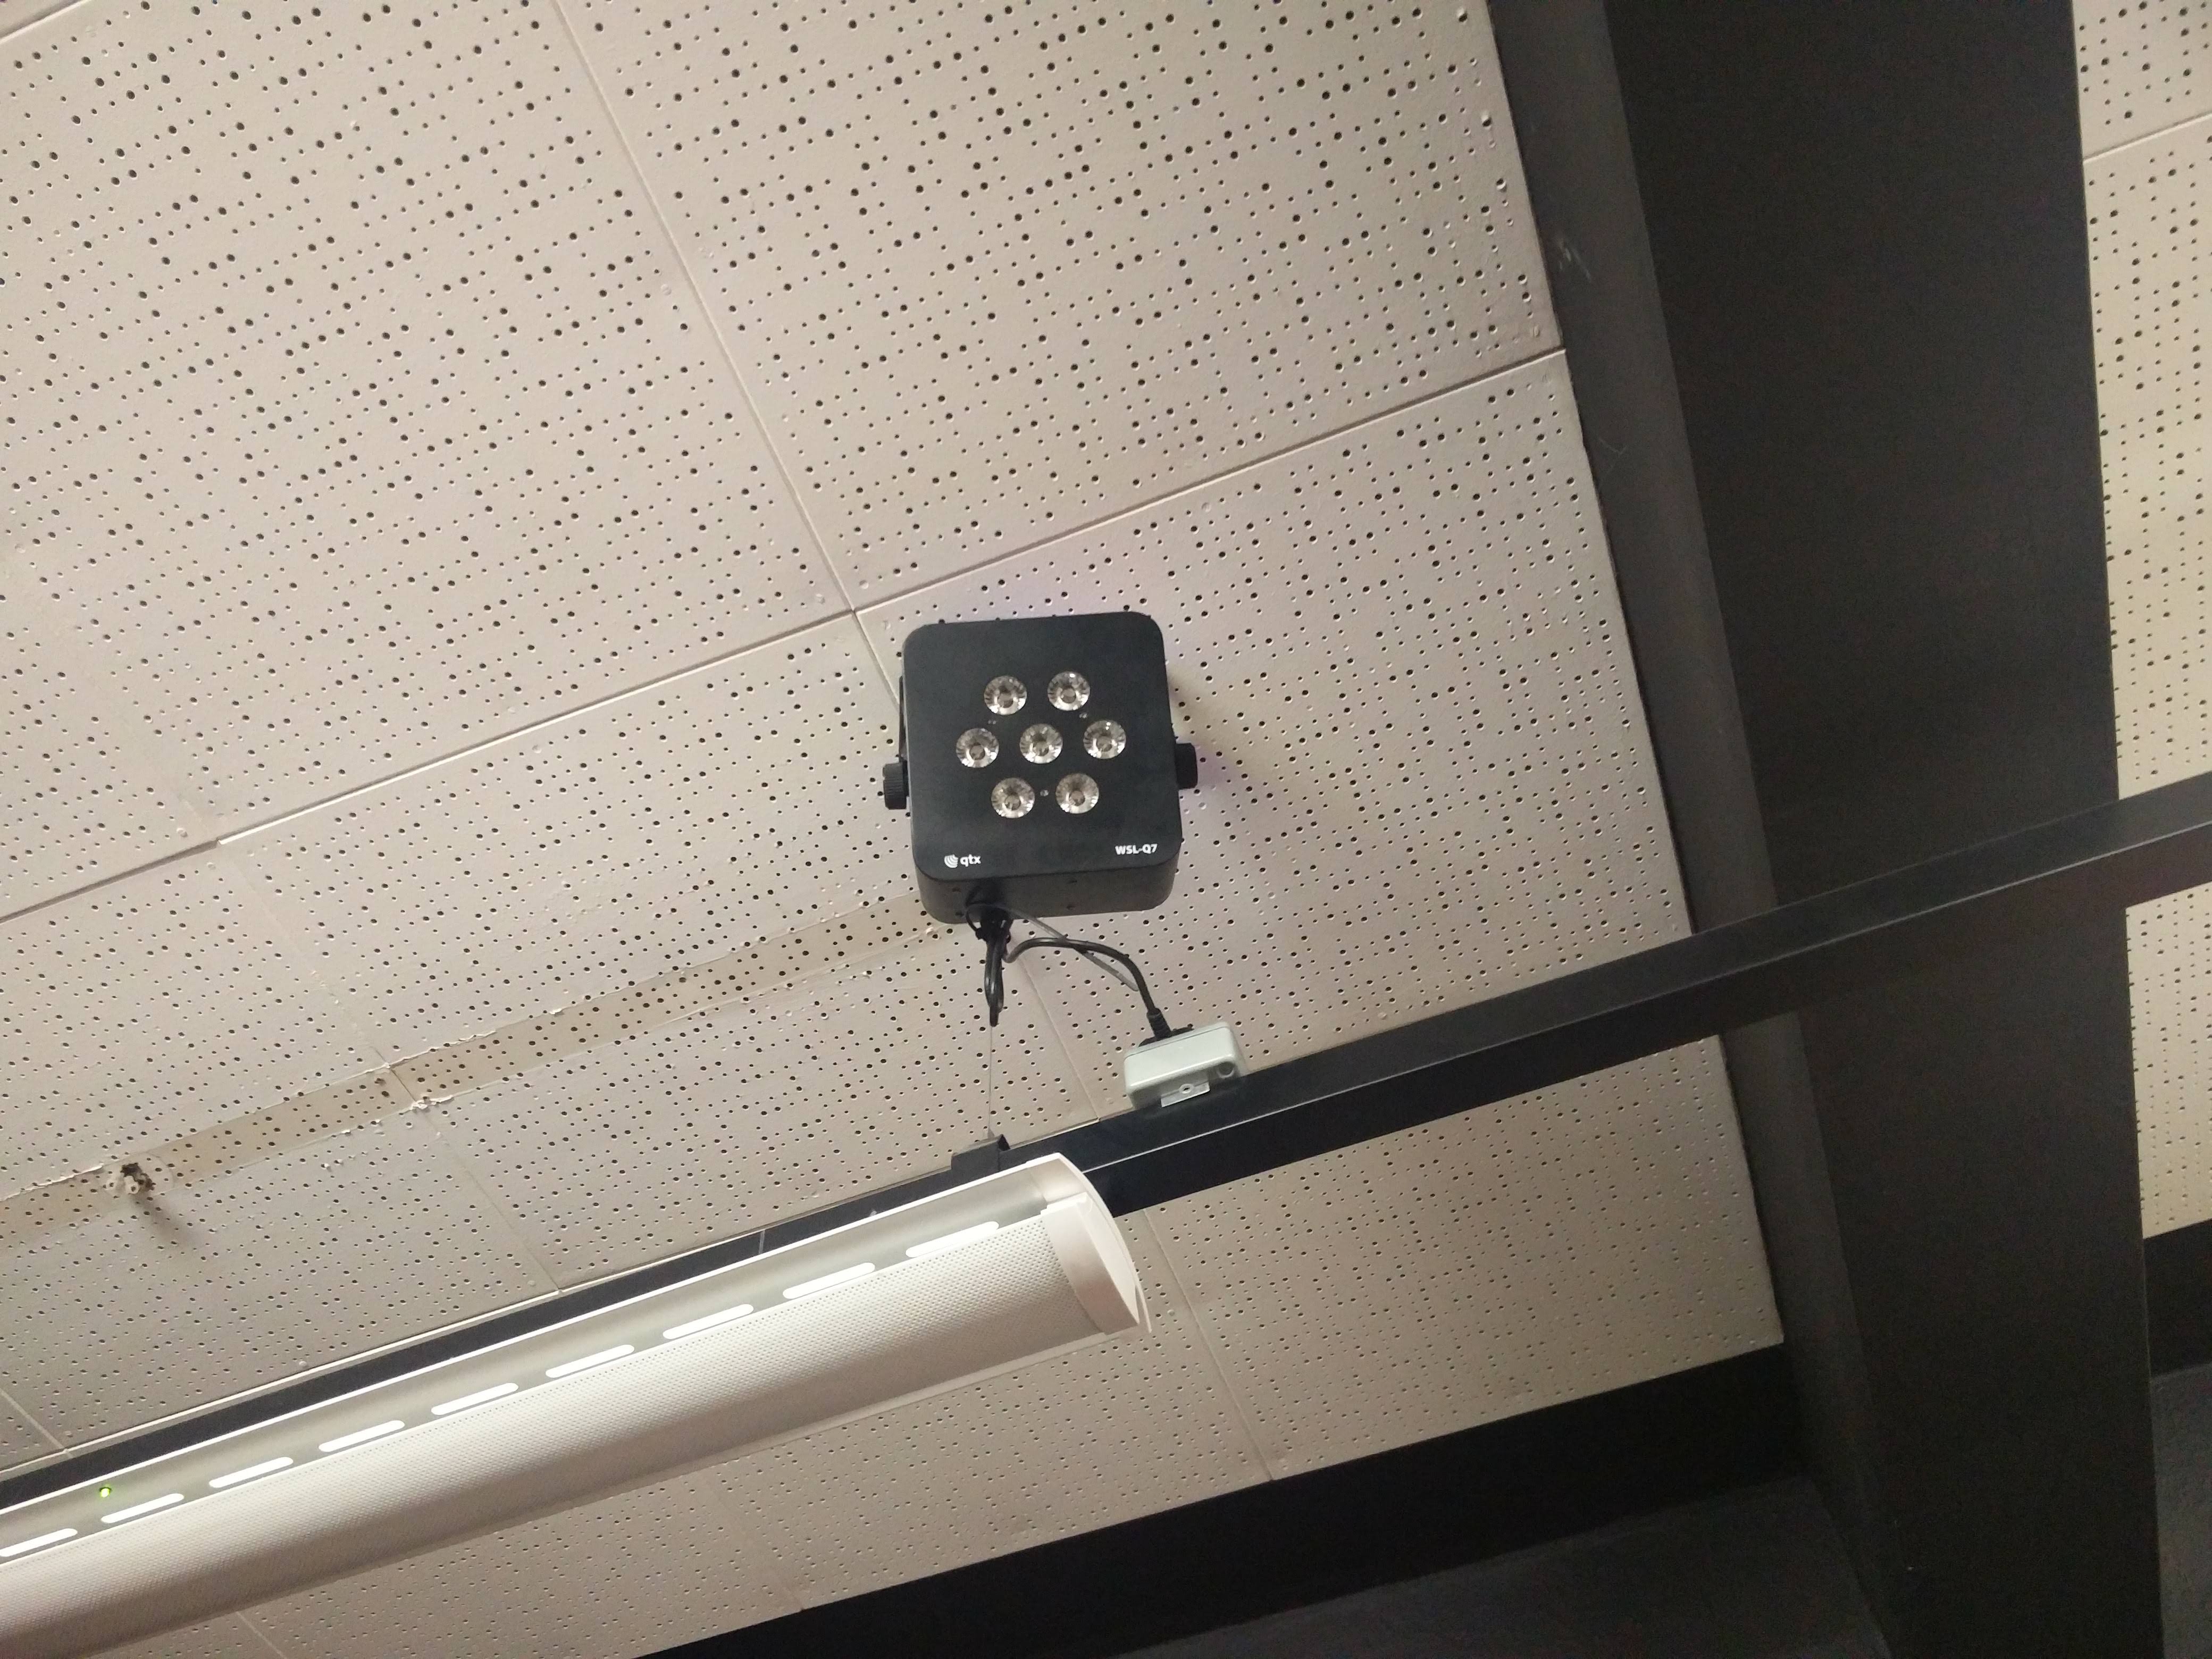
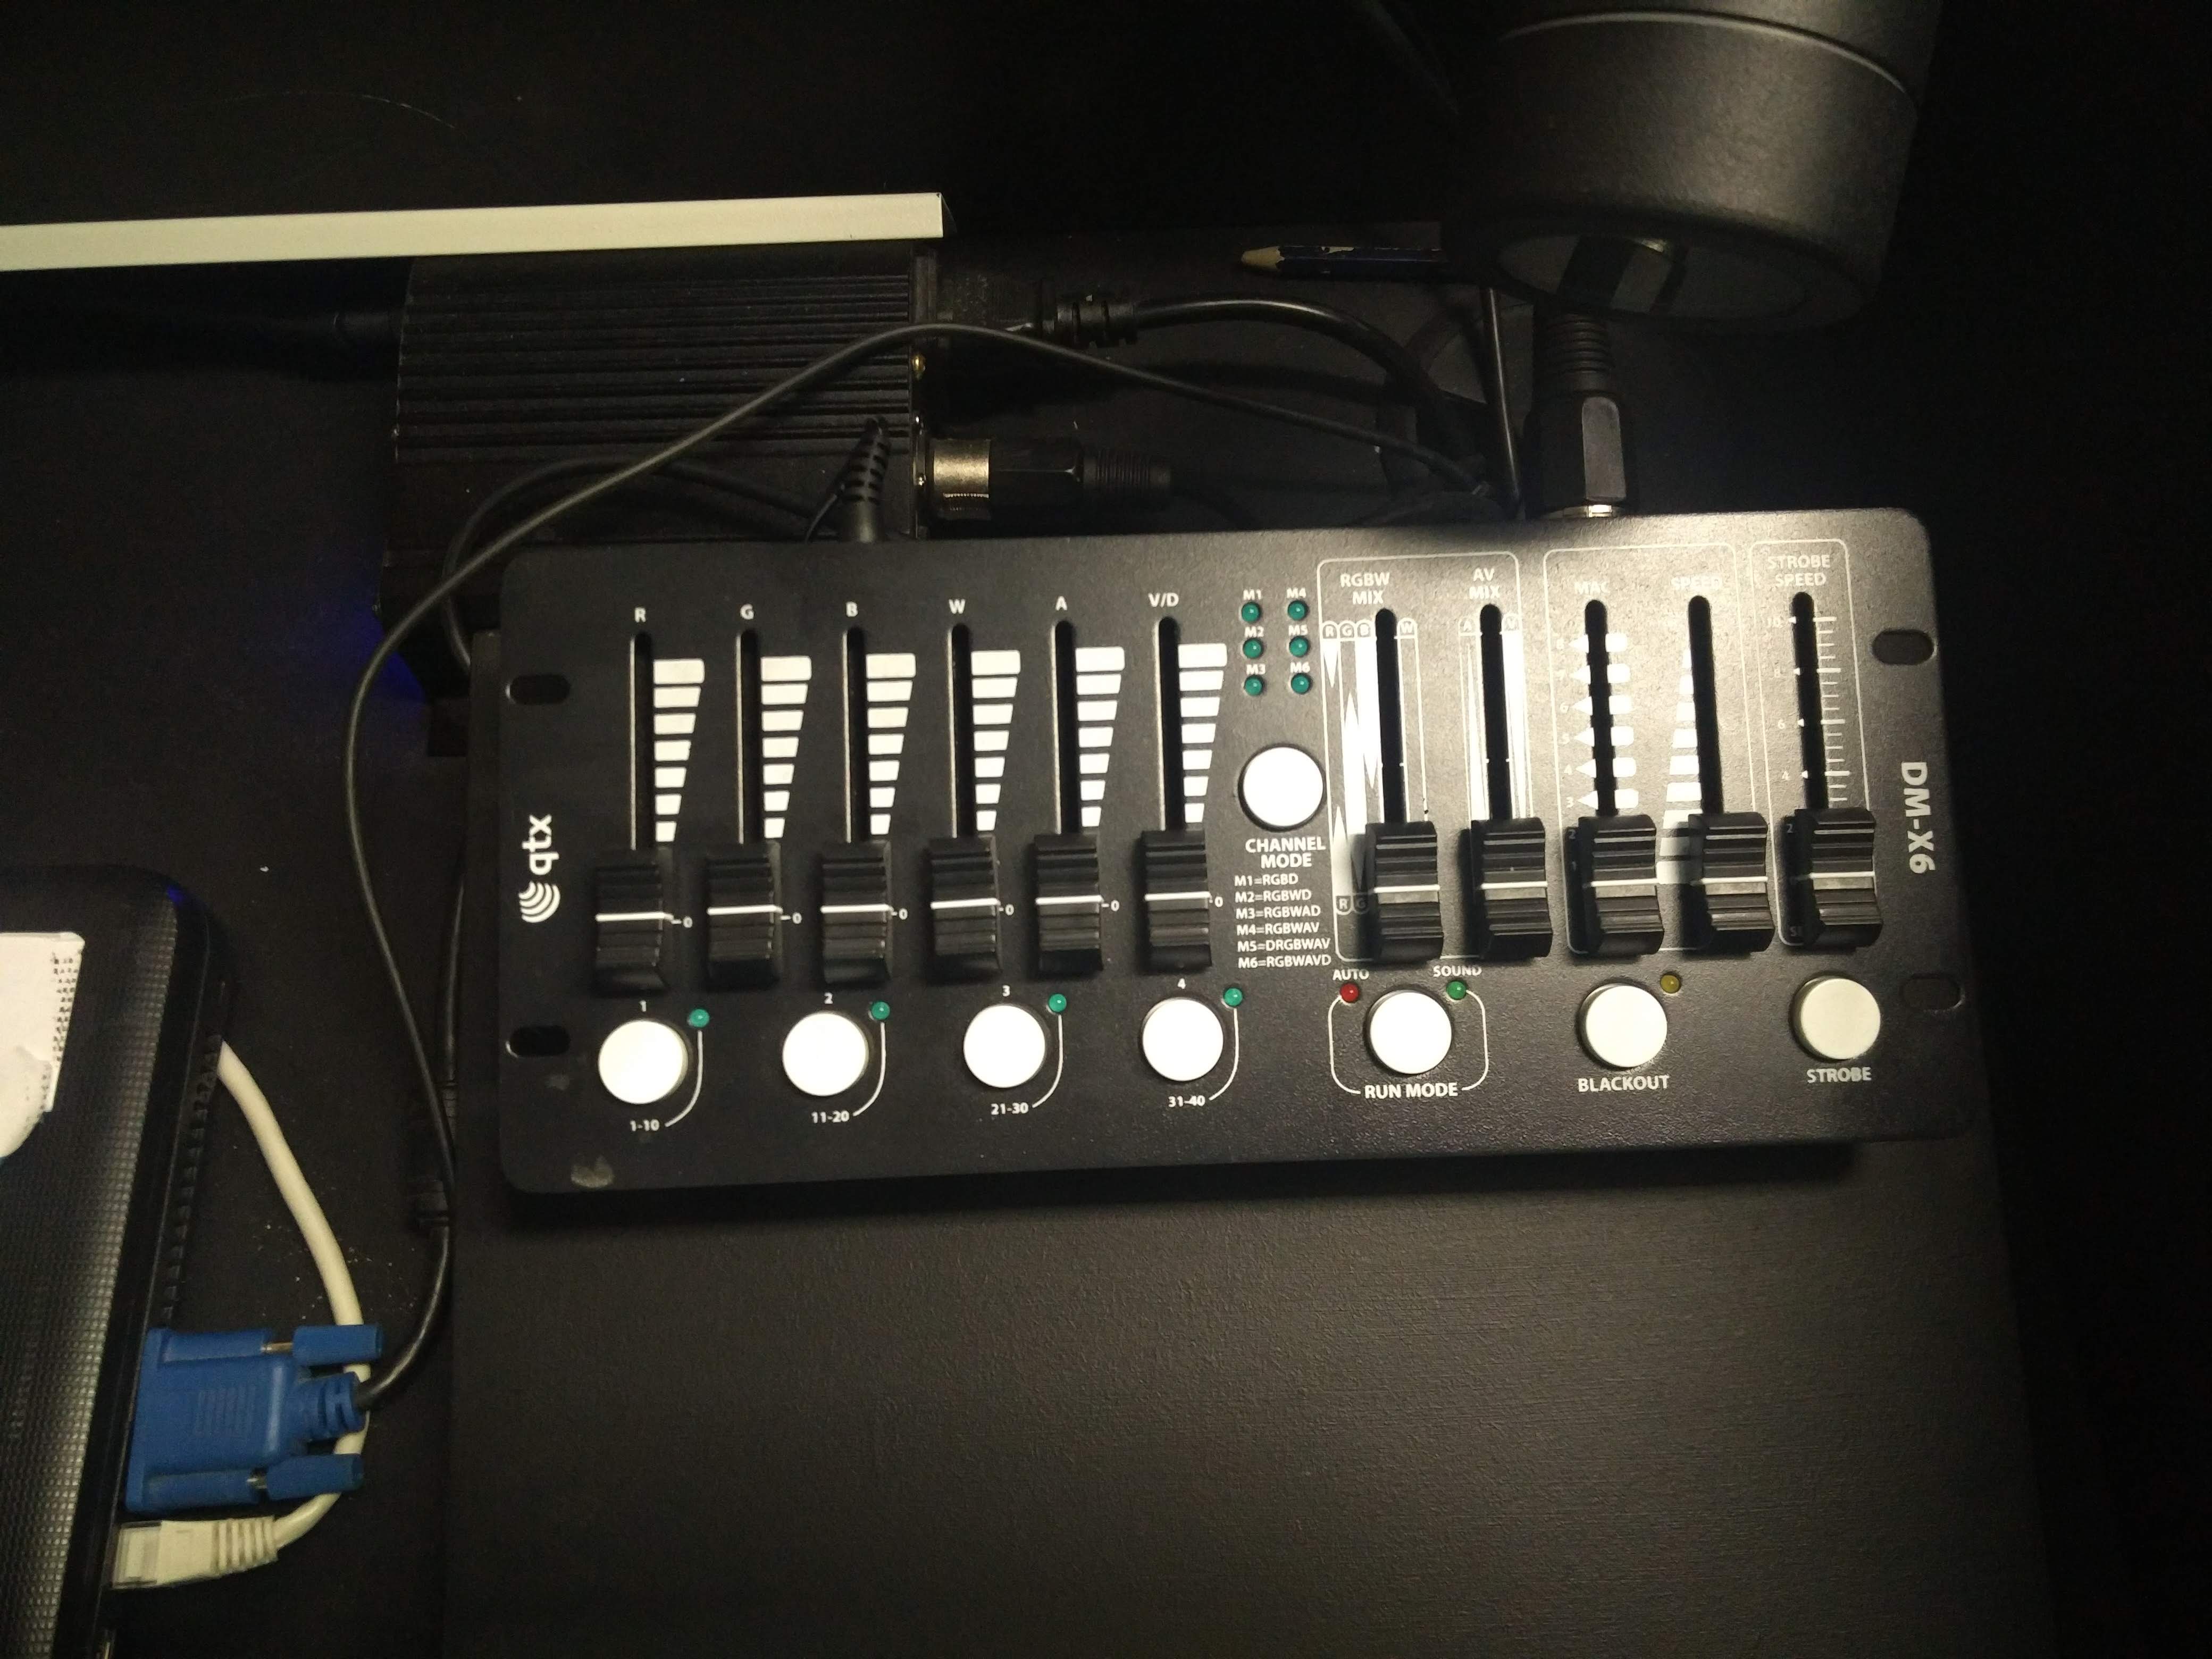
1 – 2 years ago – We’ve had some “fancy” lights (that I’ve found out have been discontinued when searching for the link) which were installed by the electricians in the Drama studio when it was being rewired. They’re controlled via a wireless connection and lighting controller, and can do any colour that you want. However, when setting them up – or, when the electricians asked us if we knew what to do as the instruction manual was as clear as mud – we had a play around and got some… interesting results. The sliders on the controller are for red, green, blue and white respectively, but when we slid the red channel nothing happened; the green channel turned the lights red; blue channel was green, and white wasn’t do-able. We did call up the manufacturers to see if we could get to the bottom of it, but after them helping but us not really getting anywhere, we muddled through to getting them working somehow (I’d put them onto “ADDR” and this seemed to get the colours to match the slider controls). However, there were parts in the manual that mentioned things about channels and addresses, but I never fully understood what these were going on about.
January – During the latest school production, a star curtain and controller had been purchased so there’d be something to look at as a background to the stage, rather than just a black curtain. It was only able to be controlled from the back of the stage as the cable was short, and there were visible changes when the staff members changed the lights between the built-in scenes. It worked, but it could have looked better.
The first thing I decided to do was to plug in the lighting controller from the Drama studio lights directly into the star curtain controller, mainly to see if it would be possible to control the star curtain controller. It turns out that there’s a pretty standard plug, cable and socket that most theatre / stage technical equipment use, called XLR. Although the star controller accepted both the microphone (3 pin) and lighting (5 pin) connectors, the lighting controller only had output for the 3 pin XLR cable (as most reasonably-but-not-stupidly expensive equipment only have 3 pin connectors on them to help reduce manufacturing costs). We had a few of the 3 pin cables lying around in the hall for when microphones are used so I was partially in luck.
It’s ideally not recommended to use microphone cables as lighting cables due to the chance of phantom power from an audio mixing desk being fed to the lighting device, should it accidentally be plugged into an unlabeled socket. If this happens you may have the unexpected benefit of a smoke machine with real flames (OK, probably not, but if you do burn down your theatre I’m not to blame!).
Finding a manual for the star curtain controller, I found out that I needed to set it up in DMX mode, mainly from seeing that this would allow it to be controlled from an external controller. The good news from my experiment was that I could control the lights on the star curtain from the Drama studio lighting controller. The bad news is that I could only get it to show red, flash super quickly or not show anything. Still, I knew that it was progress in the right direction. Before I decided to go any further, though, I figured that I needed to find out exactly what DMX is and how it actually works.
For a change, Google wasn’t helpful in telling me what DMX is. Well, apart from that there’s an American rapper with that name. Modifying the query to include “lighting” was entirely more helpful. Except is wasn’t. Most of the websites that I came across assumed that you already knew what it was, so ittookquitea bitof reading before I figured it all out. Eventually I had a lightbulb moment (no pun intended) and it all seemed so easy that I wondered why I didn’t get it in the first place (I think it was due to the terminology used, such as “addresses“, “channels” and “universes“. That, or due to it being the last day of term when I was trying to understand this stuff, my brain had already gone on holiday).
Hoping to put it simply for you (and for future me when I forget all of this), you start off with something called a channel. This is something that can take a value between 0 and 255. Each channel has a “name” between 1 and 512, so that it can be identified (channel 0 is reserved for control signals). This group of channels is collectively called a universe. A fixture (device) is given a start address between 1 and 512, which corresponds to the “named” channels. This fixture listens on the channel it has been assigned to, to see what value it has, which it then uses to perform a function (such as the brightness of a light). The fixture may also run in multi-channel mode, which means it also listens for values on the next sequentially named channels (as many channels as the mode it’s running in). You then set the next fixture to have a start address after the number of channels already used by other devices. Alternatively, as many fixtures of the same type can have the same start address if you want them to all do the same thing.
If your eyes haven’t glazed over, here’s the abridged version: There can be an infinite number of universes, each one having 512 channels that can be set to a value anywhere between 0 and 255. A fixture starts listening on channel <start address assigned to it> and finishes listening on channel <start address assigned to it> + <number of channels in current mode>.
[Wow, that was actually quite difficult to do, and I’m not sure if I understand what I’ve written anyway]
Now that I’d finally figured out how DMX addressing works, I turned back to the manual for the star curtain controller and realised why the lights were doing “odd” things. The lighting controller only had a few channels available, which were equivalent to each of the sliders on the control. The first slider controlled channel operated as a dimmer switch, the second strobing effects, the third changed between the built-in functions and the fourth slider controlled the speed of those functions. As I was setting the sliders to different positions it was essentially asking the the star curtain controller to perform different tasks at once, resulting in weird-looking output.
The music teacher popped into the hall at this point, mainly to see if I’d been able to make any progress, and they were pleased to see that it was possible to control the star curtain controller from the back of the hall. However, I did let them know that it wasn’t possible to do that much with it at the moment, but I’d have a look into it over the Summer holidays. Since I’m a person who likes to wow people by what I can get technology do (I get a nice buzz when people are genuinely surprised), I figured out there must be a way to control a DMX fixture from a computer, which would give far greater control over them.
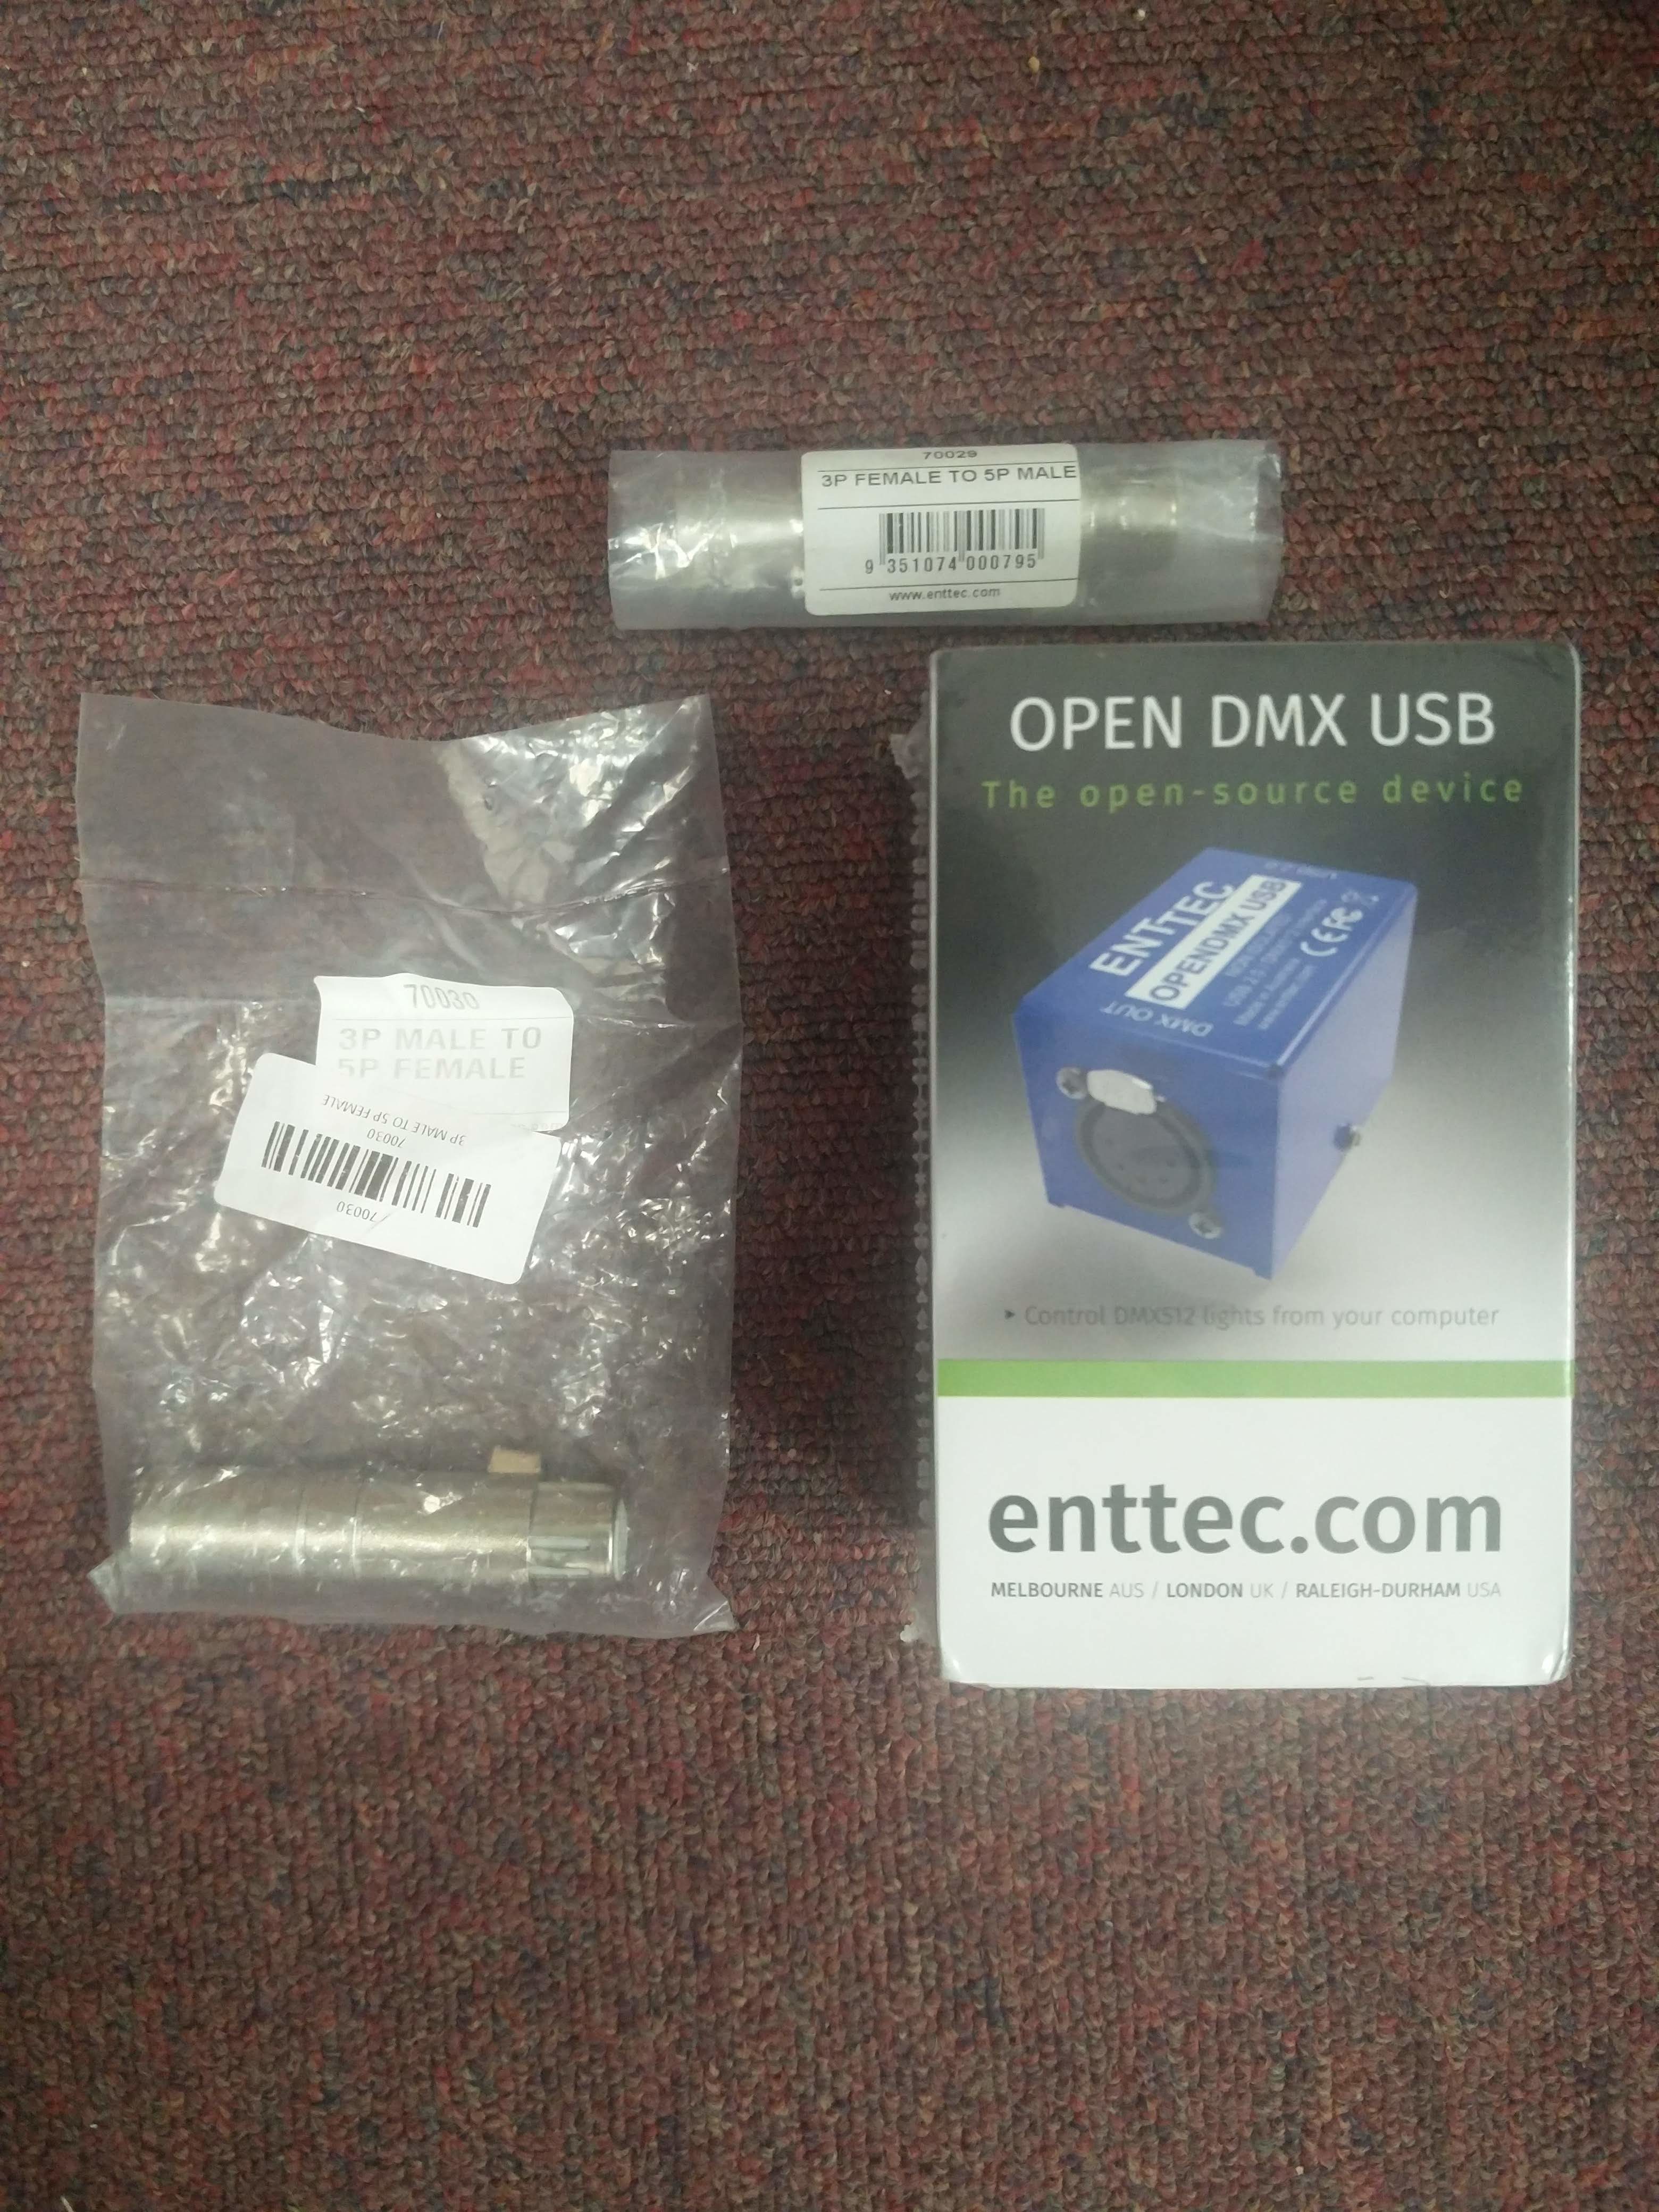
It turns out that I’m not the first person to be in this situation. After spending a few days thinking about how everything would come together, and a bit more searching, I found that I’d need a USB-to-DMX device and some software to run on the computer. Following some of the advice from the article I purchased an ENTTEC Open DMX USB adaptor. I also had a thought that it would be great to control the hall lights from the computer too, and it should be possible as the dimmer packs were DMX compatible due to the current lighting desk using this protocol (both the desk and dimmer packs had XLR-5 connectors only, so I also bought some 3-to-5 and 5-to-3 pin XLR adaptors).
It’s only possible to do next-day or pre-noon next-day delivery via the ENTTEC website (it’s not entirely stated in their store policy, but you’ll see it if you add an item to the cart), so I ordered the device and started to look at some of the software possibilities available, so that I could get used to the interface while the device was being delivered. I ideally wanted something that was free (I’d already spent my money on the hardware) so that it wouldn’t cost the school anything (aren’t I nice?) and would work with the device that I’d purchased (for obvious reasons). There seemed to be a few available, but the most popular ones out there are FreeStyler, DMXControl and QLC+. After reading a few different forums and having a look at the websites, I’d decided to give FreeStyler a go.
After reading a few of the getting started guides and looking at the getting started articles on the Wiki for FreeStyler, I’d figured out the basics. I’d added a few PAR cans (simple lights that can have their brightness adjusted) and created a fixture for the star curtain controller using the channels from the manual as a guide. I even tried to get visualisations working in 3D, but this doesn’t seem to be working anymore. Oh well, it had been a productive few hours and I’d started to figure out how everything worked. All I needed now was the USB-to-DMX device to arrive and I’d be off.
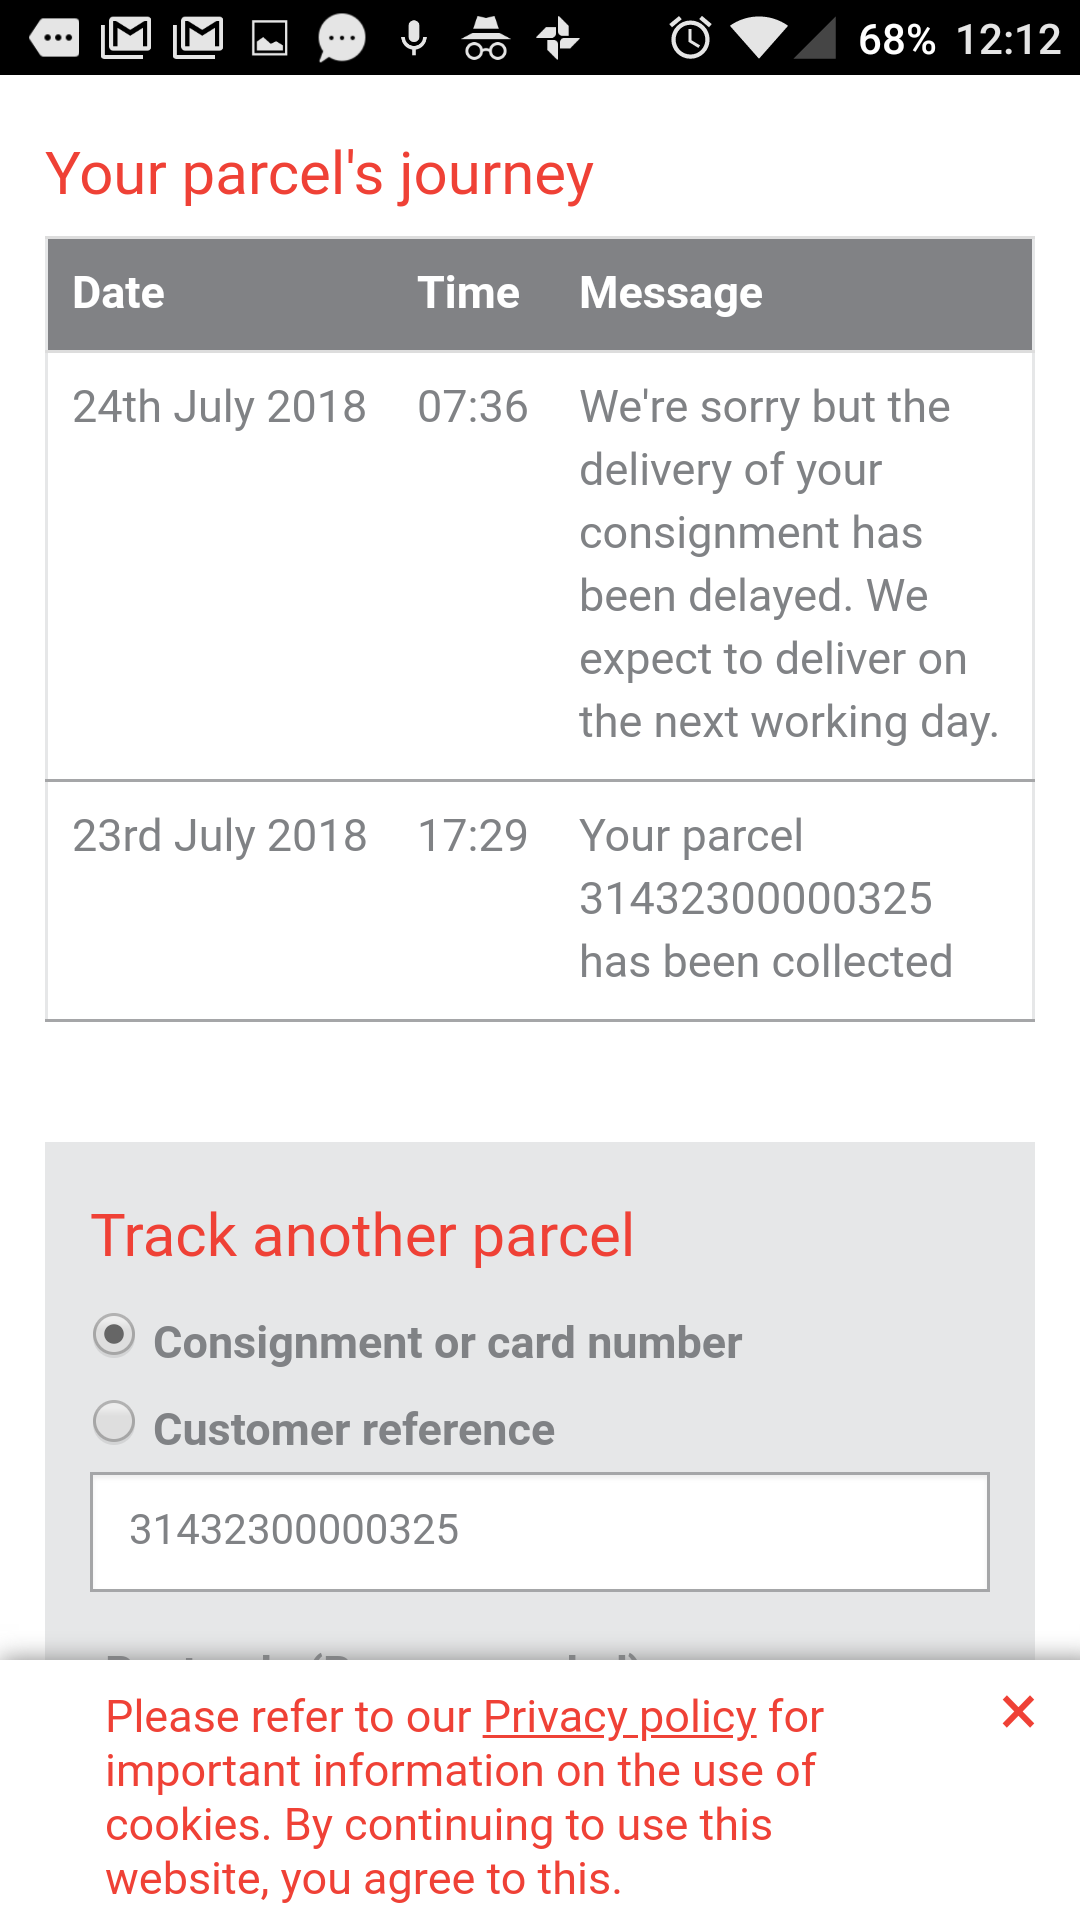
Despite getting a text message in that evening and the website showing the package had been picked up, by the time I got up in the morning I’d received a message from UKMail saying that there’d been a problem and my delivery wouldn’t be arriving that day. Let’s just say that I wasn’t best pleased when I’d got that message, since I’d had to pay and additional €6.50 for next day delivery. However, there doesn’t always seem to be glowing reviews about UKMail, but as this was the courier chosen, there wasn’t much I could do but sit and wait (and hopefully get it within the next day or so). On a side note, while trying to see if it stated on the ENTTEC website who their courier is, I found that their terms actually forbid you creating any links to their website (under the heading “Links to this website” it states “You may not create a link to any page of this website without our prior written consent.“). So now I’m in trouble for the 5 links I’ve added to this post, yet alone everyone else who links to their site. Actually, doing more research, this wording seems to be more popular than I originally thought.
Since I now had unexpected extra time before the hardware arrived, I decided to invest more time with FreeStyler. Things were going well until I decided to see how the lights could be synchronised to an audio track, as that’s how some of the school productions would be performed (we do talent shows at the end of academic years, with most students performing a singing routine). It turns out that there’s not really an easy way to do this, as it seems to involve using an external midi control instead of any timeline support. Oh well, time to look at the other software programs that I’d read about.
DMXControl seemed to support this in a previous version (the site is in German, you haven’t forgotten how to read English), but it currently doesn’t seem to be supported in the latest version of the program, and the workarounds seemto be complicated. Personally I didn’t like the interface, but did like the fact that it is designed as a client / server application so the computer controlling the lights could be different to the one where the user is sending the commands.
I then had a look at QLC+. I’m going to be honest here and say that I originally didn’t go with it as the website put me off (seems like I’m not the only one). However, shame on me as having a play with this program allowed me to see that it did have everything I was looking for. Initially I tried out version 5 (which has 3D support) but found it to be quite buggy as it’s still being developed. I decided to fallback to version 4 and found that it was what I needed. It was possible to control shows with a timeline and audio track (it also has video support) and additionally it includes built-in support for the star cloth controller! I then spent the rest of the day getting used to this interface instead. One thing to note is that when using audio, although MP3 files are supported, the playback marker sometimes goes out of sync with the beat. This is solved by using a WAVfileinstead.
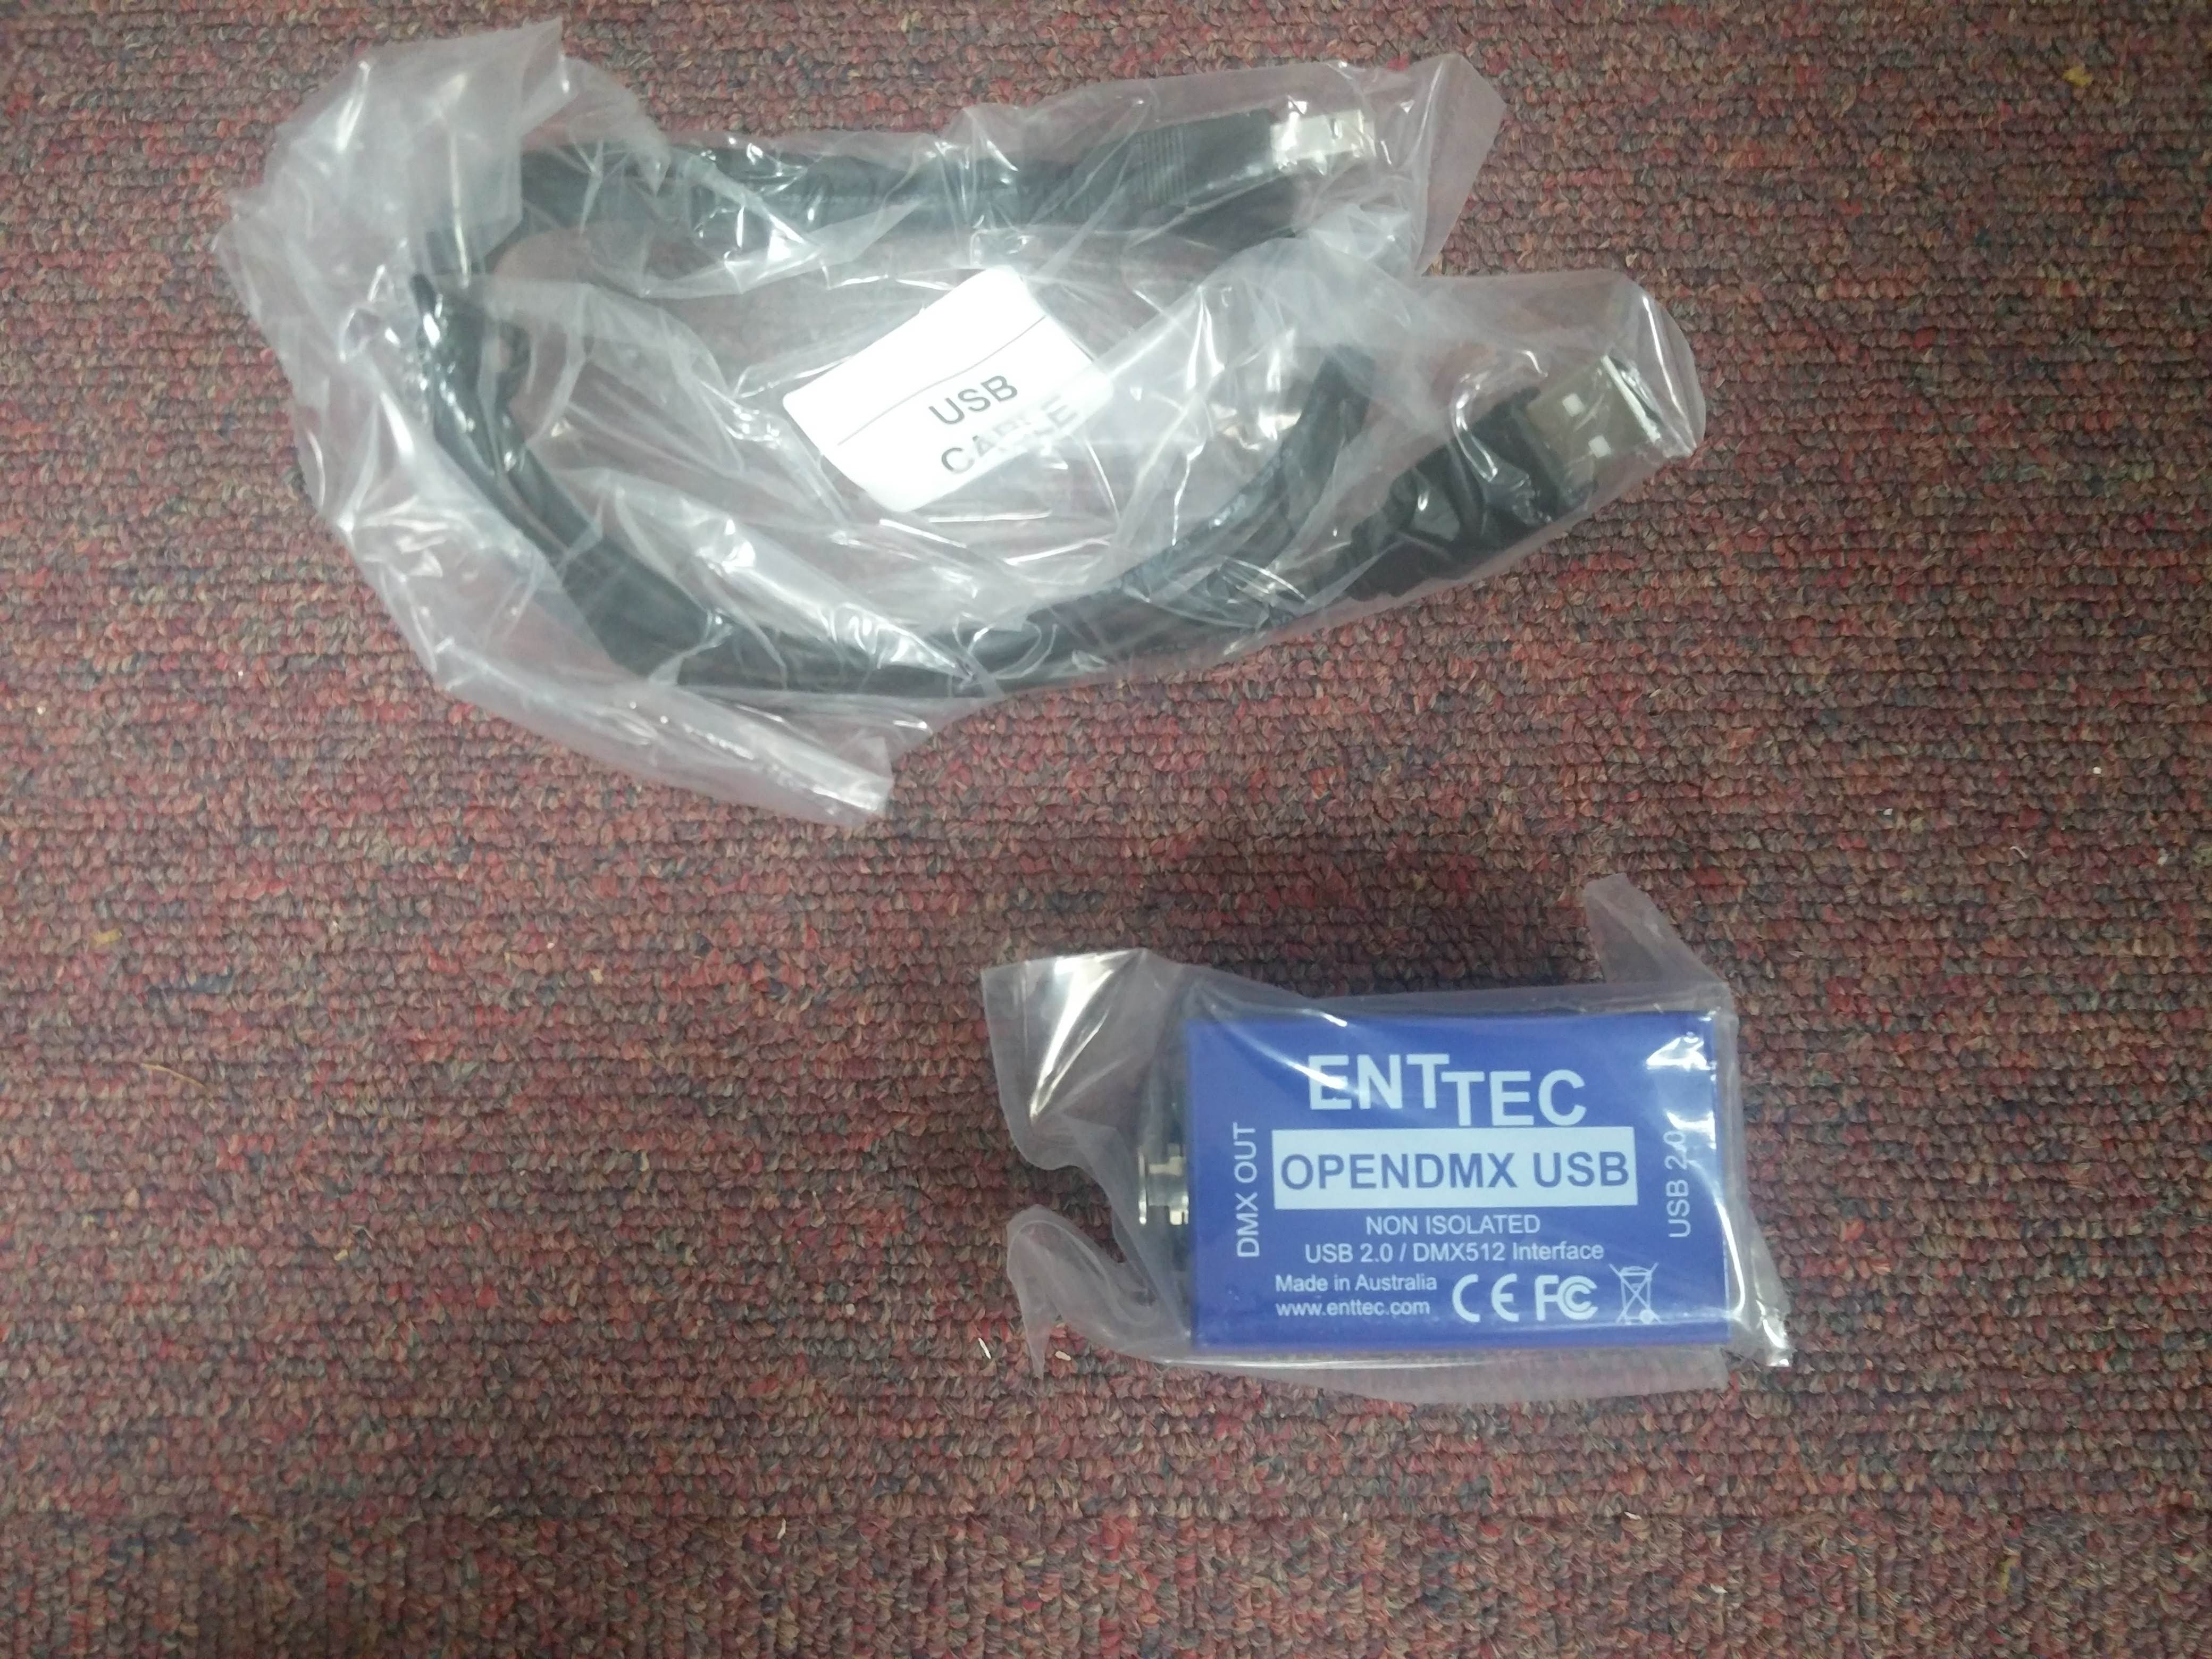
The next day I watched the parcel delivery tracker like a hawk. It did say that my items were out for delivery, so I hoped that they would actually arrive. Luckily they did, around 11 o’clock, and although I was pretty excited about the items arriving, I didn’t go into the schools reception office straight away as I didn’t want to look desperate. A few minutes later the receptionist called me, so I nonchalantly collected them from the office instead. The USB-to-DMX adapter was smaller than I thought it would be, but everything was there. I collected the star curtain controller from the hall and took it back to my office, ready to have a play.
I plugged the USB-to-DMX adapter into the computer with QLC+ installed, set it up as an output and connected it to the controller. As I had already added the start curtain as a fixture in QLC+, I switched to the Simple Desk view and moved one of the sliders. To my joy, the display on the star curtain controller also updated with the values I was sending it. Now that I knew everything worked during this test, I could do it properly in the main hall.
After connecting the star curtain controller to the curtain (so I could see the output) and to one of the XLR connections at the side of the stage, I installed QLC+ on the hall computer, added the controller as a fixture and plugged in the USB-to-DMX adapter. I then moved one of the sliders to turn on the curtain lights, but was disappointed to see that nothing happened. I walked over to the star curtain controller to see what was showing, and it only said “No signal”. Oh no! I could see my plan of controlling the lights from the computer falling apart right before my eyes. Was it that the cable run from the hall to the back was too long for the USB-to-DMX to be able to send the signal? I hoped not, but to make sure I went and connected a link of XLR cables together instead and tried again. Nope, still “No signal”. Well, this was certainly disappointing. Just to rule out anything else, I unplugged the star curtain controller from the curtain and plugged it into the USB-to-DMX adapter via the same cable I’d used in my office. Still “No signal”. I had two thoughts at this point: what am I missing and why didn’t I do this before linking a number of cables together?
After checking the connections a number of times, restarted everything and taking everything back to my office to make sure it would still work (it did), I realised that I hadn’t set up the USB-to-DMX adapter as the output for the DMX universe. As soon as I did this, and tried moving the slider on the Simple Desk, the star curtain controller started to show the display updating as expected. I then placed it back on the stage and reconnected up everything again to have yet another attempt. This time, the curtain lit up as I expected it to. Yes, success! Time to move onto more complex things.
Using the 3-to-5 pin adapter that I’d purchased, I then daisy-chained the star curtain controller to the dimmer racks in the lighting booth, via a socket that had been installed at the side of the stage too (I’d like to thank whichever company it was that had done the original install for the foresight to add a socket for situations like this). Patching in the dimmer racks though, the error lights started flashing like crazy. I figured that this probably shouldn’t happen, but went ahead with trying to control the dimmers from the computer anyway. To make it easier for myself, I picked one light and tried moving the slider. Nothing happened. Perhaps those flashing error lights were important?
I spent lunch reading the manuals for the dimmer packs, and found out that the addresses they listen on are set via dials. This was hidden behind a panel to prevent people messing around with them. I went back up to the dimmer packs and had a look at which one was set for which address. One of the benefits of DMX is that the order that devices are daisy-chained in doesn’t have to be the order they’re addressed. I’d assumed that as the wall sockets for the dimmer packs were on the right hand side of them, the right pack started at address 1 and the left hand pack started at address 7. Once I’d removed those protective covers thought, I spotted that it was the other way around. Back at the computer I moved a slider for the correct channel, and the PAR can light came on as expected (no light came on before, as the bulb needs replacing in the fixture on the channel I’d tried).
After playing around with the simple desk options a bit more, I started to use some of the more advanced functions in QLC+: scenes, chasers and, once gaining a bit more experience, a show. I wanted to create a show that mainly used the star curtain, as that was what the teacher originally asked to be controlled, but to show that it had much more functionality than had been used in previous events. However, since I’d managed to get the main stage dimmer lights to be controlled from the computer too, I wanted to turn them all on as a surprise at the end.
Since QLC+ supported an audio track, I thought that I may as well do a lighting performance synchronised to music. I decided to go with Janji – Heroes Tonight (feat. Johnning) [NCS Release] as 1) I’m not going to get into any copyright issues by using it and 2) it has a simple beat and rhythm that builds over time. About a minute in, there is a beat drop and I though this would be the best time to bring the main stage lights in. While the finished light show is only a few minutes long, I know it’s way more than the teacher was expecting, and I think it’s turned out pretty well indeed.
I showed this to the teacher on the last day of the Summer holidays by pressing play in QLC+ and standing in the middle of the hall with them (so they could see I wasn’t doing anything). They were exceptionally amazed with what I’d been able to accomplish and couldn’t believe it was possible. When it came to the part where the stage lights lit up during the show, though, let’s just say their mind was blown!