Except we used apples. And it was a tart. But we did make it. I starting to think now I should probably change the title to be something more accurate? I’m not getting off to a good start here, am I? Let’s try again…
“You’re going to make a tart” is how I was greeted when I came home one evening. After being confused for a little bit, and seeking further explanation, it turned out that one of my Mum’s co-workers brought in a large quantity of cooking apples to work that day. Since they offered her some, it was decided that an apple tart could be made.
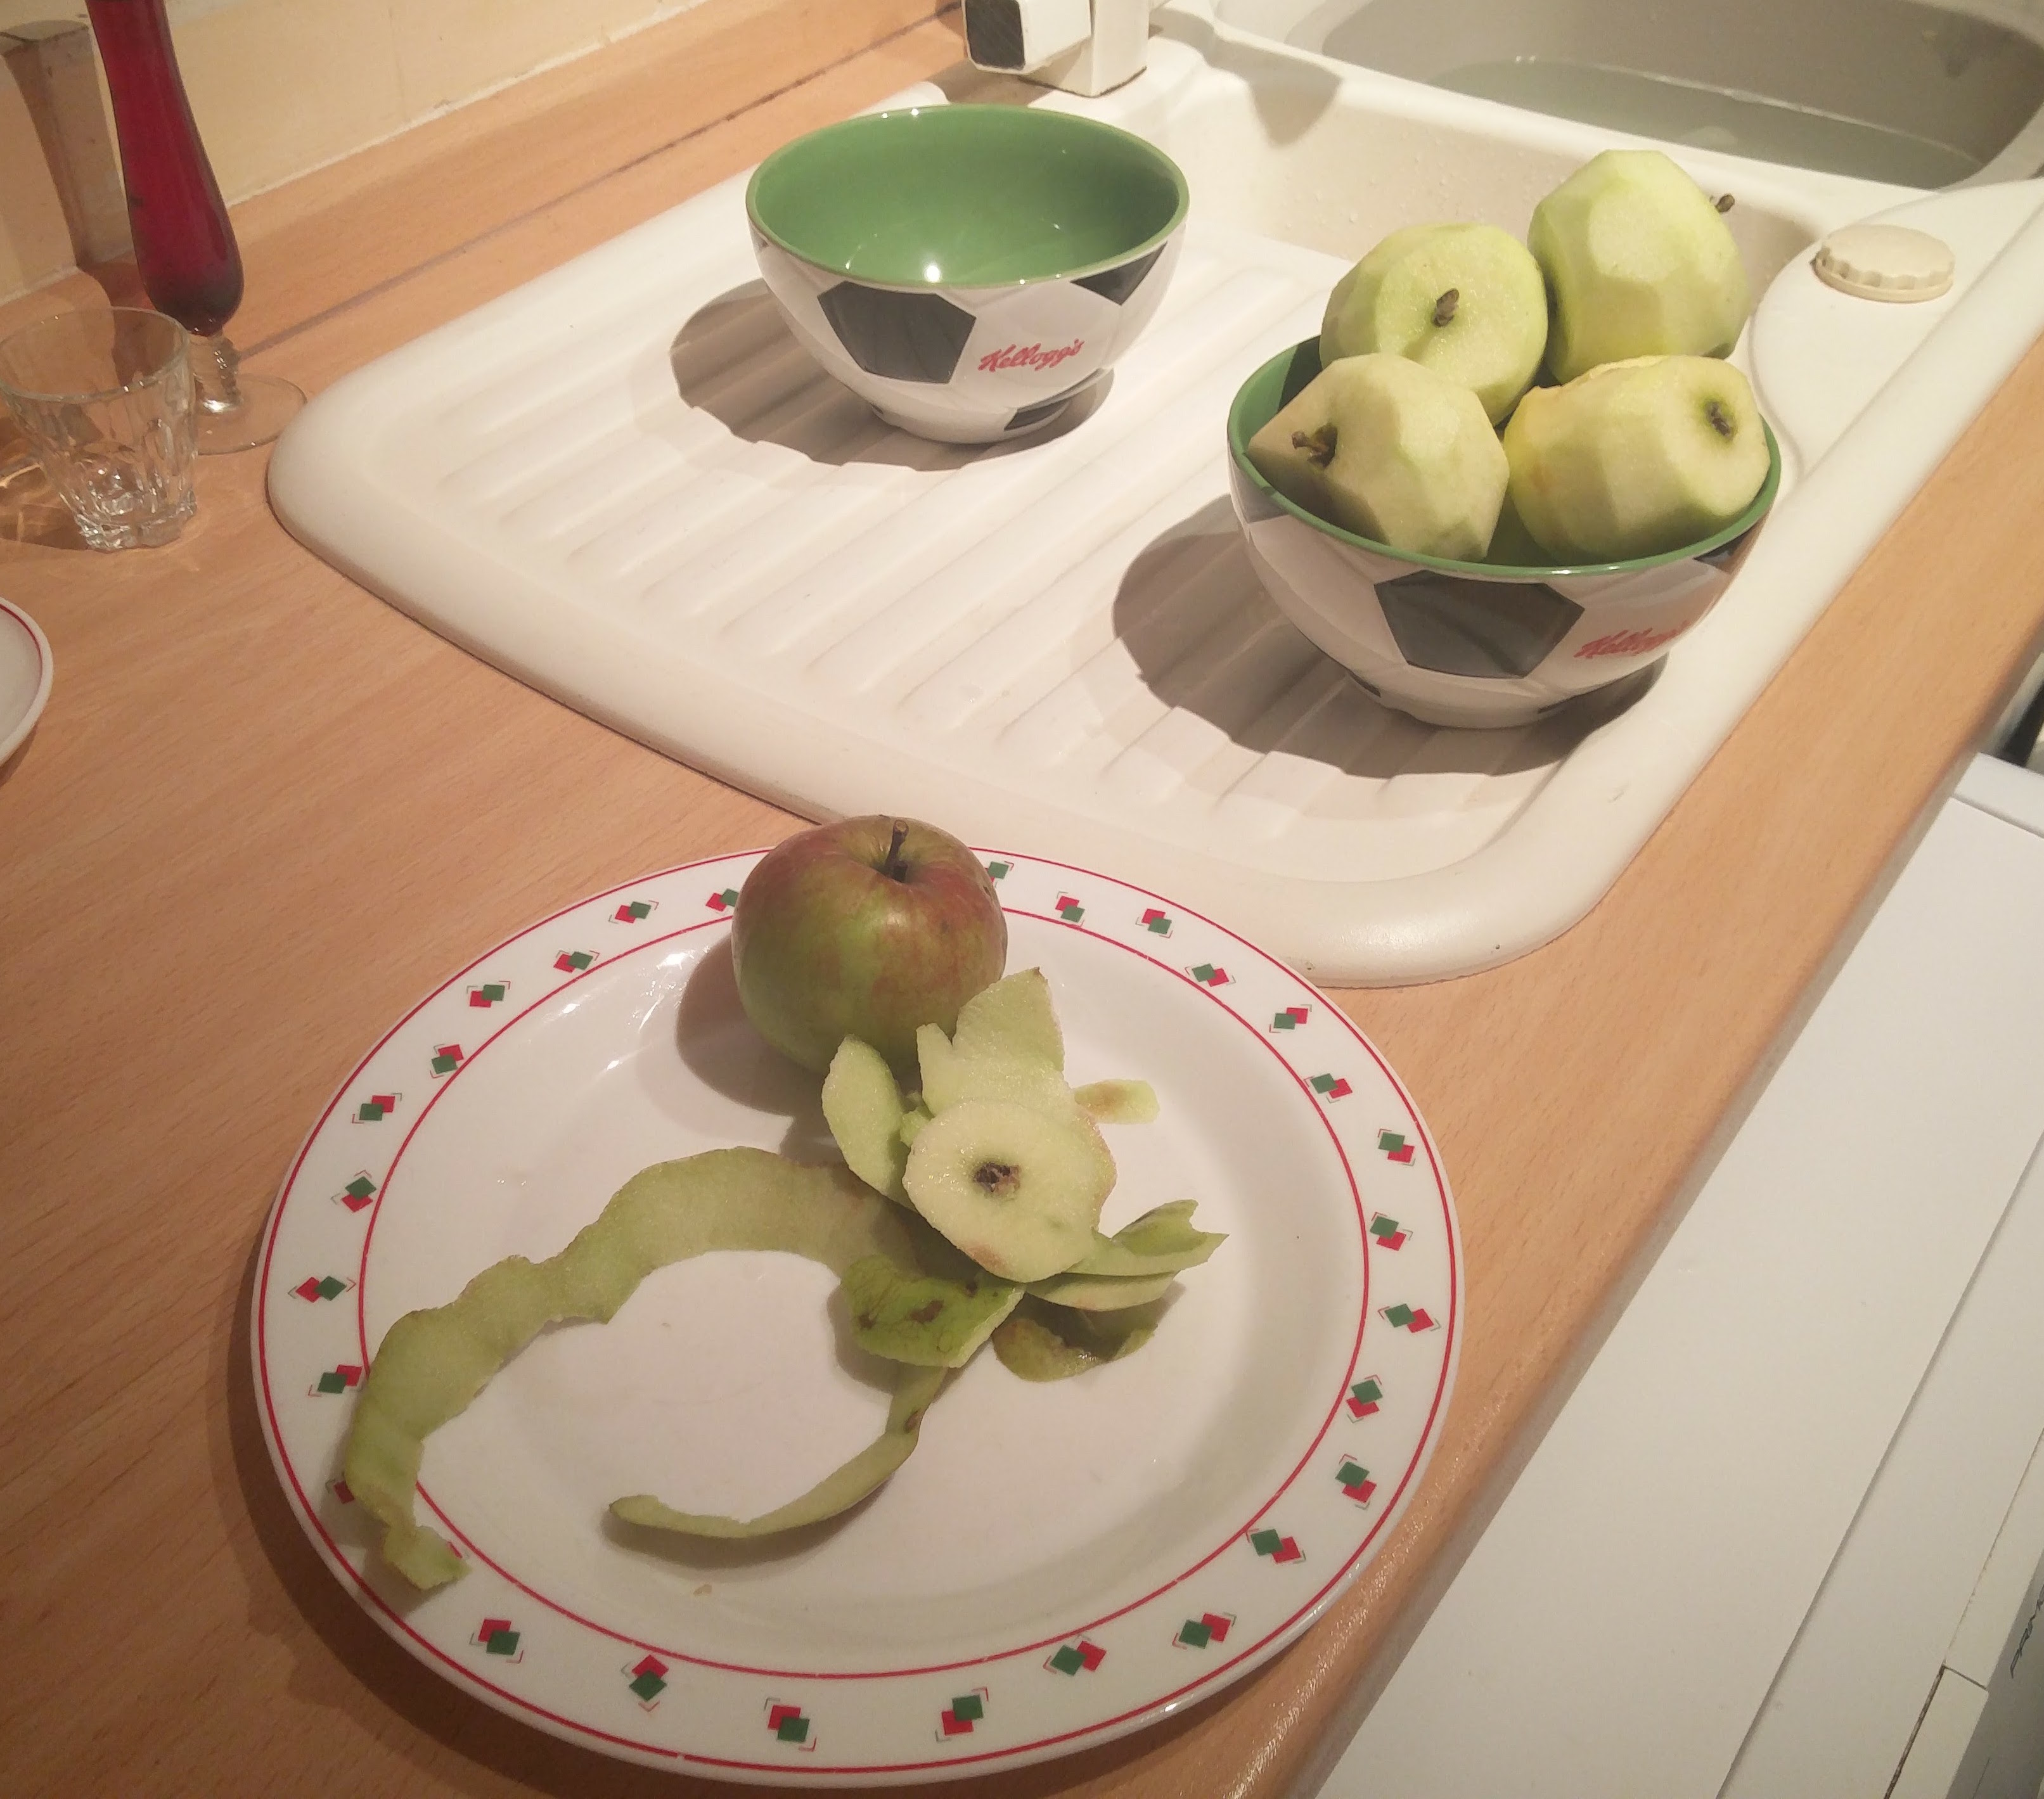
The first thing that needed to be done was to peel the apples and cut them into small pieces.
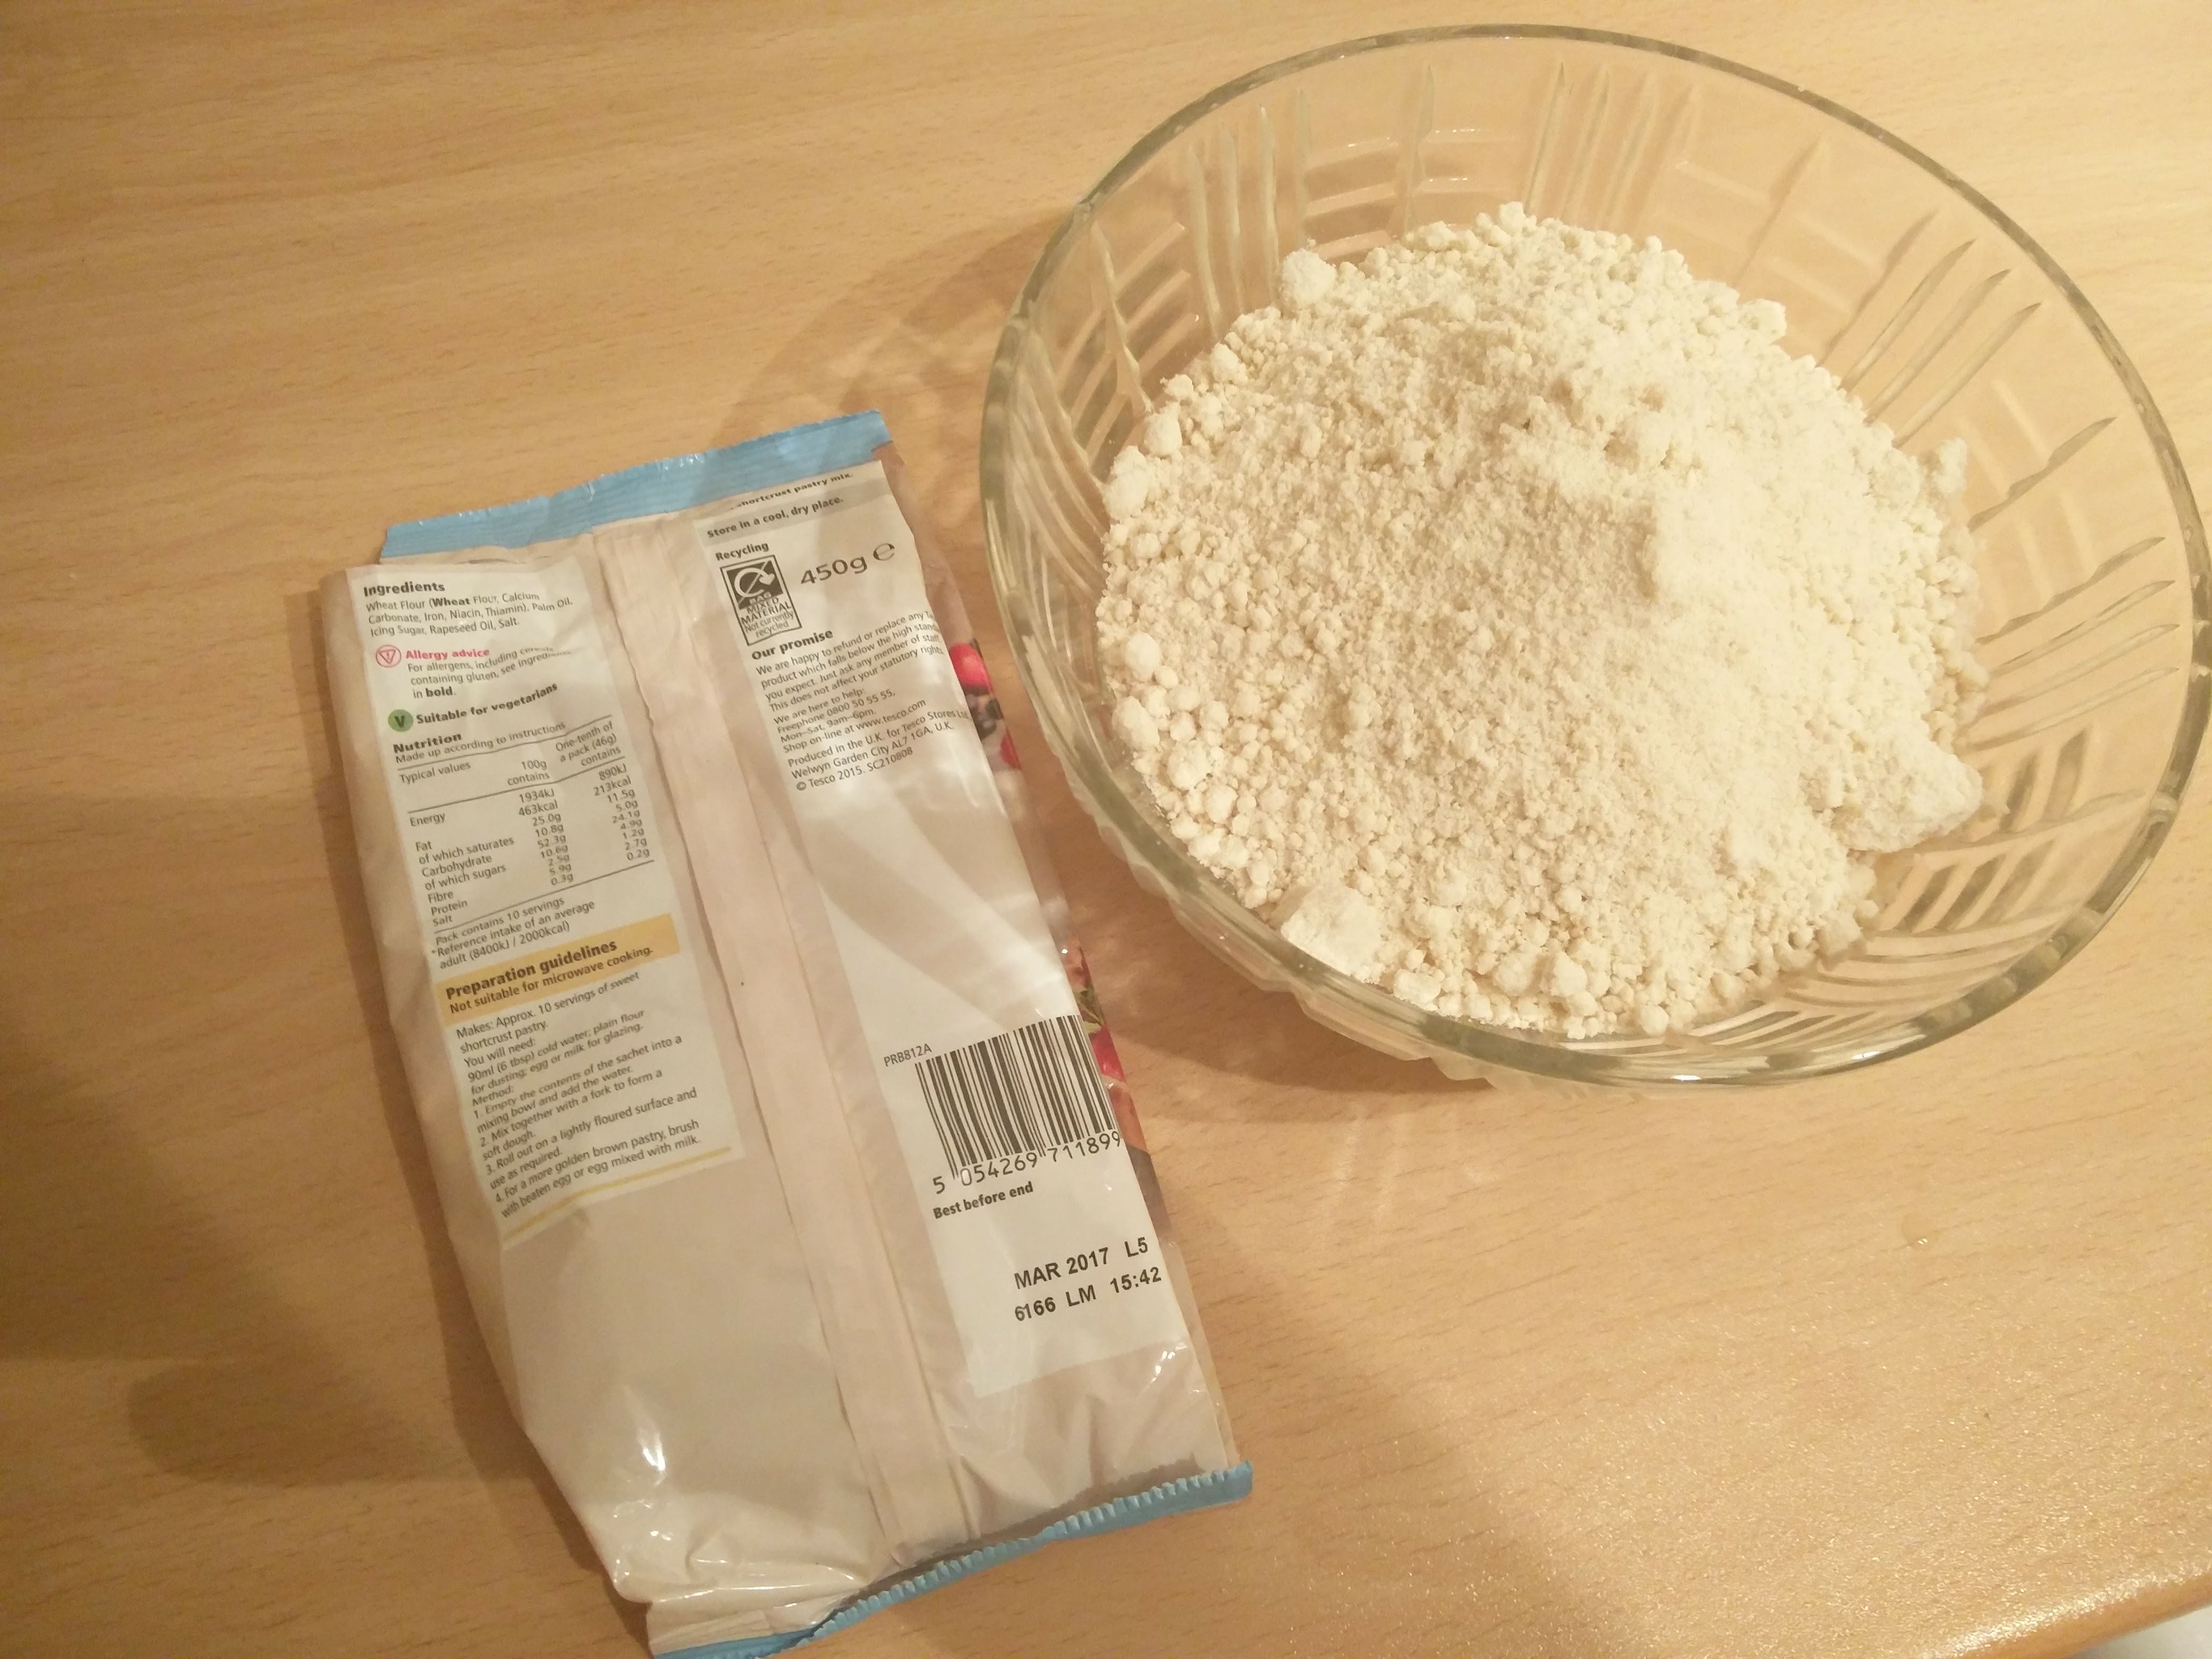
Next we needed to pour the pastry mix into the mixing bowl ready to be… um… mixed. You may notice a little bit of cheating going on here by us not making it from scratch, but just ignore that. You didn’t see anything.

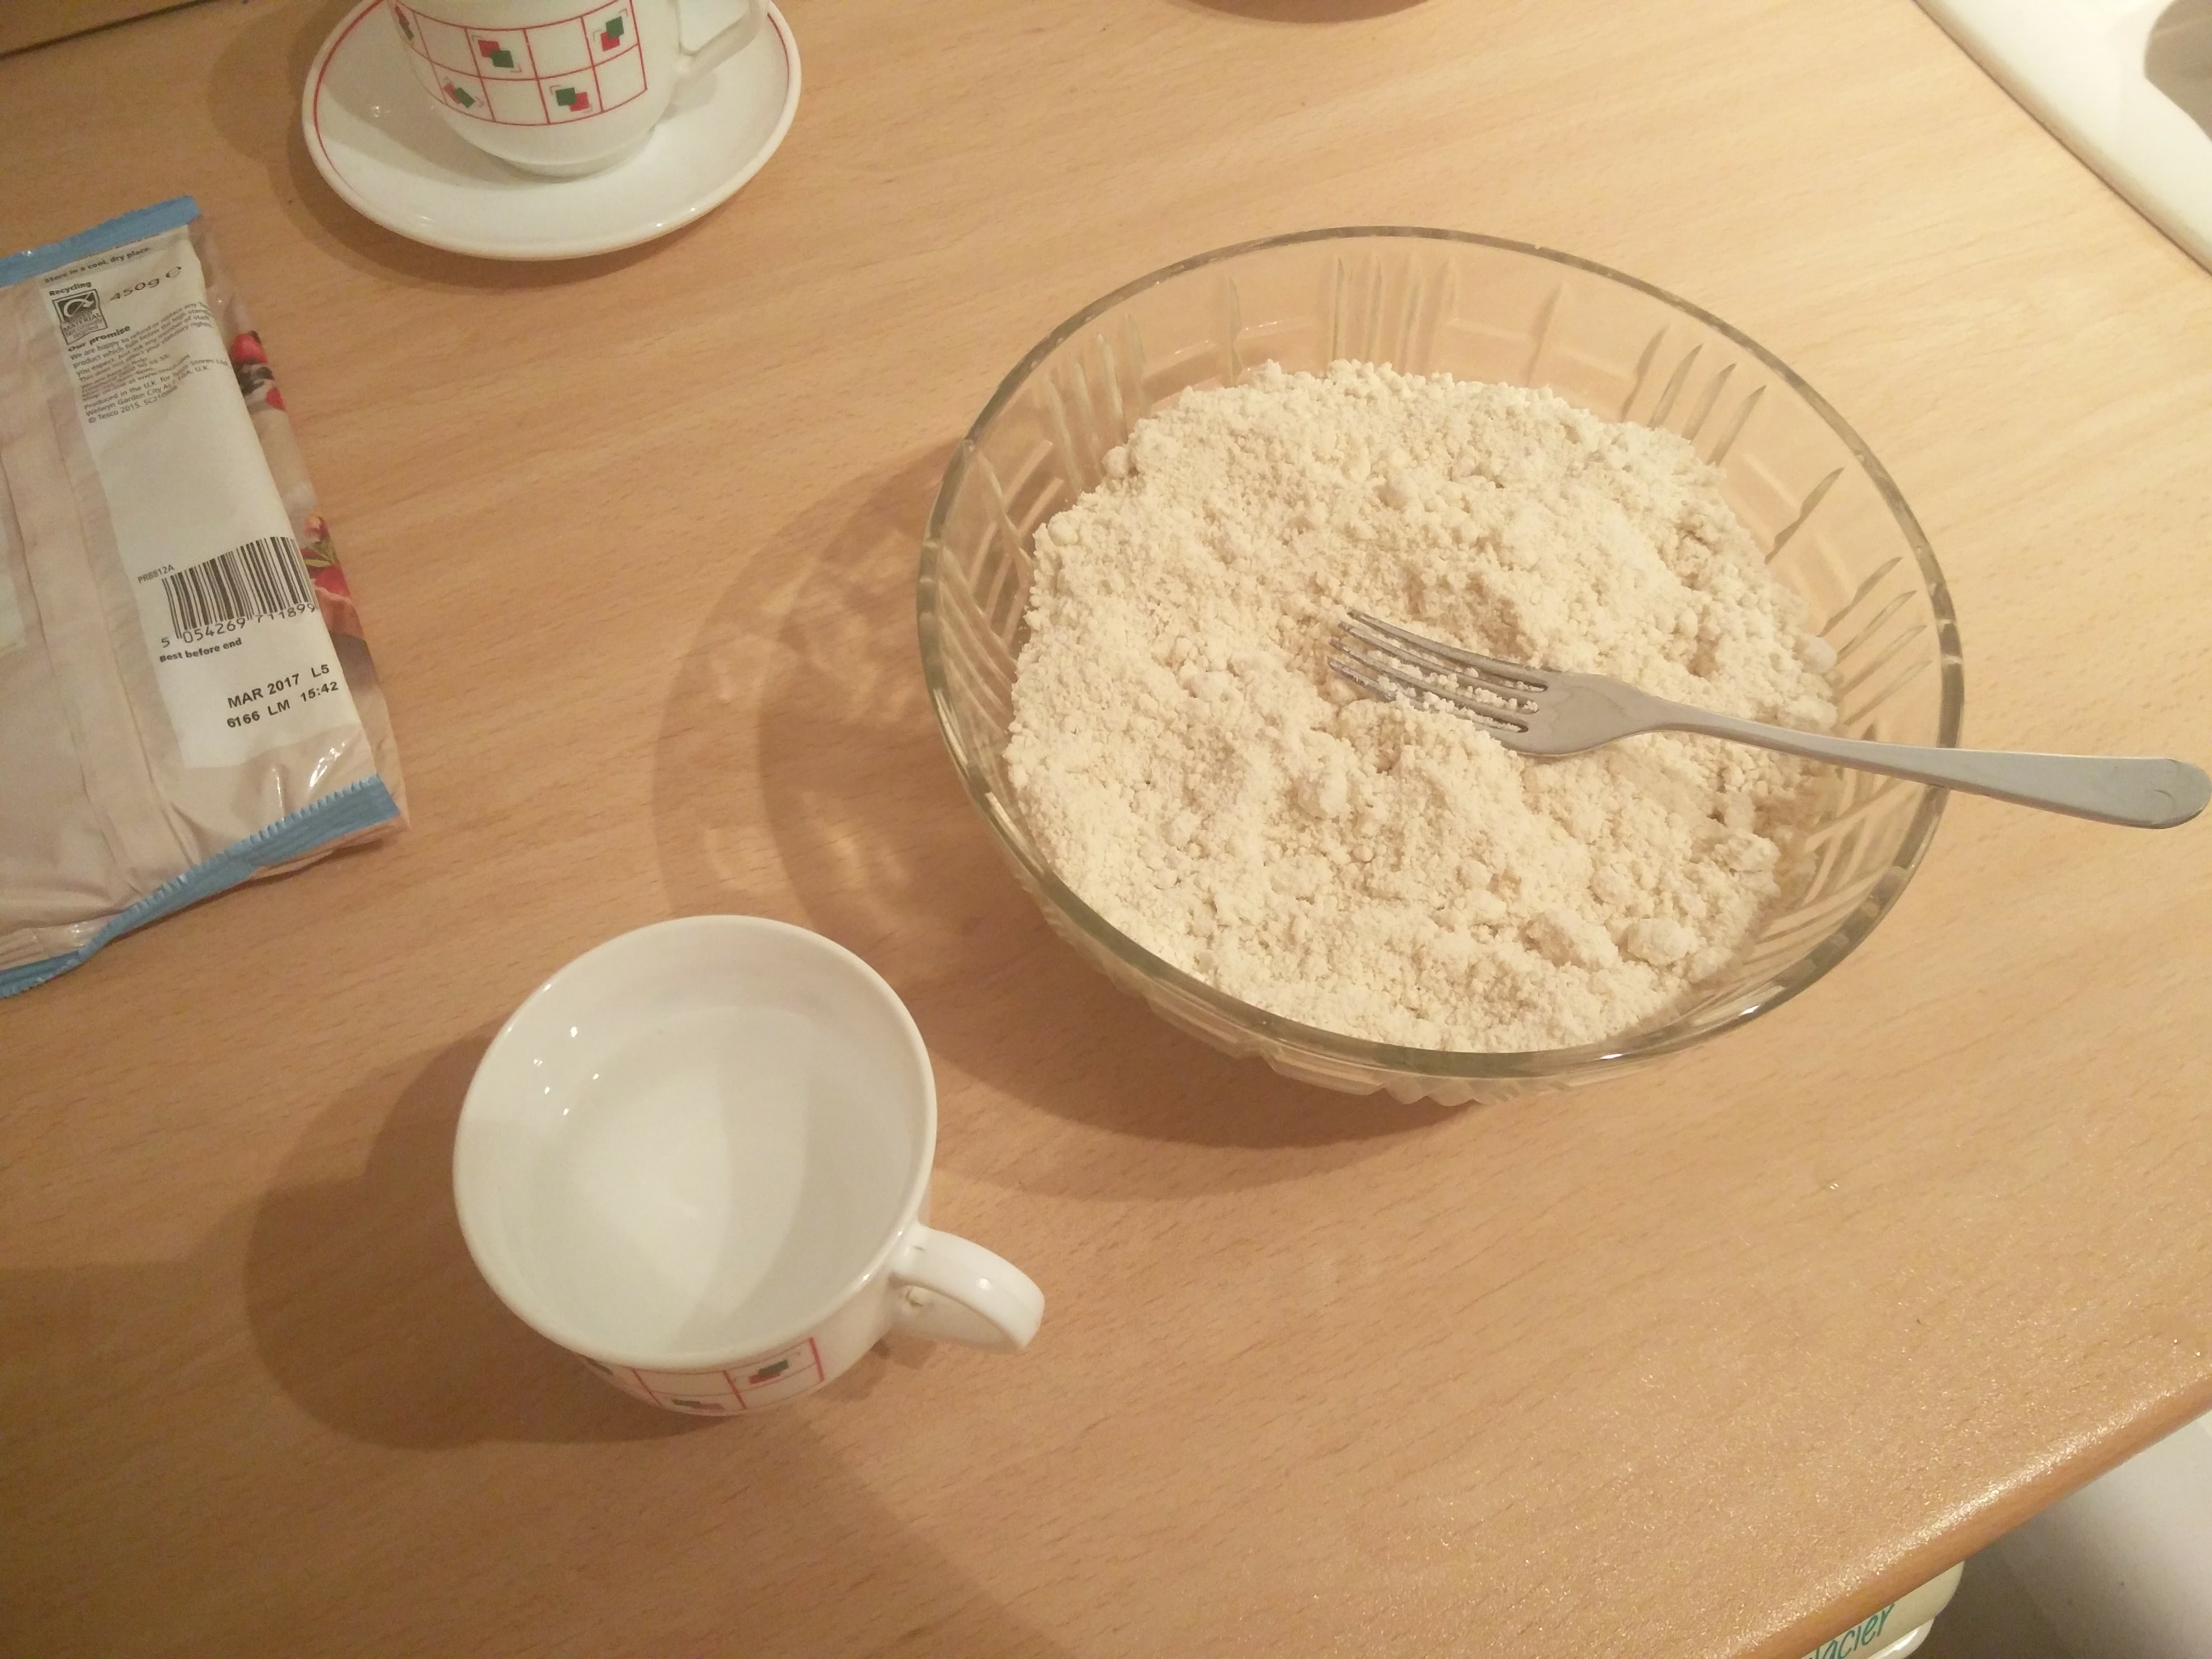
After that it was a case of pouring 6 teaspoons dessert spoons soup spoons ladles sporks tablespoons of water into the pastry mix to get it to stick together. (I’ll get the names right one day… or maybe not).


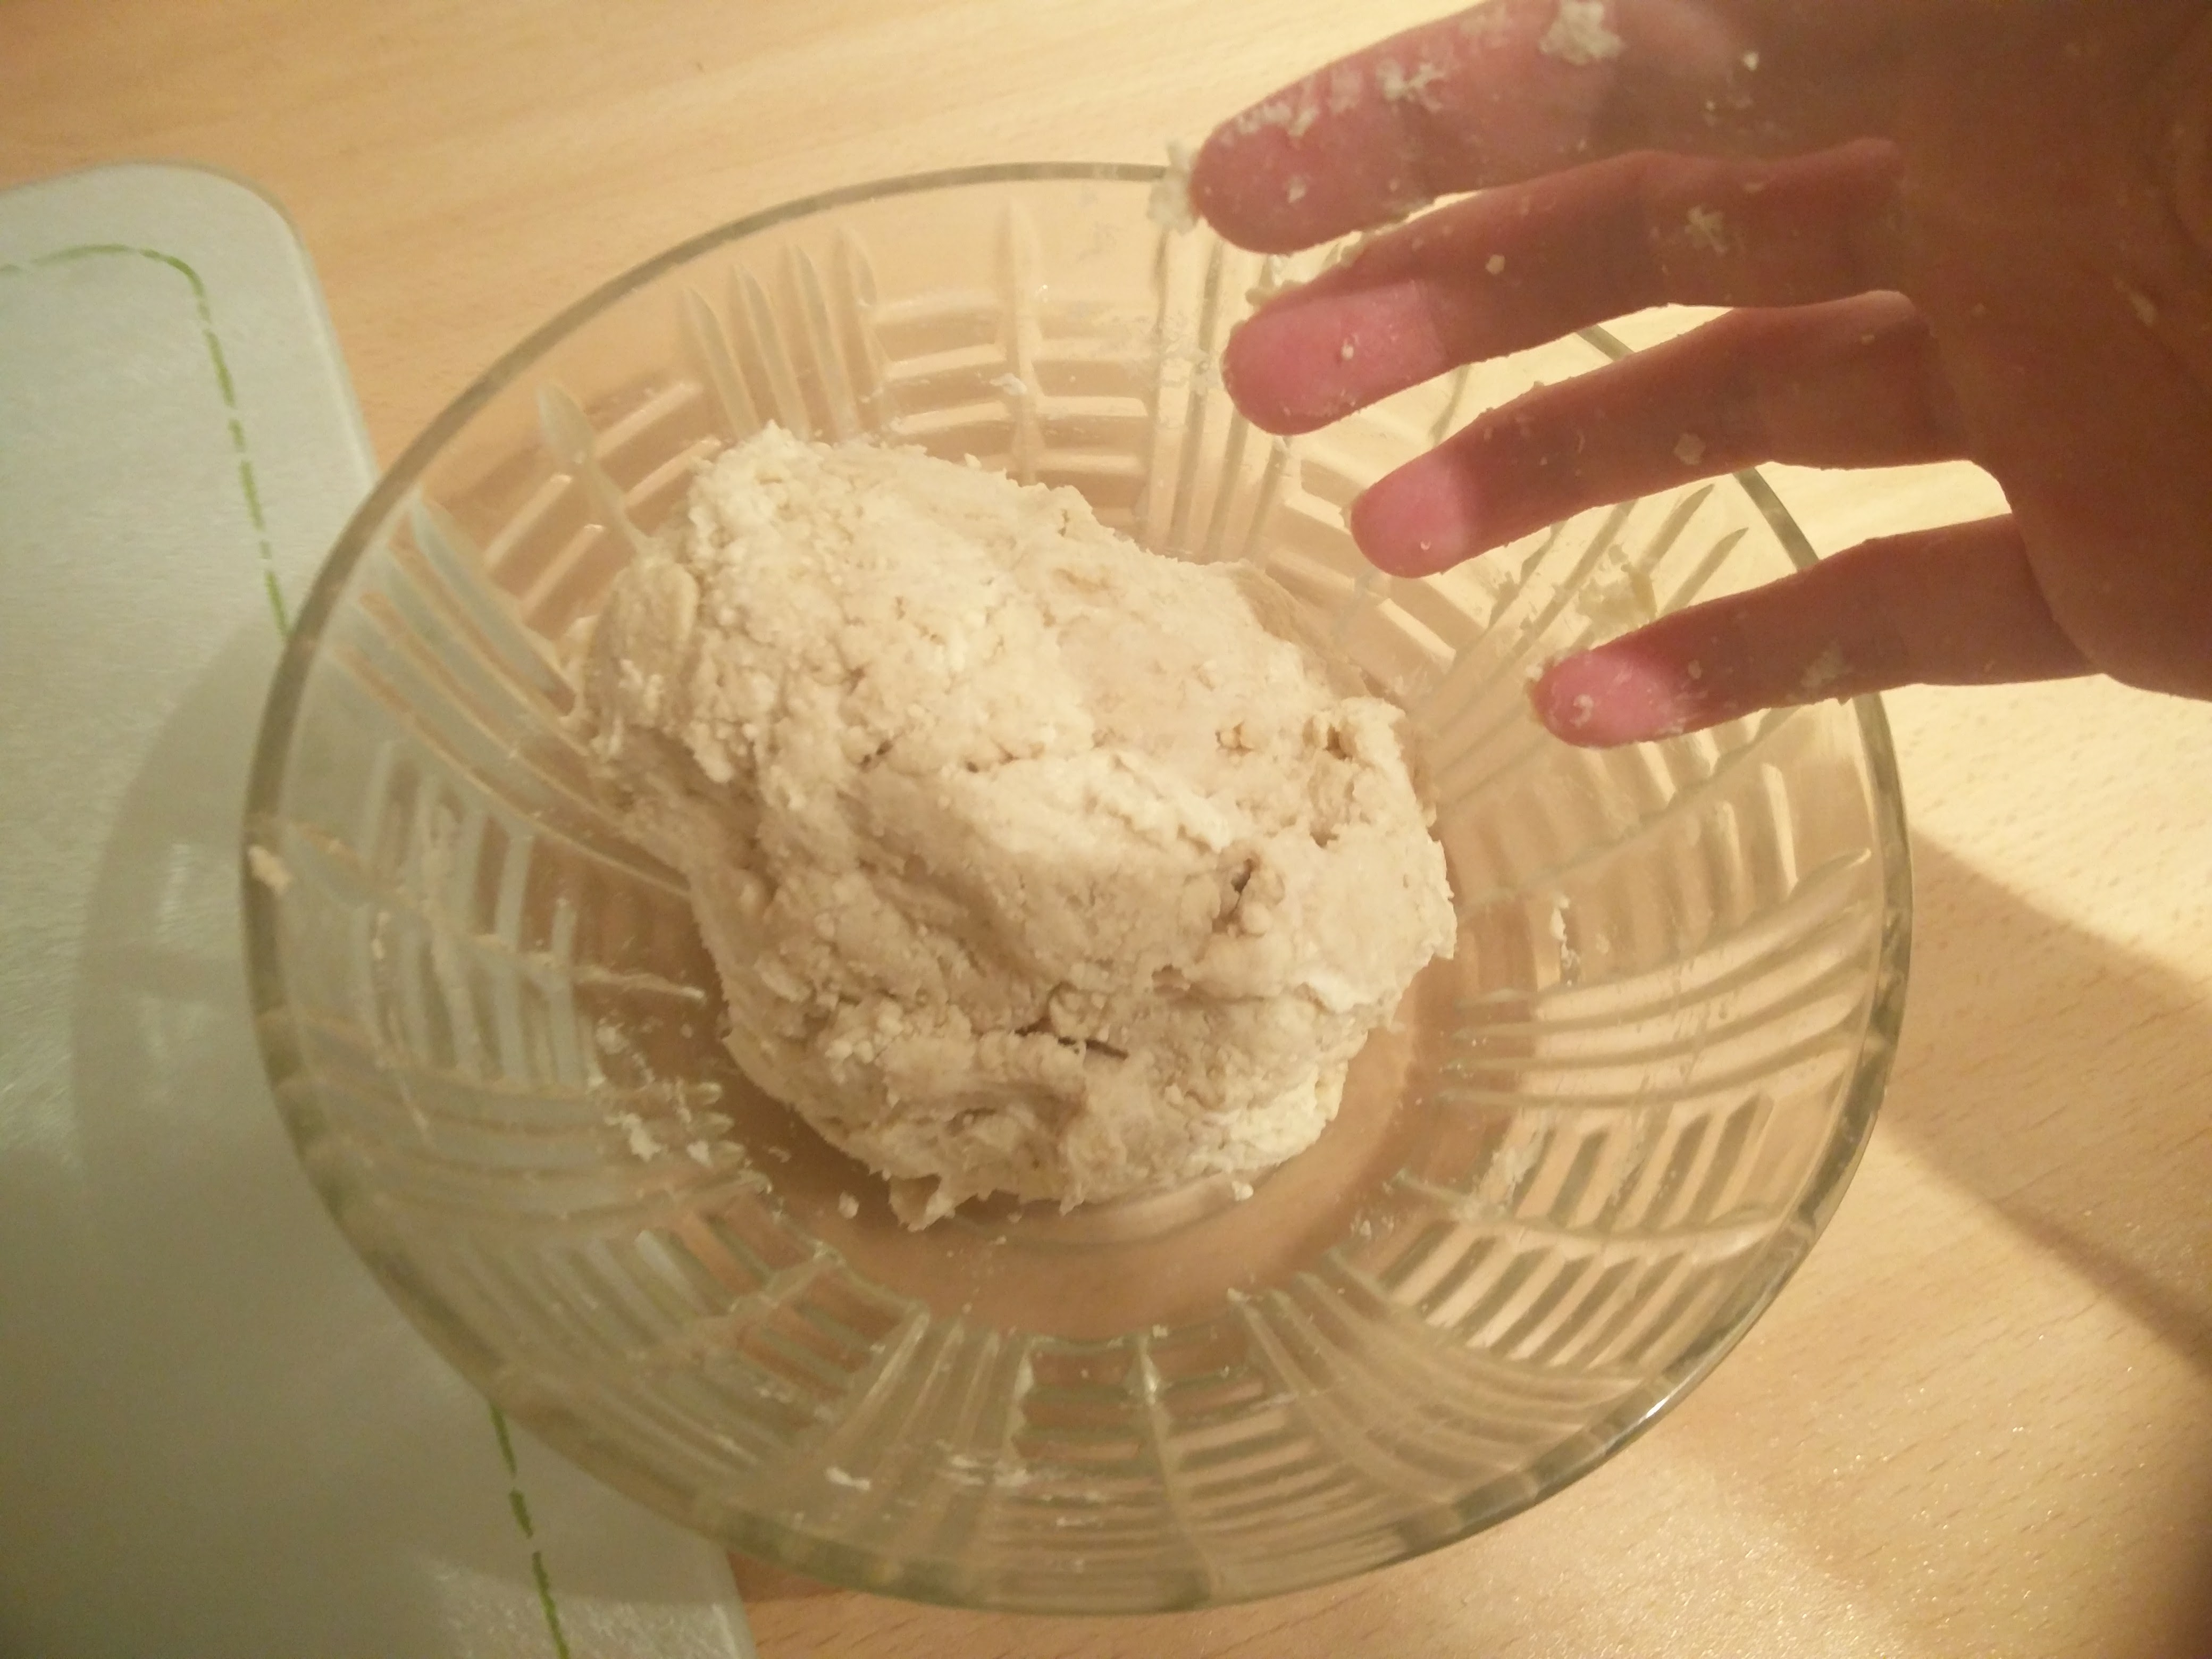
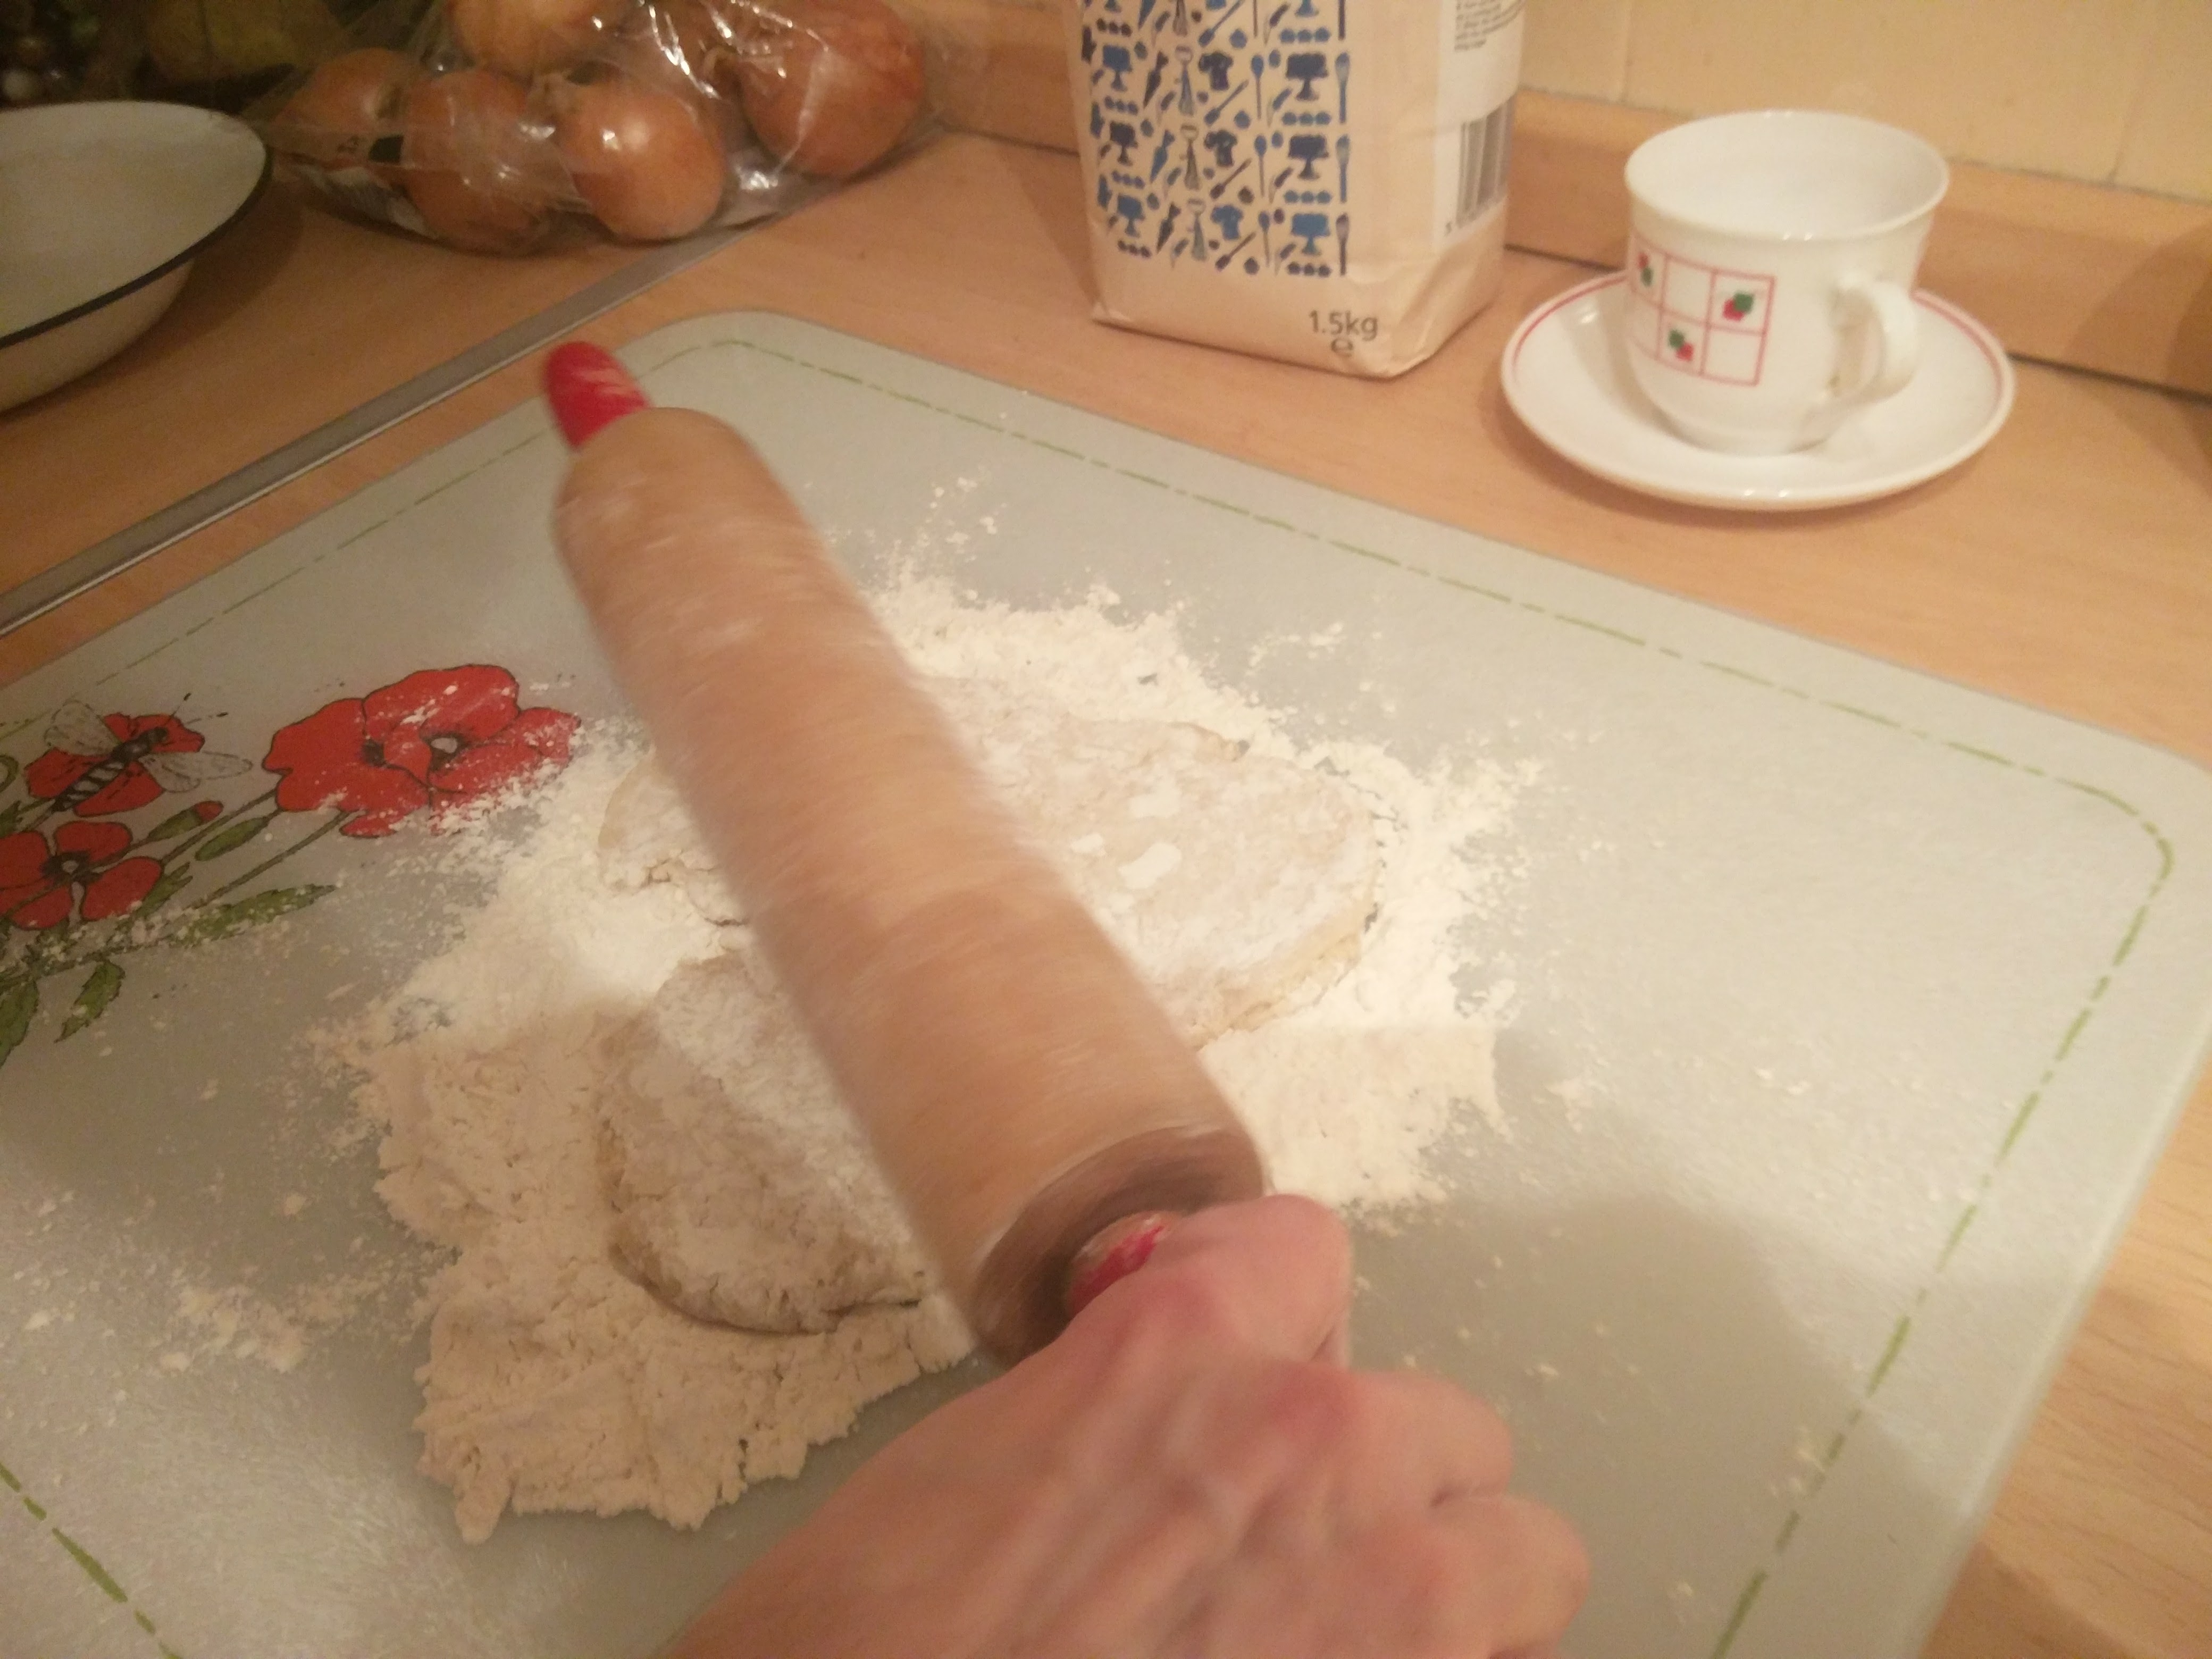
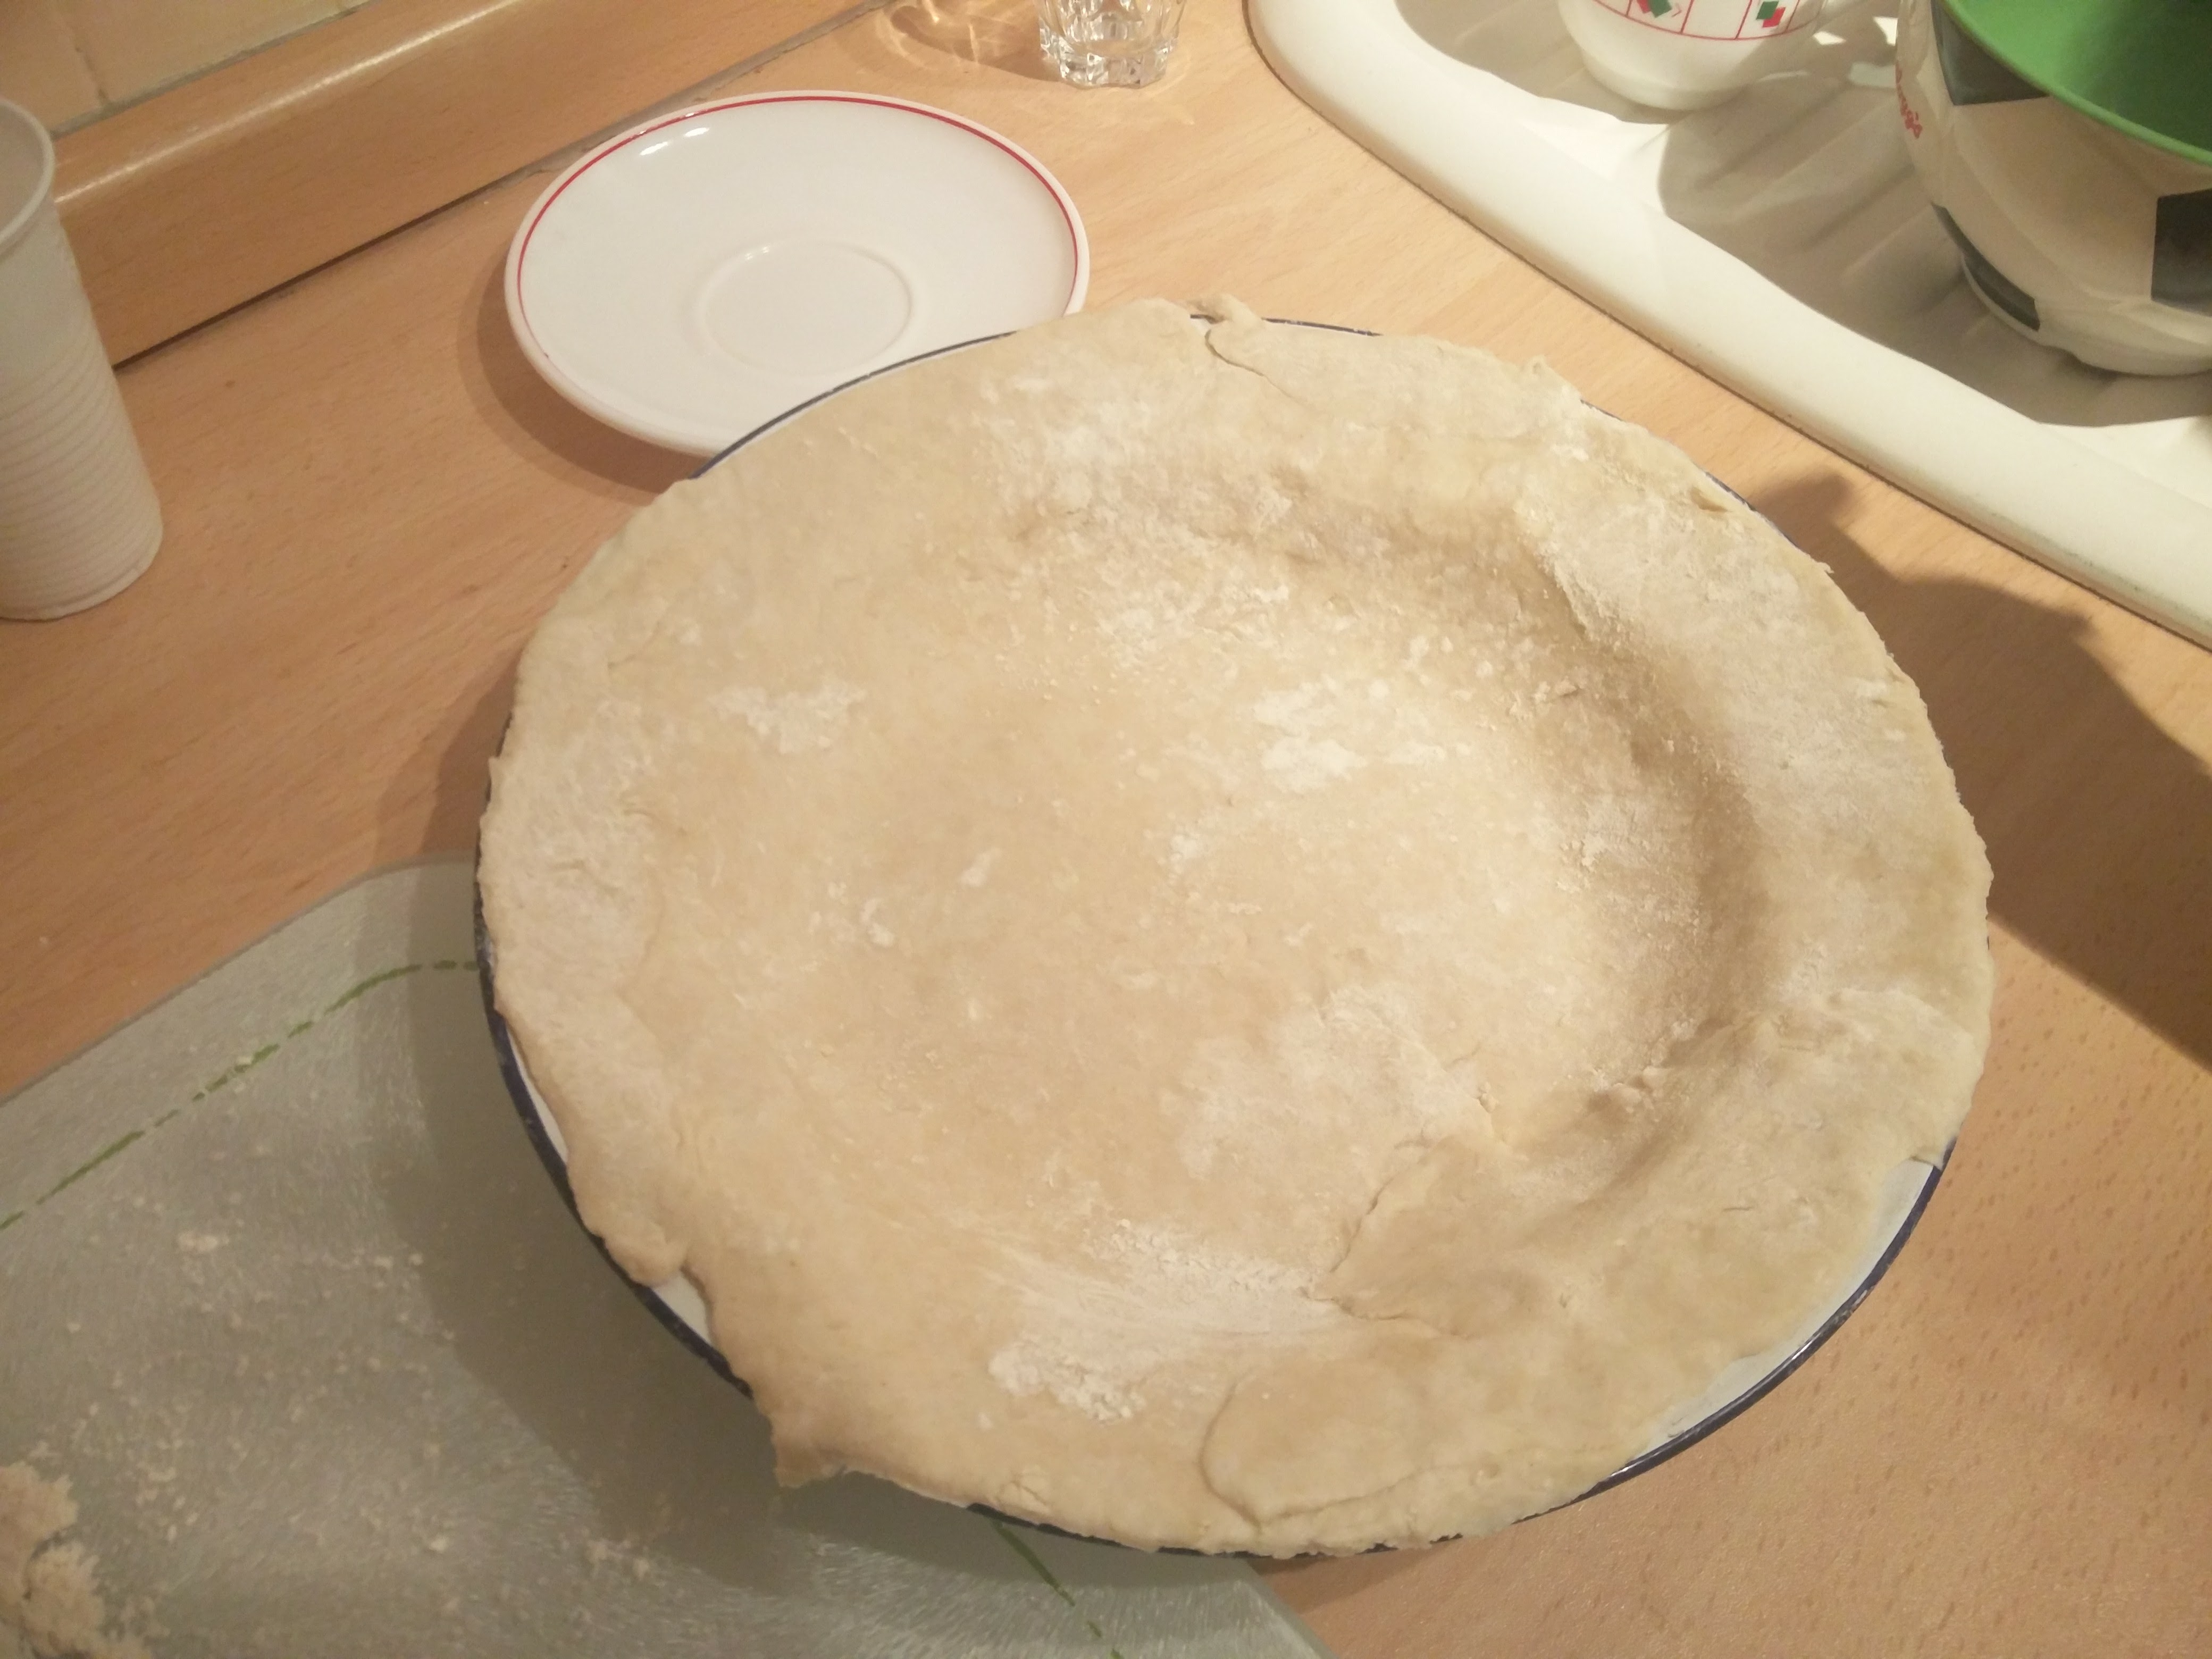
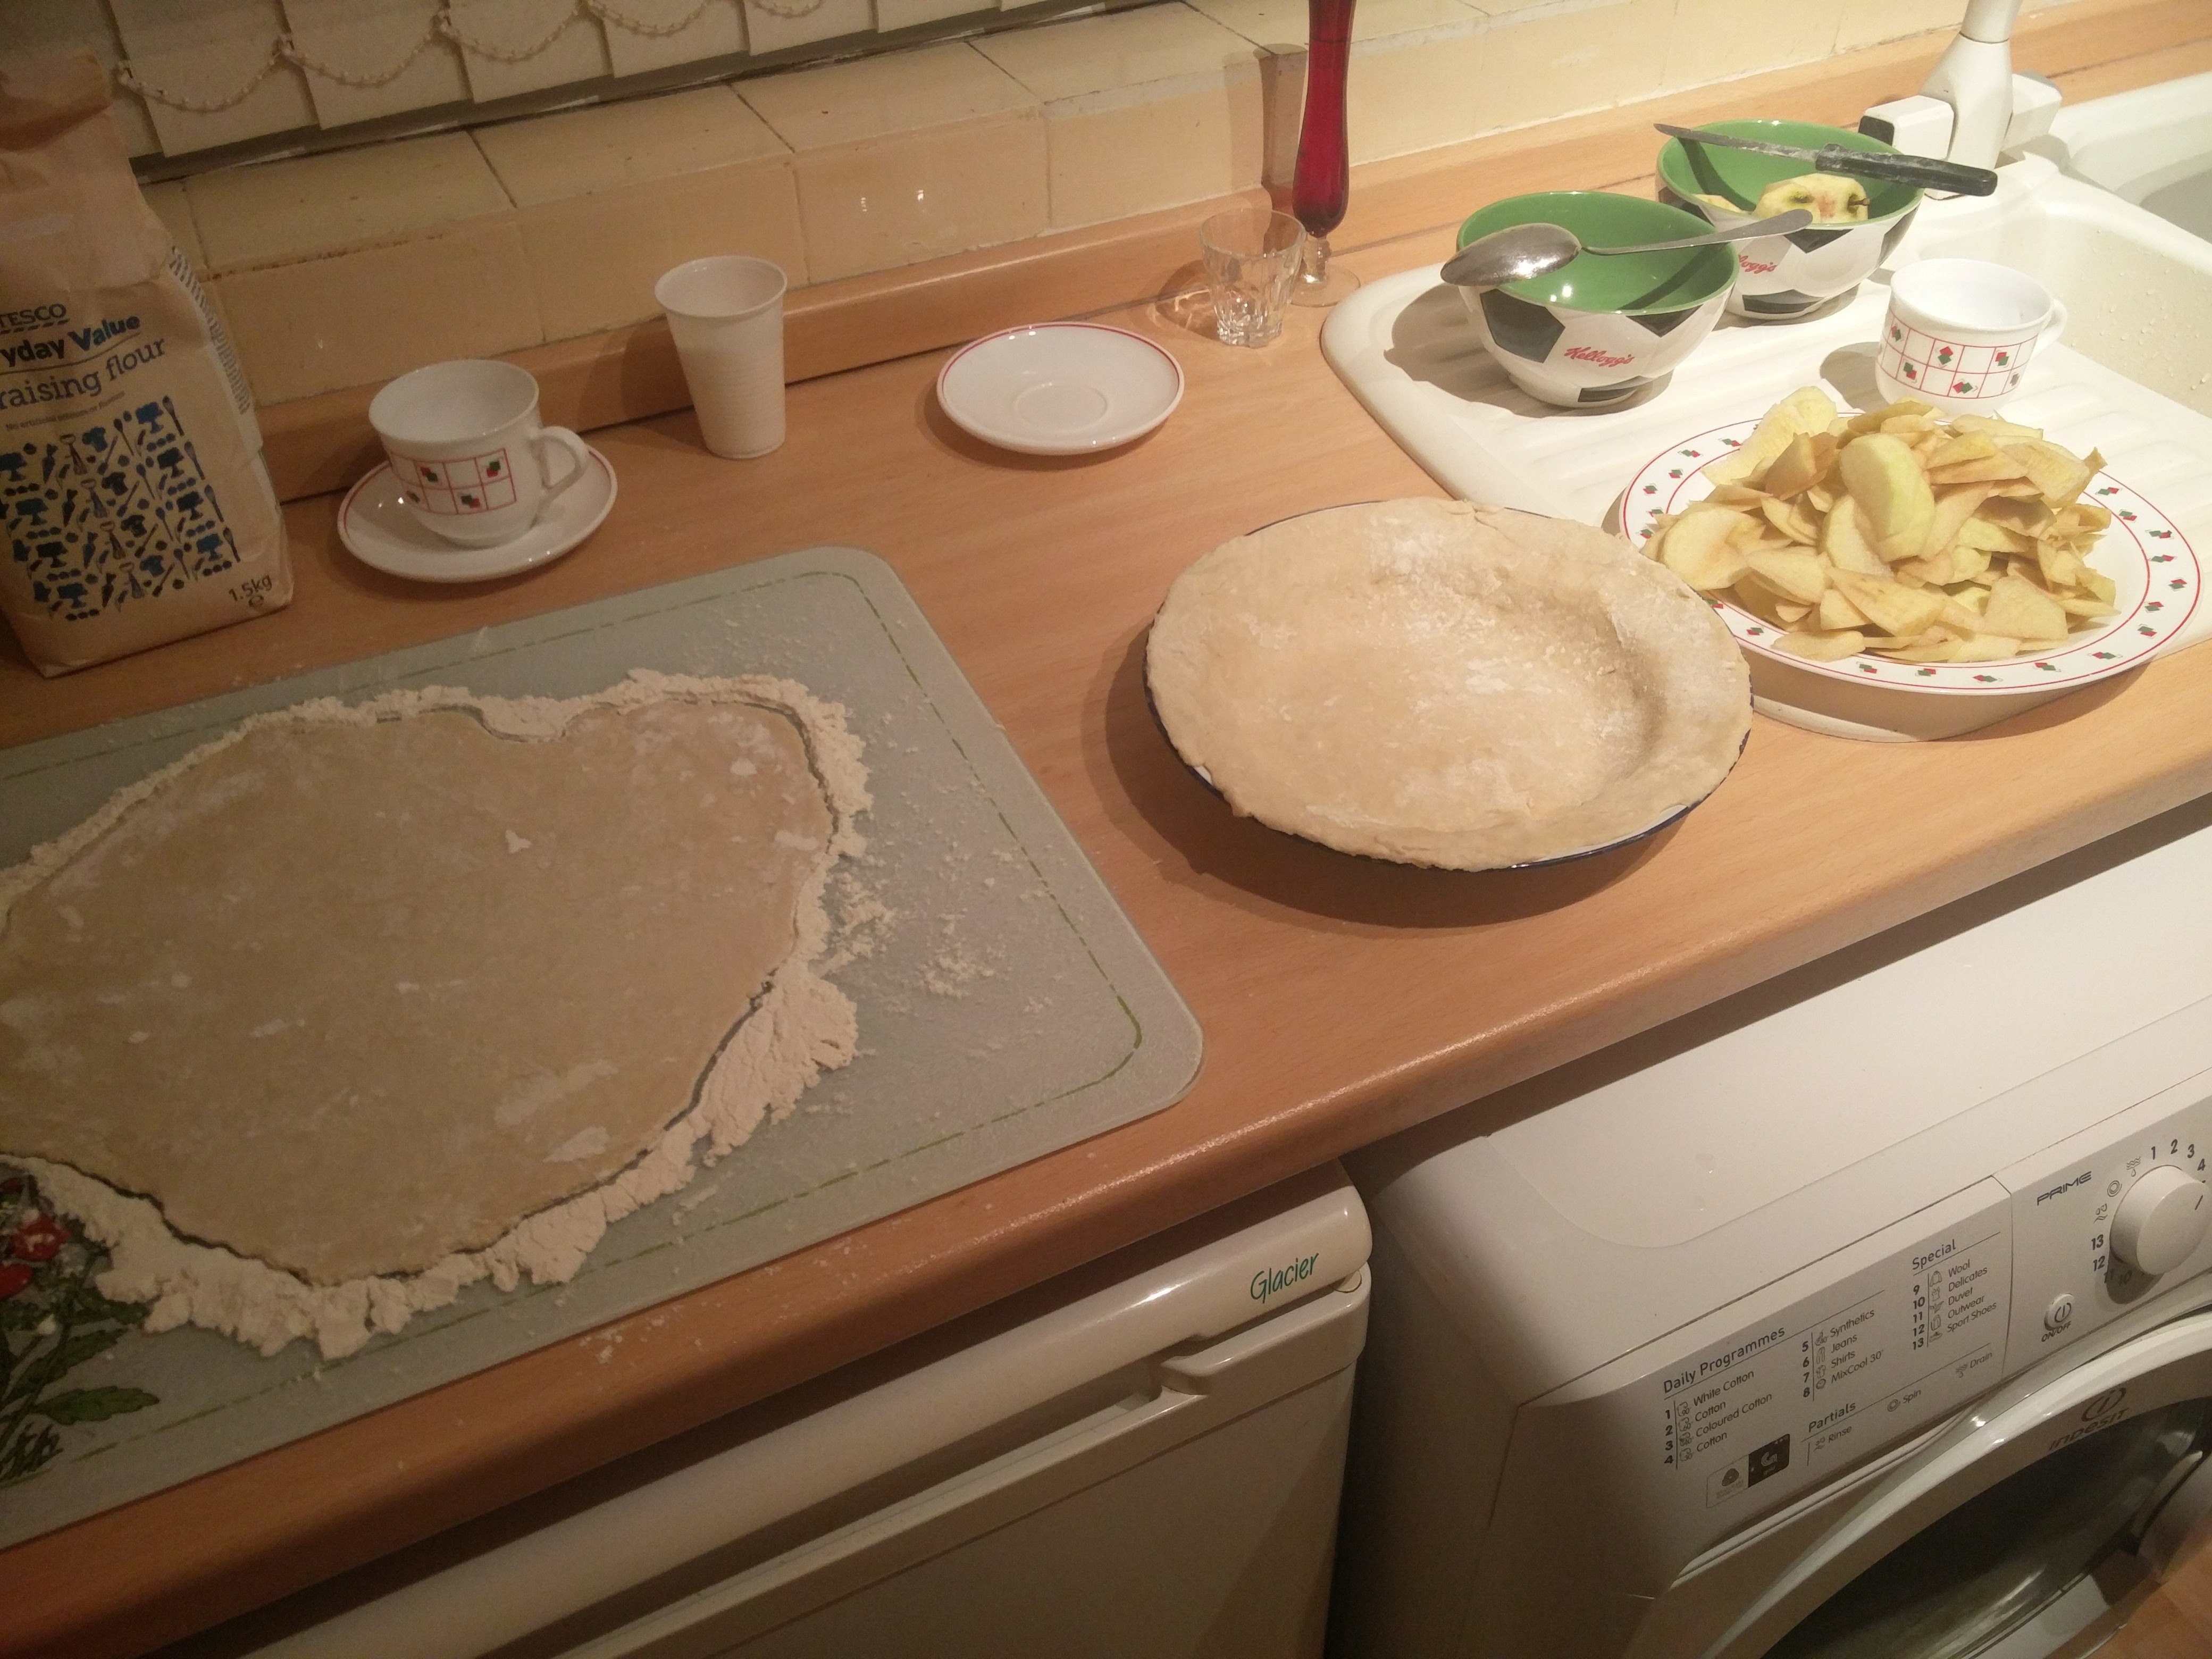
Now came the fun parts. Getting stuck into the mix with your hands, squishing it with the rolling pin and lining the tin with the pastry.
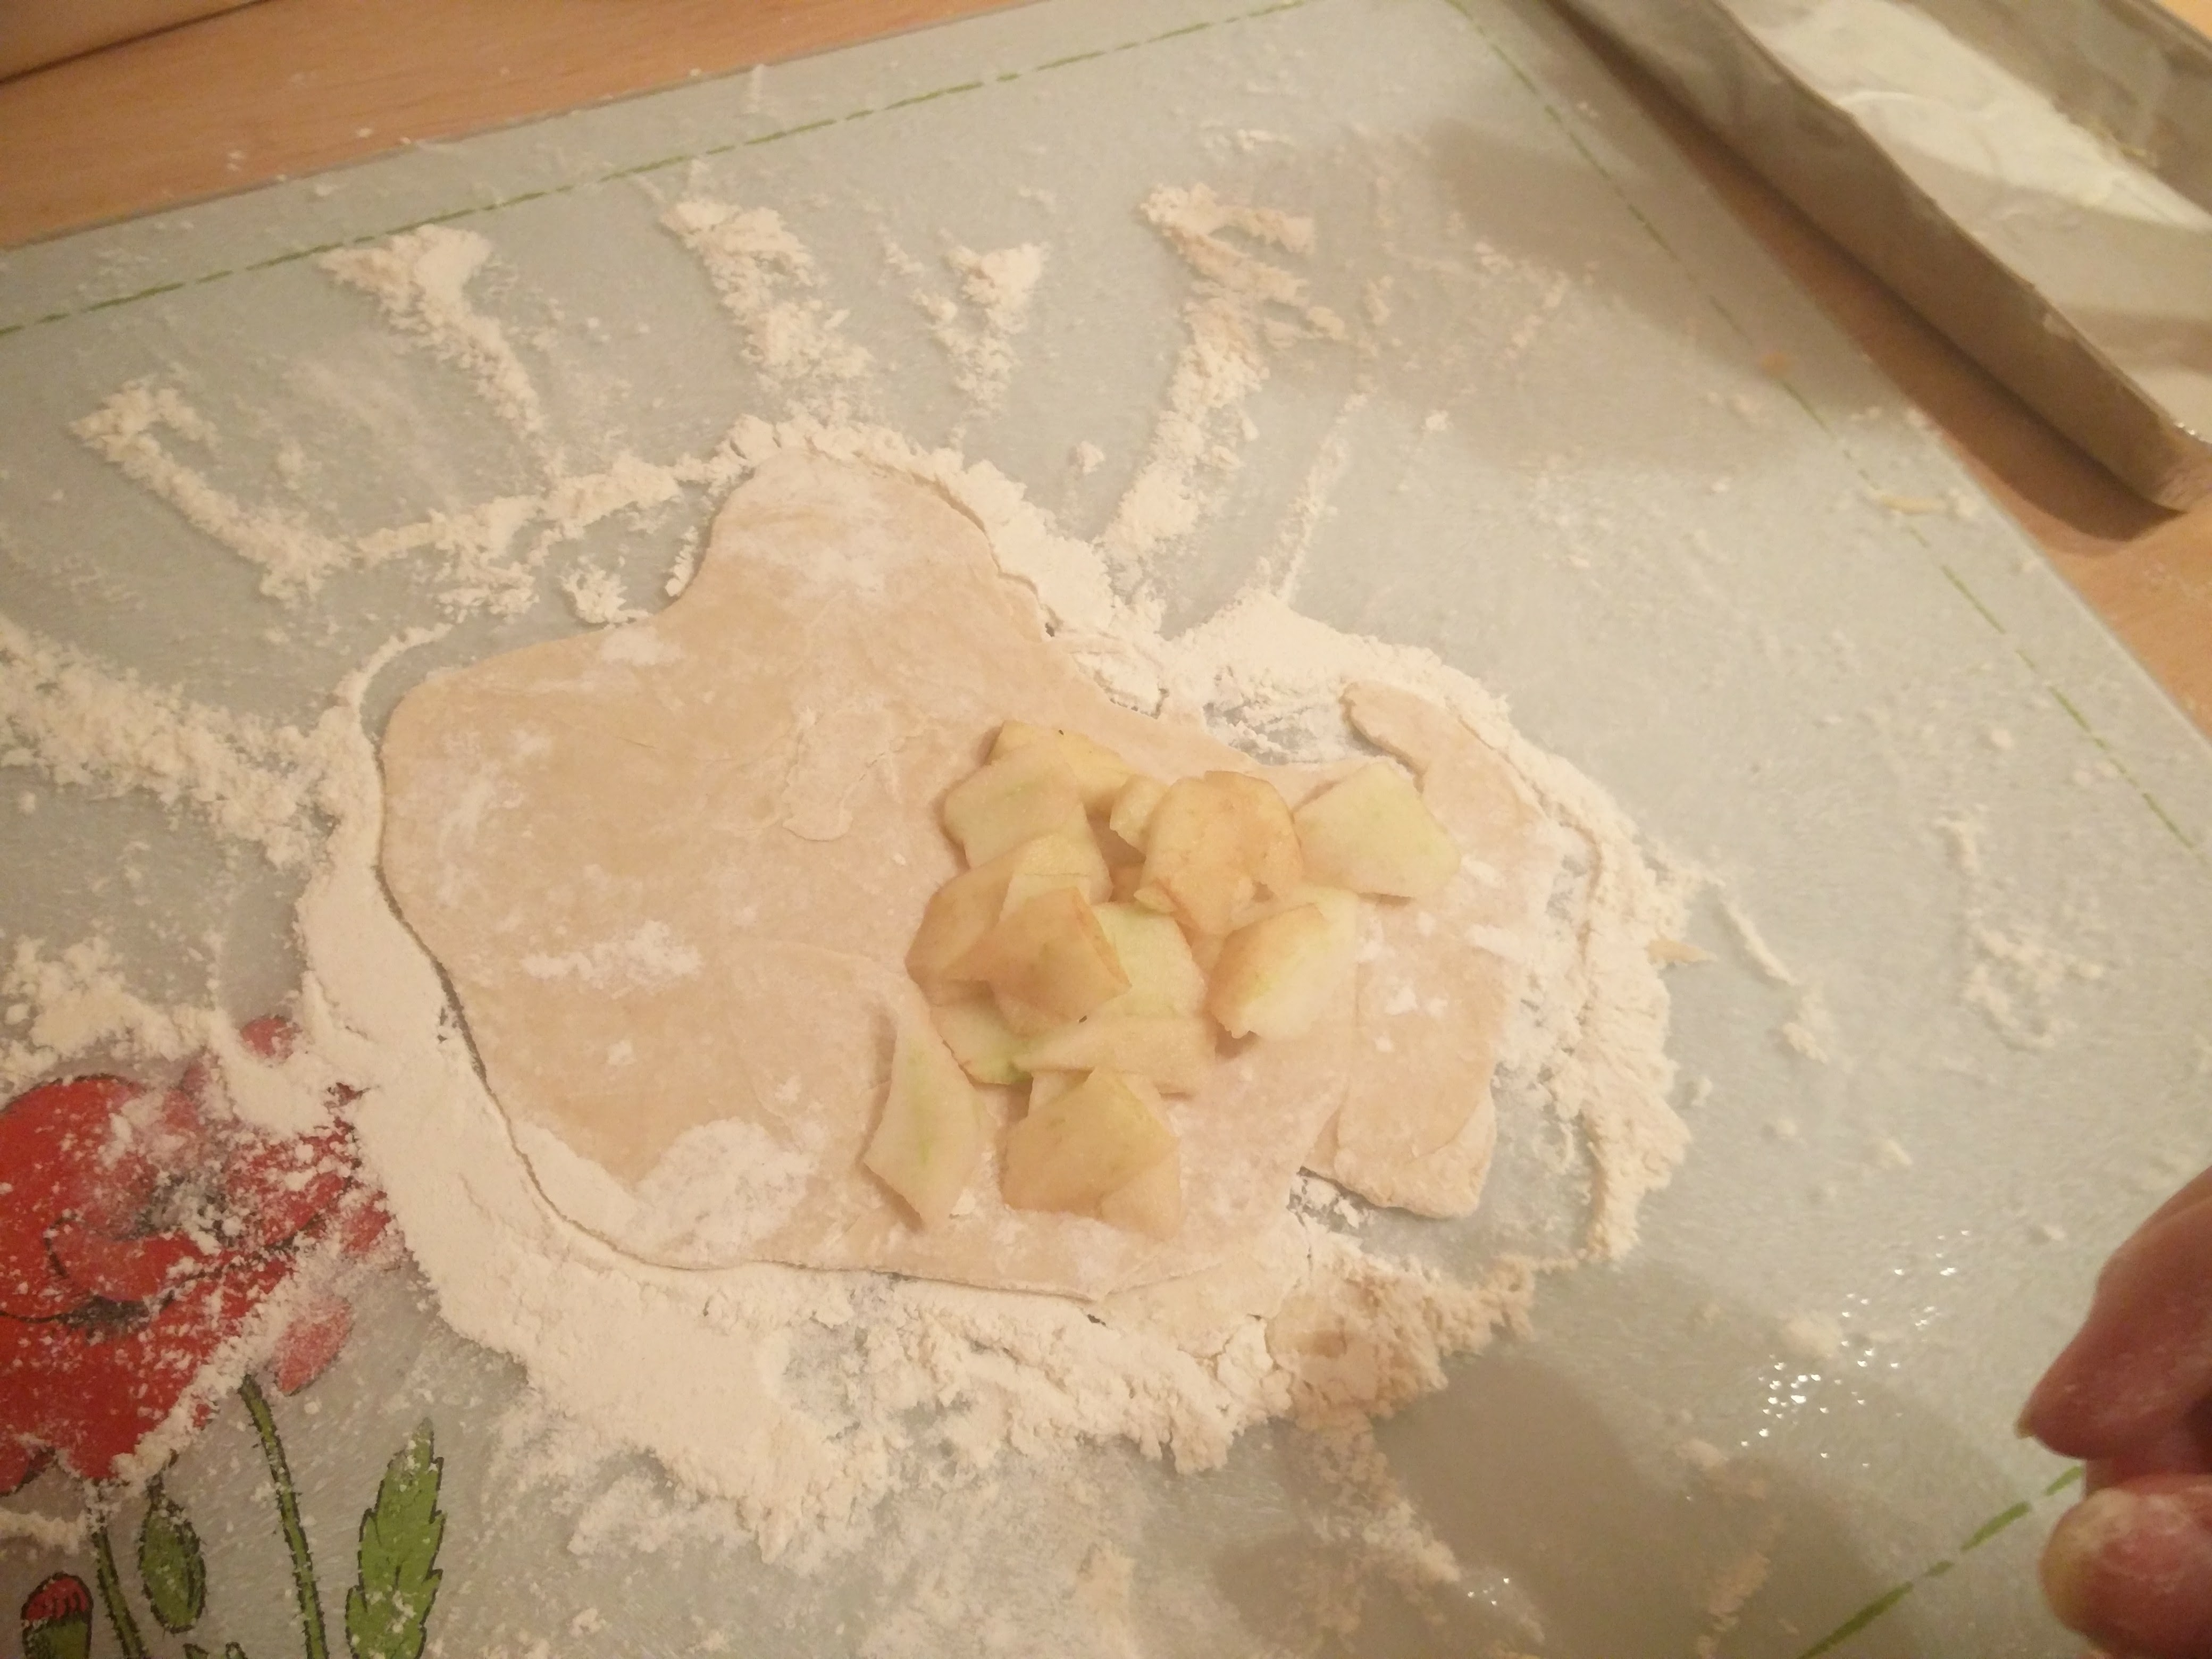
Since the tin now had a bottom pastry to it, the apples were then able to be placed into it. After starting carefully by placing the first few pieces in one-by-one, we eventually just started to tip them in off the plate. That was a lot quicker to do.
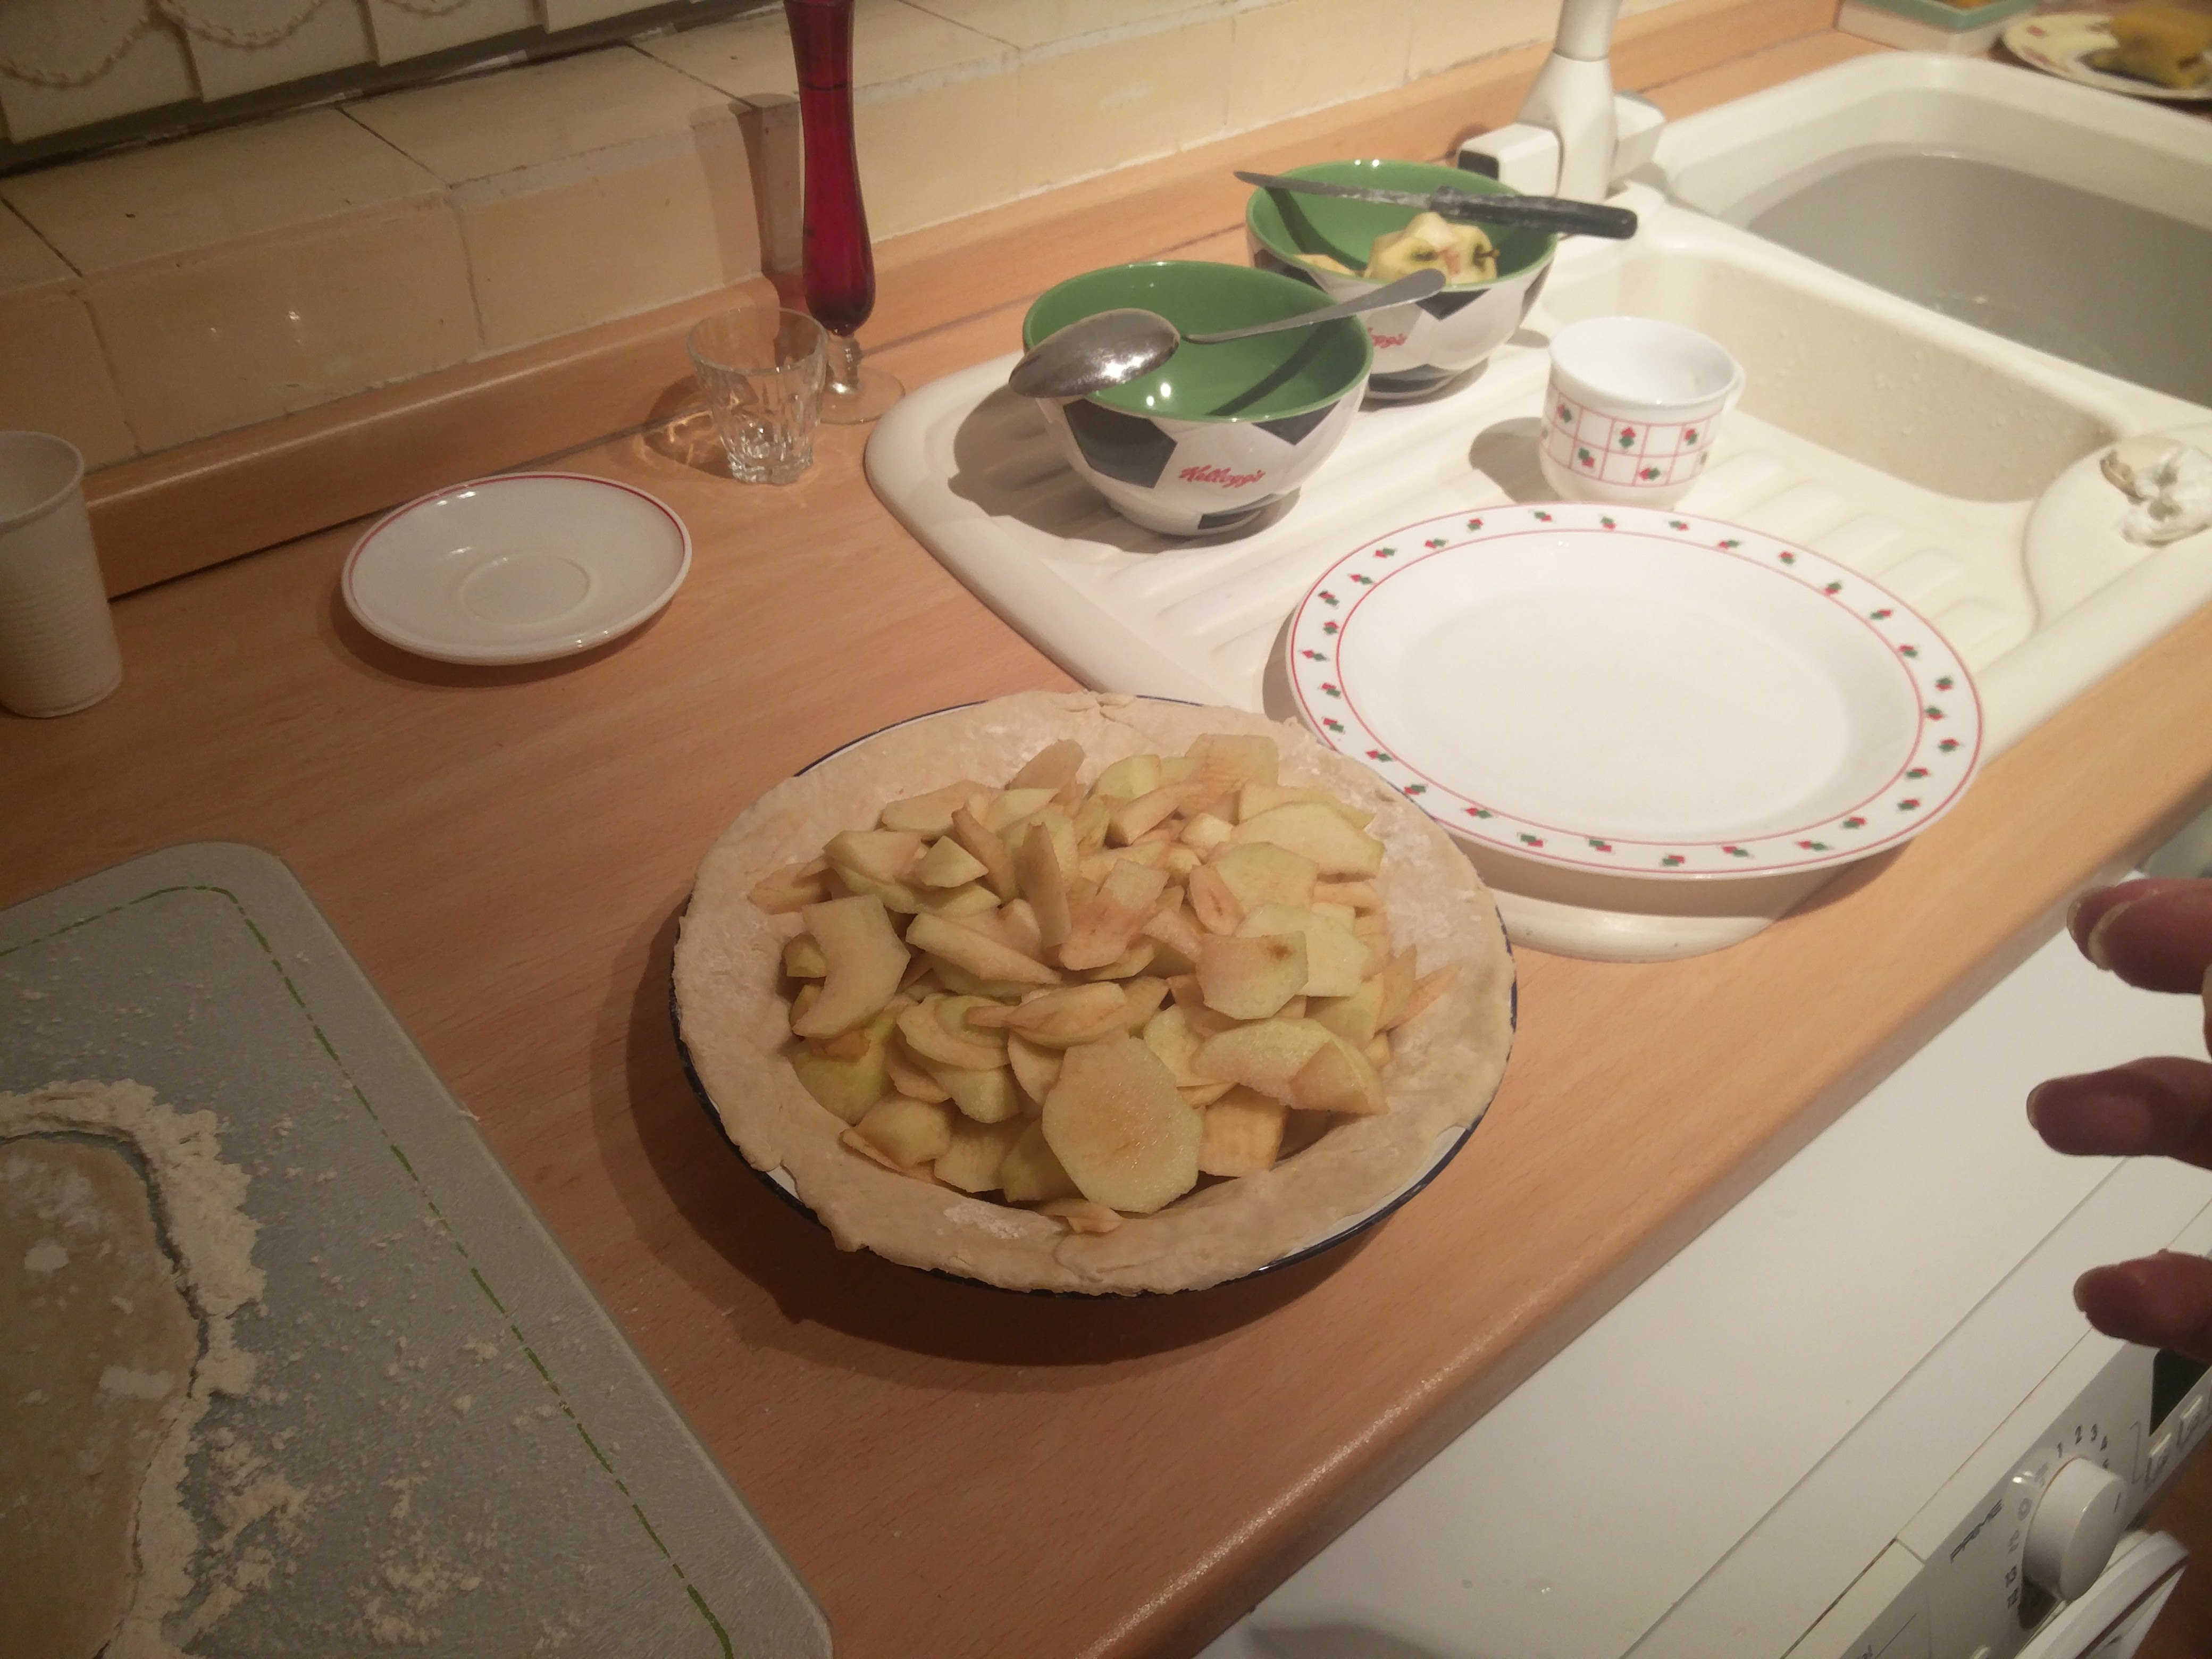
The recipe called for a whole cup of sugar. After putting in a fair amount, and still being 3/4 of a cup left, we decided that would be enough otherwise it would be too sweet.

little girls apple tarts made of? Sugar and spice apples and all things nice pastry
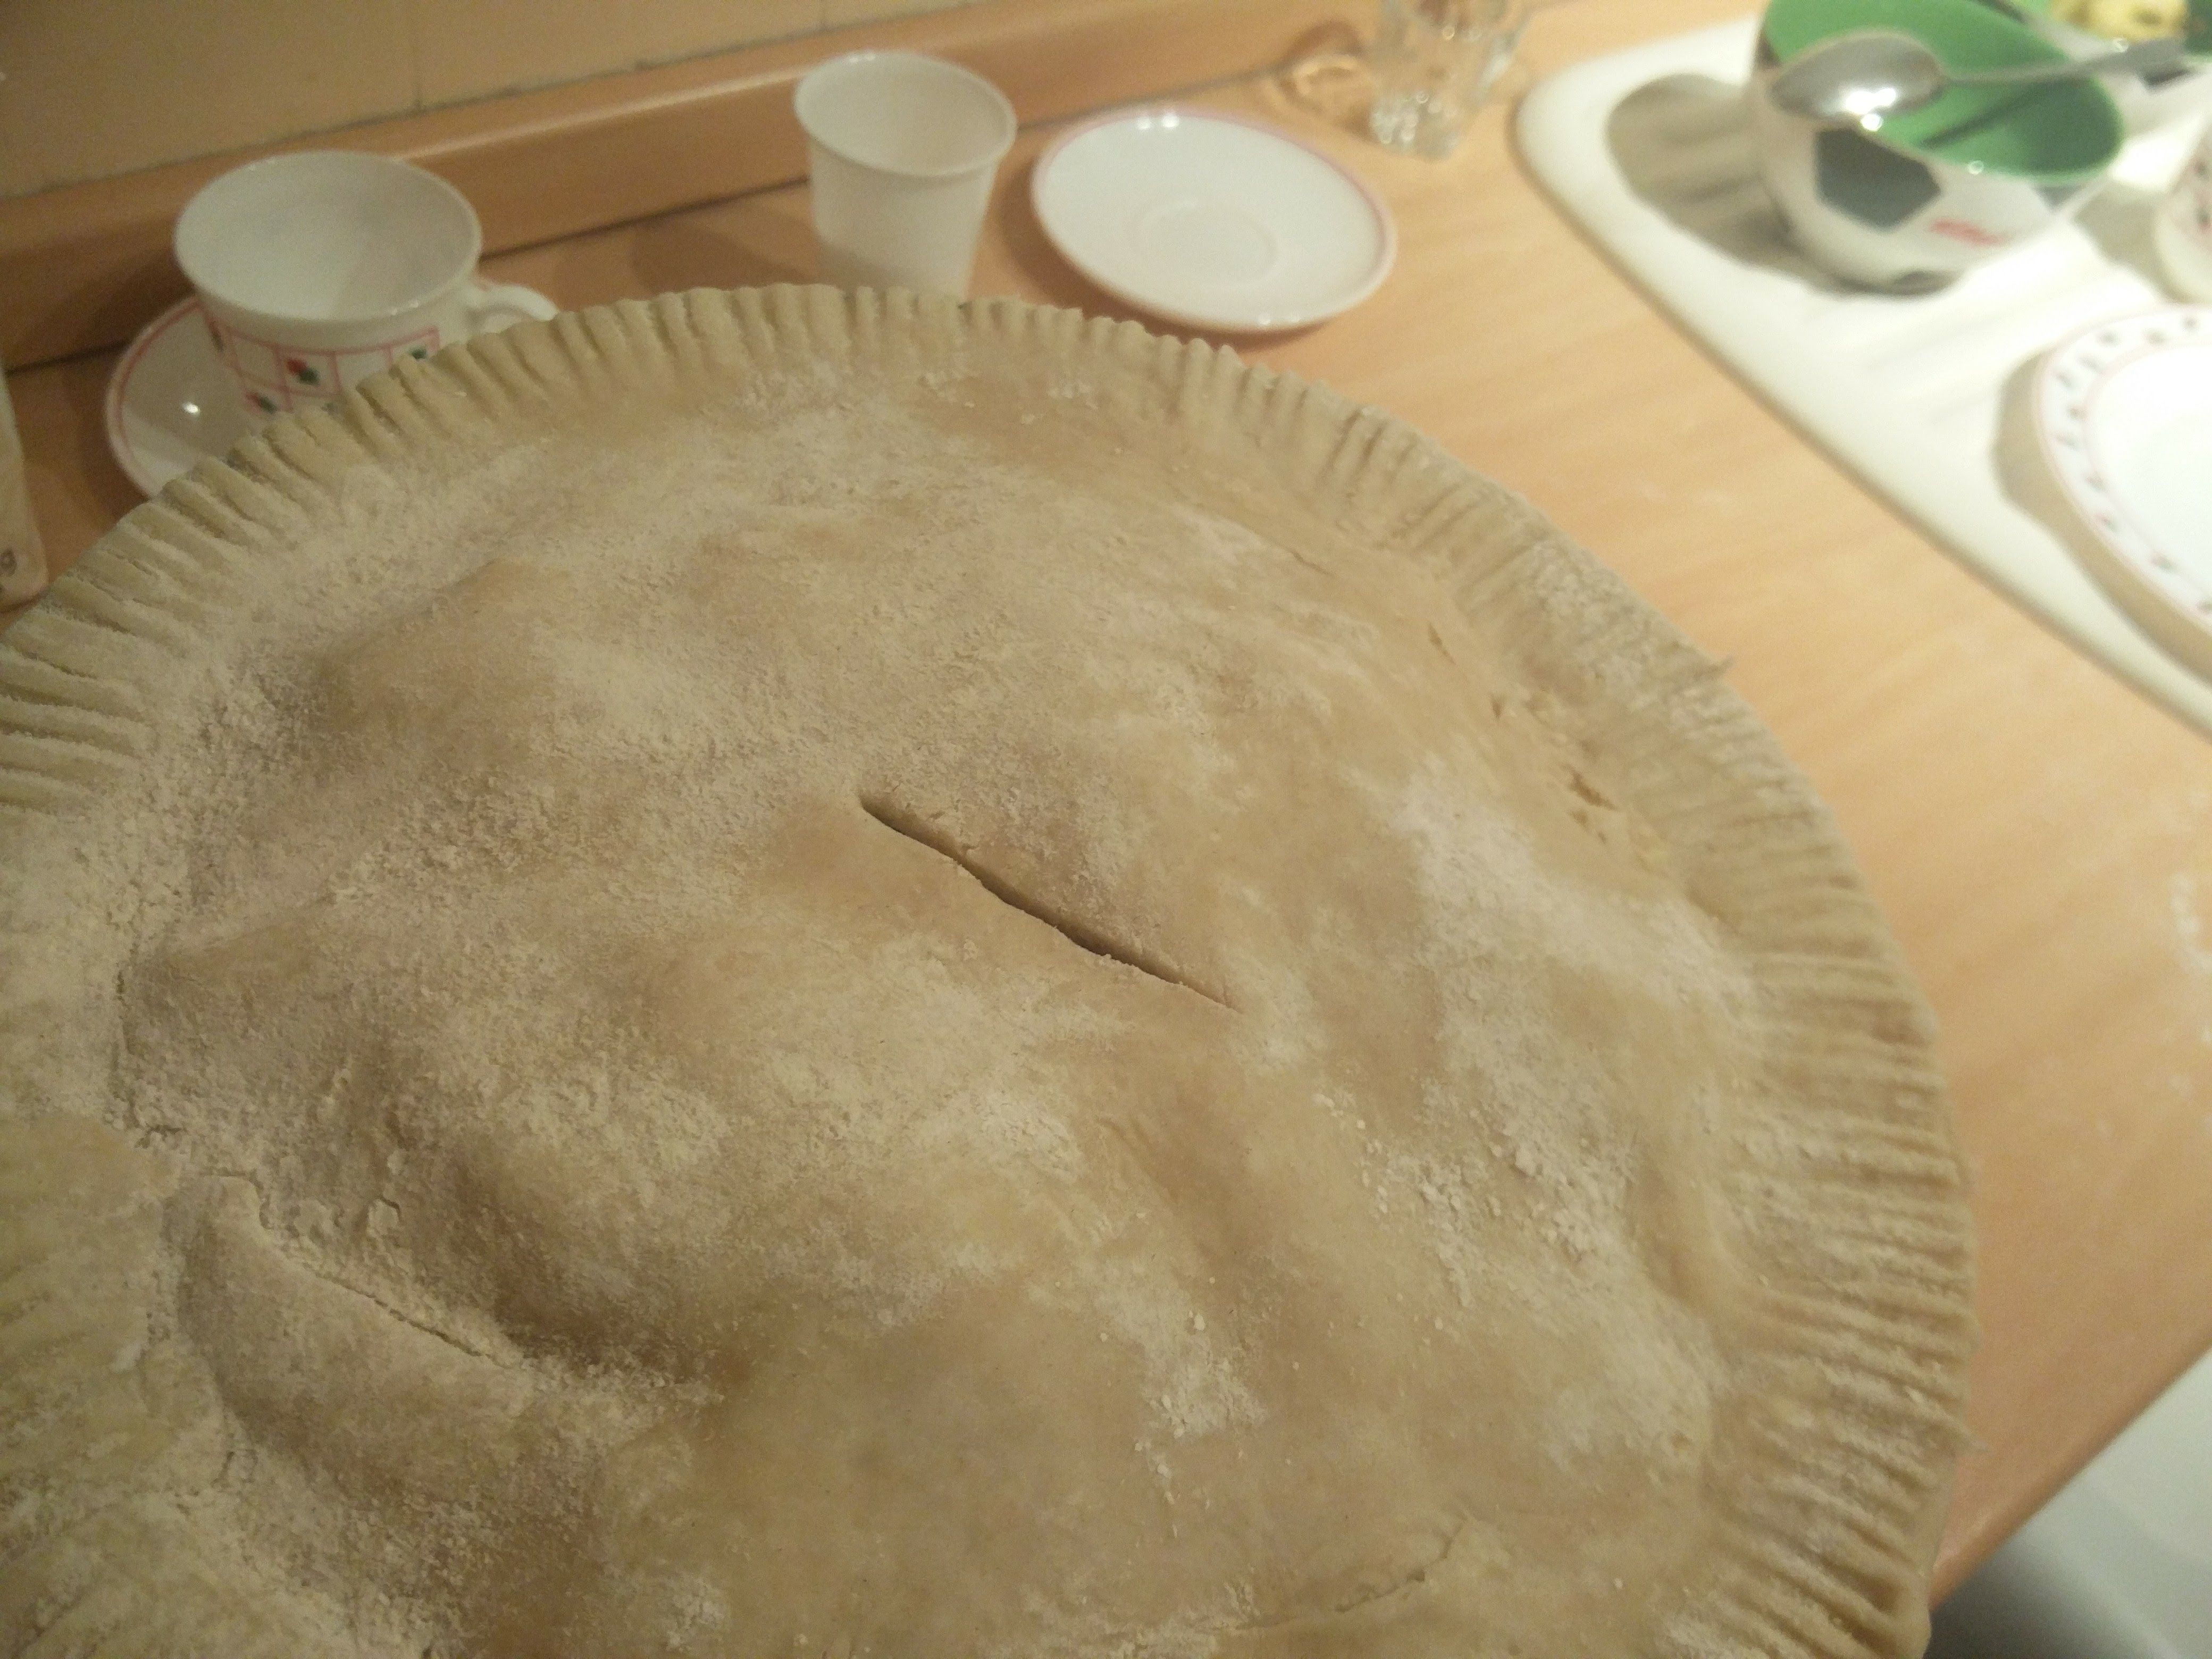
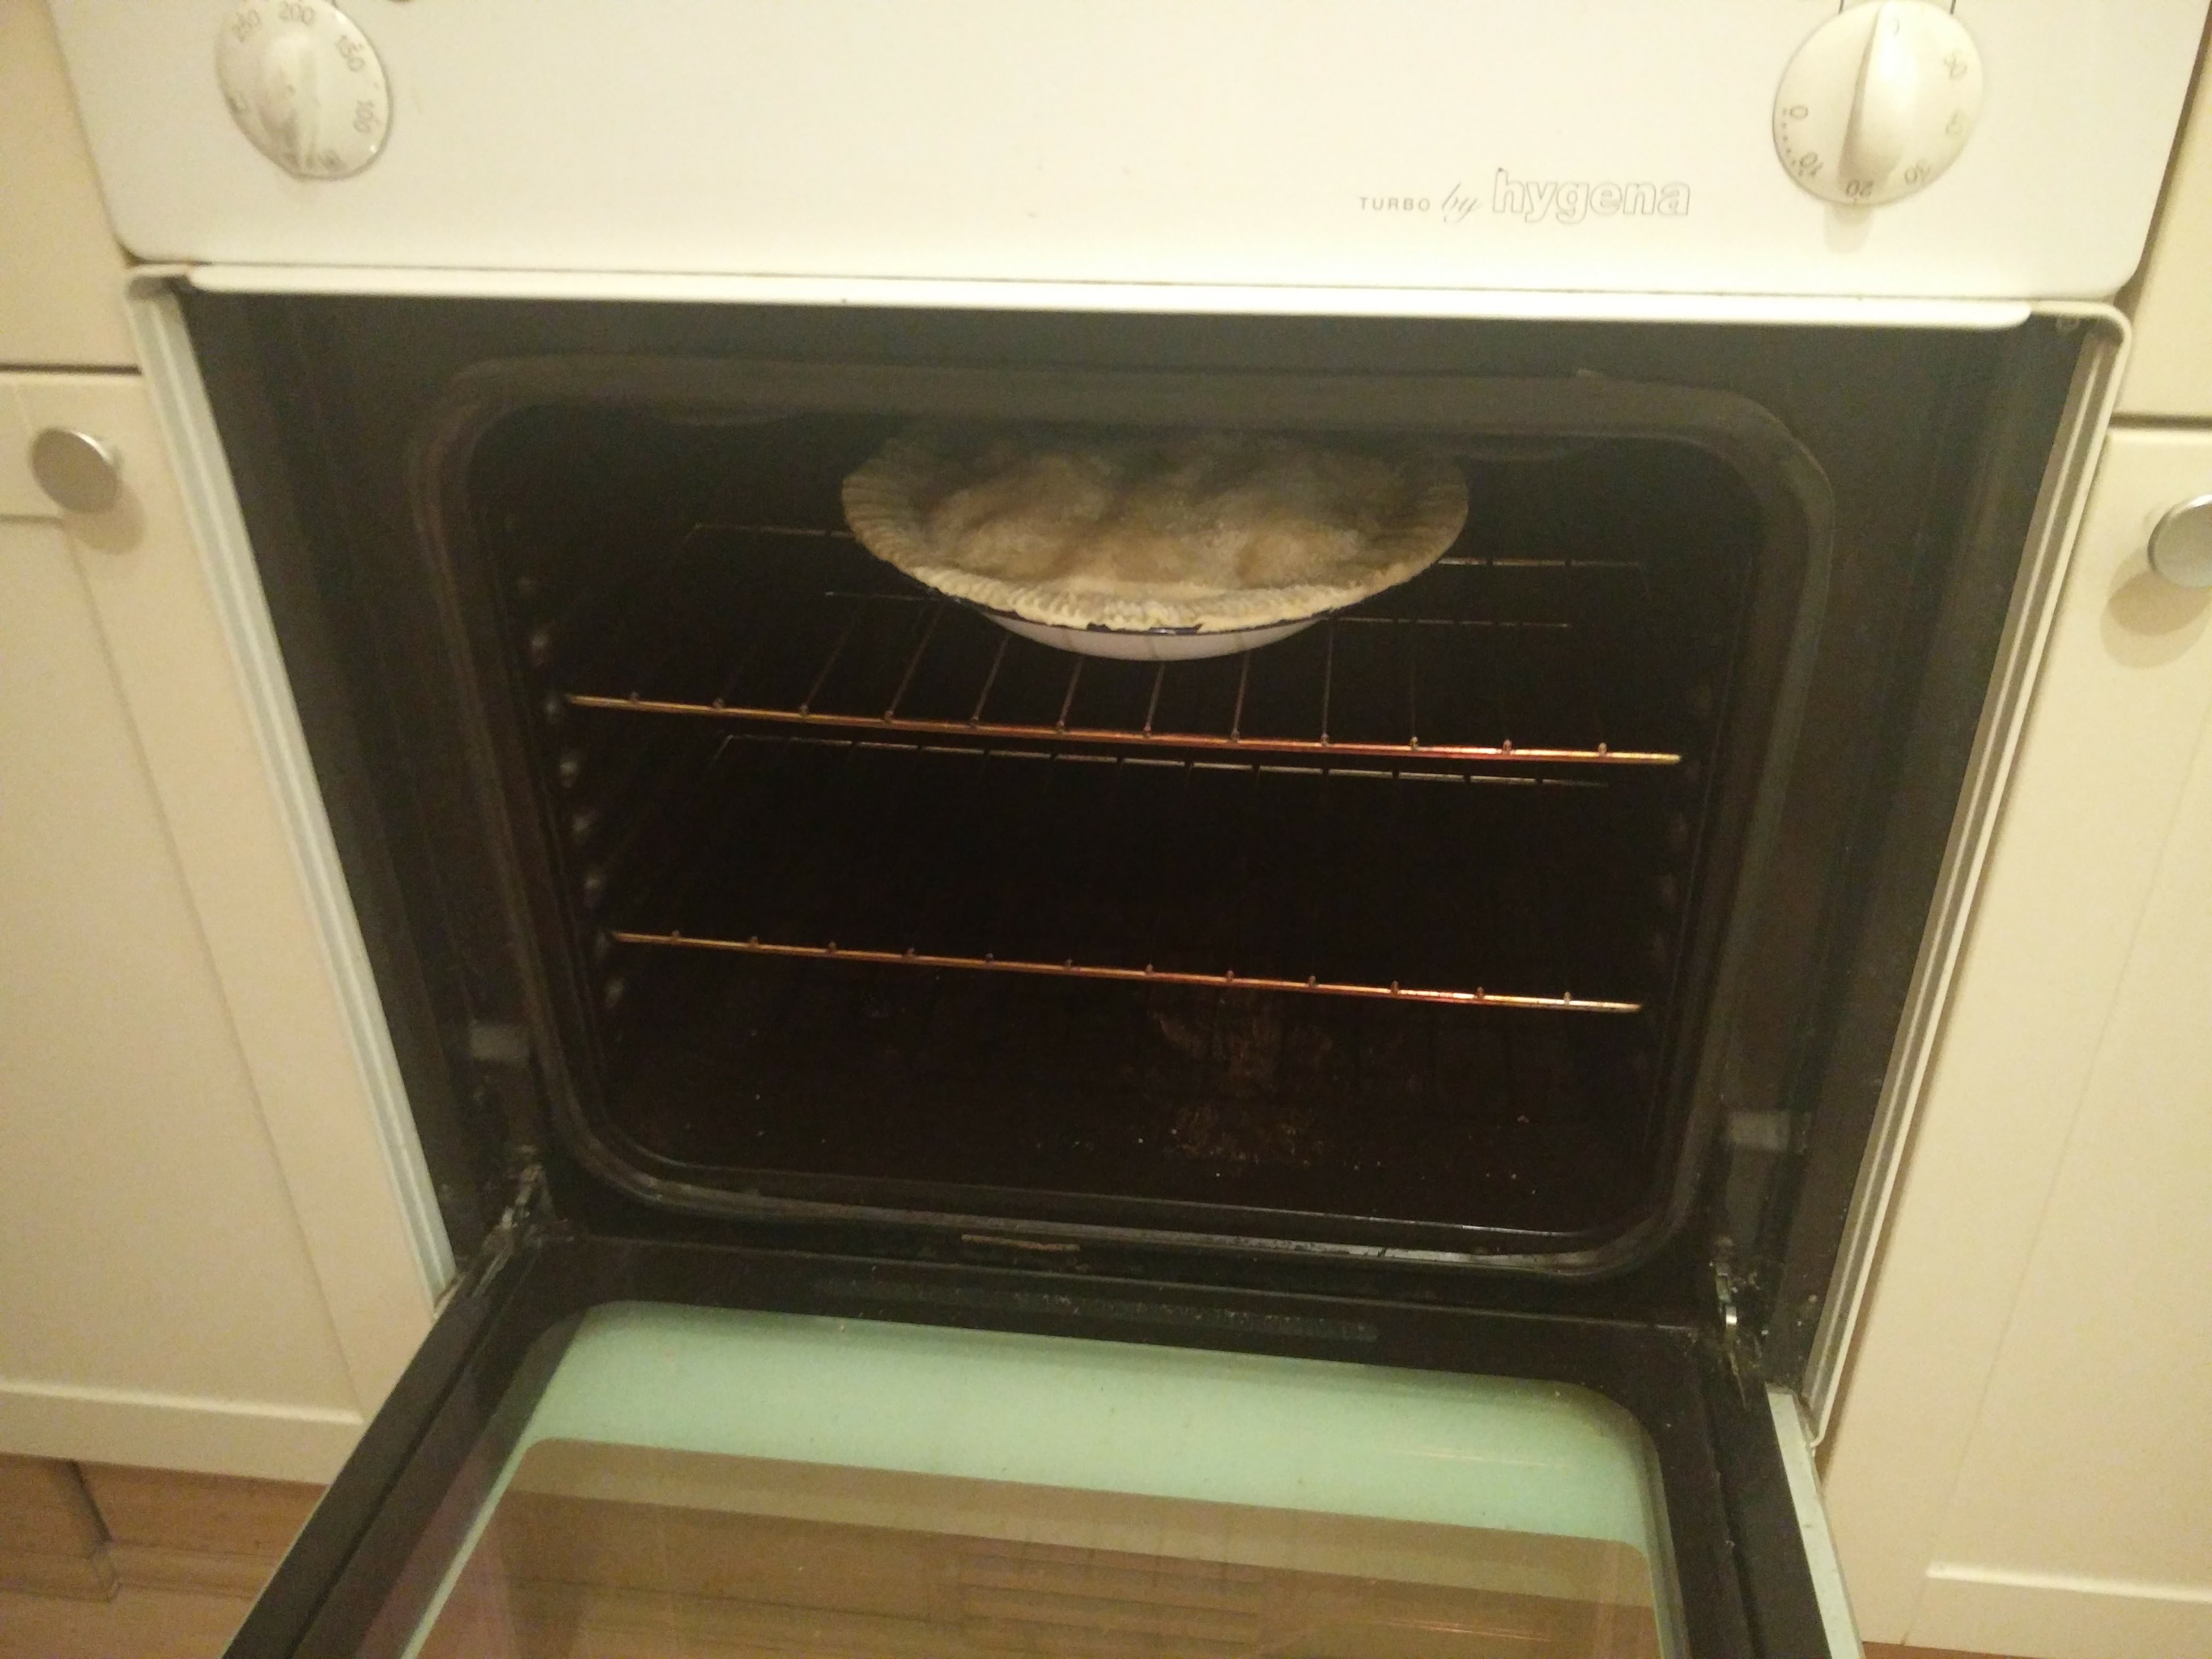
It was then a case of putting the top pastry onto the tart, crimping the edges and cutting away the excess, putting a hole into the top to let the steam out then popping it in the oven for 20 minutes.

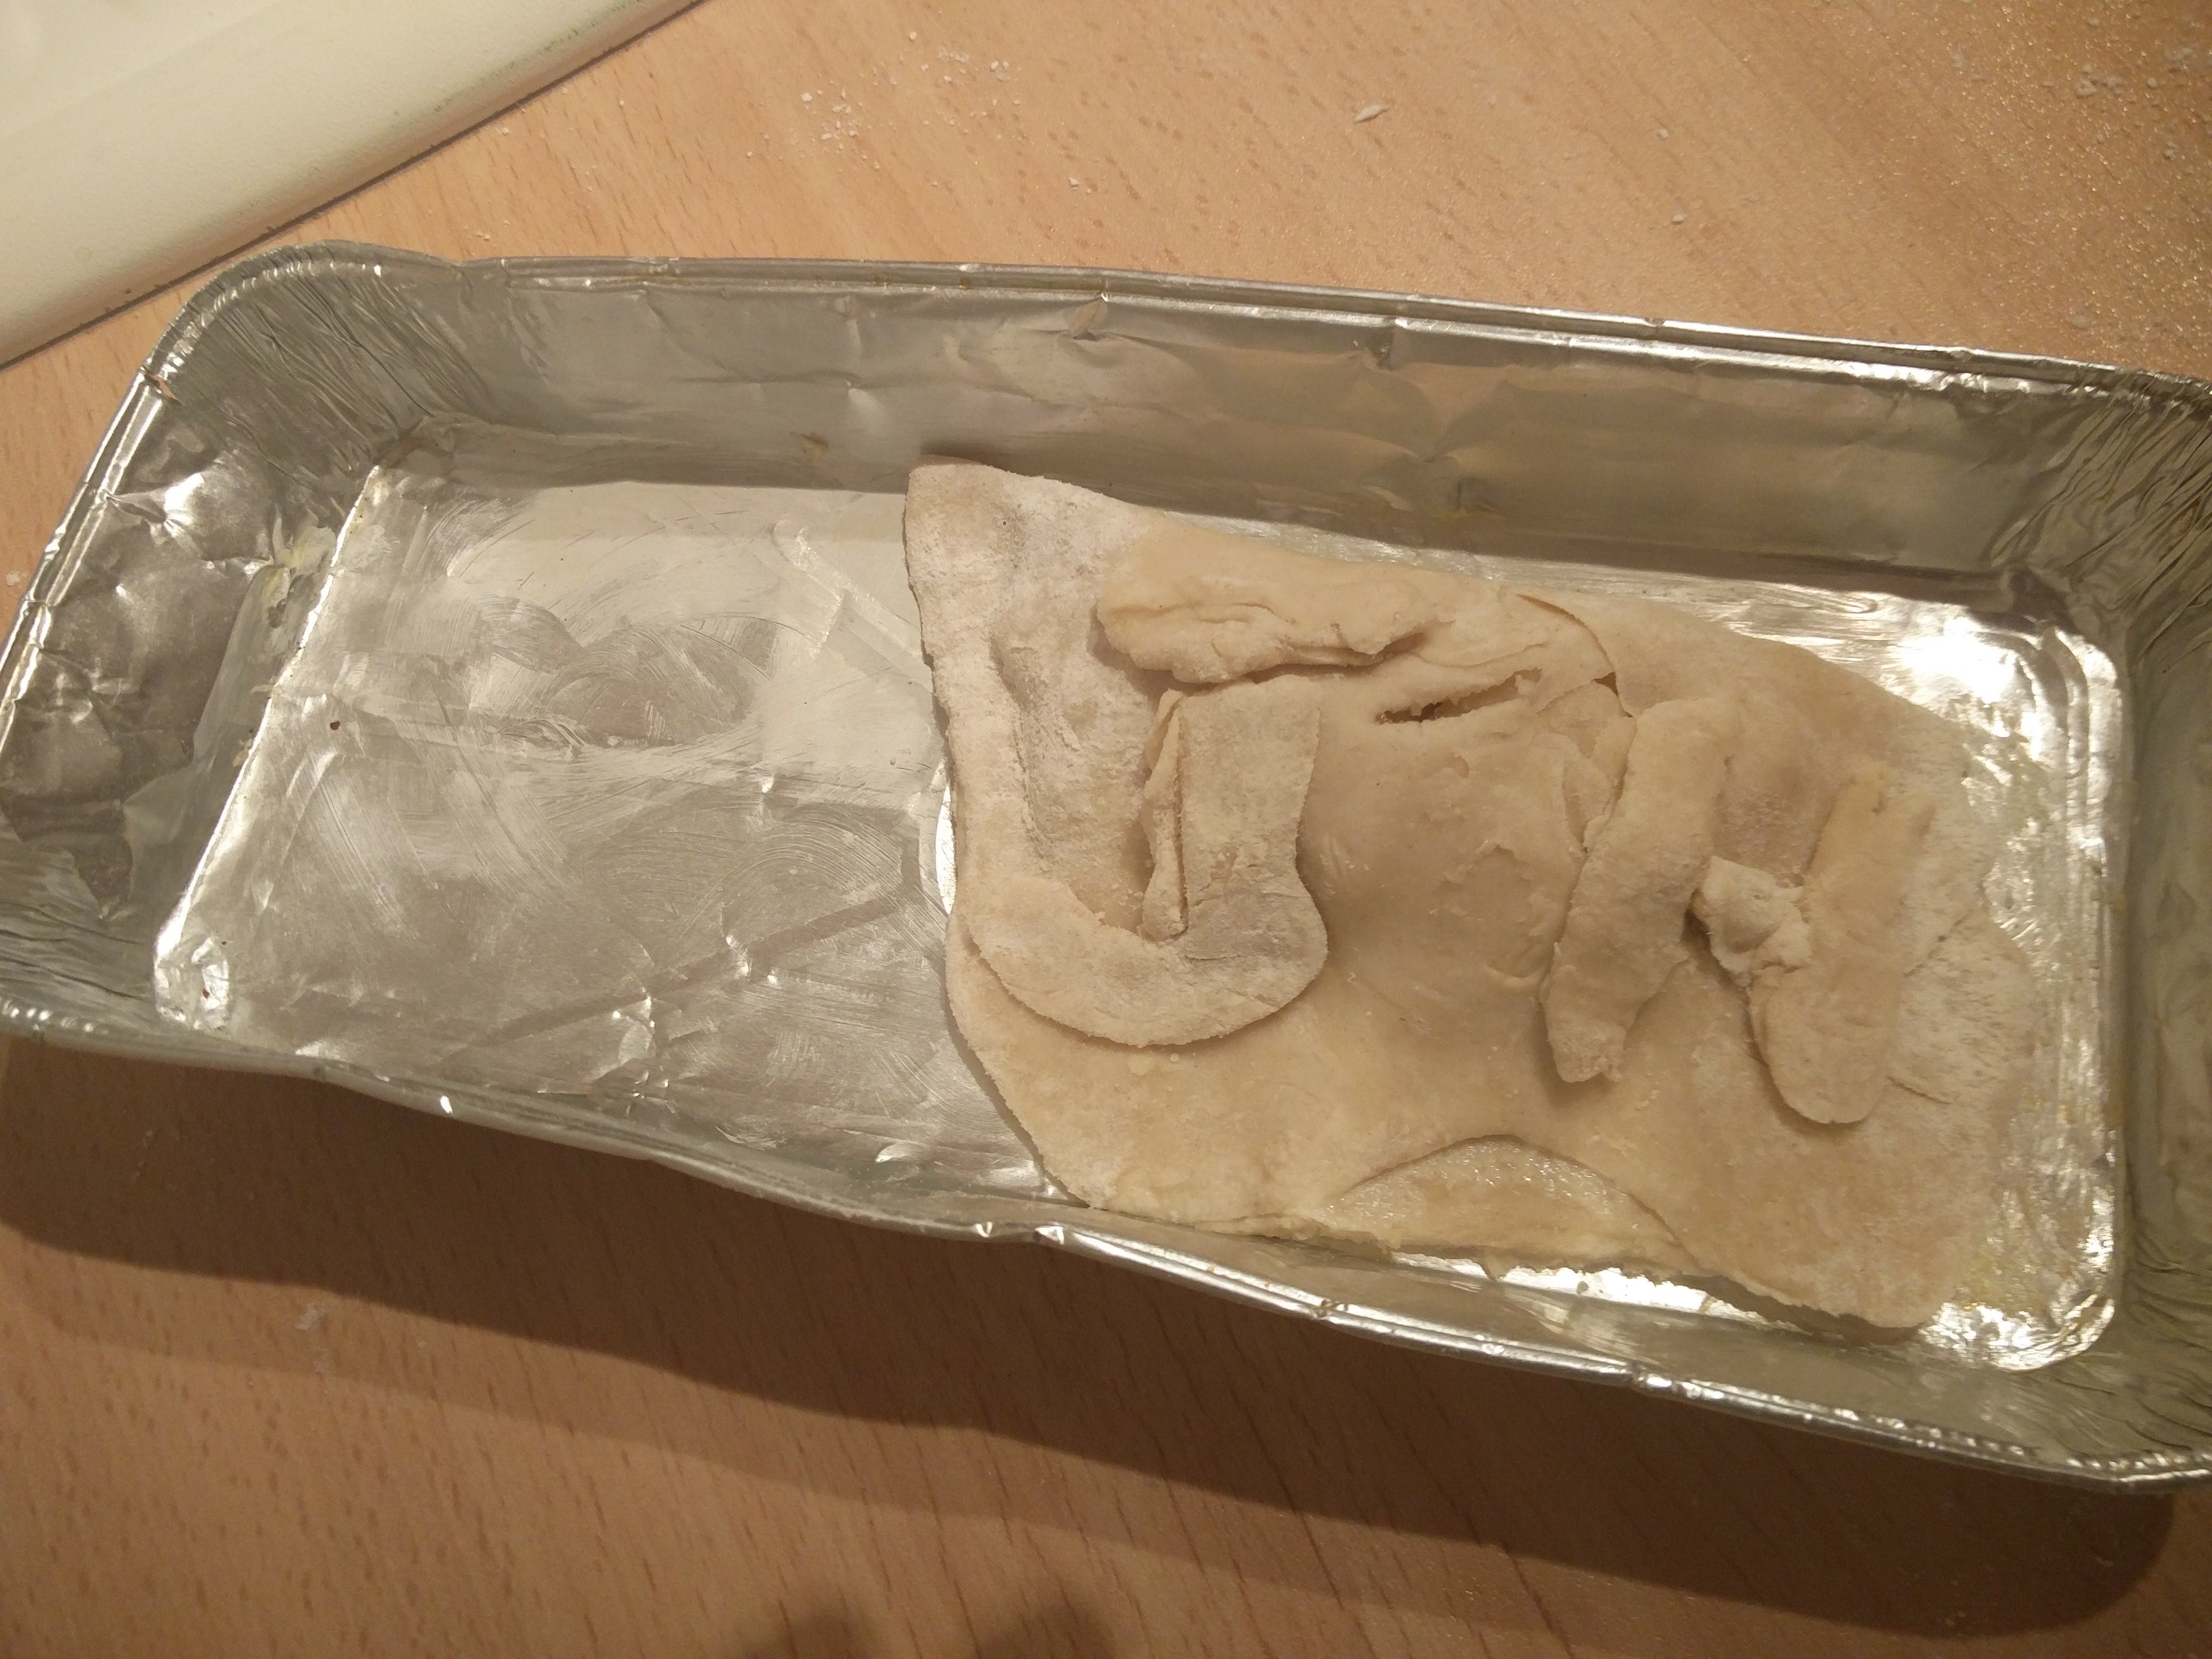
Following on from trimming the edge of the tart, there were a few left over bits of pastry. So instead of wasting them I decided to create a mini tart, with my initials on to make sure that no-one else tried to eat it (when it was cooked, obviously).

20 45 minutes later the tarts were cooked and ready to come out of the oven.
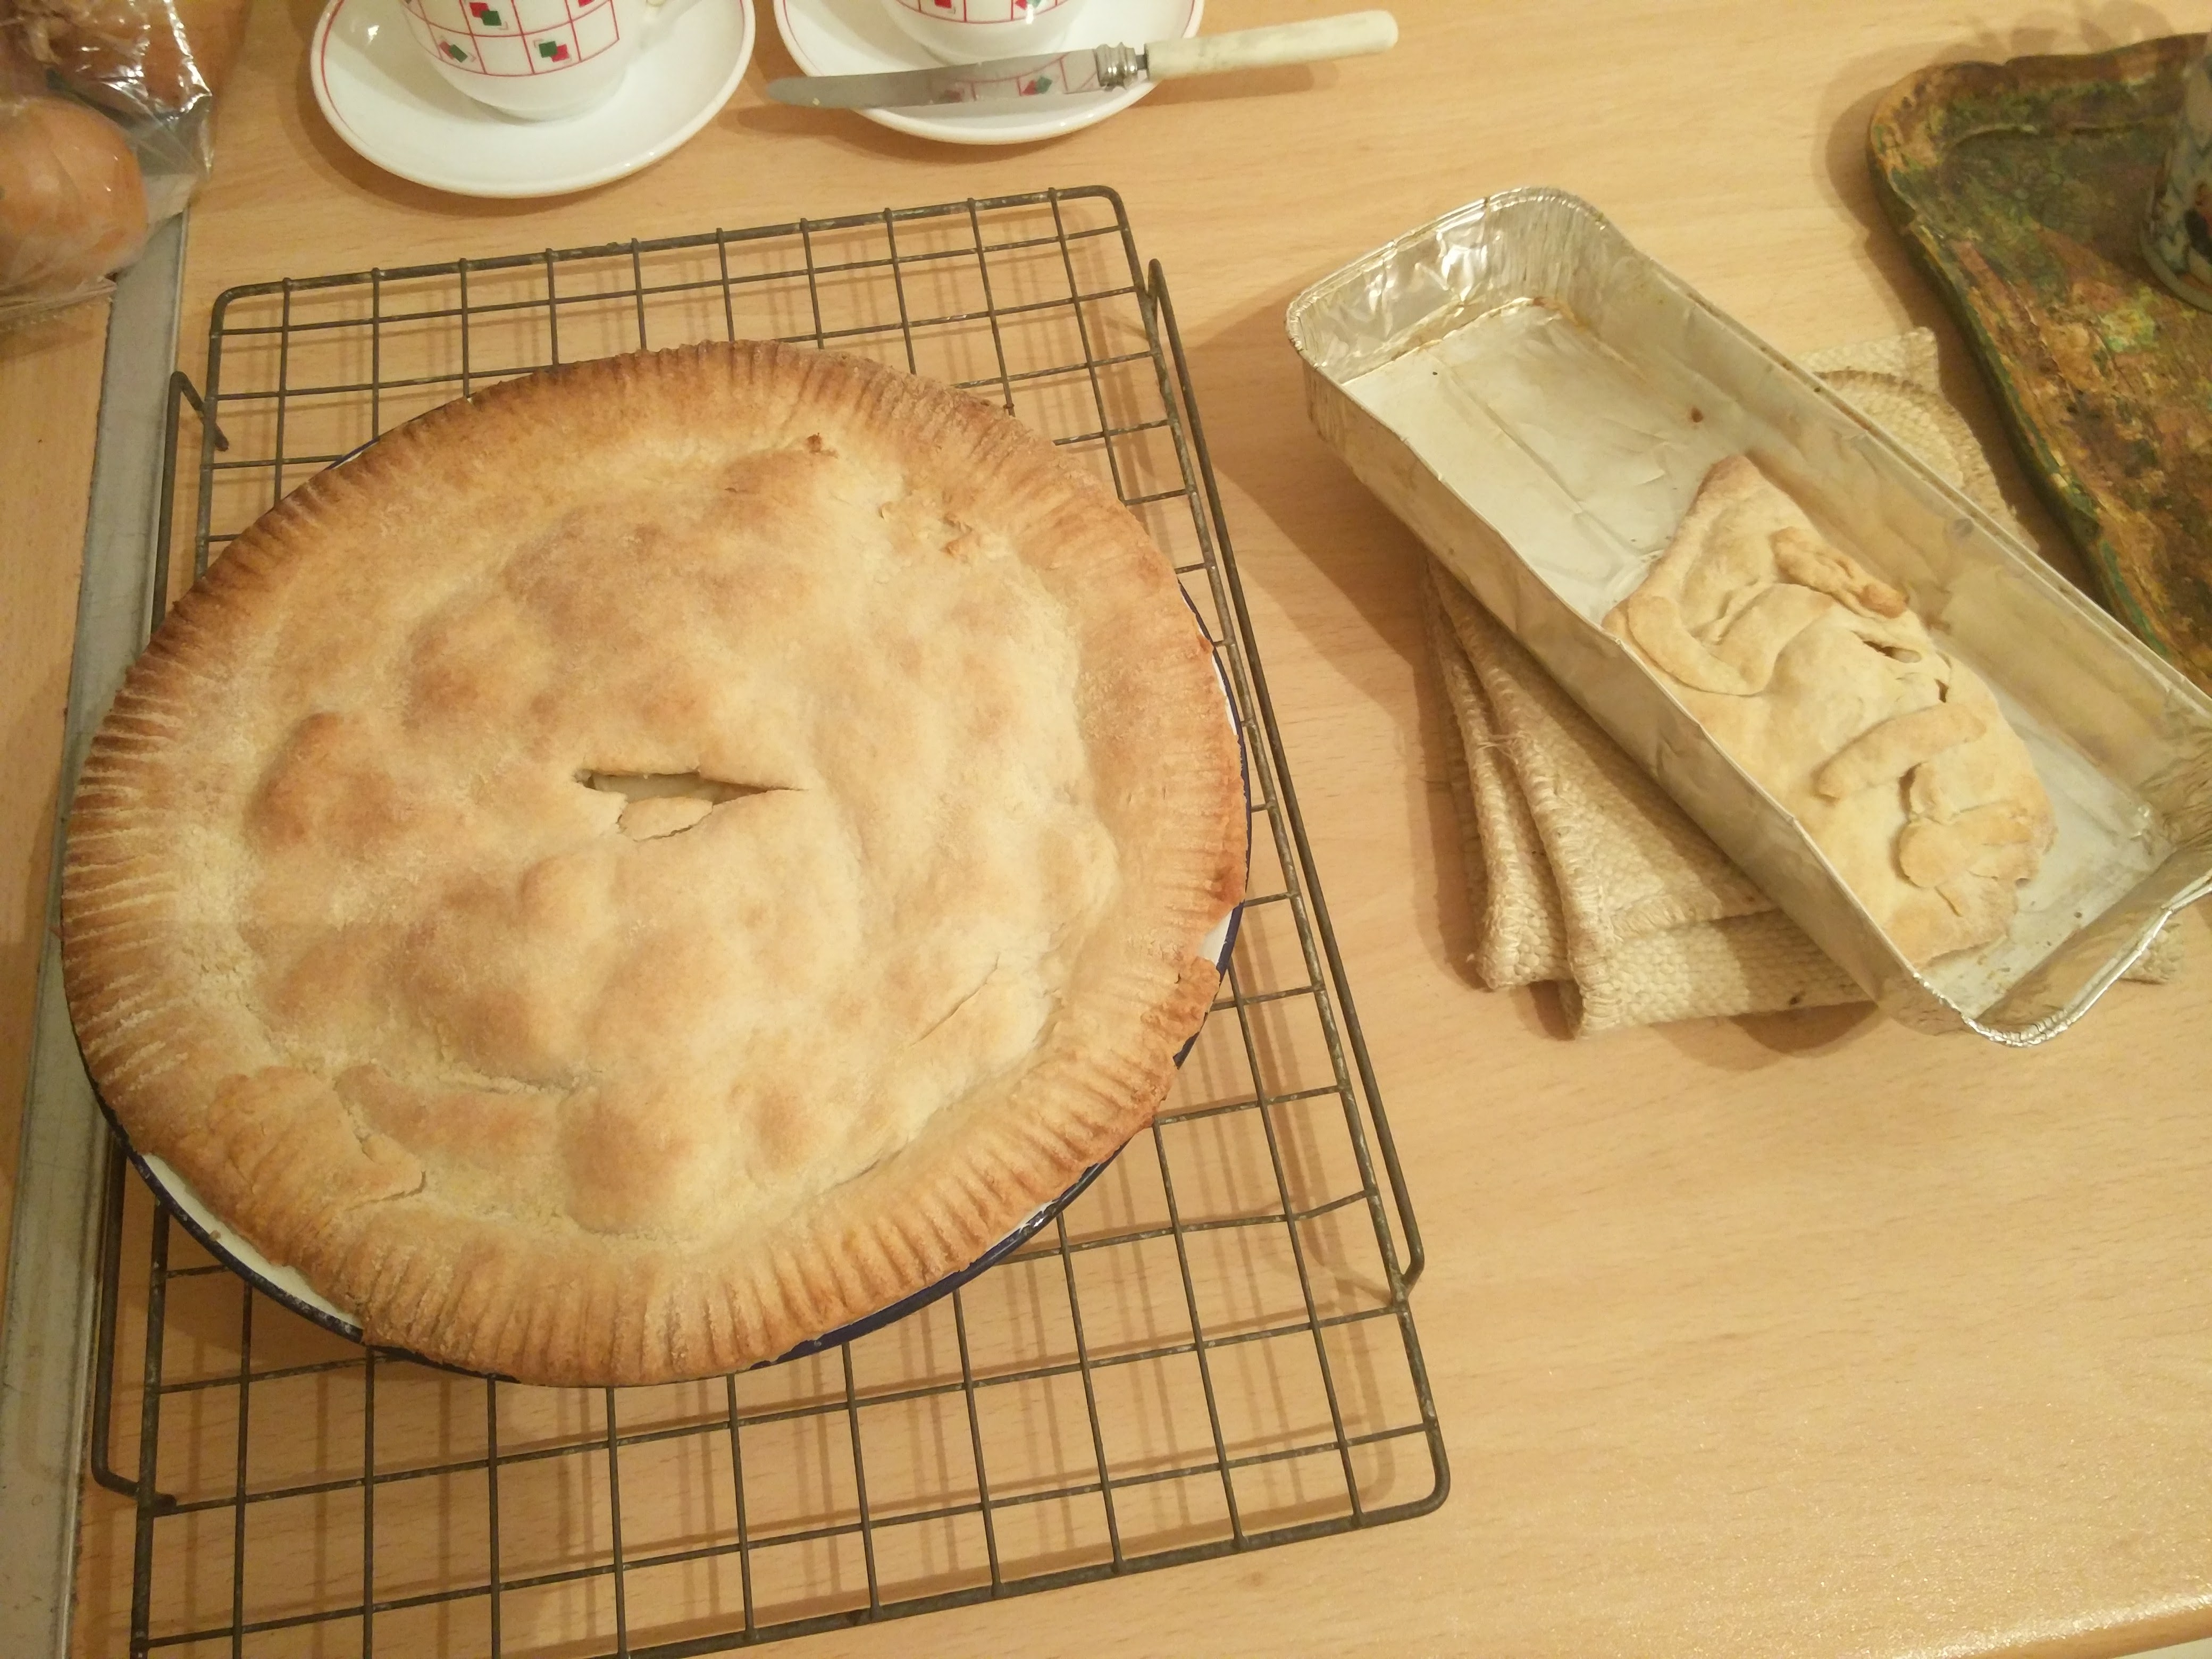
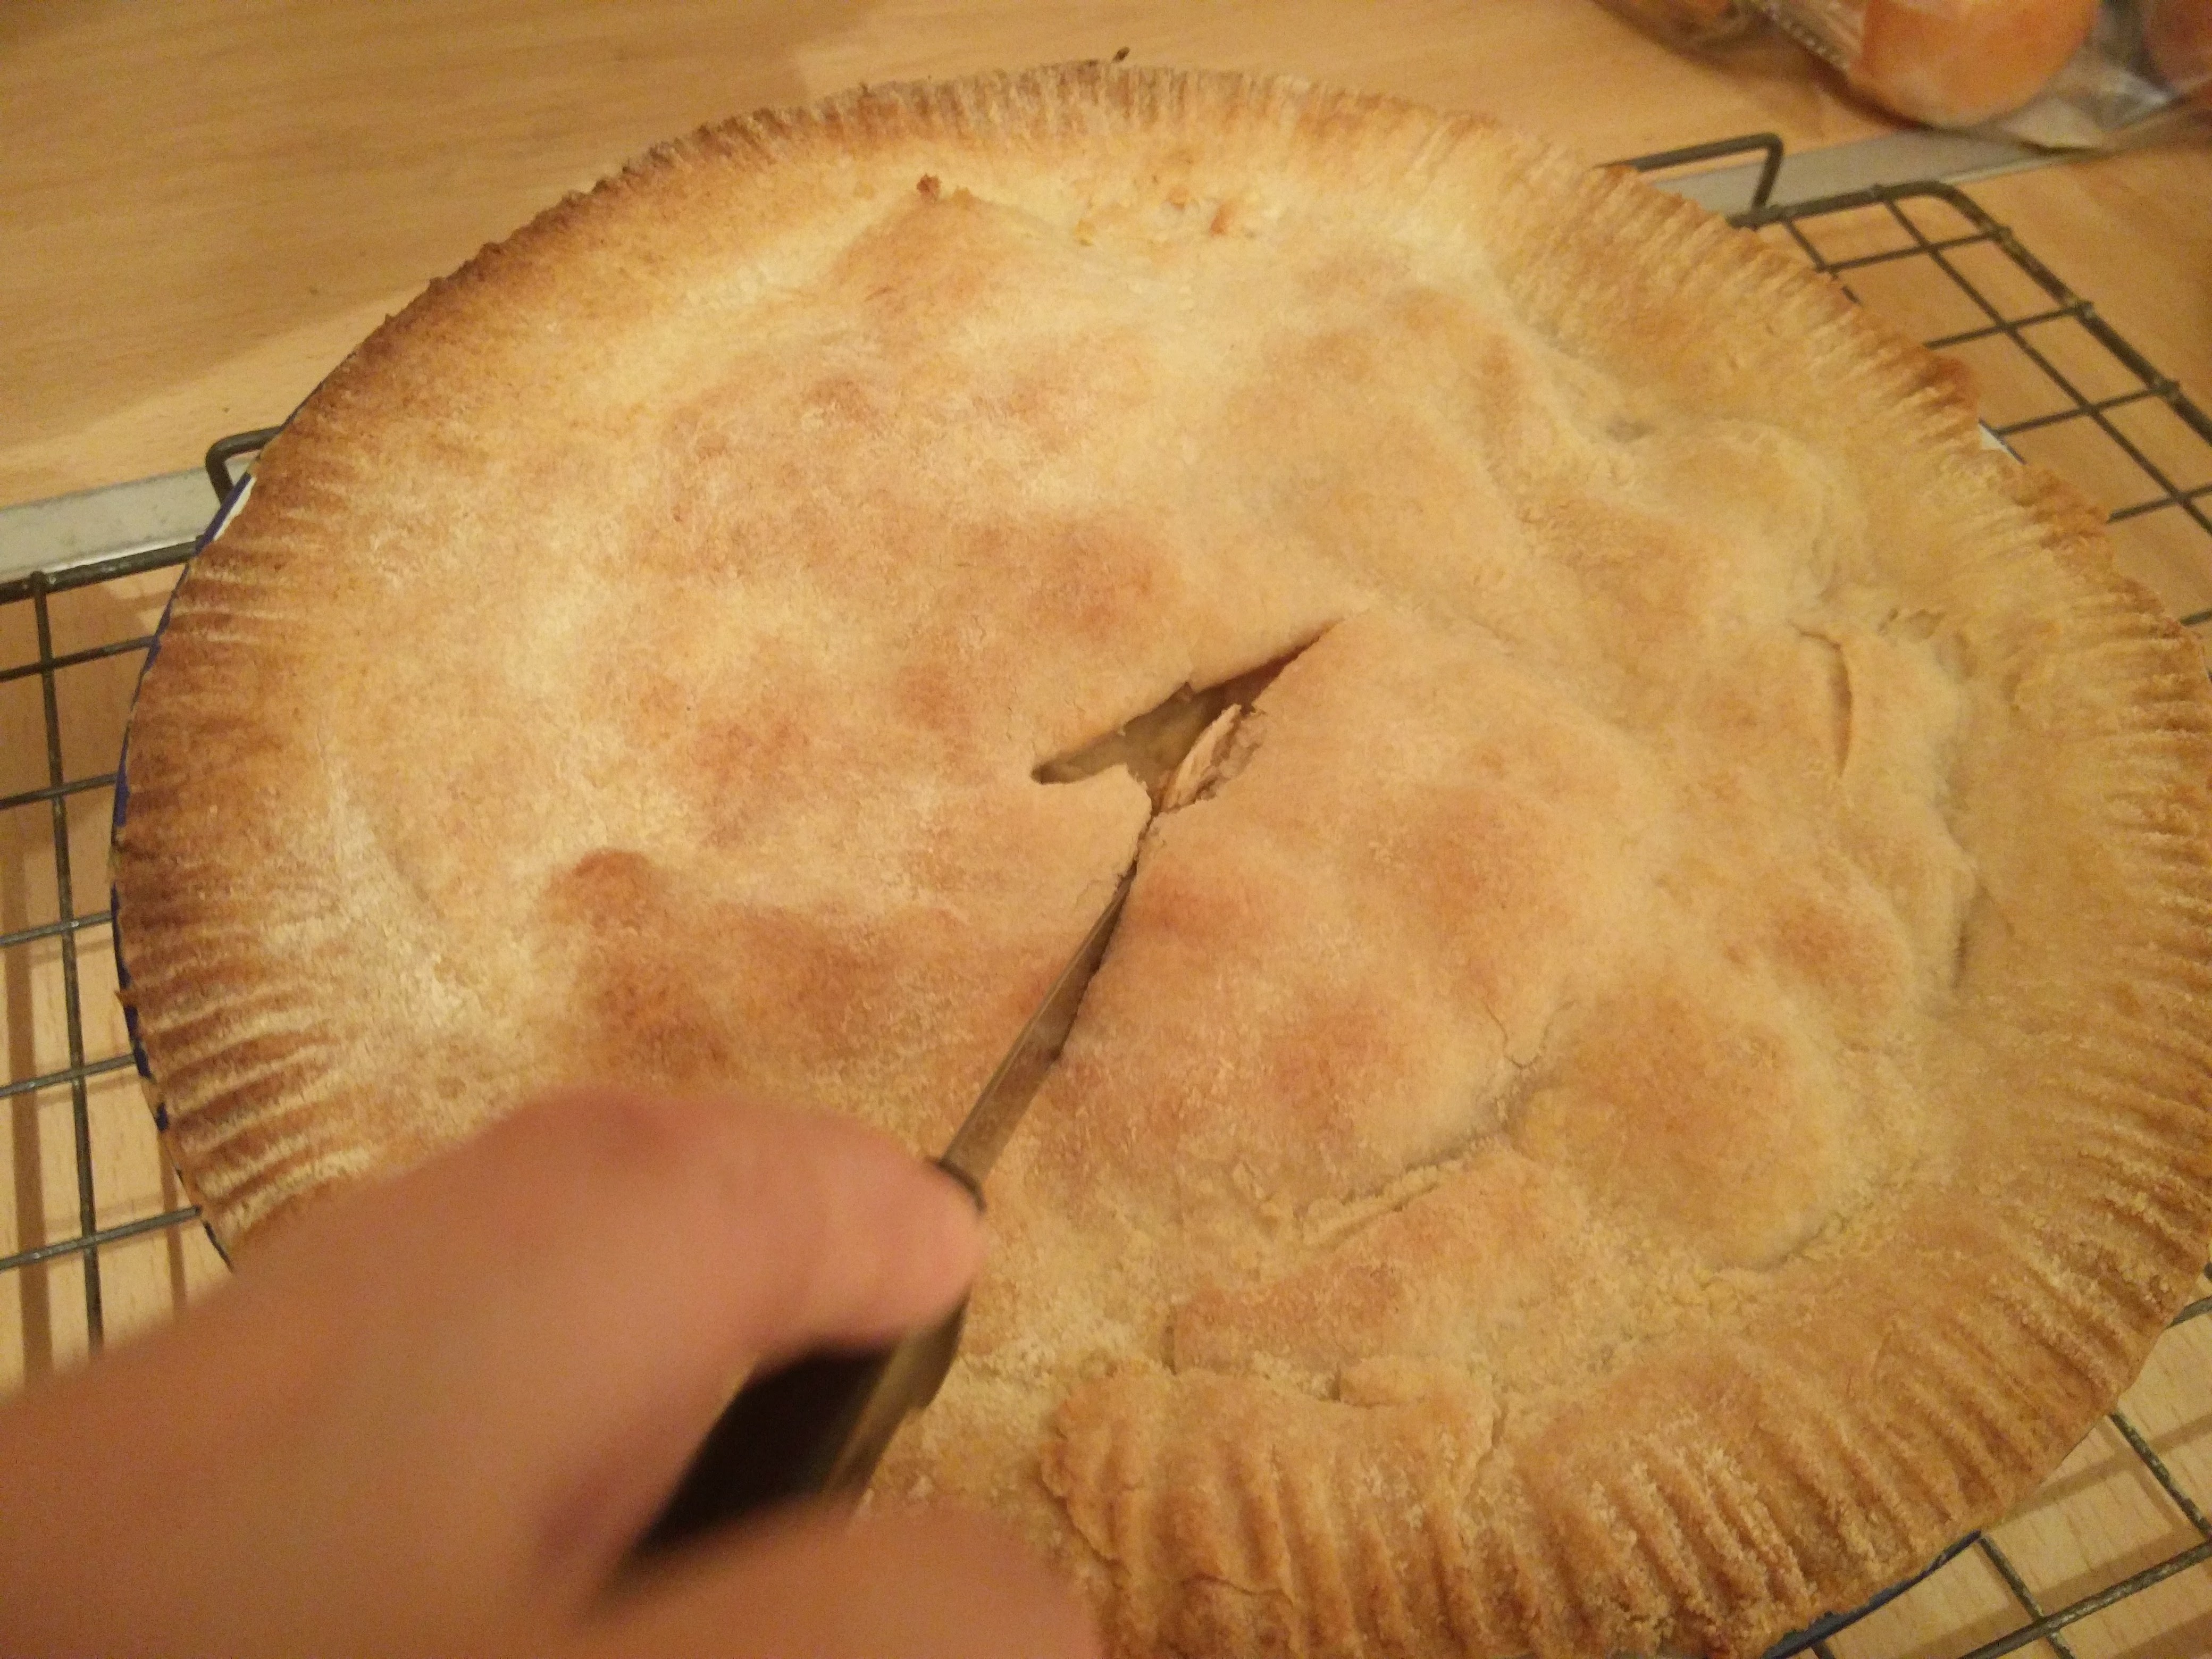
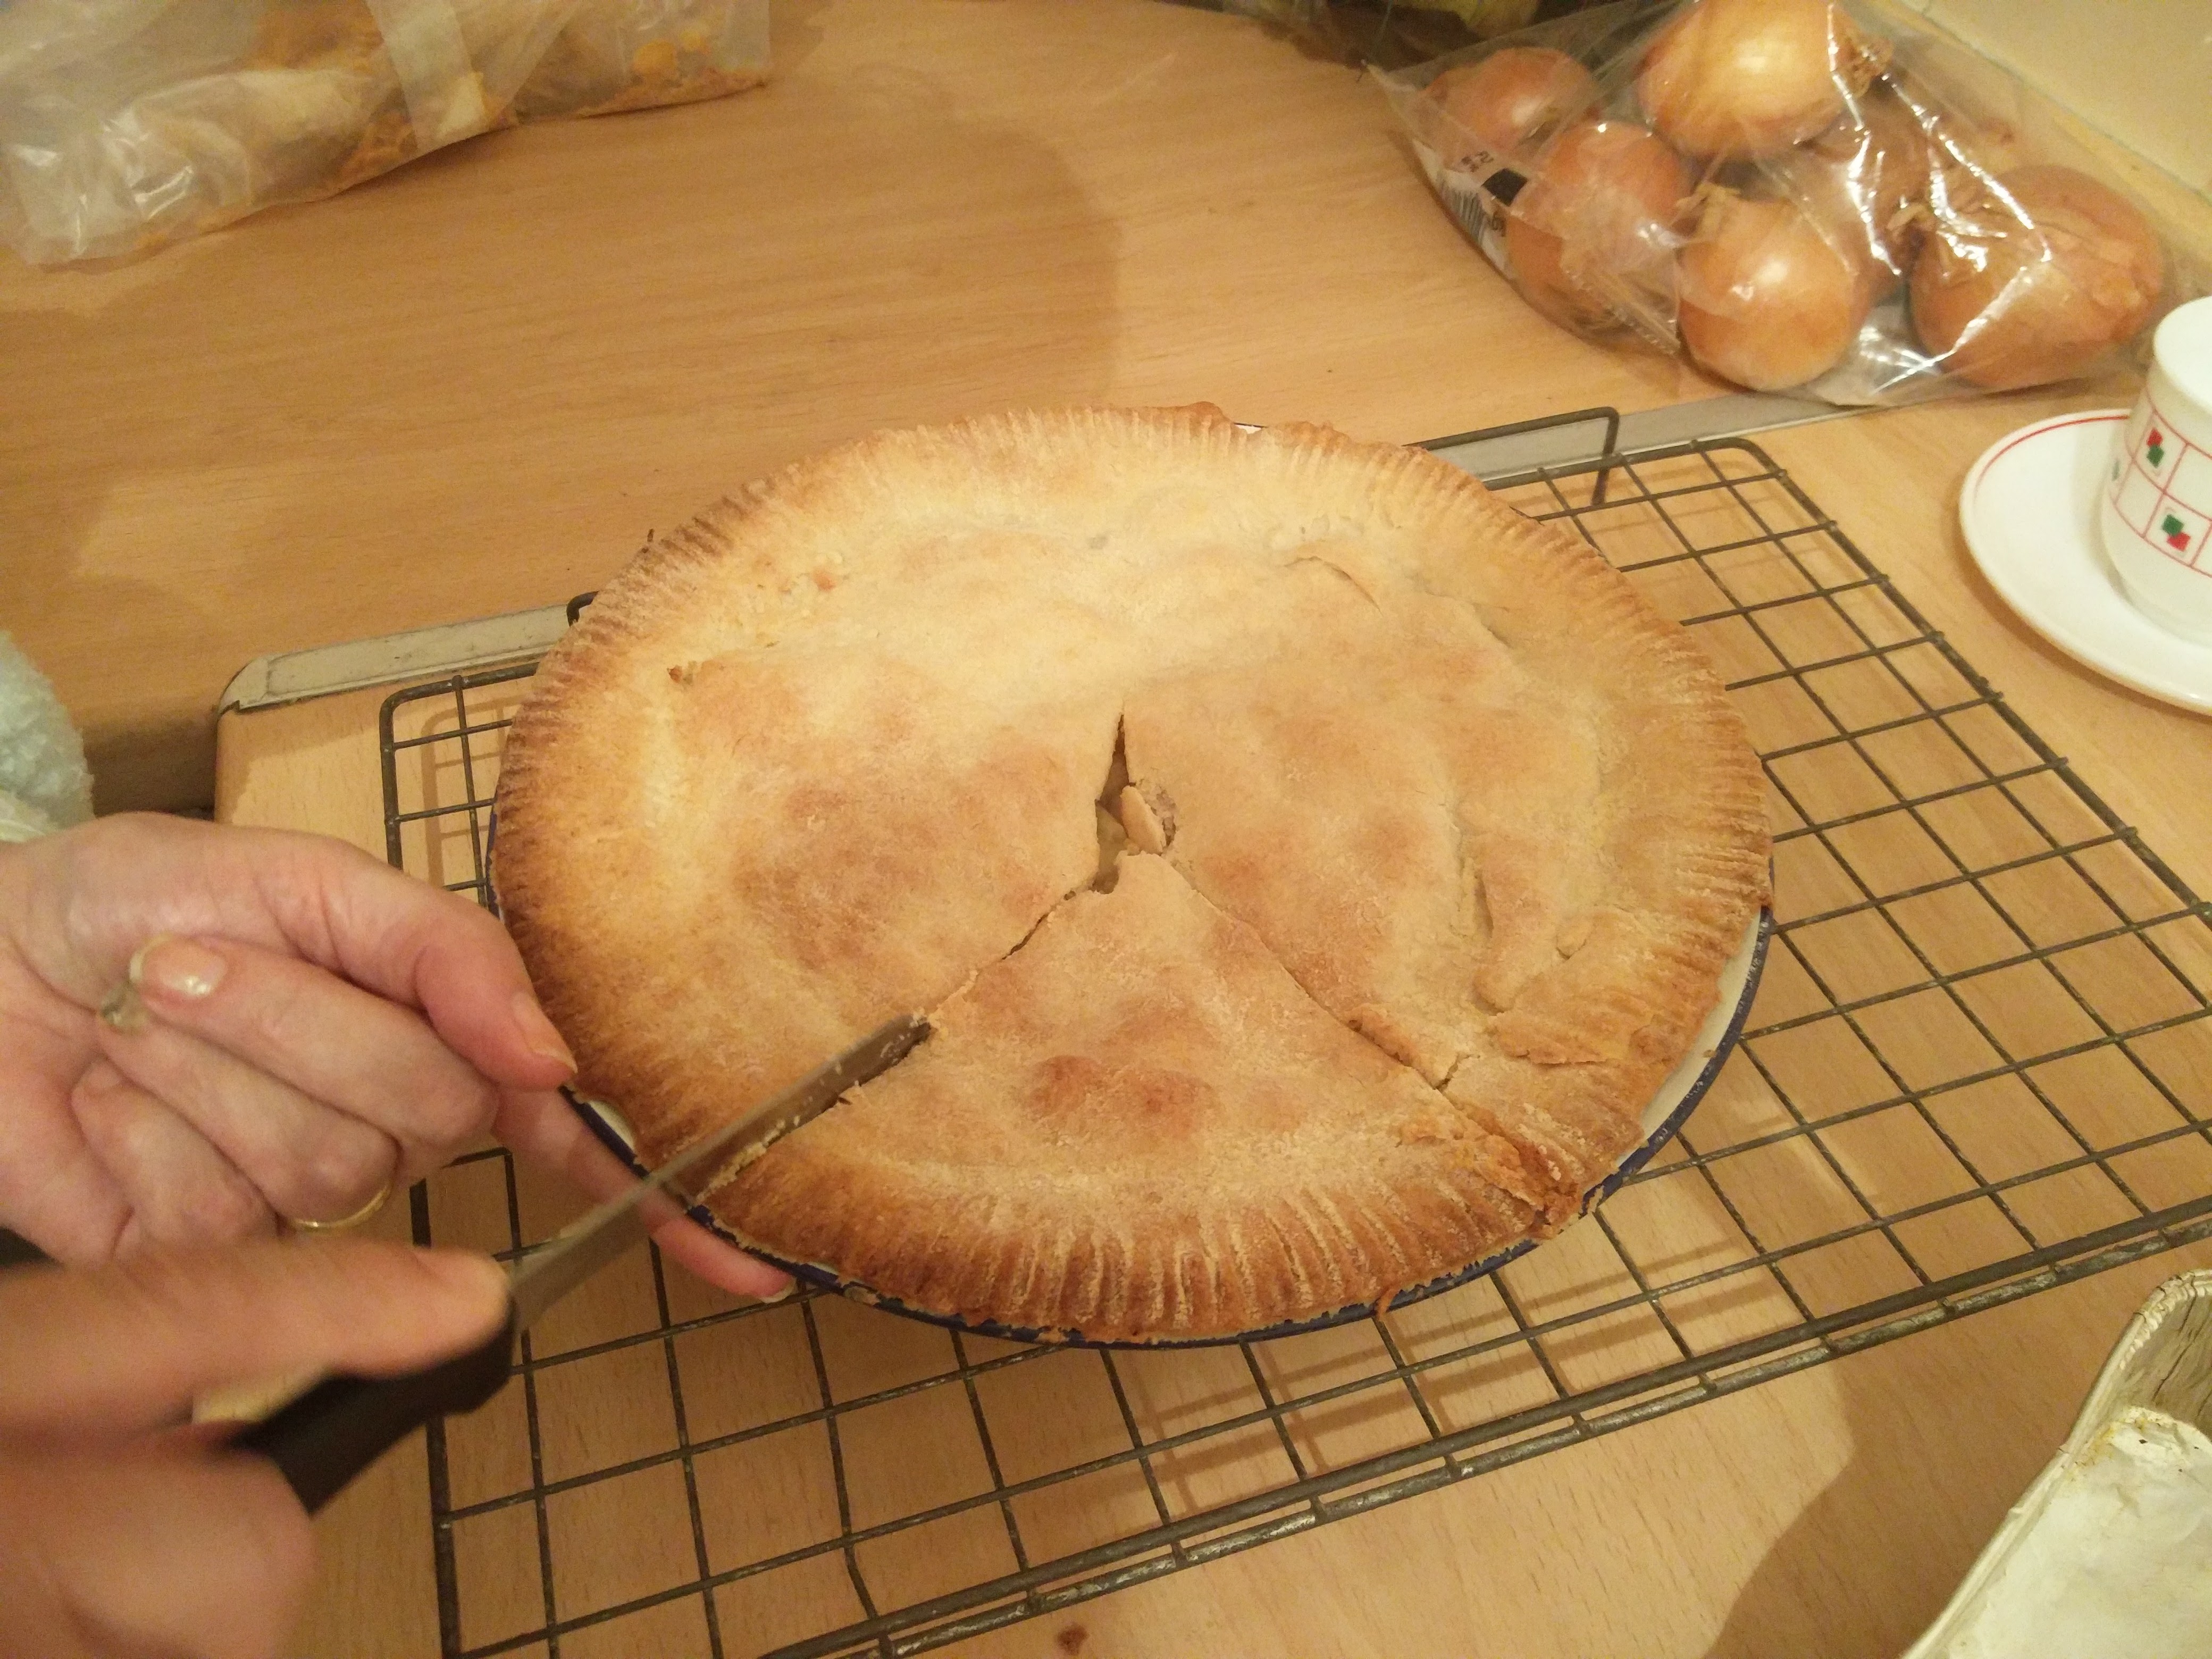
Leaving the tarts to cool for a hour or so (50 minutes according to the timestamps on the images) it was time to cut it up to serve. This was easier said than done, so I decided to just take some photos of this happening rather than having to do it myself.

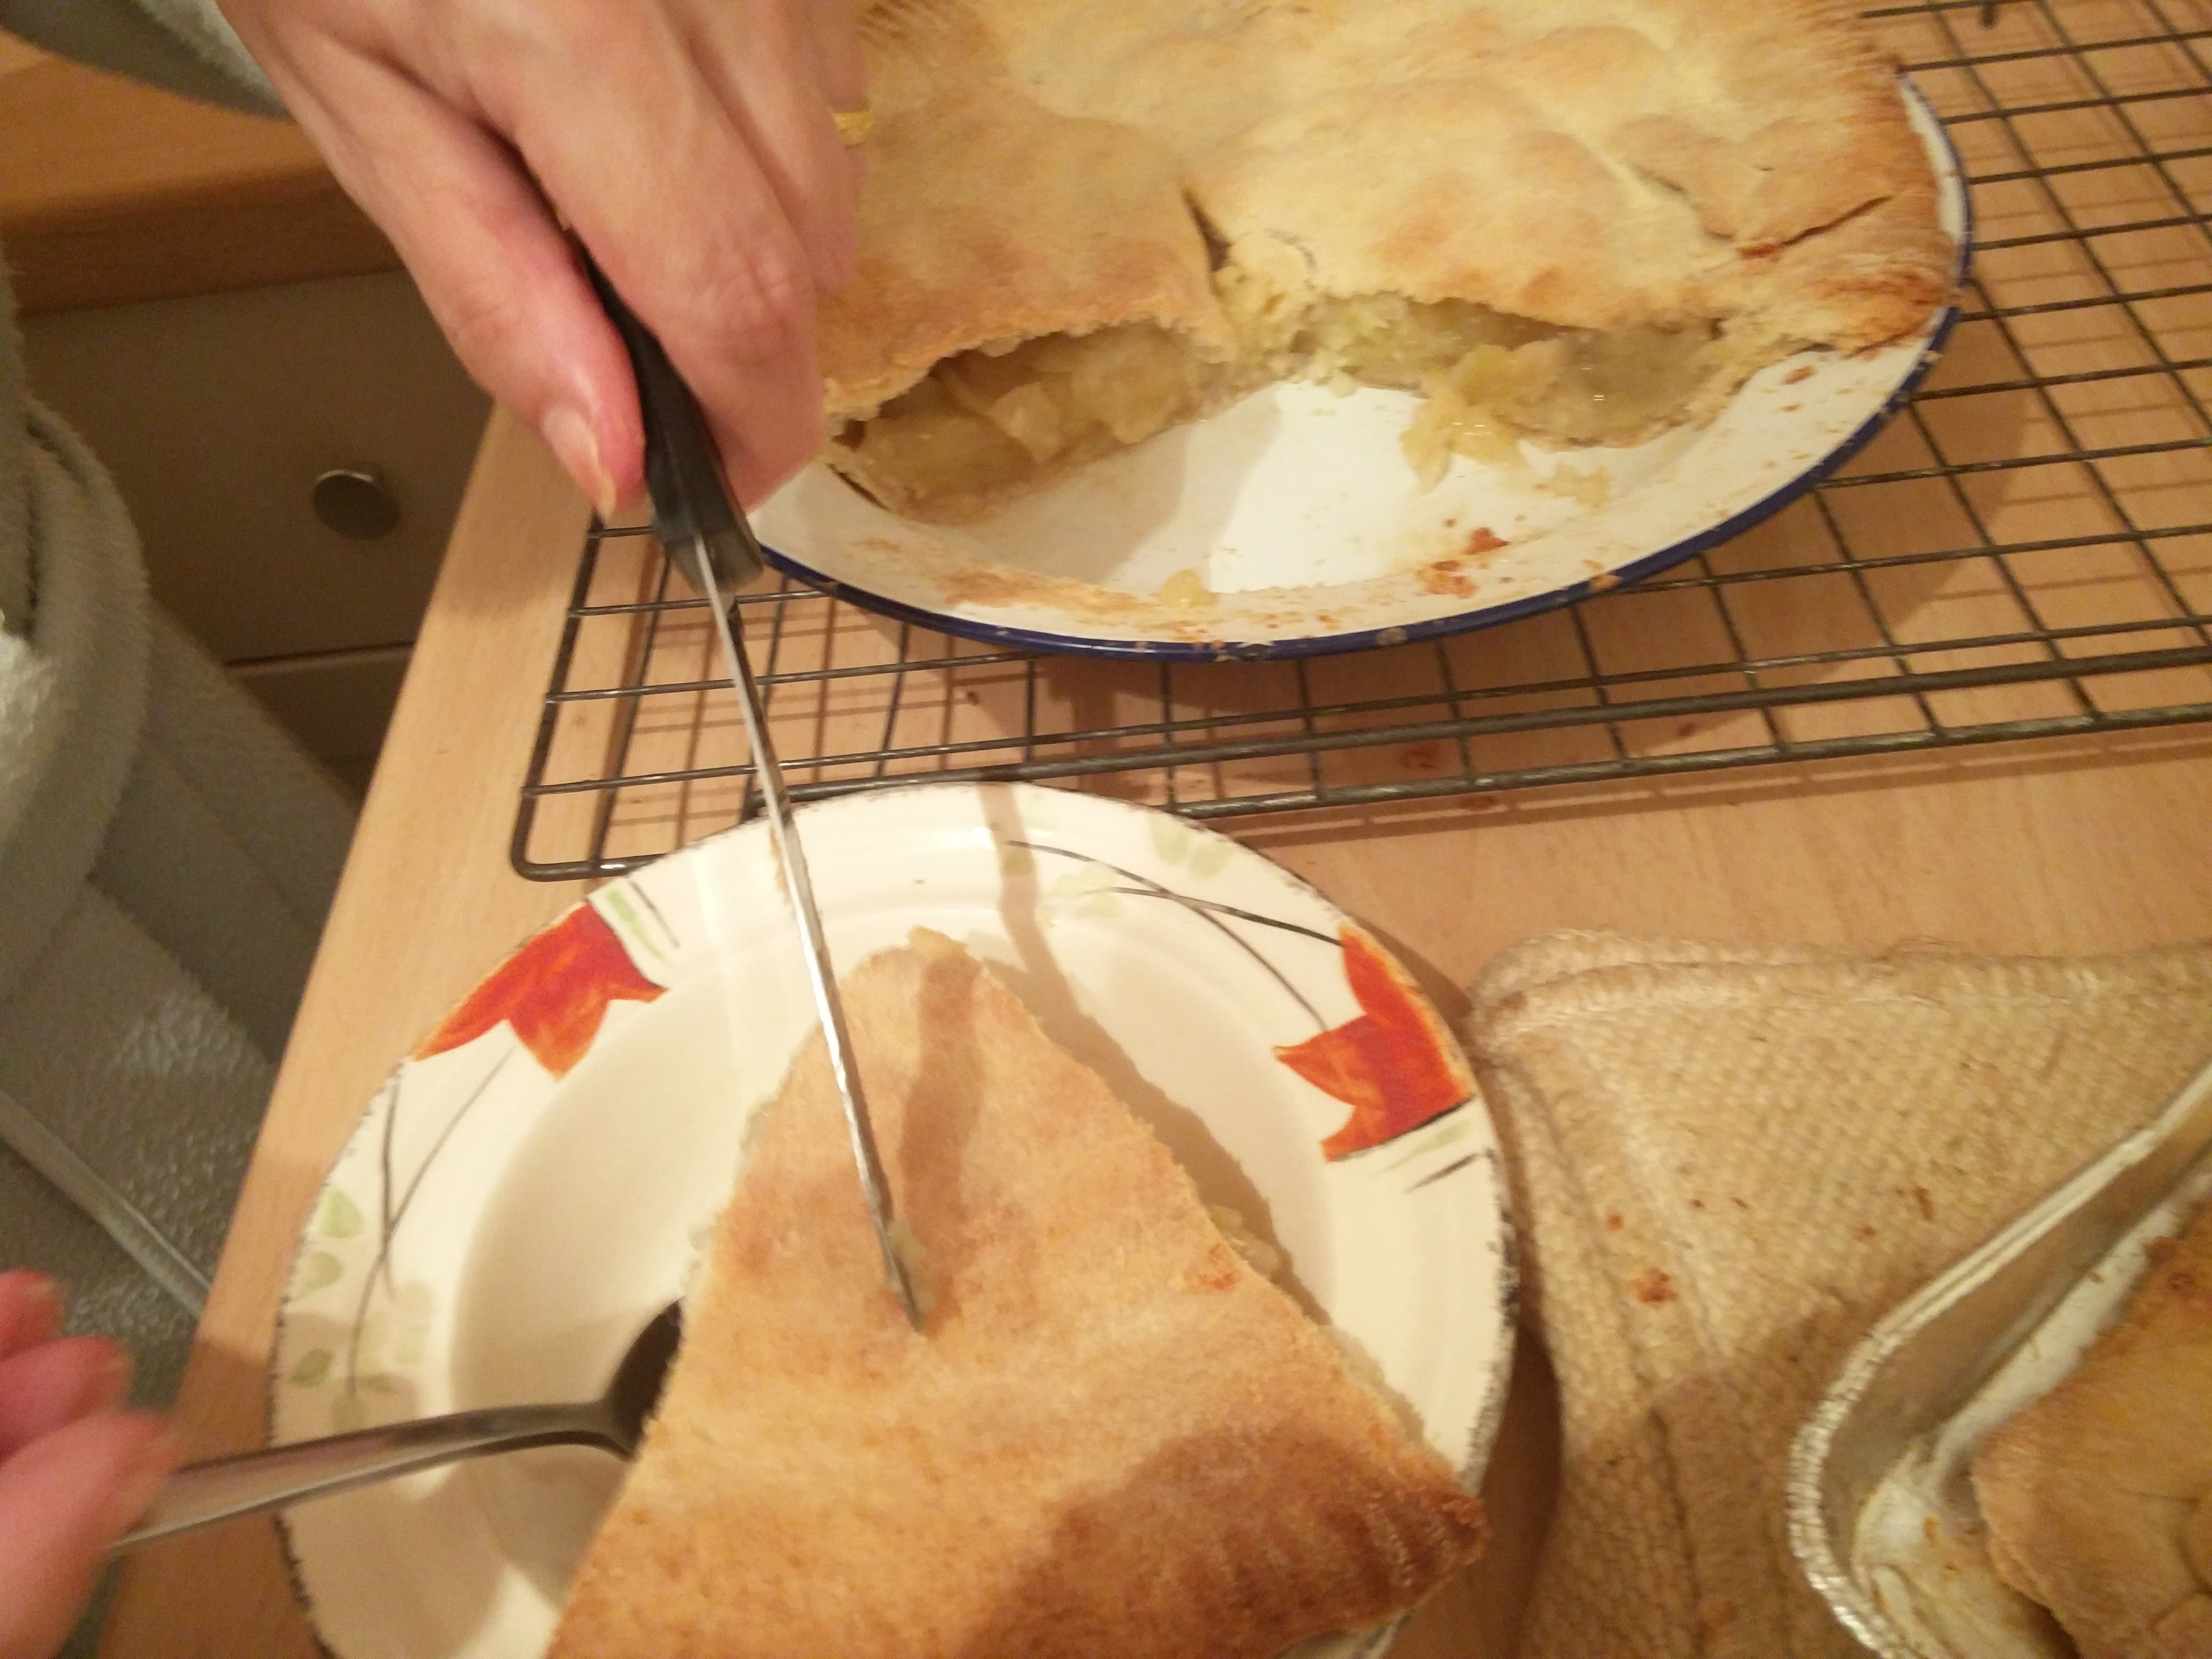
They say the proof of the pudding is in the eating, so that’s exactly what I did.
I don’t usually cook – if you discount microwave meals – and this was the first time I’ve ever made a tart so it was a fun learning experience.
Update 19th October 2016:
We still had some apples left over and we decided to make another tart. This time there wasn’t enough pastry left over to make a smaller tart, so I decorated the top of it instead. I think my artistry skills say it all…
