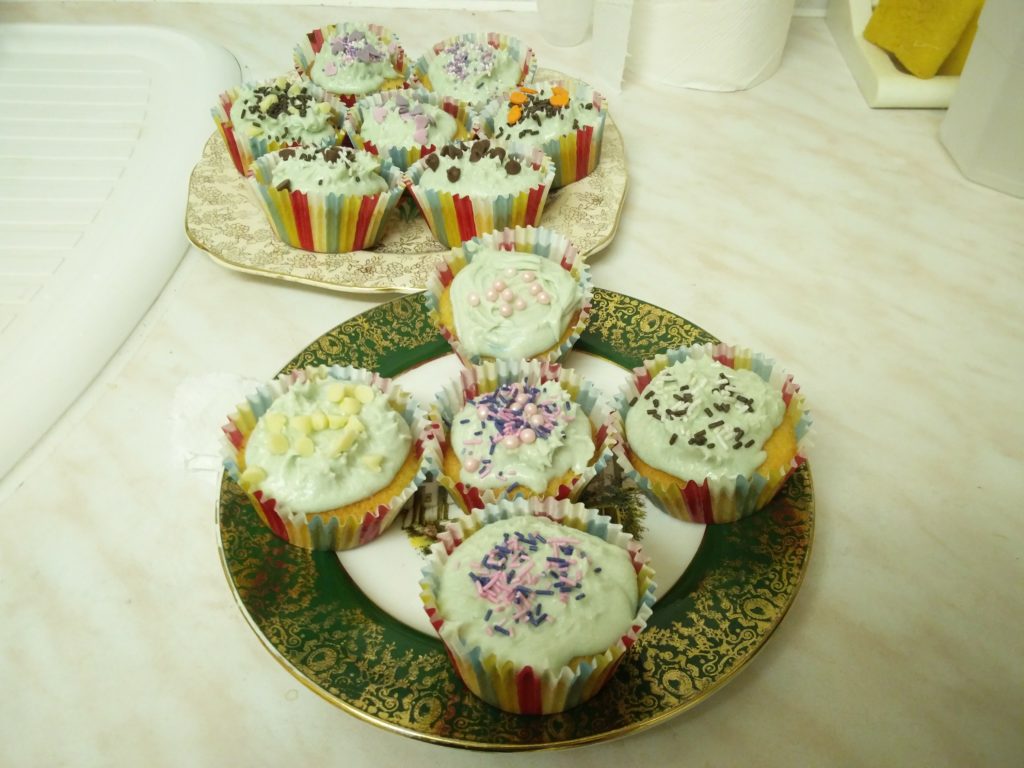
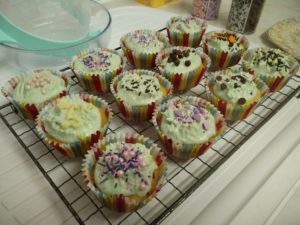
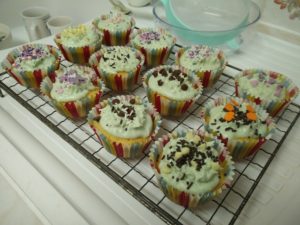
Don’t worry, that title will make sense soon. I promise! Anyway, you can probably guess this is another baking focussed post, as the feature image probably gave the game away. However, I’ll leave it as an exercise for the reader to see if I made fairy cakes or cupcakes (because I certainly don’t know!).
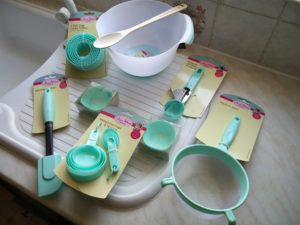
But, before we start on our intrepid journey, I’d like to introduce you to some new utensils. While I did receive some scales previously, I’ve had a birthday since then and as people know how much of a baking goddess chef I’ve become, I received a lot of new items.
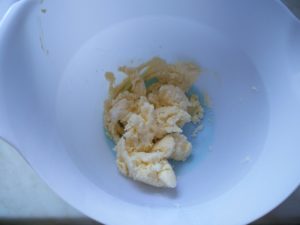
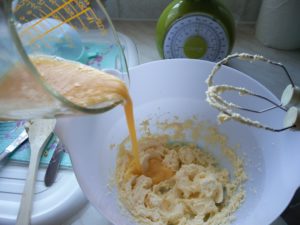
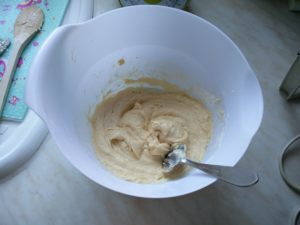
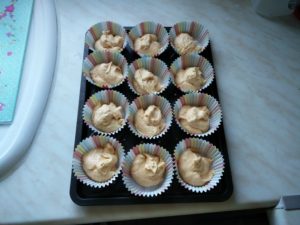
As I’ve done the sponge creation before, I shan’t spend too much time on this part. To sum it up, I combined sugar, butter, eggs and flour to create a batter. Here’s the montage of that happening.
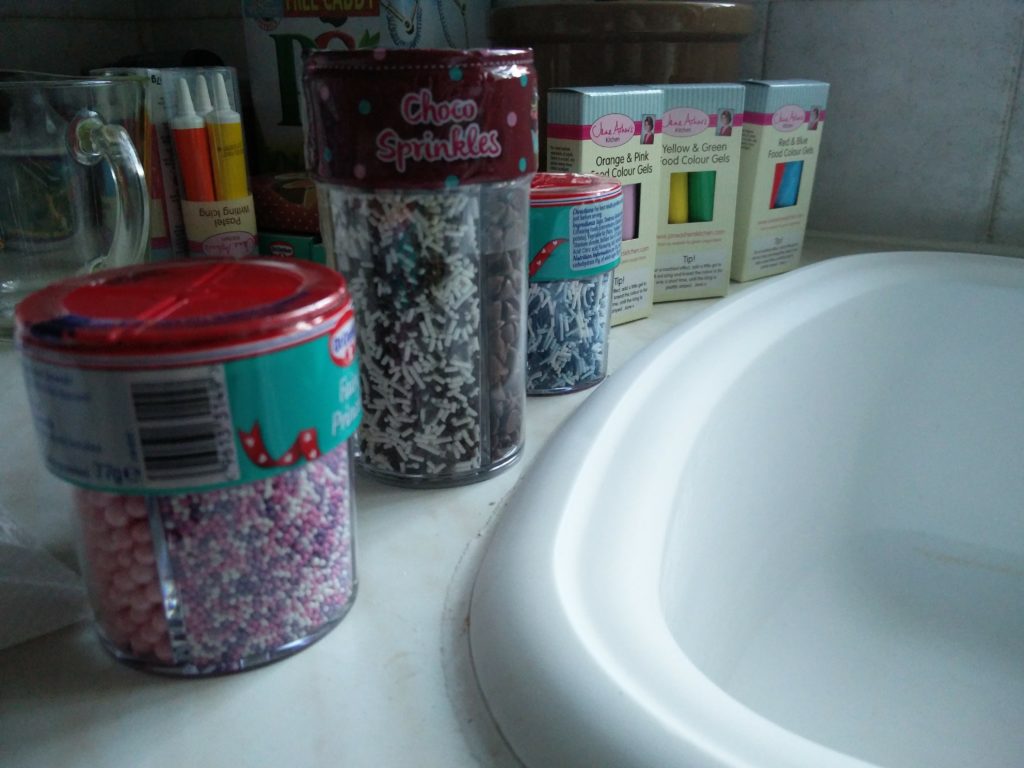
Once the cake batter mix had been created, it was time to add the food colouring. Another one of my presents was a selection of food colouring gels, so I’d picked orange for the cake (as yellow wouldn’t show, green is for Halloween, red for Christmas and pink for Valentines) and blue for the icing to complement it (you can see where the title came from now).
It’s well known that you should only put in a small amount of colouring as it’s strong and can stain. So, that’s exactly what we did.
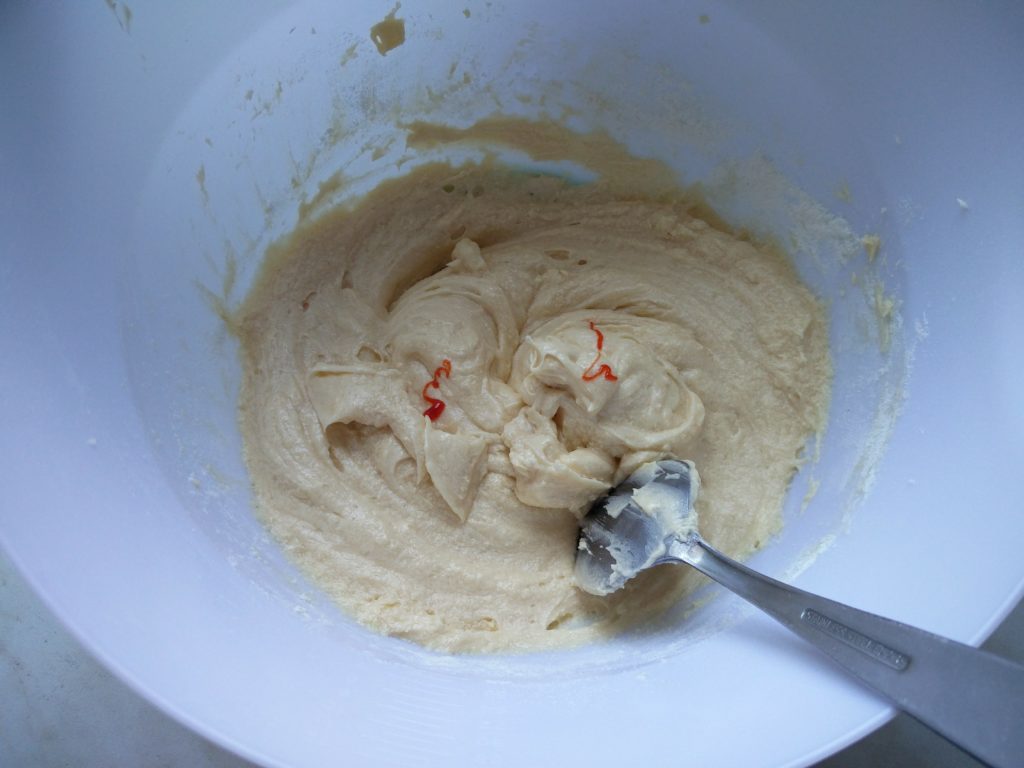
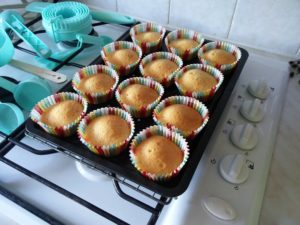
After putting in the whole tube of the colouring and mixing it in, here’s how orange it turned out.
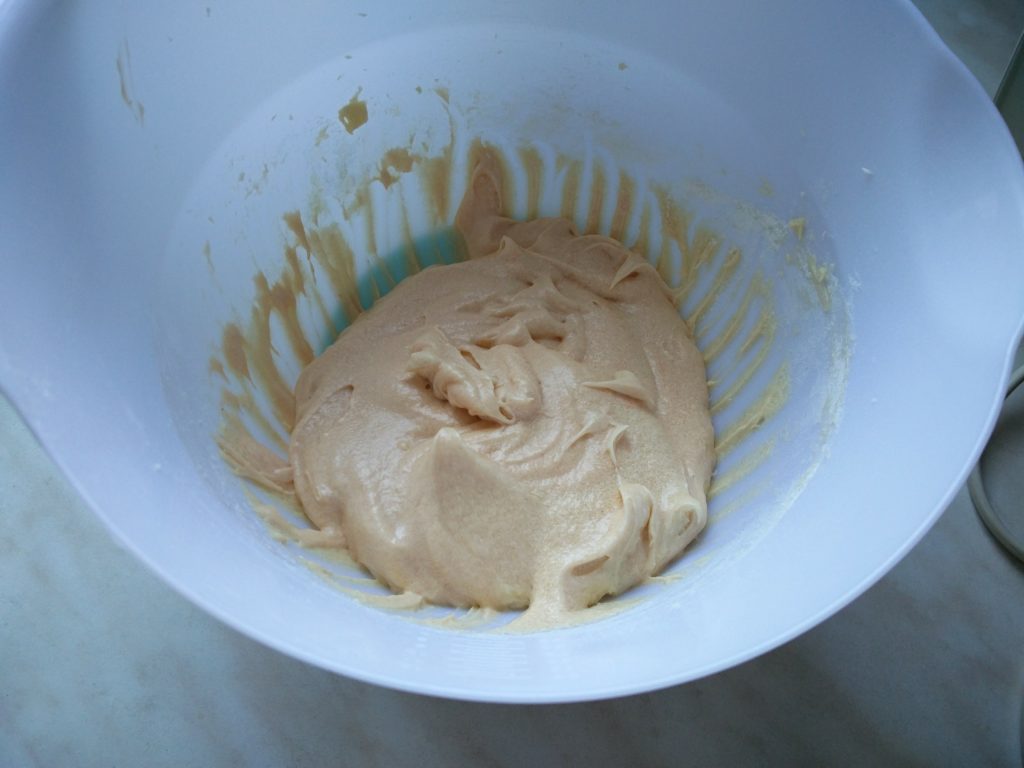
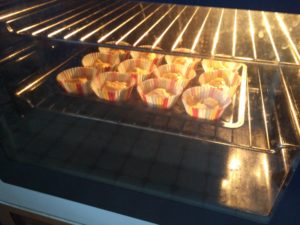
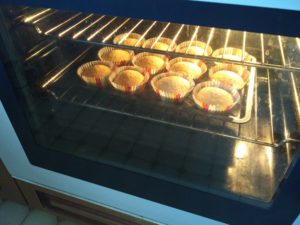
Oh well, it was worth a try. Following that, it was time to pour the mix into cake cases and pop it into the oven for a few minutes for them to bake and rise. There was a lot of cake batter to go around, despite the recipe saying it would make 12 cakes.
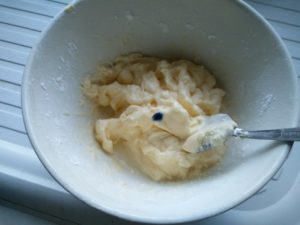
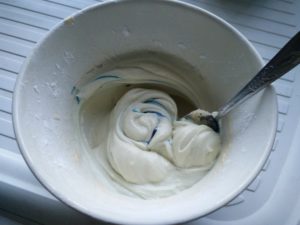
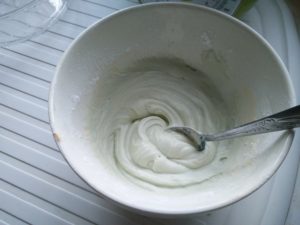
Once the cakes had cooled it was time to put the icing on them. This involved mixing butter and icing sugar together, along with a bit of warm water, and the blue food colouring. We started with a small amount again, then added quite a bit more. It turned out green(-ish)!
However, once it was spooned out of the bowl and onto the cakes it did look more of a blue colour!
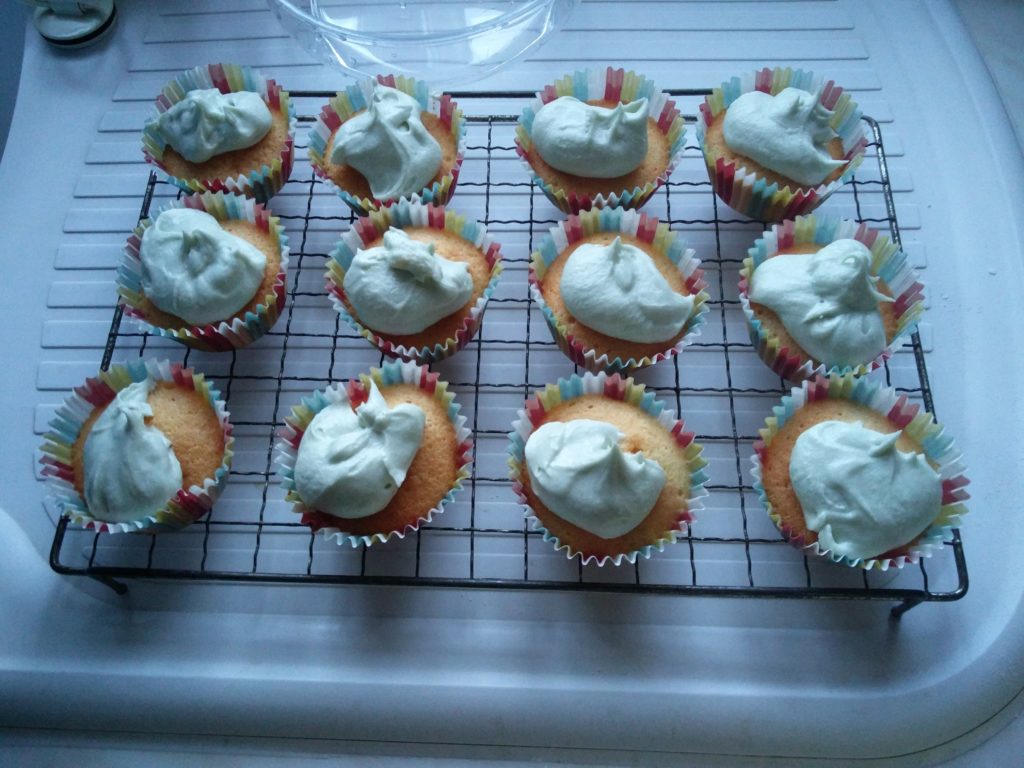
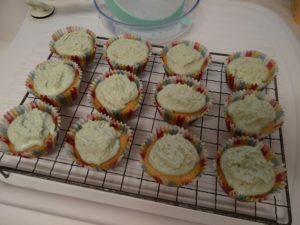
To add some texture to the icing, a fork was used to spike the icing up. I did try to swirl the icing around, but found it much easier to spread it over the top of the cake with a fork, then poke into it a number of times to create the effect.
If you can remember what you weren’t supposed to see from earlier (when you saw the cake toppings), it was time to put the toppings onto the icing. As there were a few to select from – there was four types per shaker – I put one of each type on the first eight cakes, and mixed them together for the final four. You may also be wondering why I have only used two out of the three topping containers from earlier, and the reason is that I didn’t think putting blue onto blue would work, so put it away (this was before I knew the icing wasn’t going to be a strong colour).
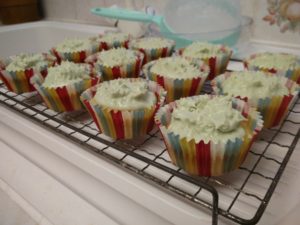
Finally, the cakes were all looking lovely and ready for eating!
