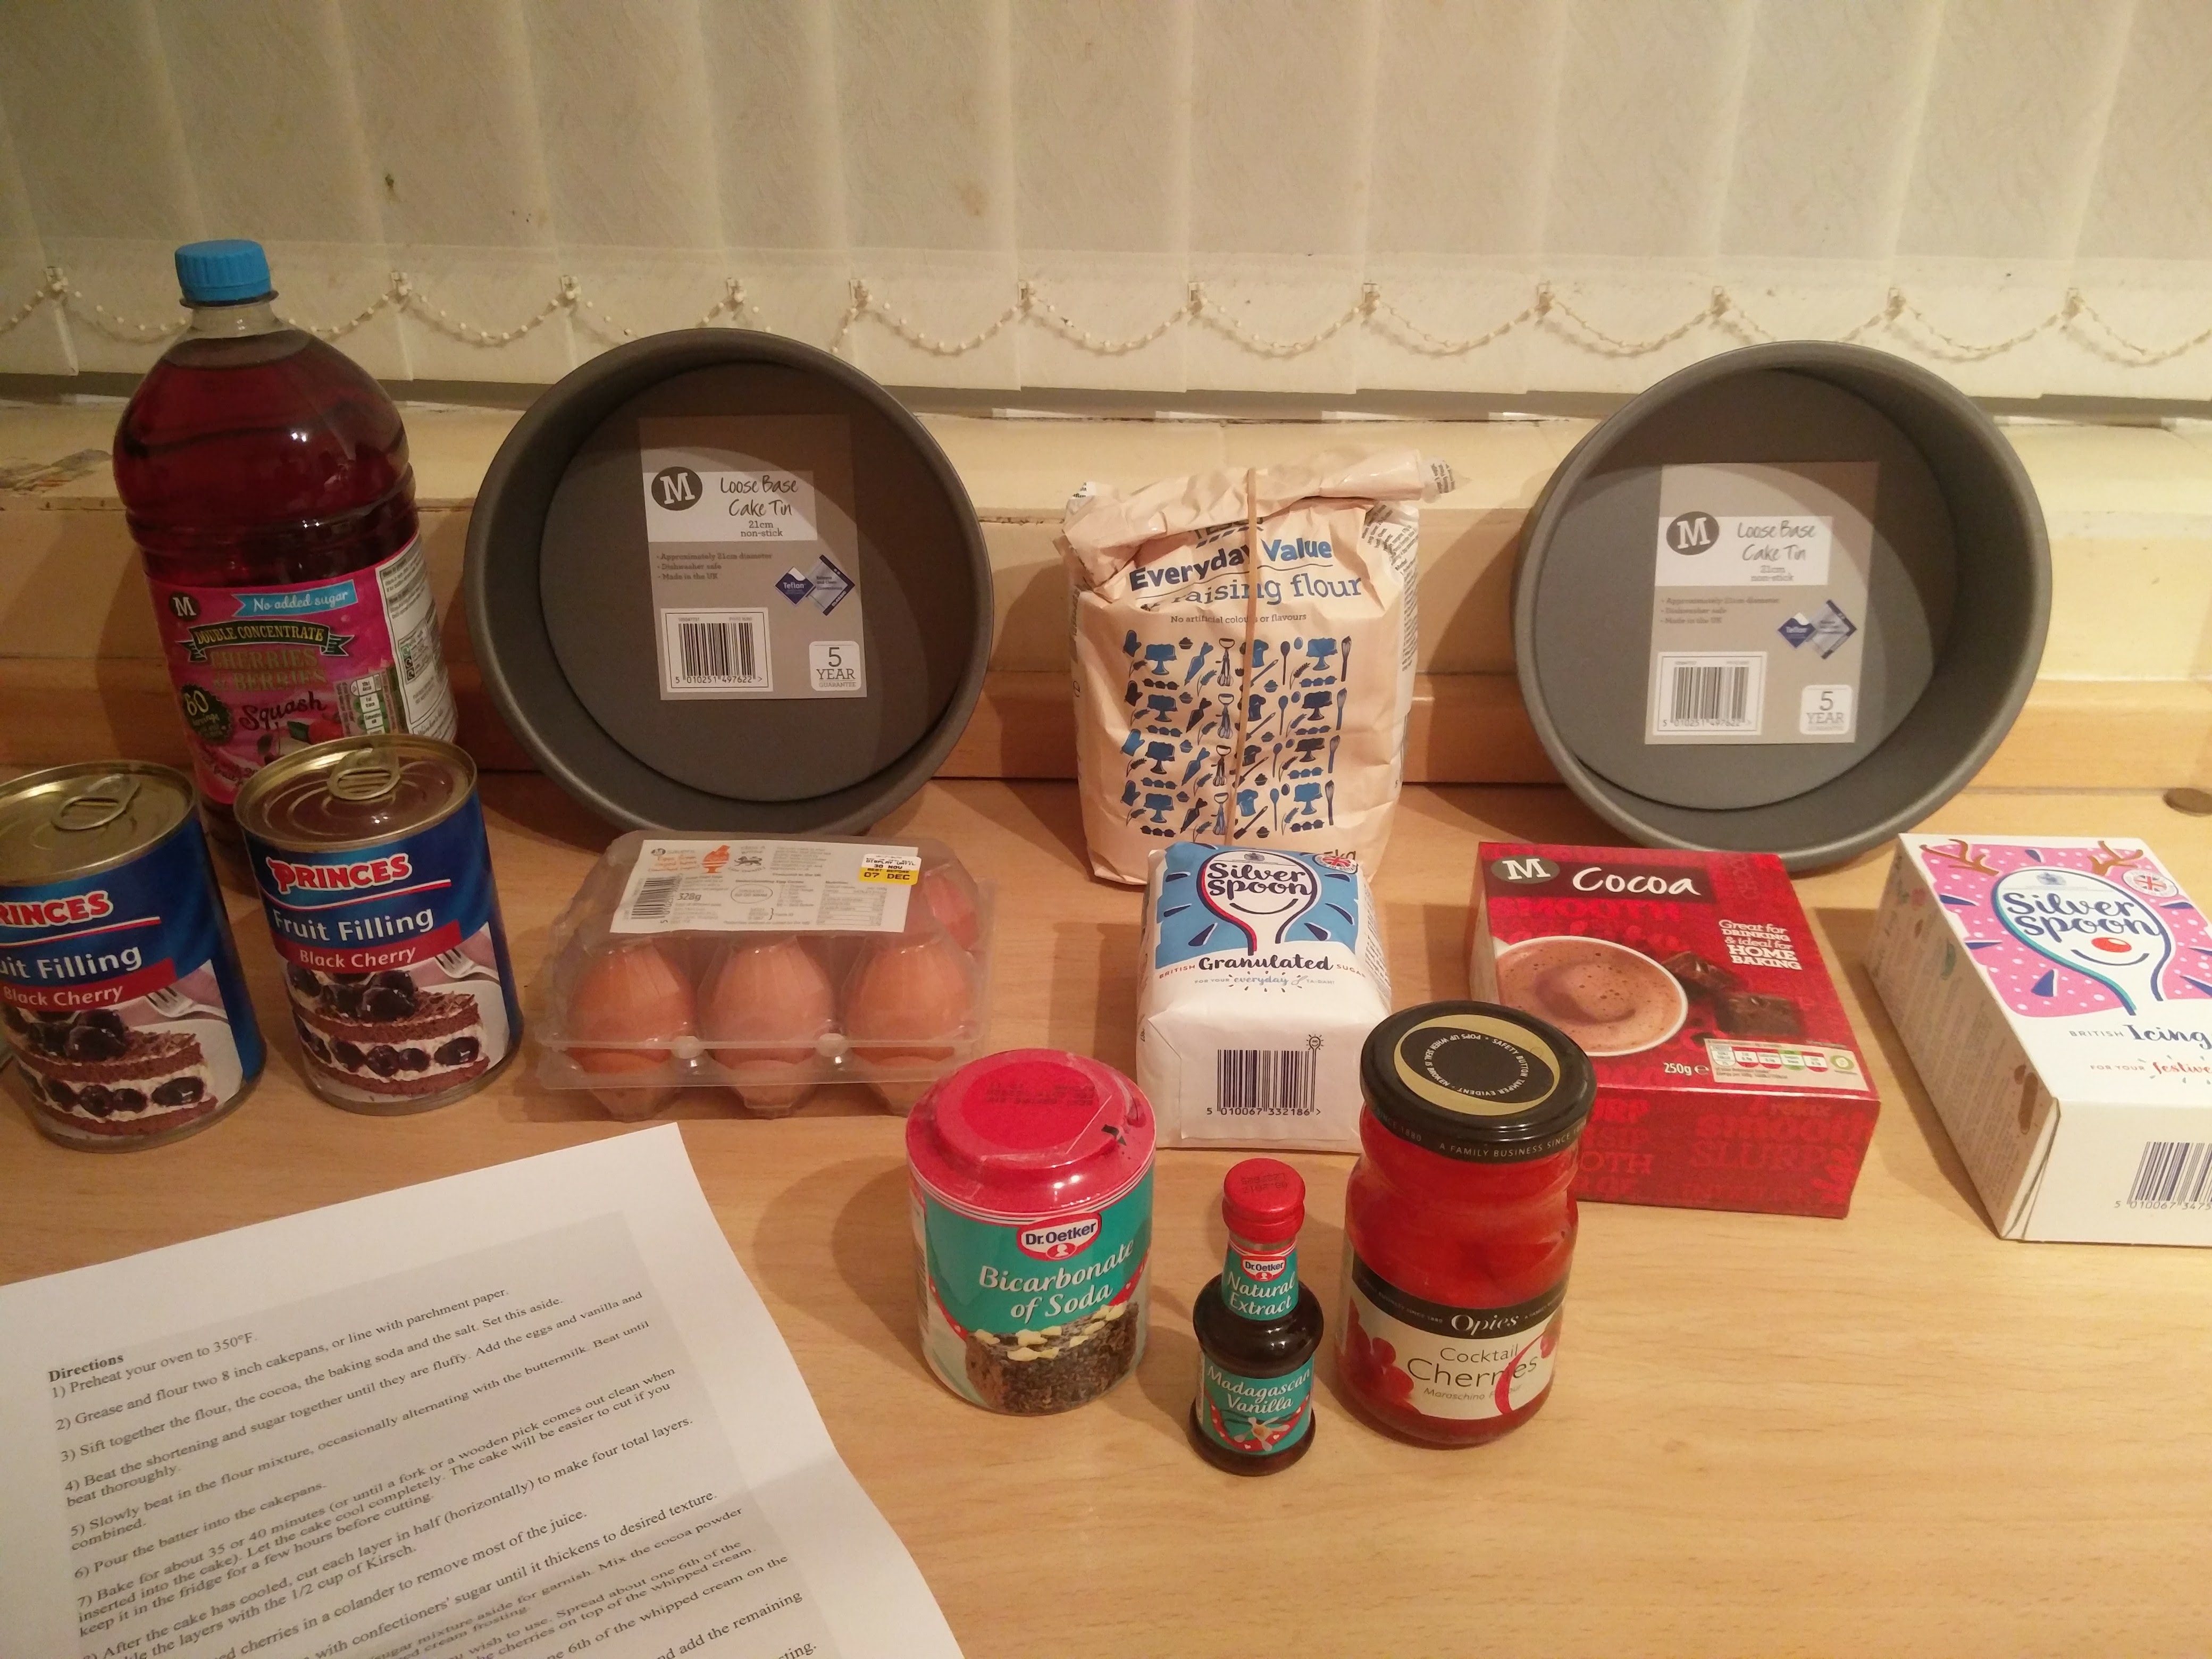
Since I’ve started on my baking journey I’ve found out that it’s quite a lot of fun. As my family were away this week, leaving me on my own, I decided to try and challenge myself to see what I could make, along with giving them a surprise when they came off holiday. After spending a few minutes thinking what food item to make, there was really only one famous cake that came to mind. OK, that was a lie… I didn’t have to think about it at all.
The first test that I had to complete was to find a recipe to use. One that was edible. After that, I needed to find the ingredients that would be used. To my surprise, my local supermarket had all of them in stock, although it did take 3 journeys to get it all home (one to check the items were in stock, one for cold products, one for the remaining items). Finally I had them all together and was ready to begin the test proper.
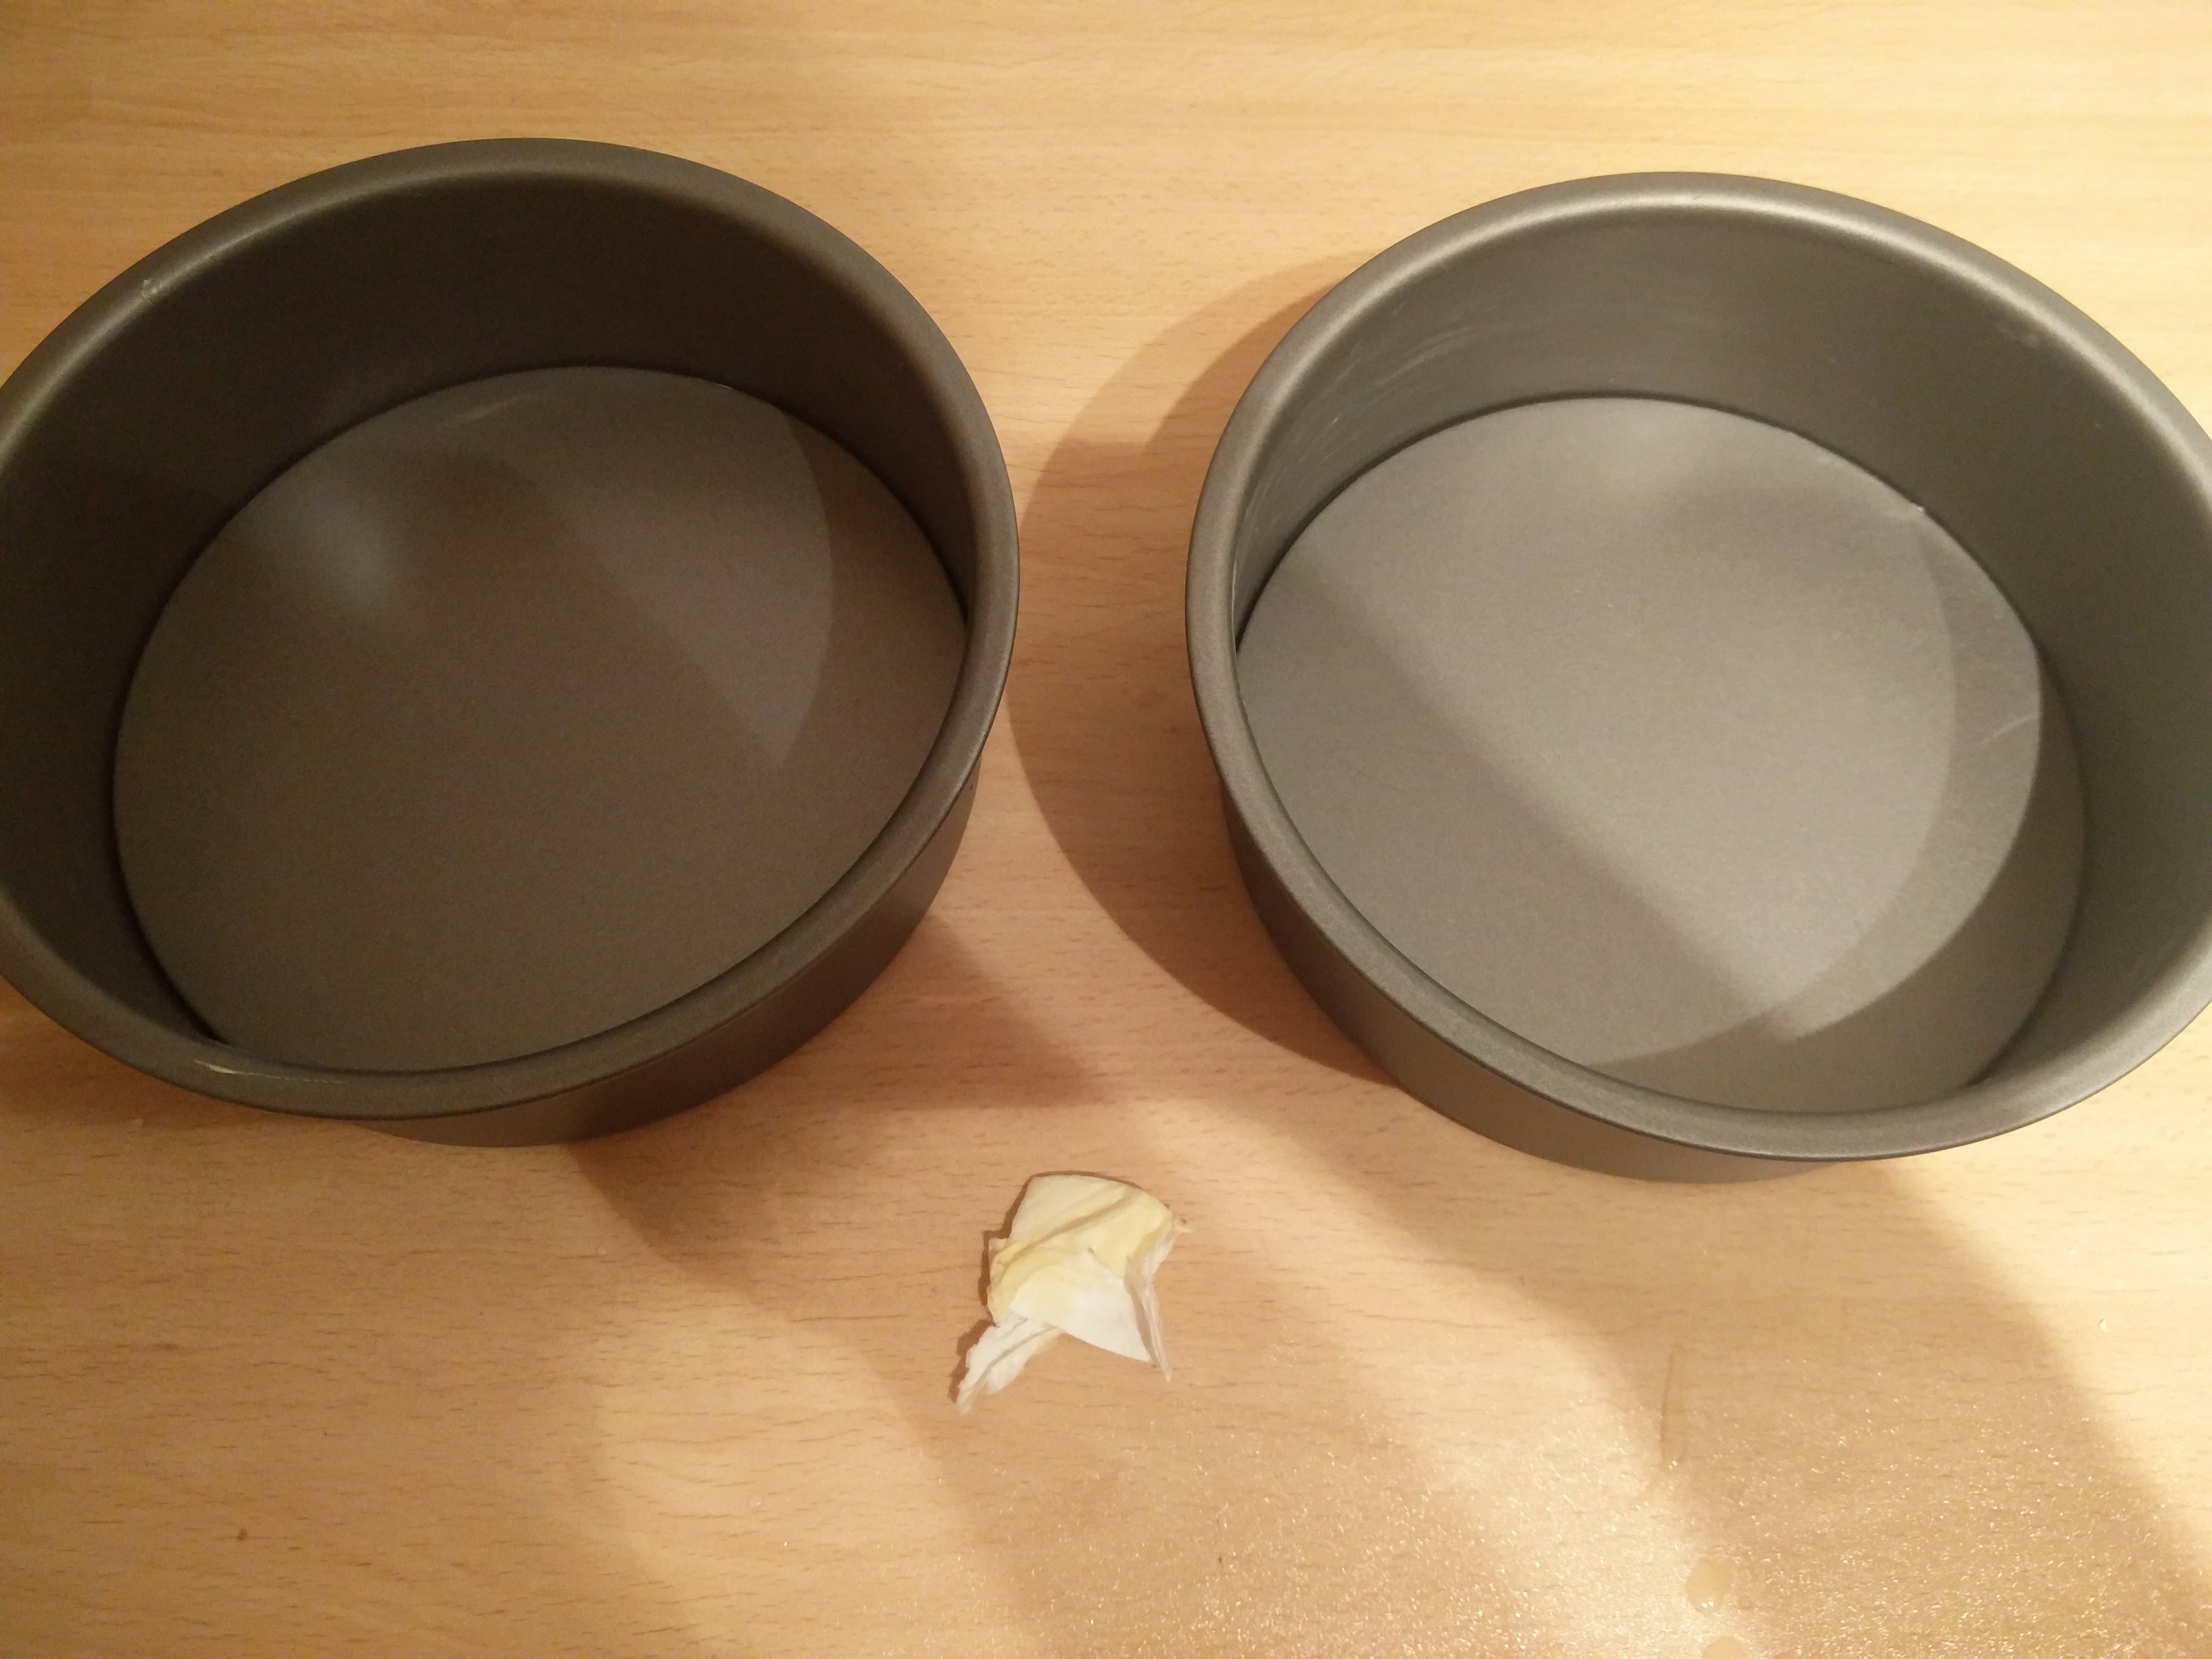
In hindsight, starting this at 9 o’clock at night probably wasn’t my greatest idea ever, but little did I know how long it would take. The first thing to do according to the recipe was to grease the baking tins (actually, it first said to turn on the oven, but I thought that would just be wasting power). Although they were Teflon coated, the advice on the Internet seemed to suggest to coat them anyway.
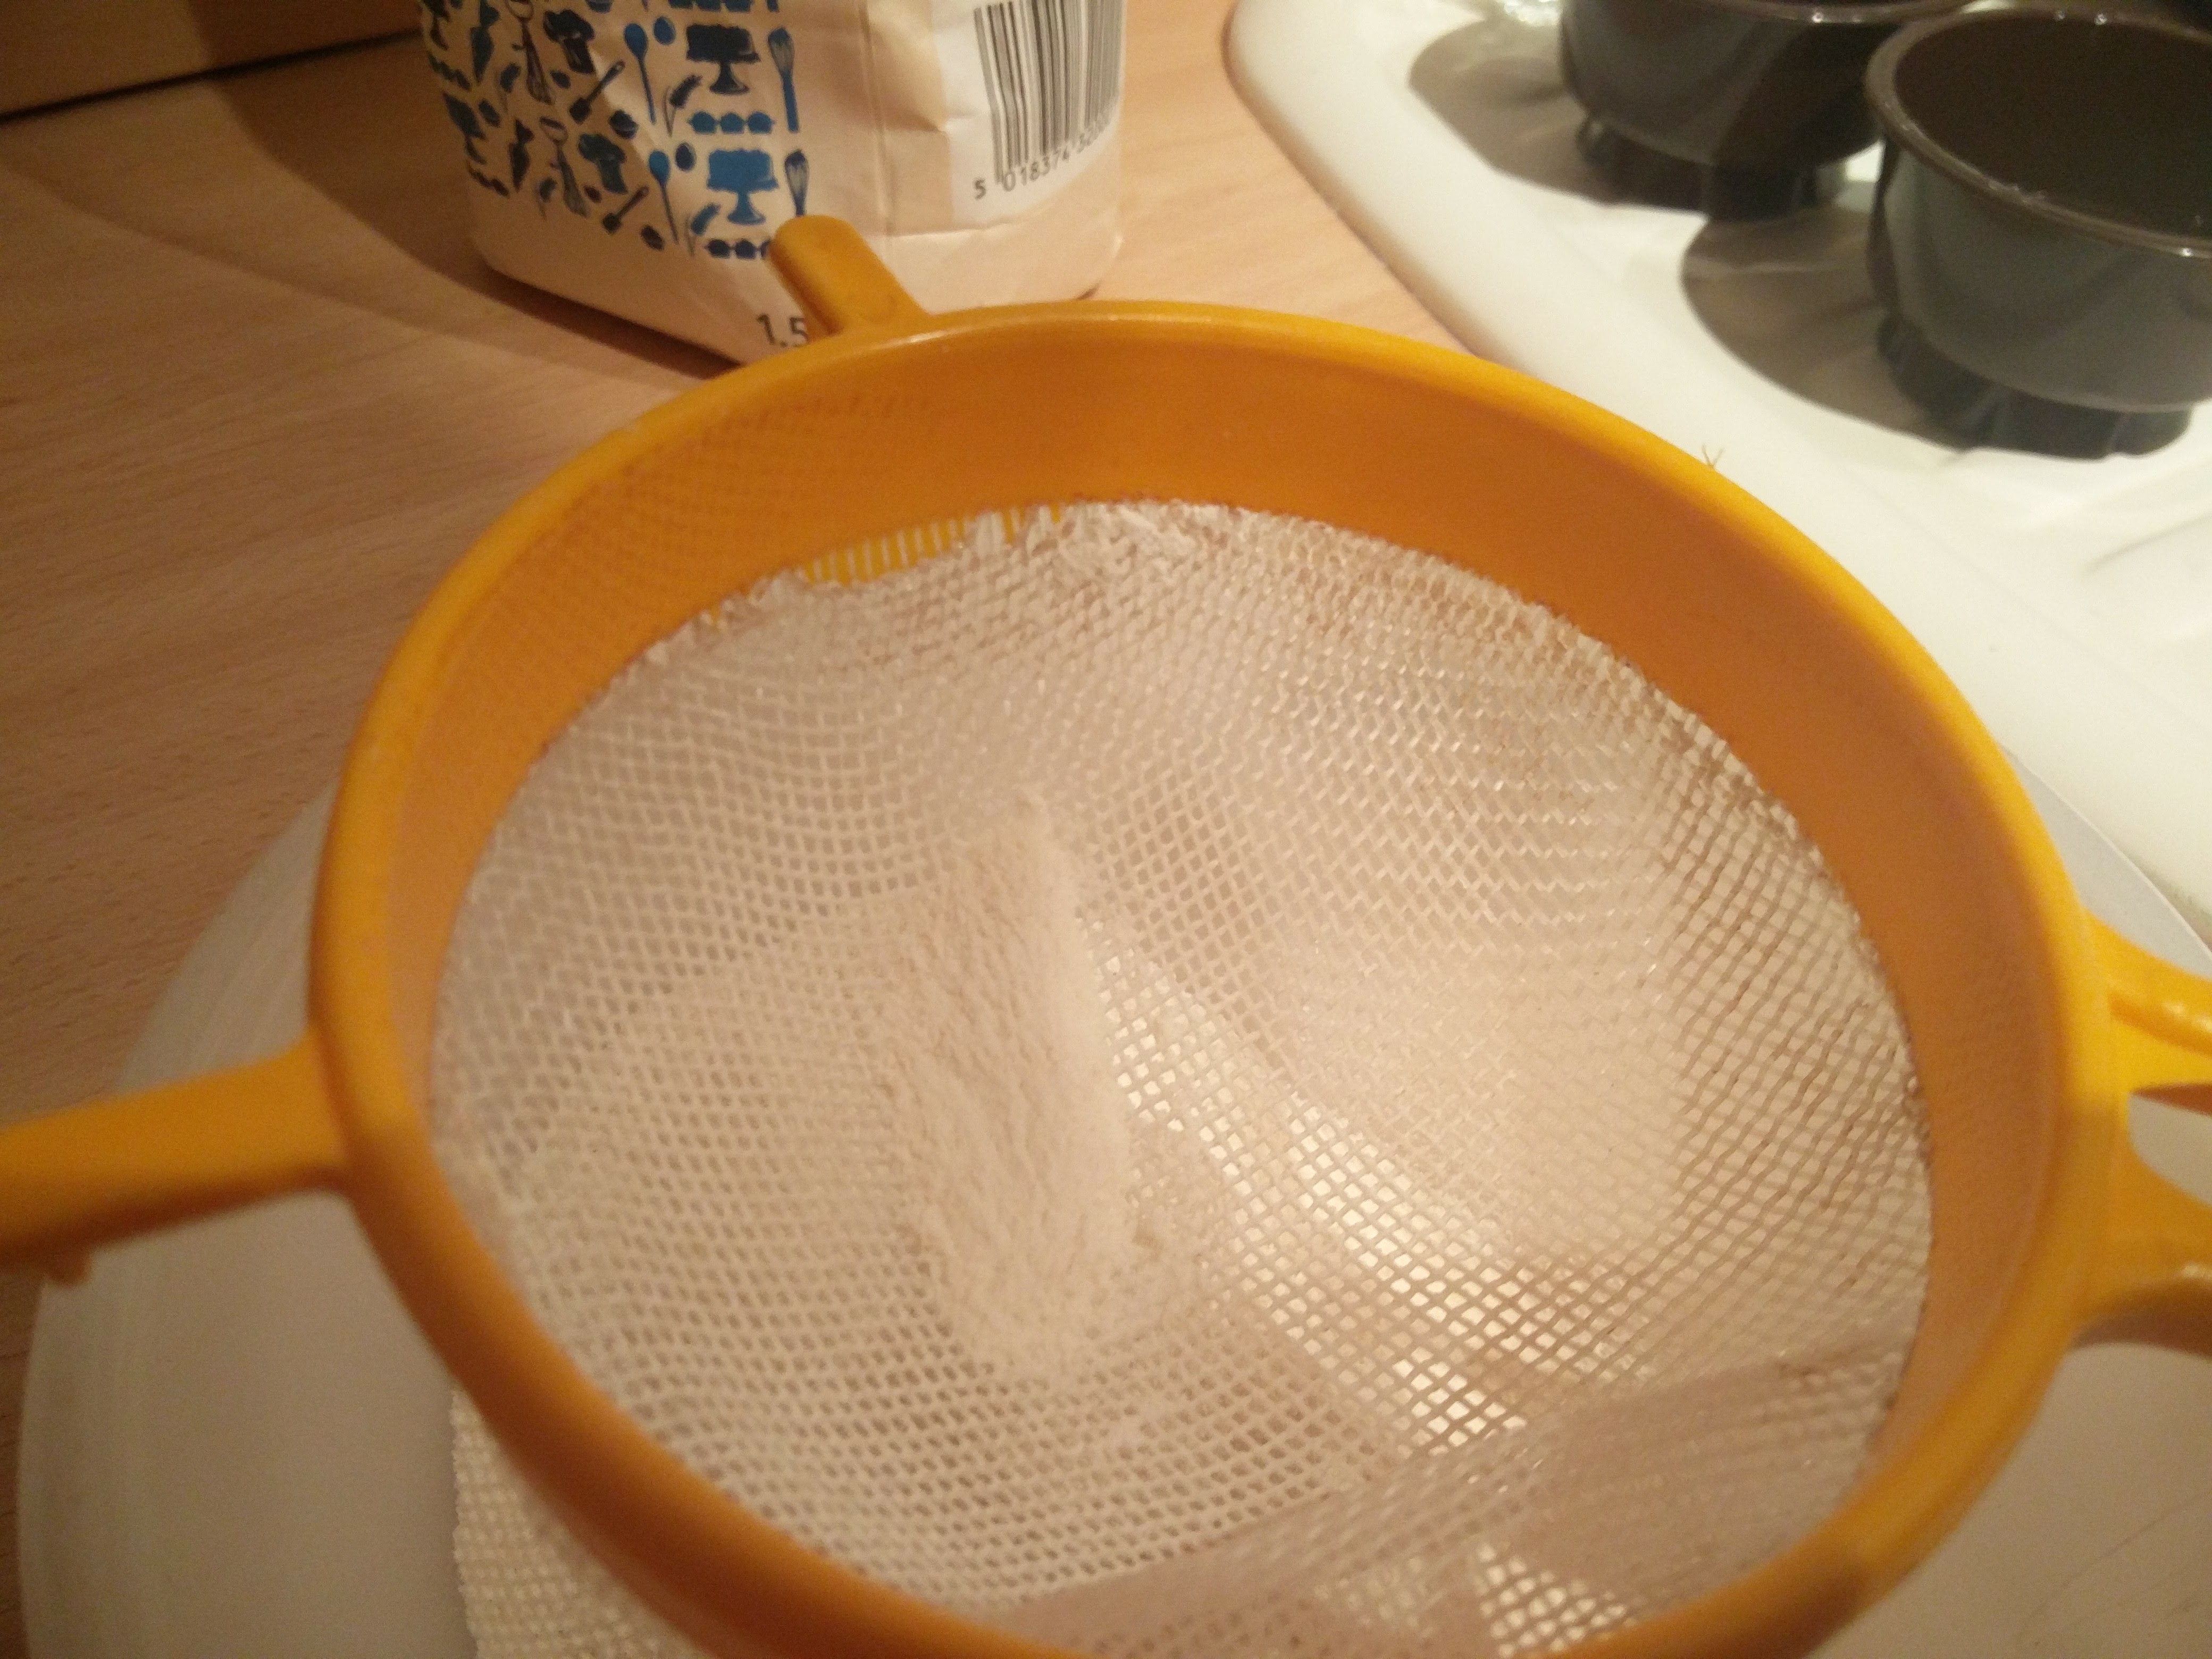
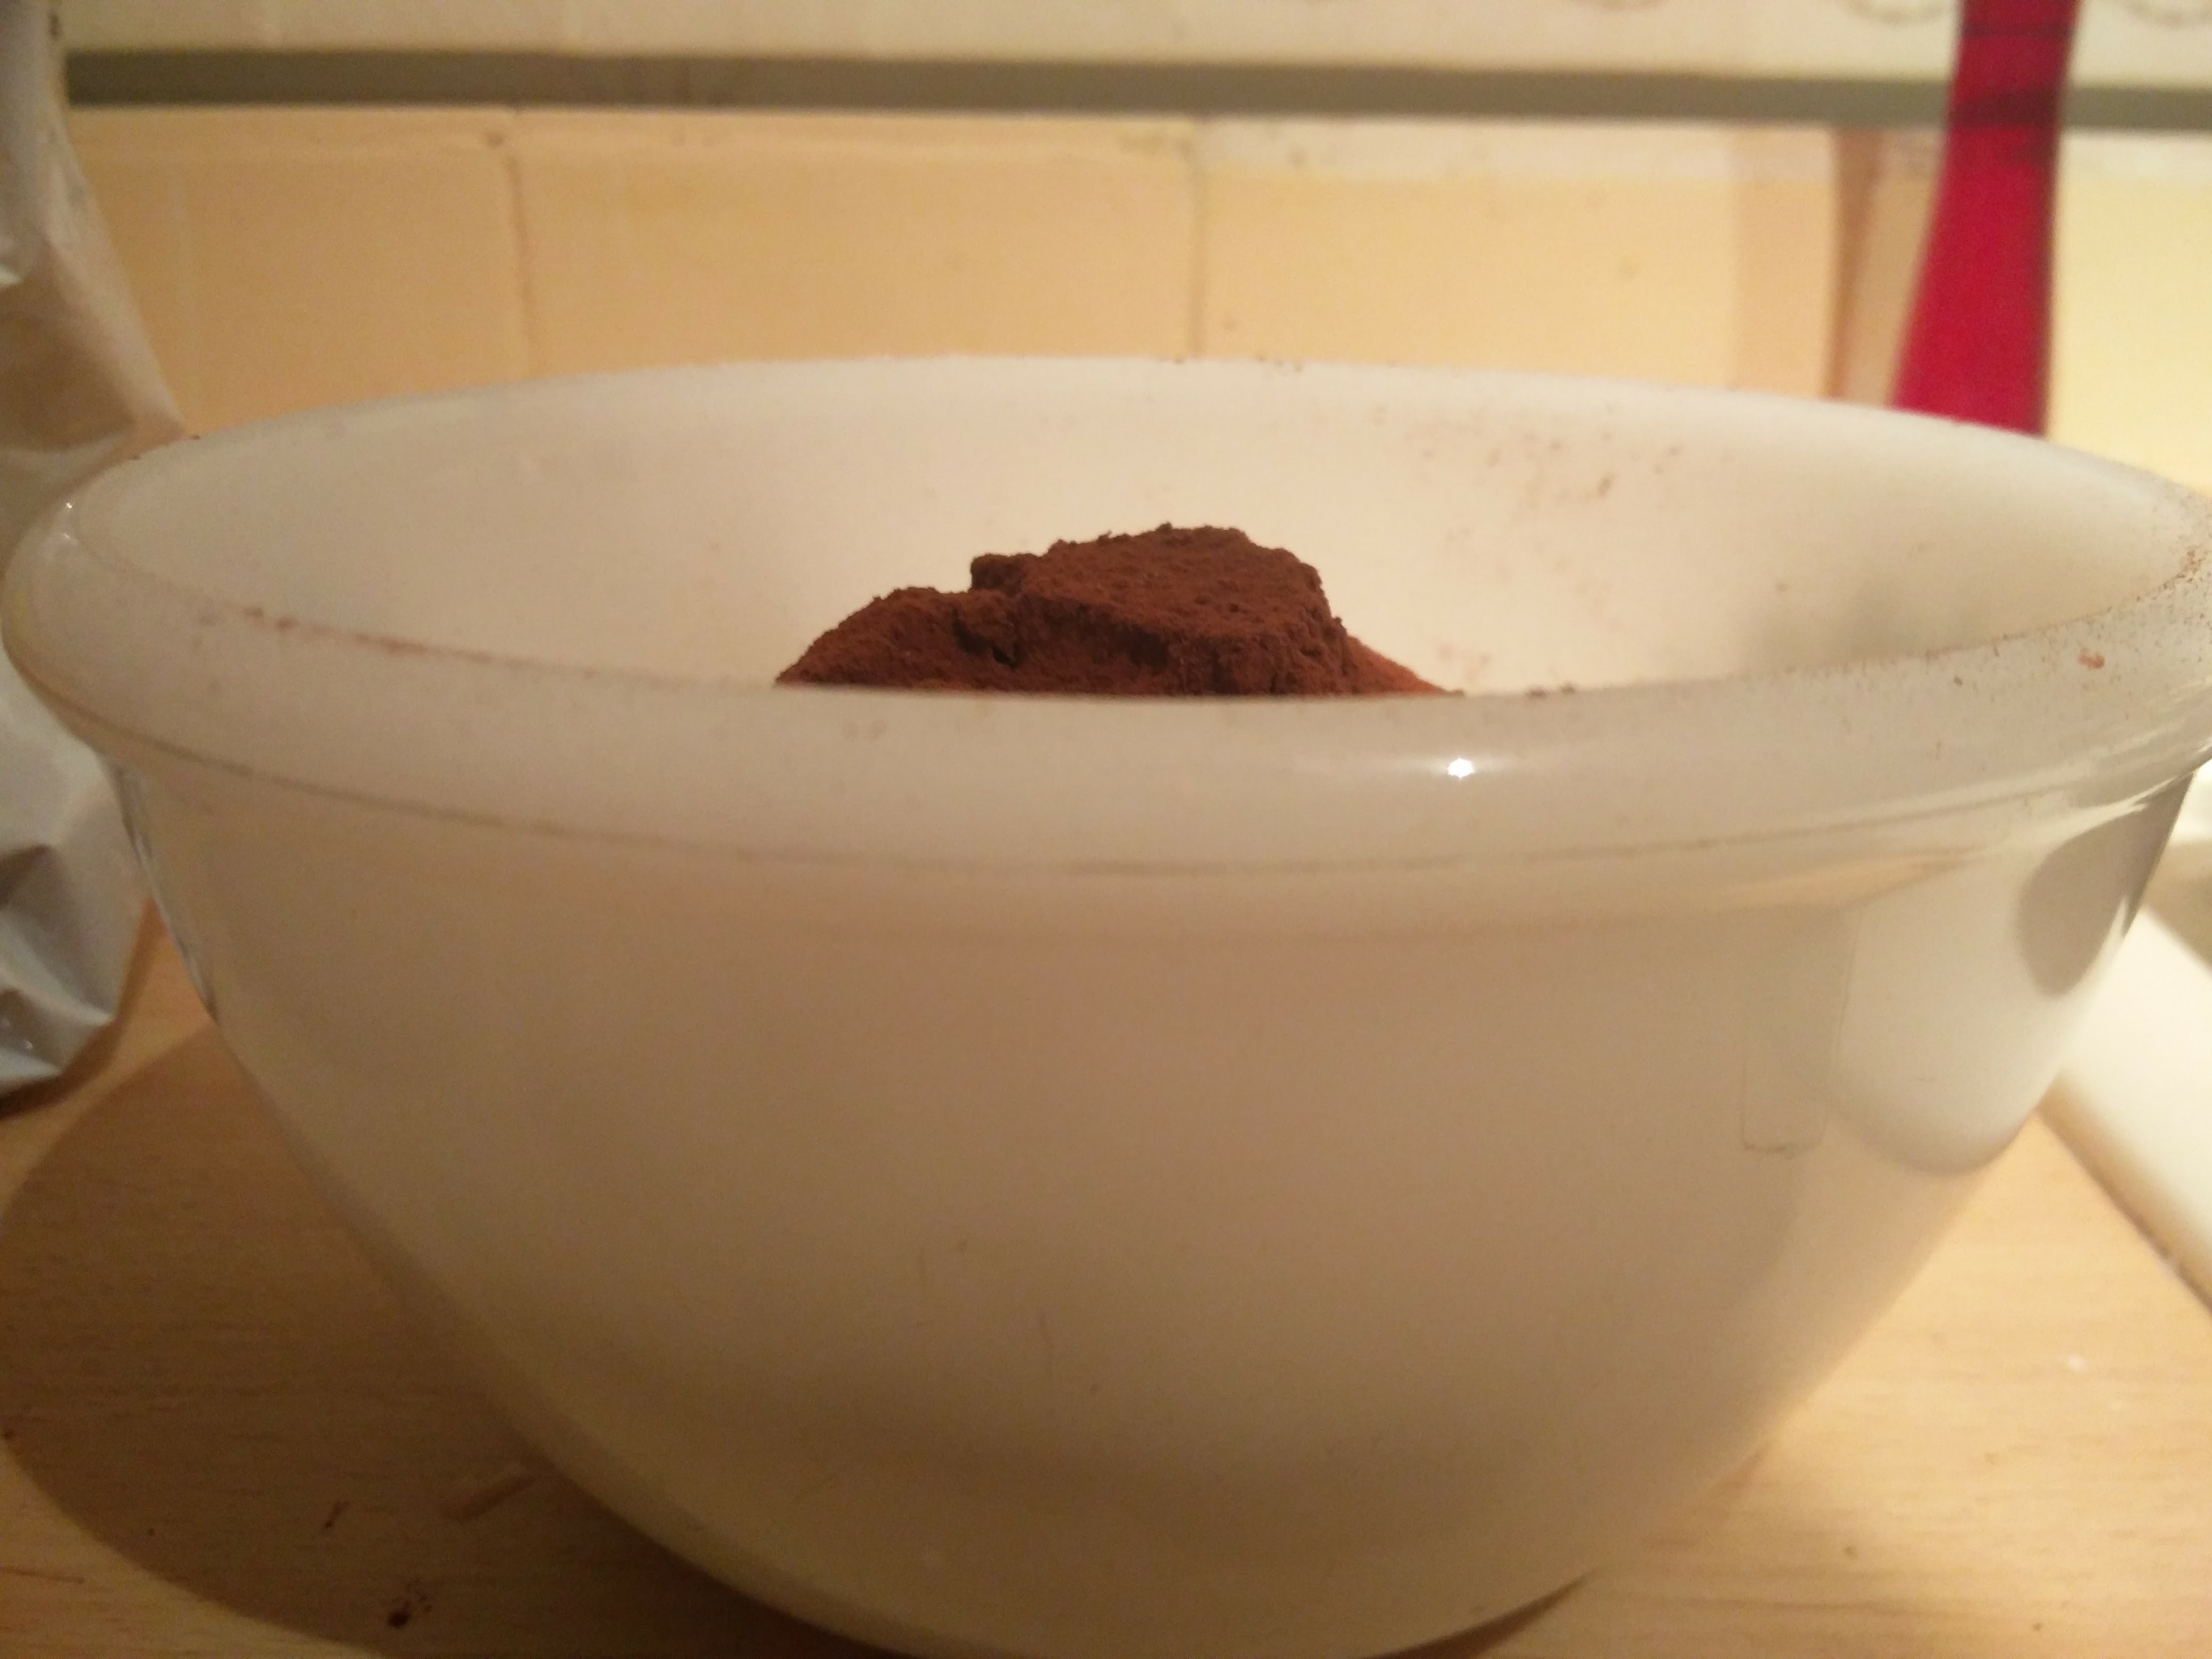
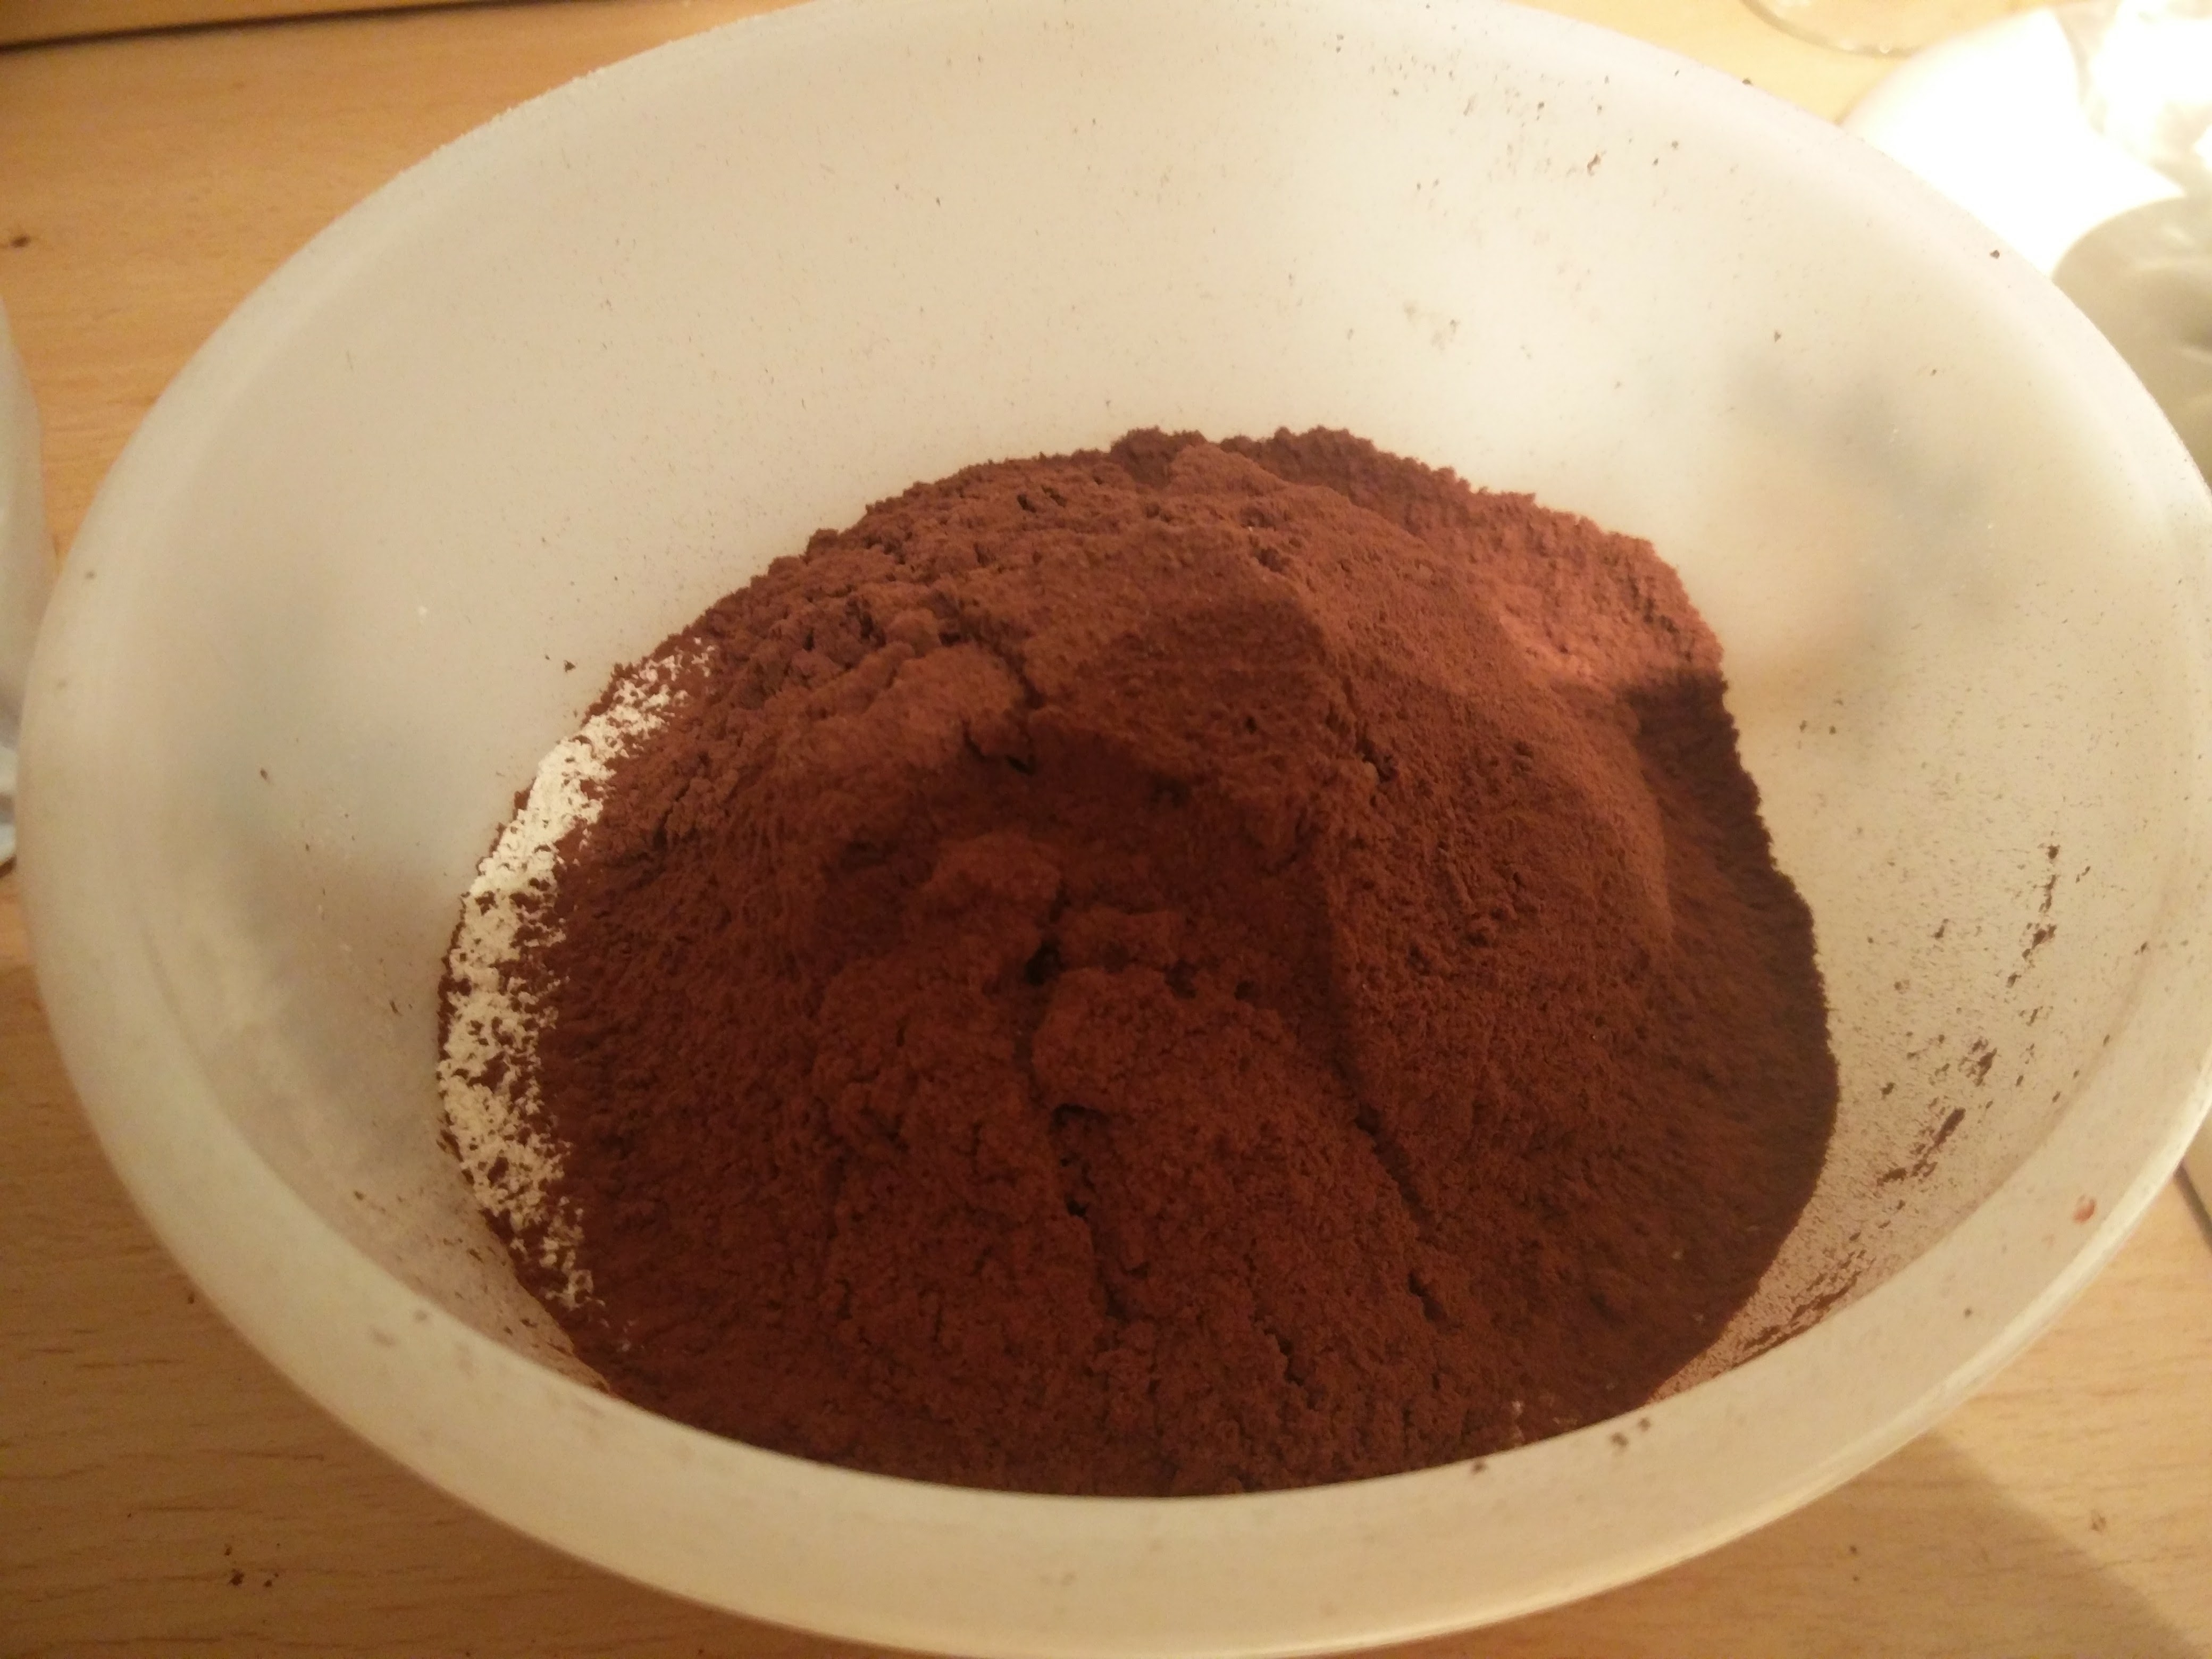
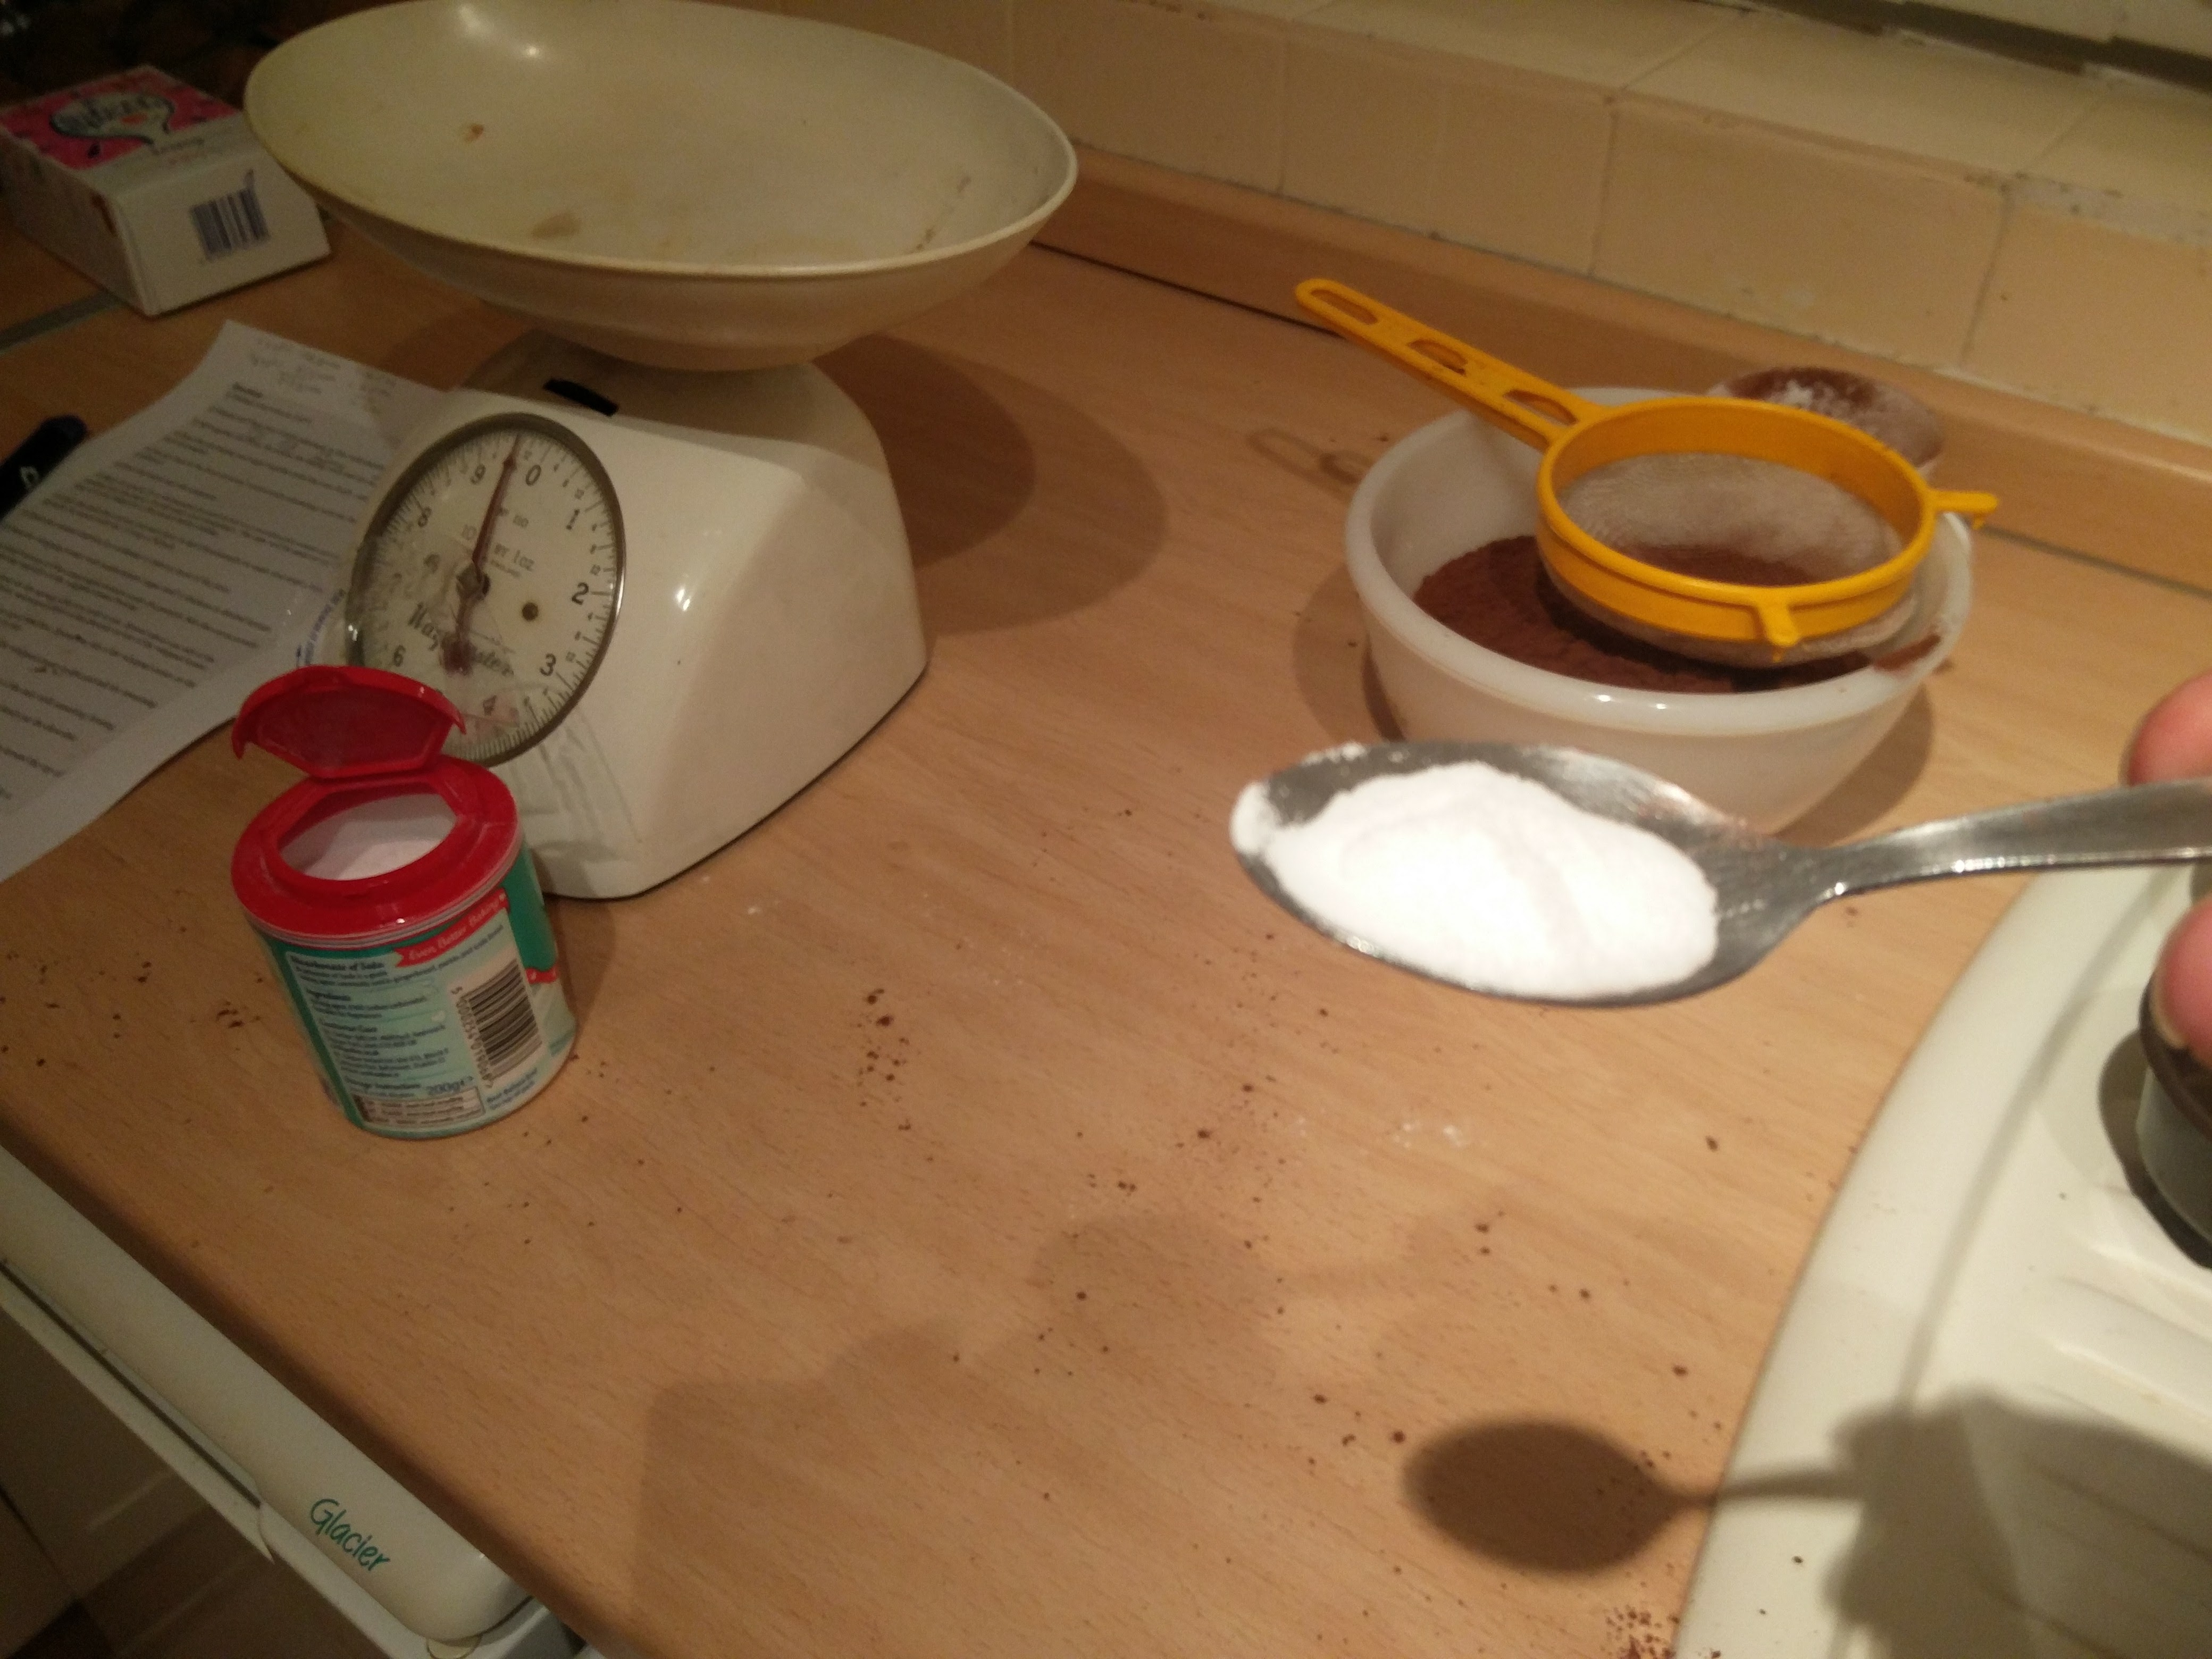
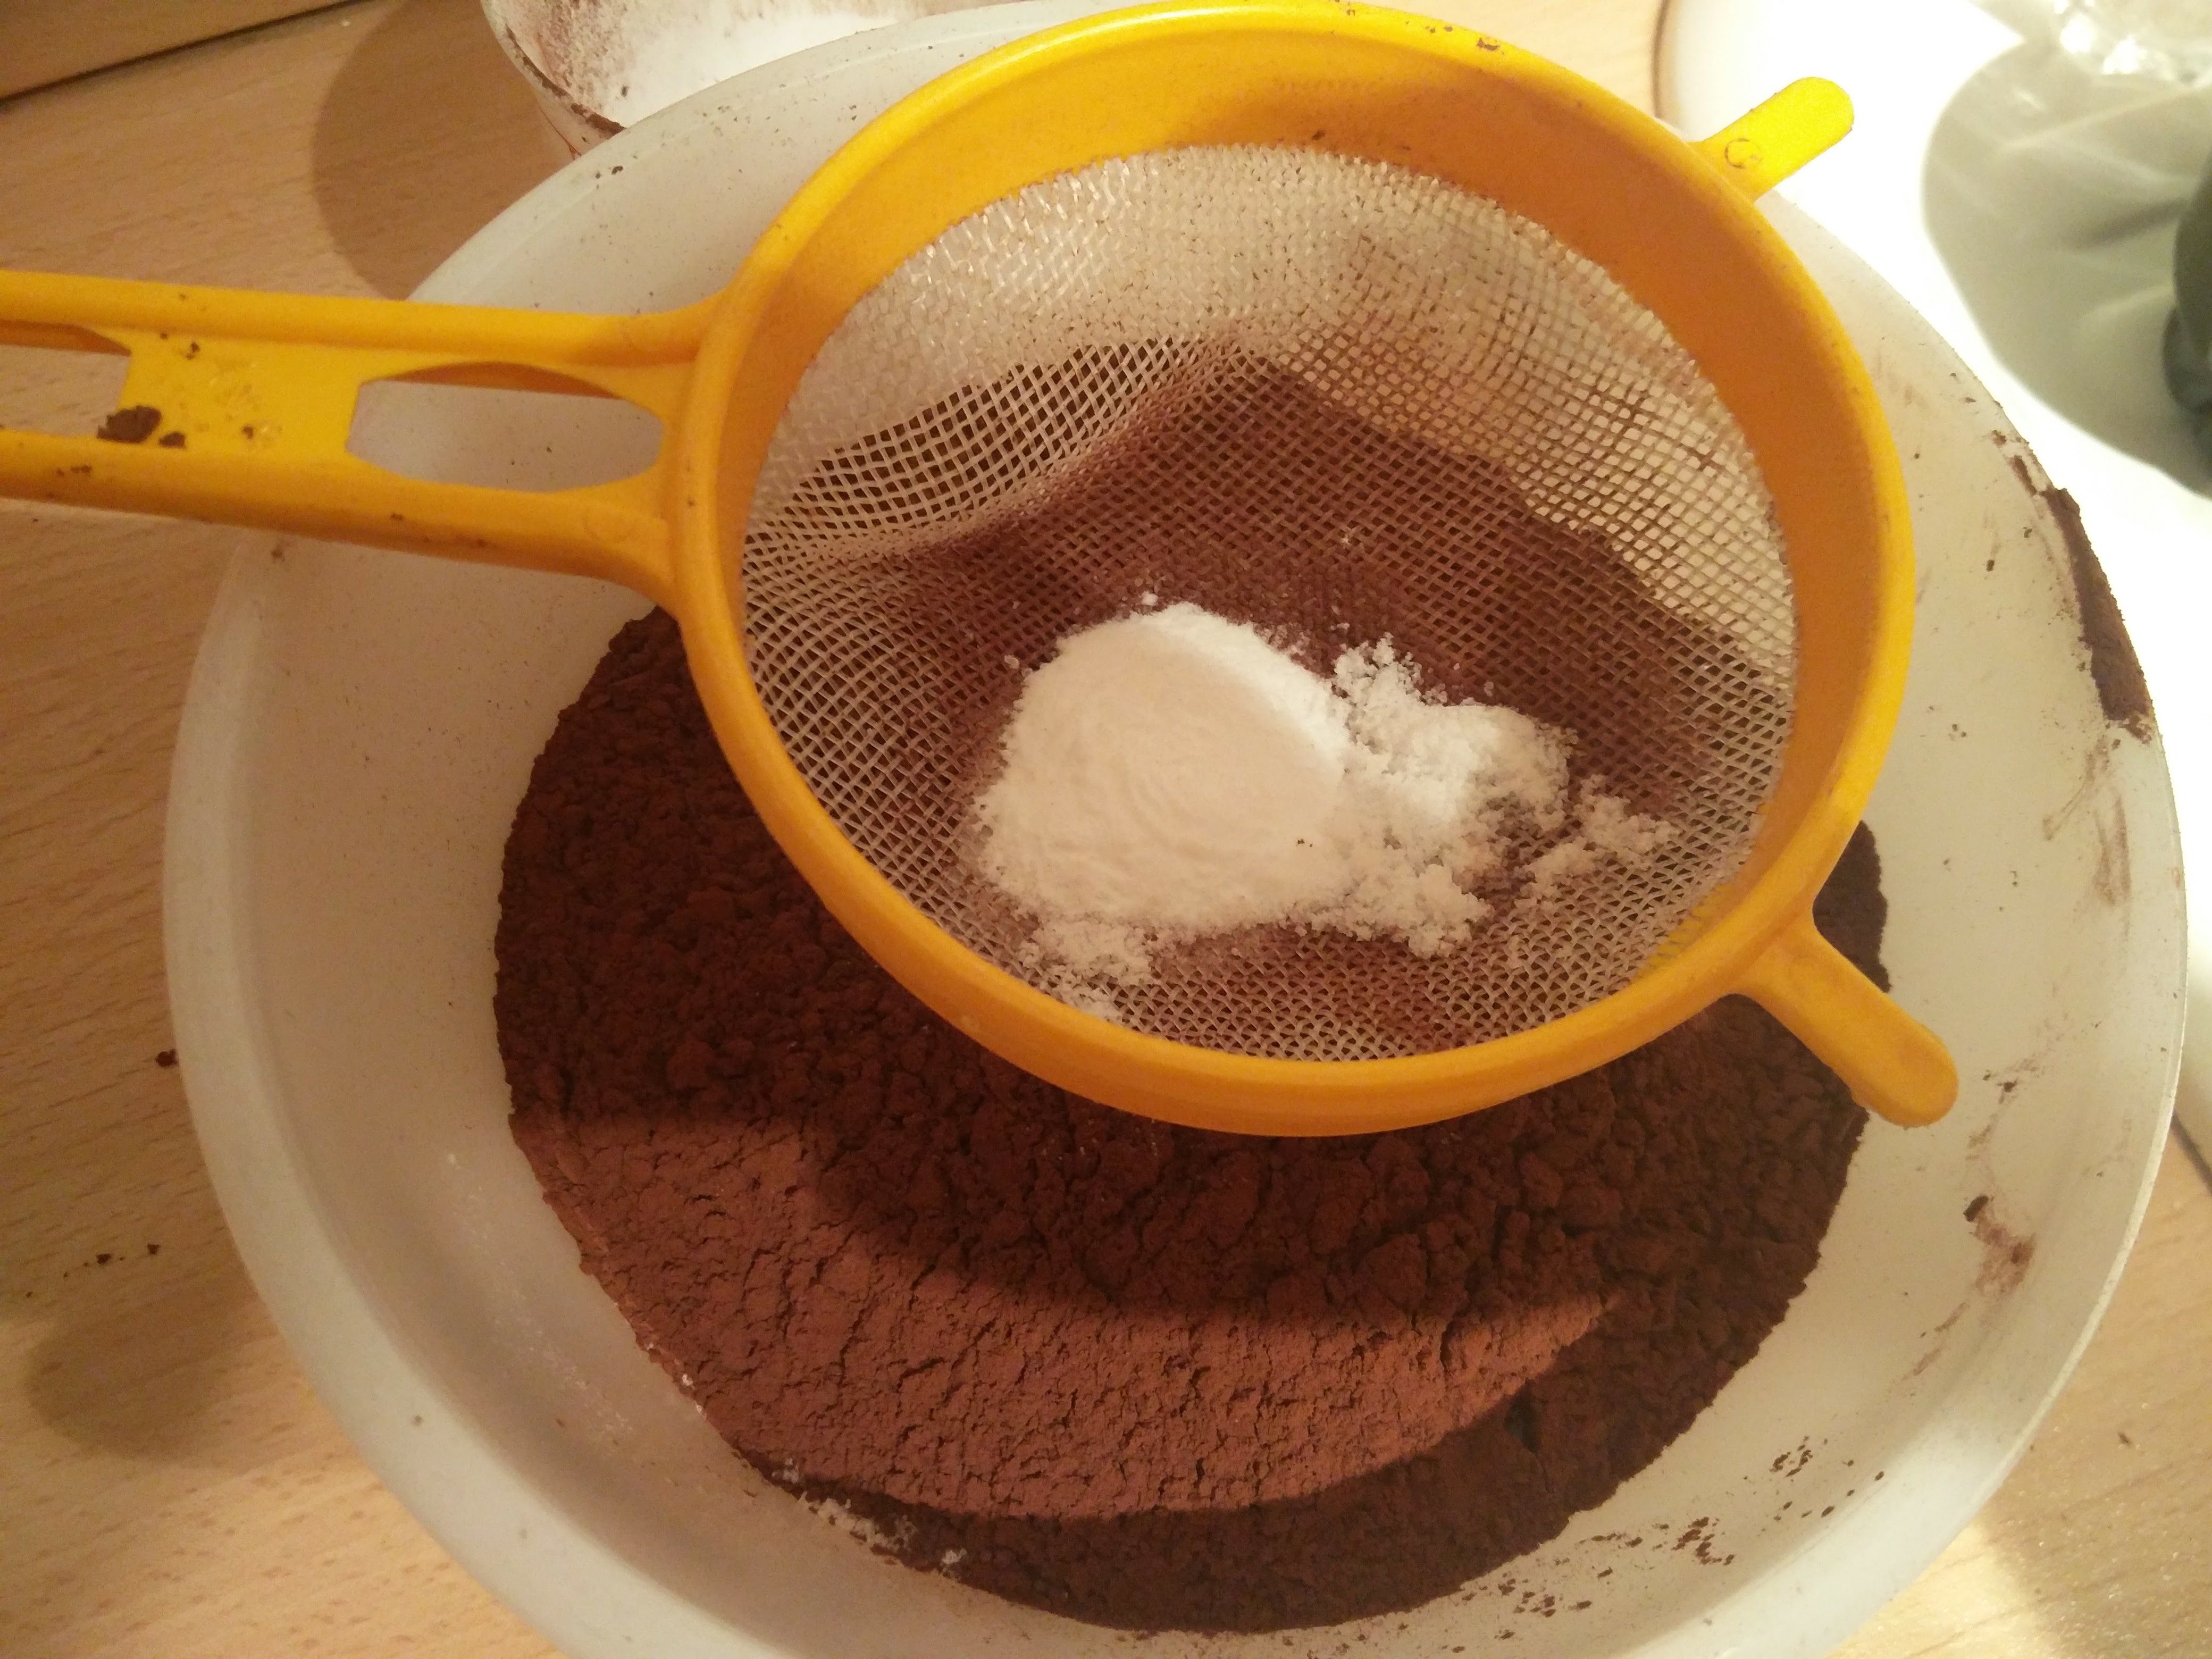
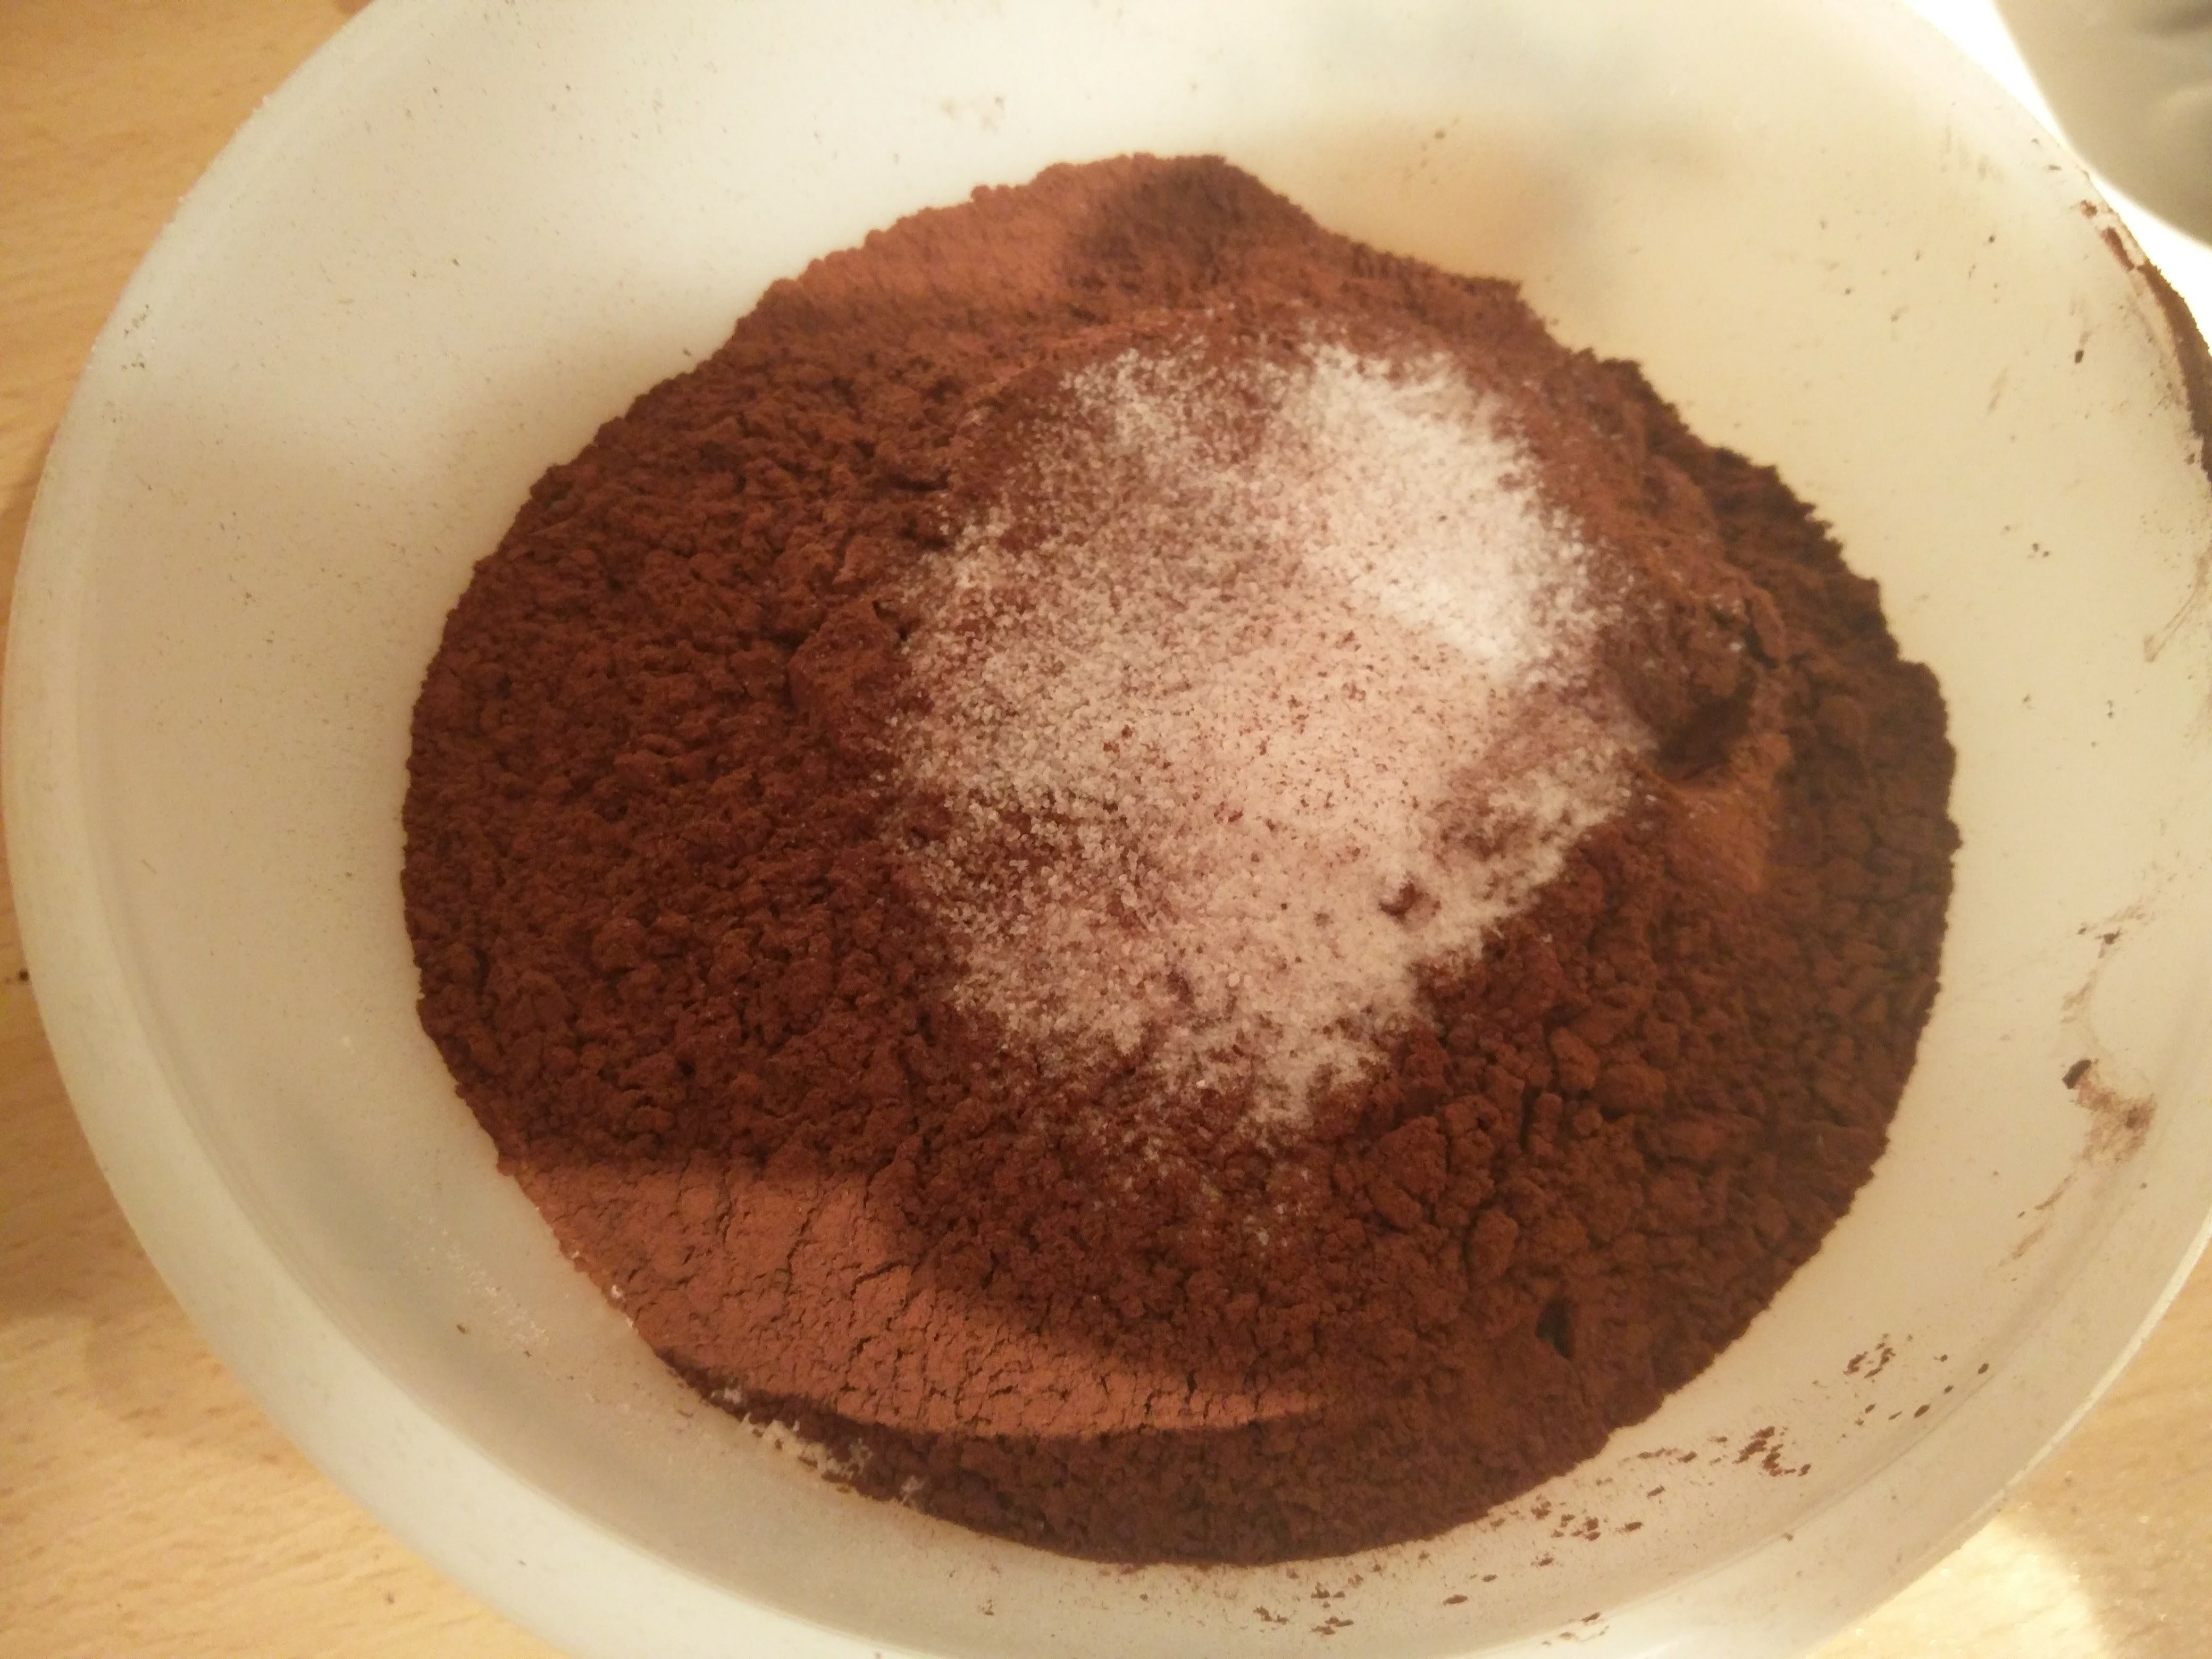
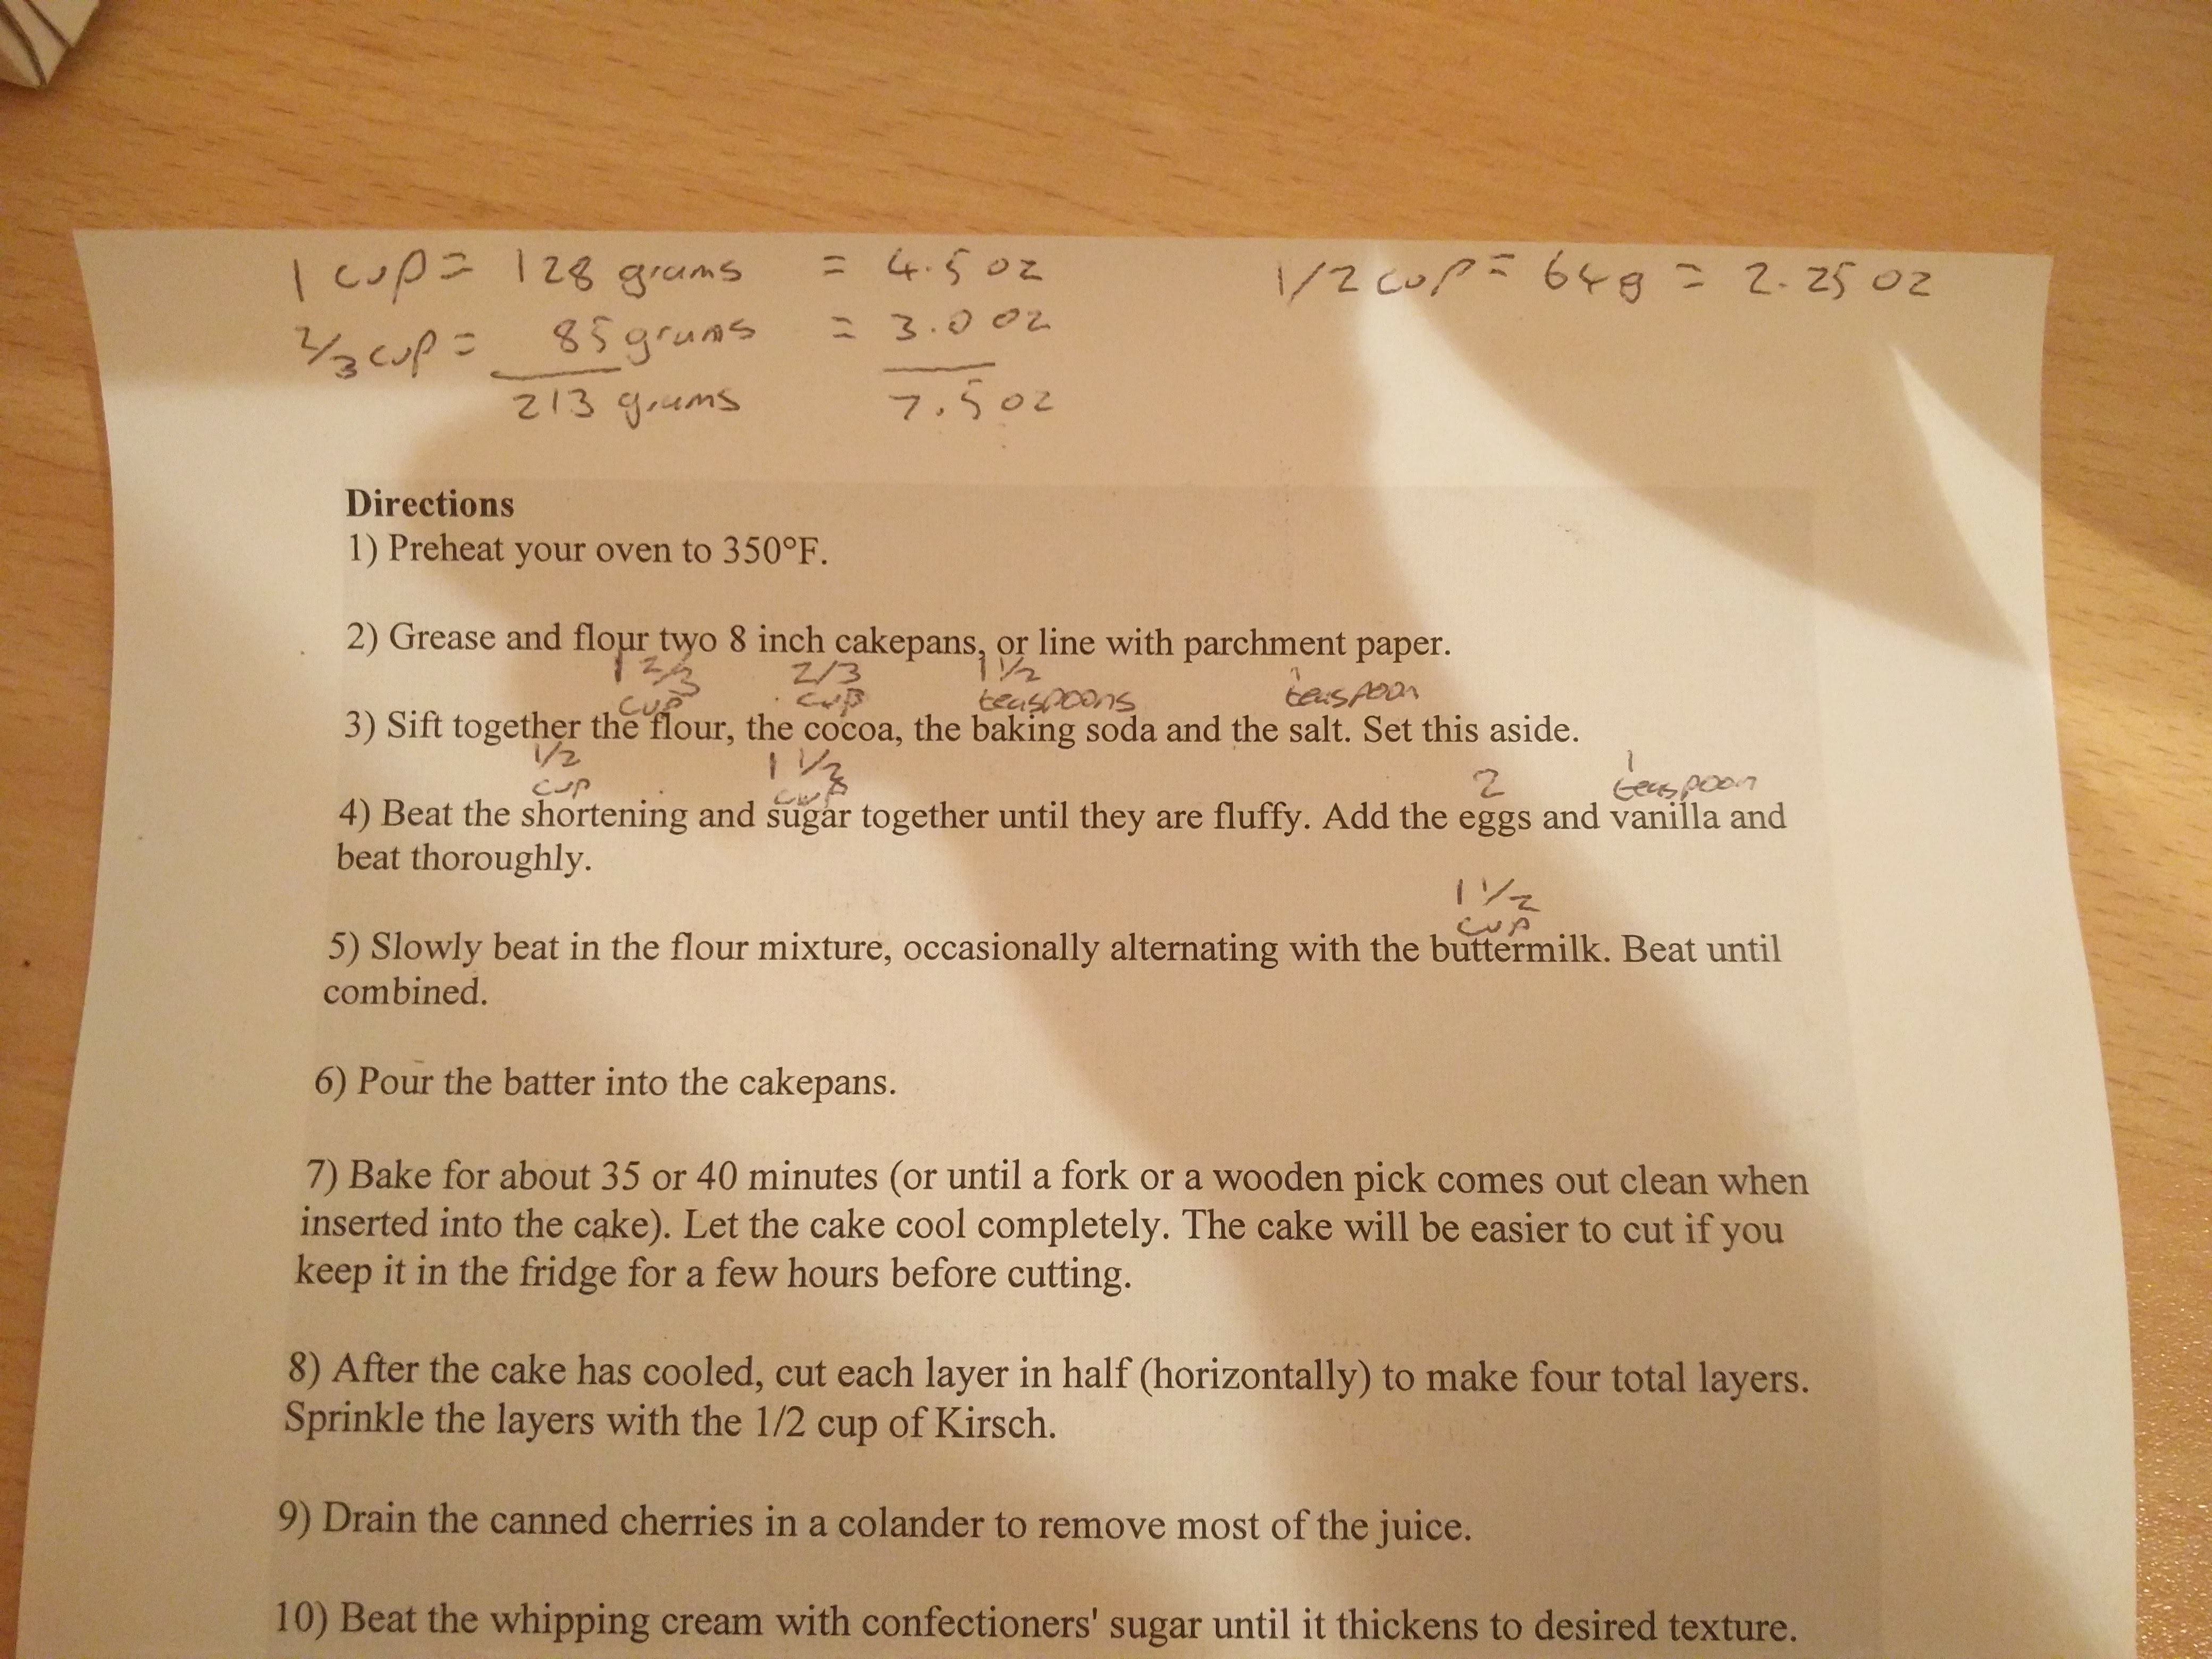
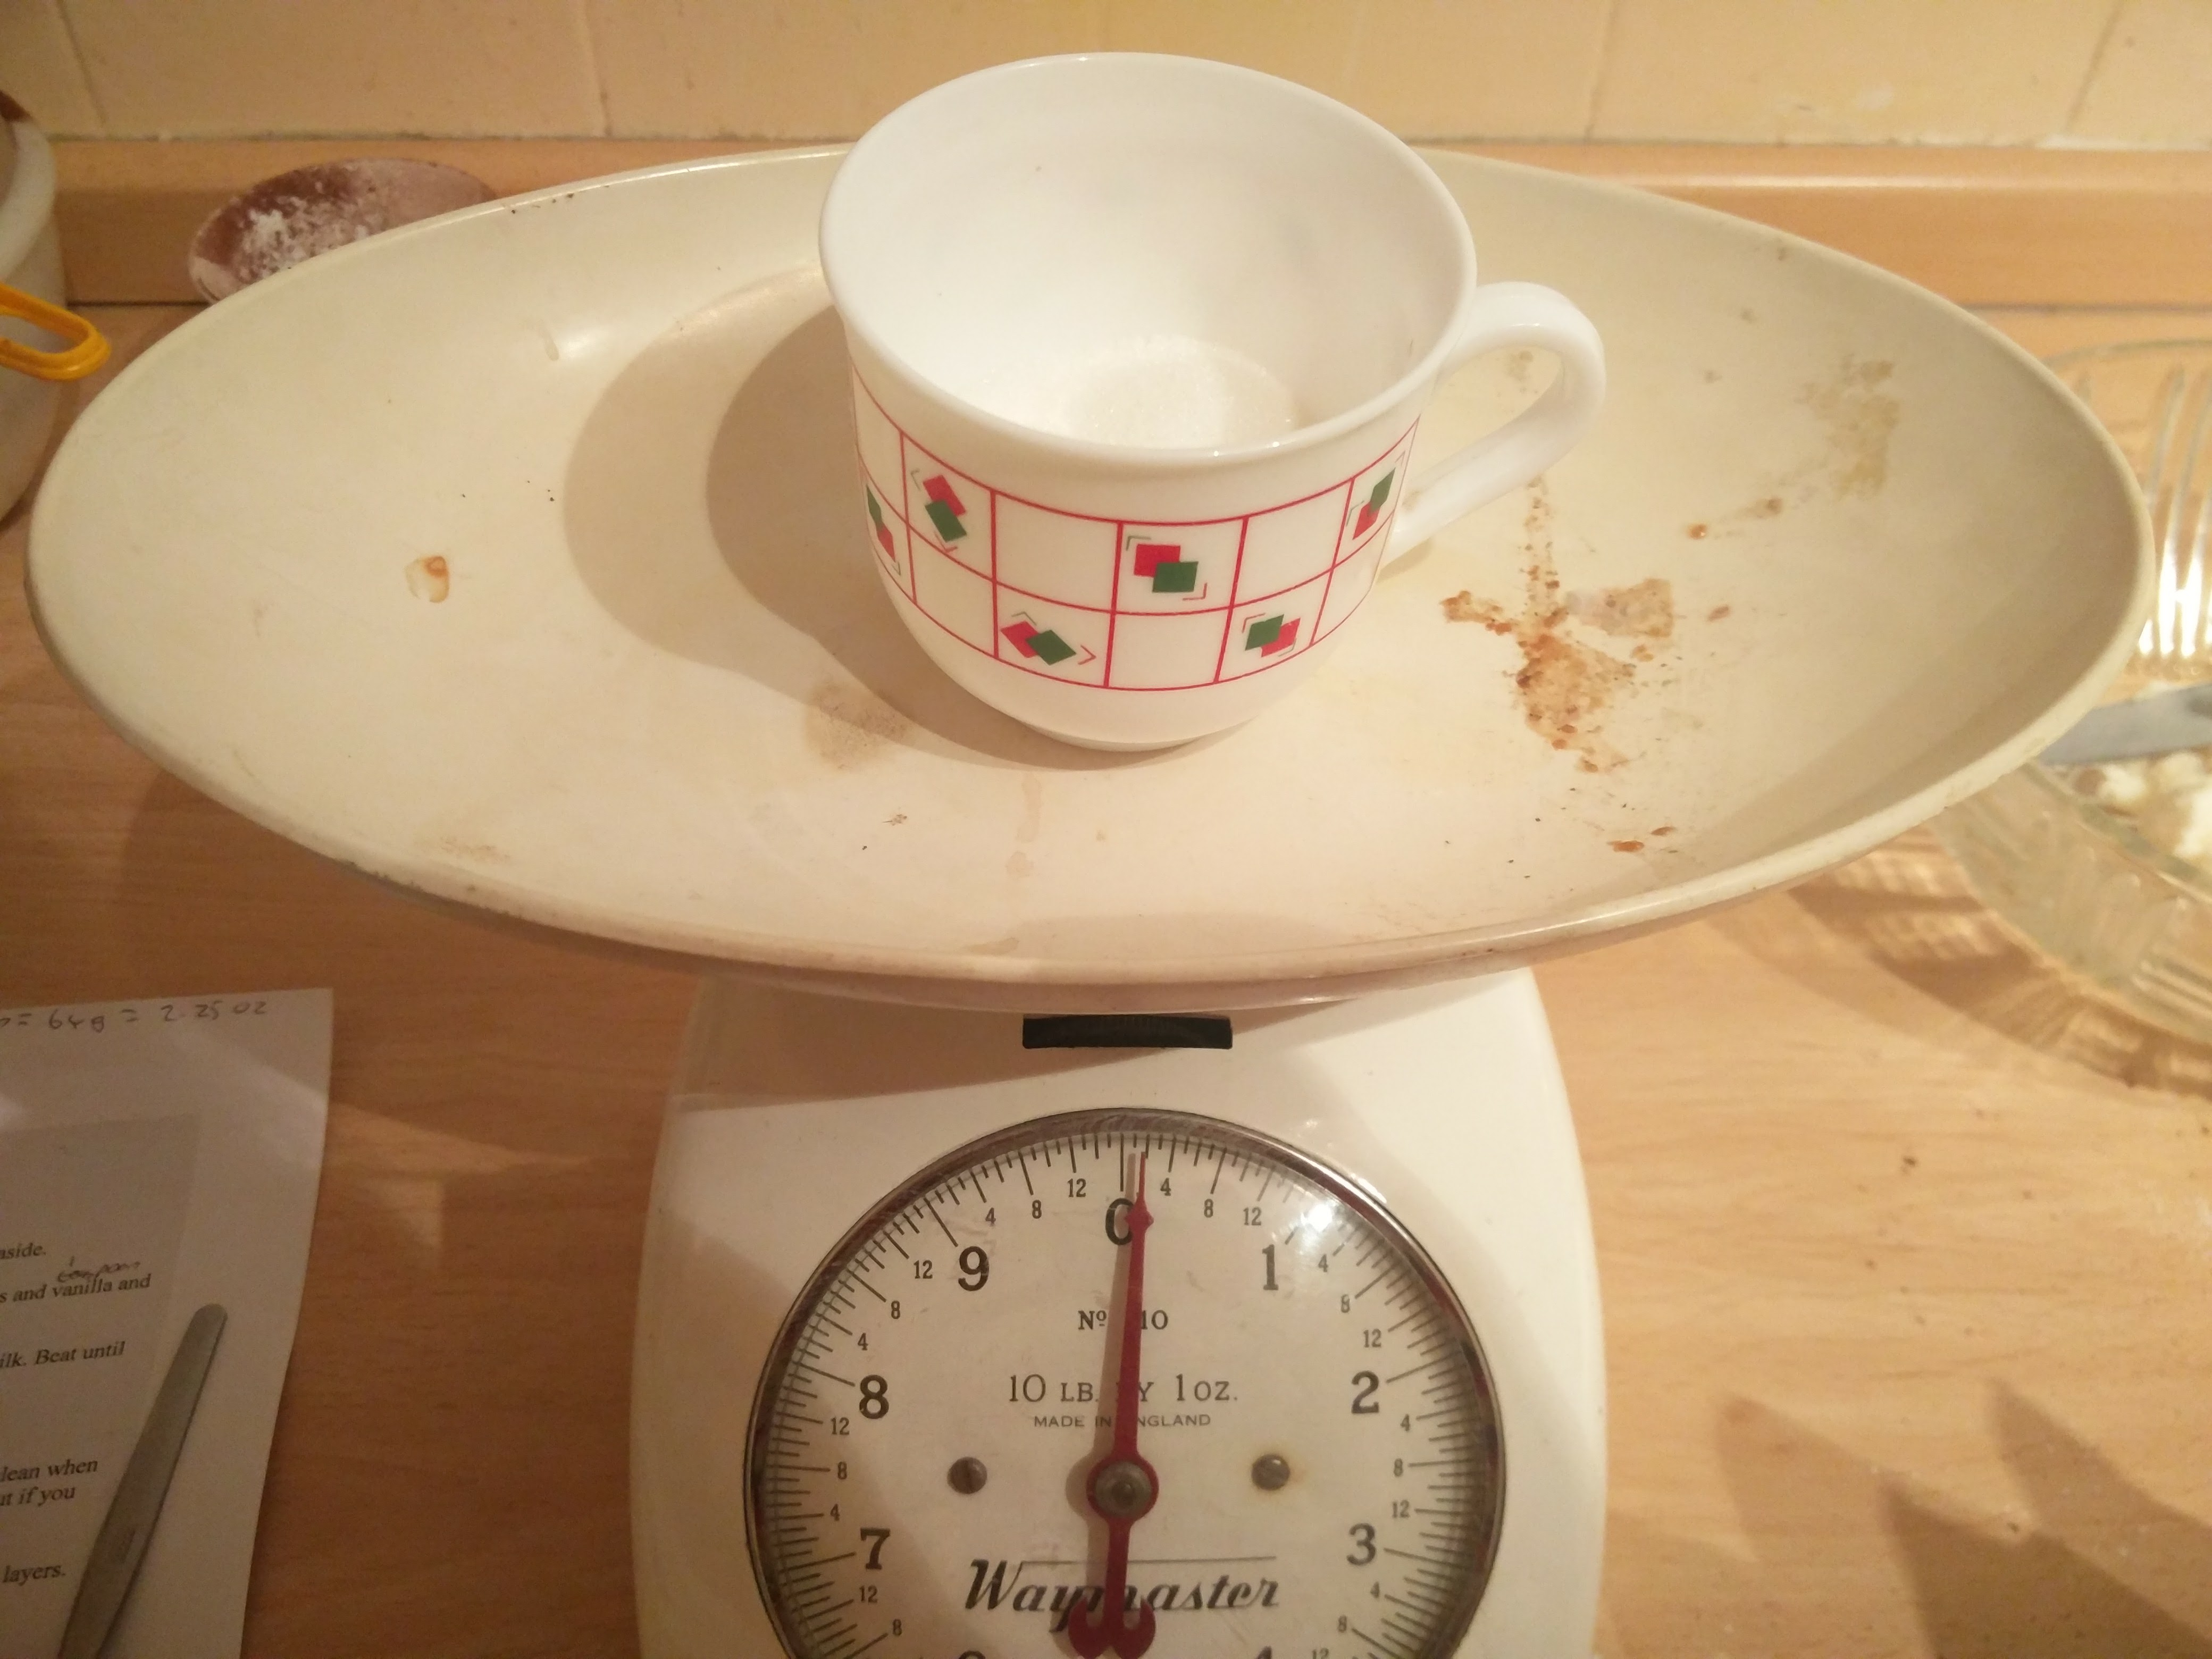
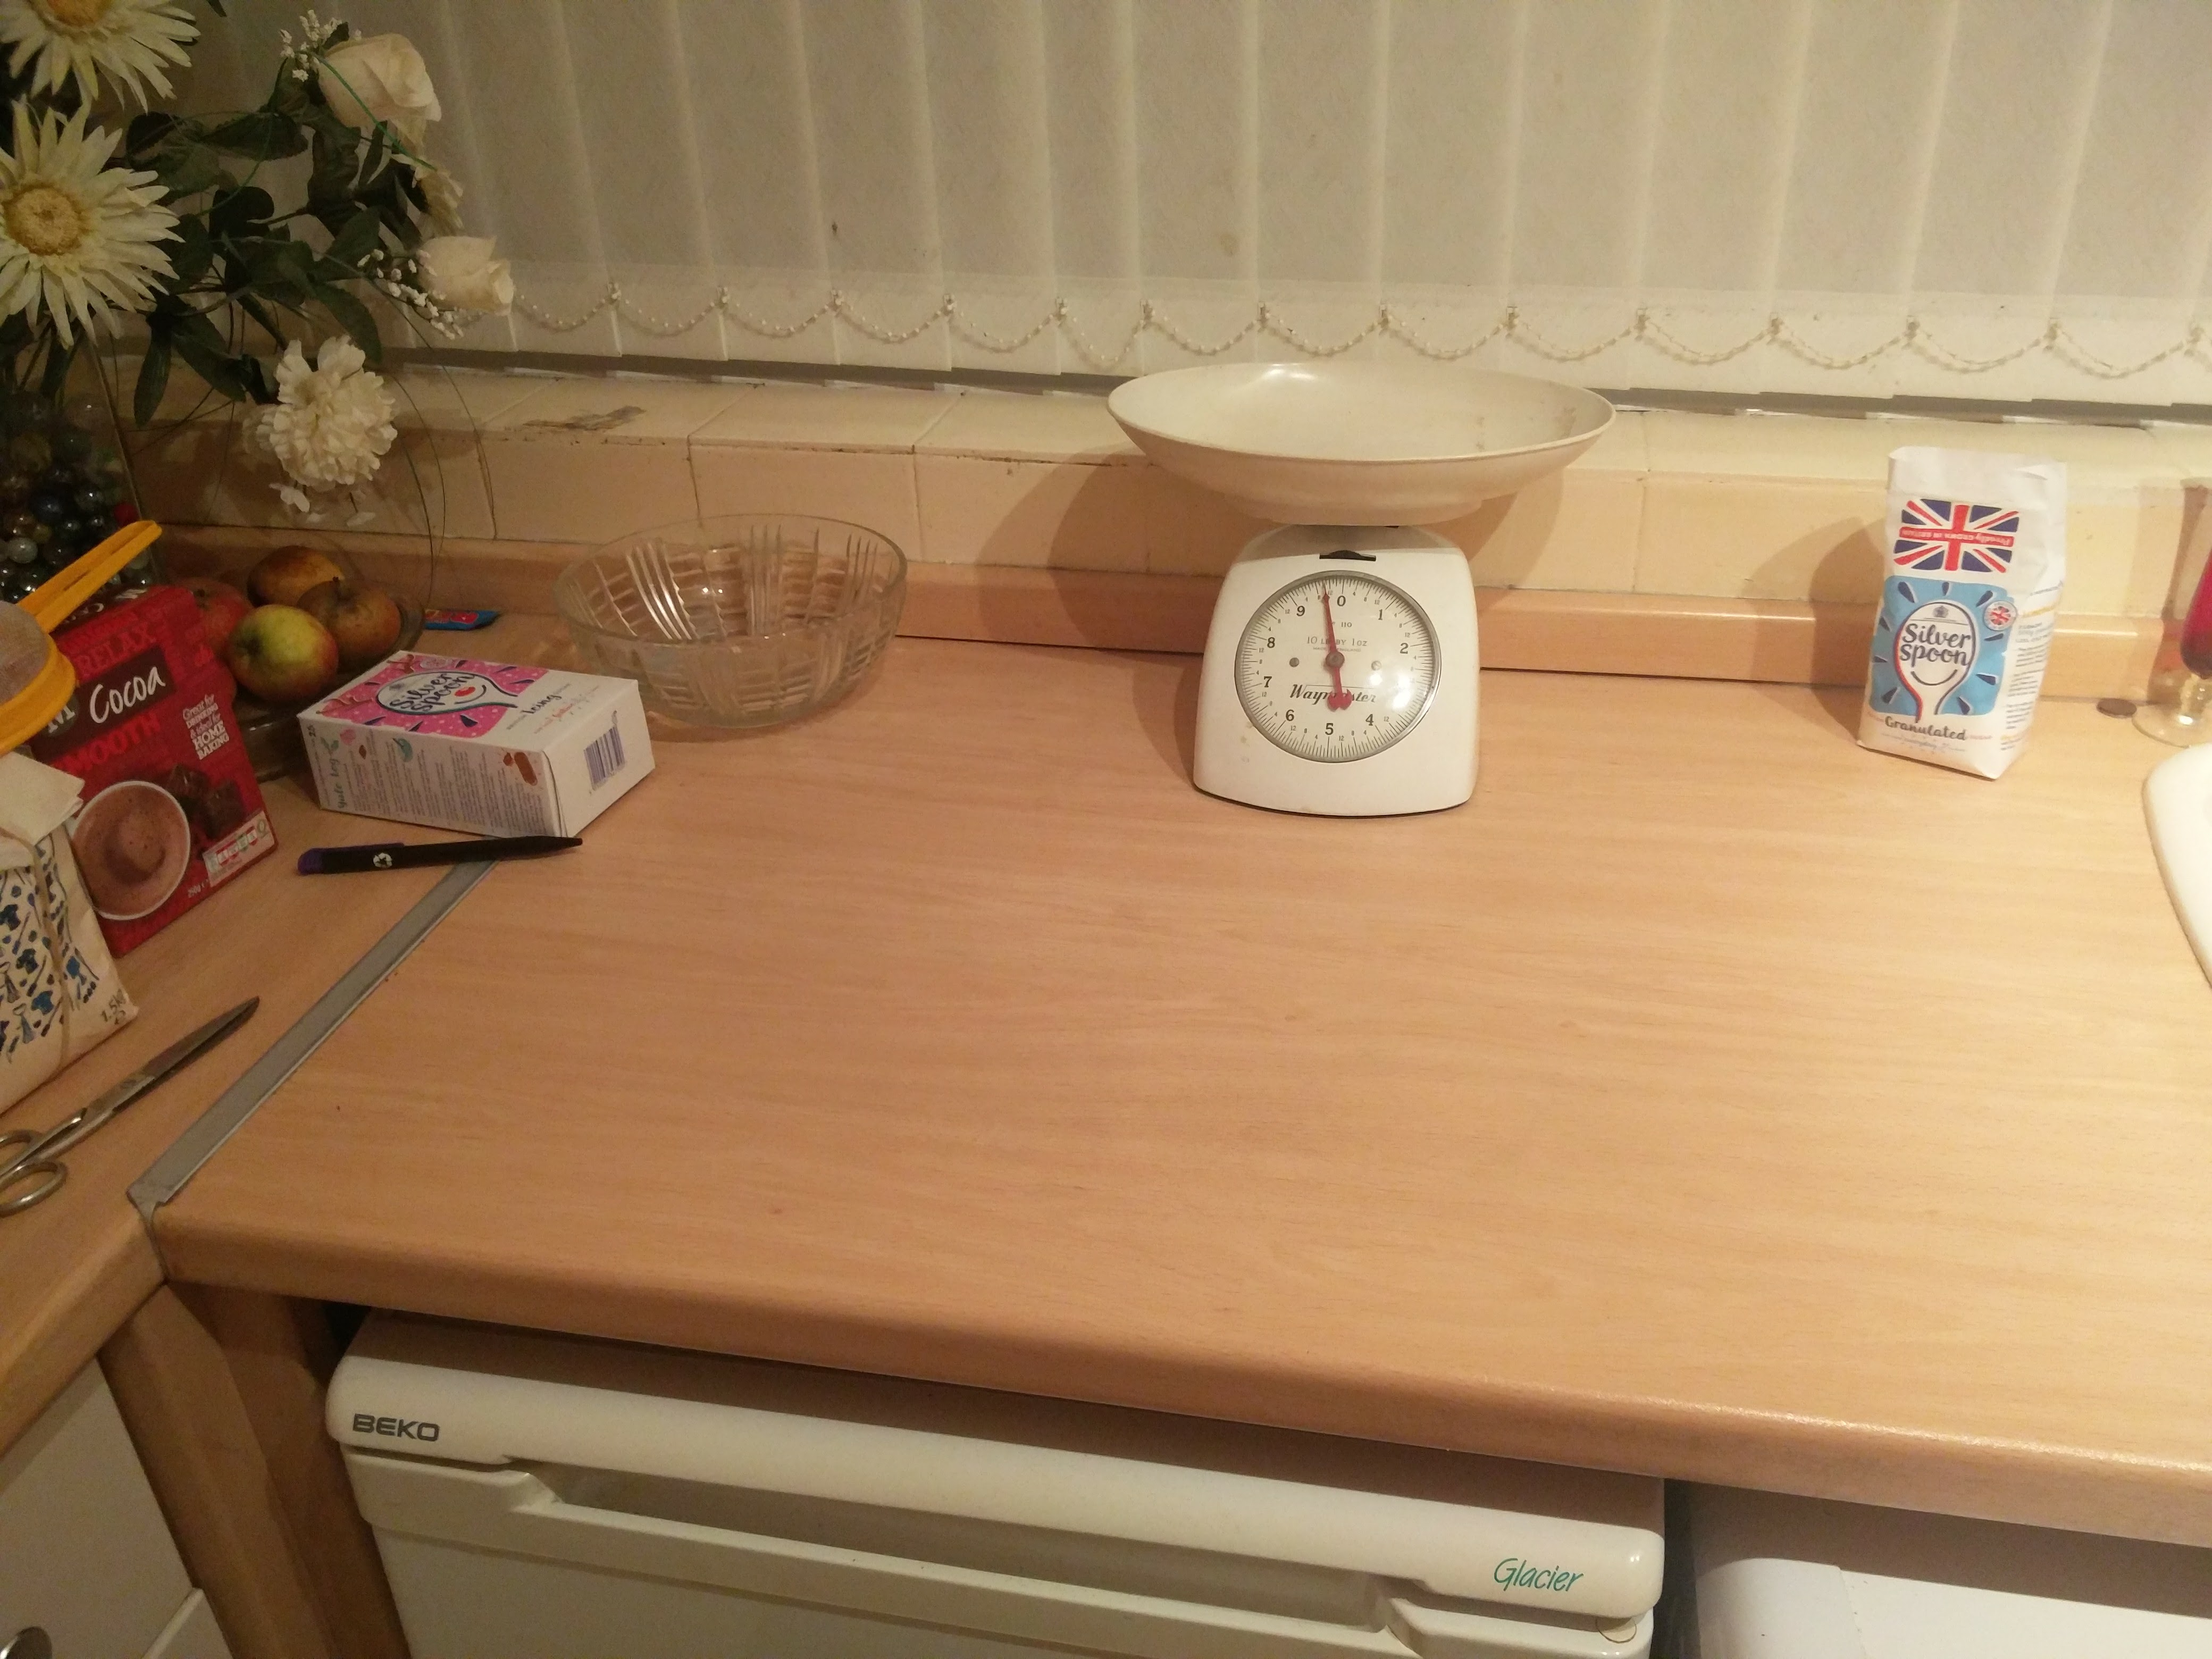
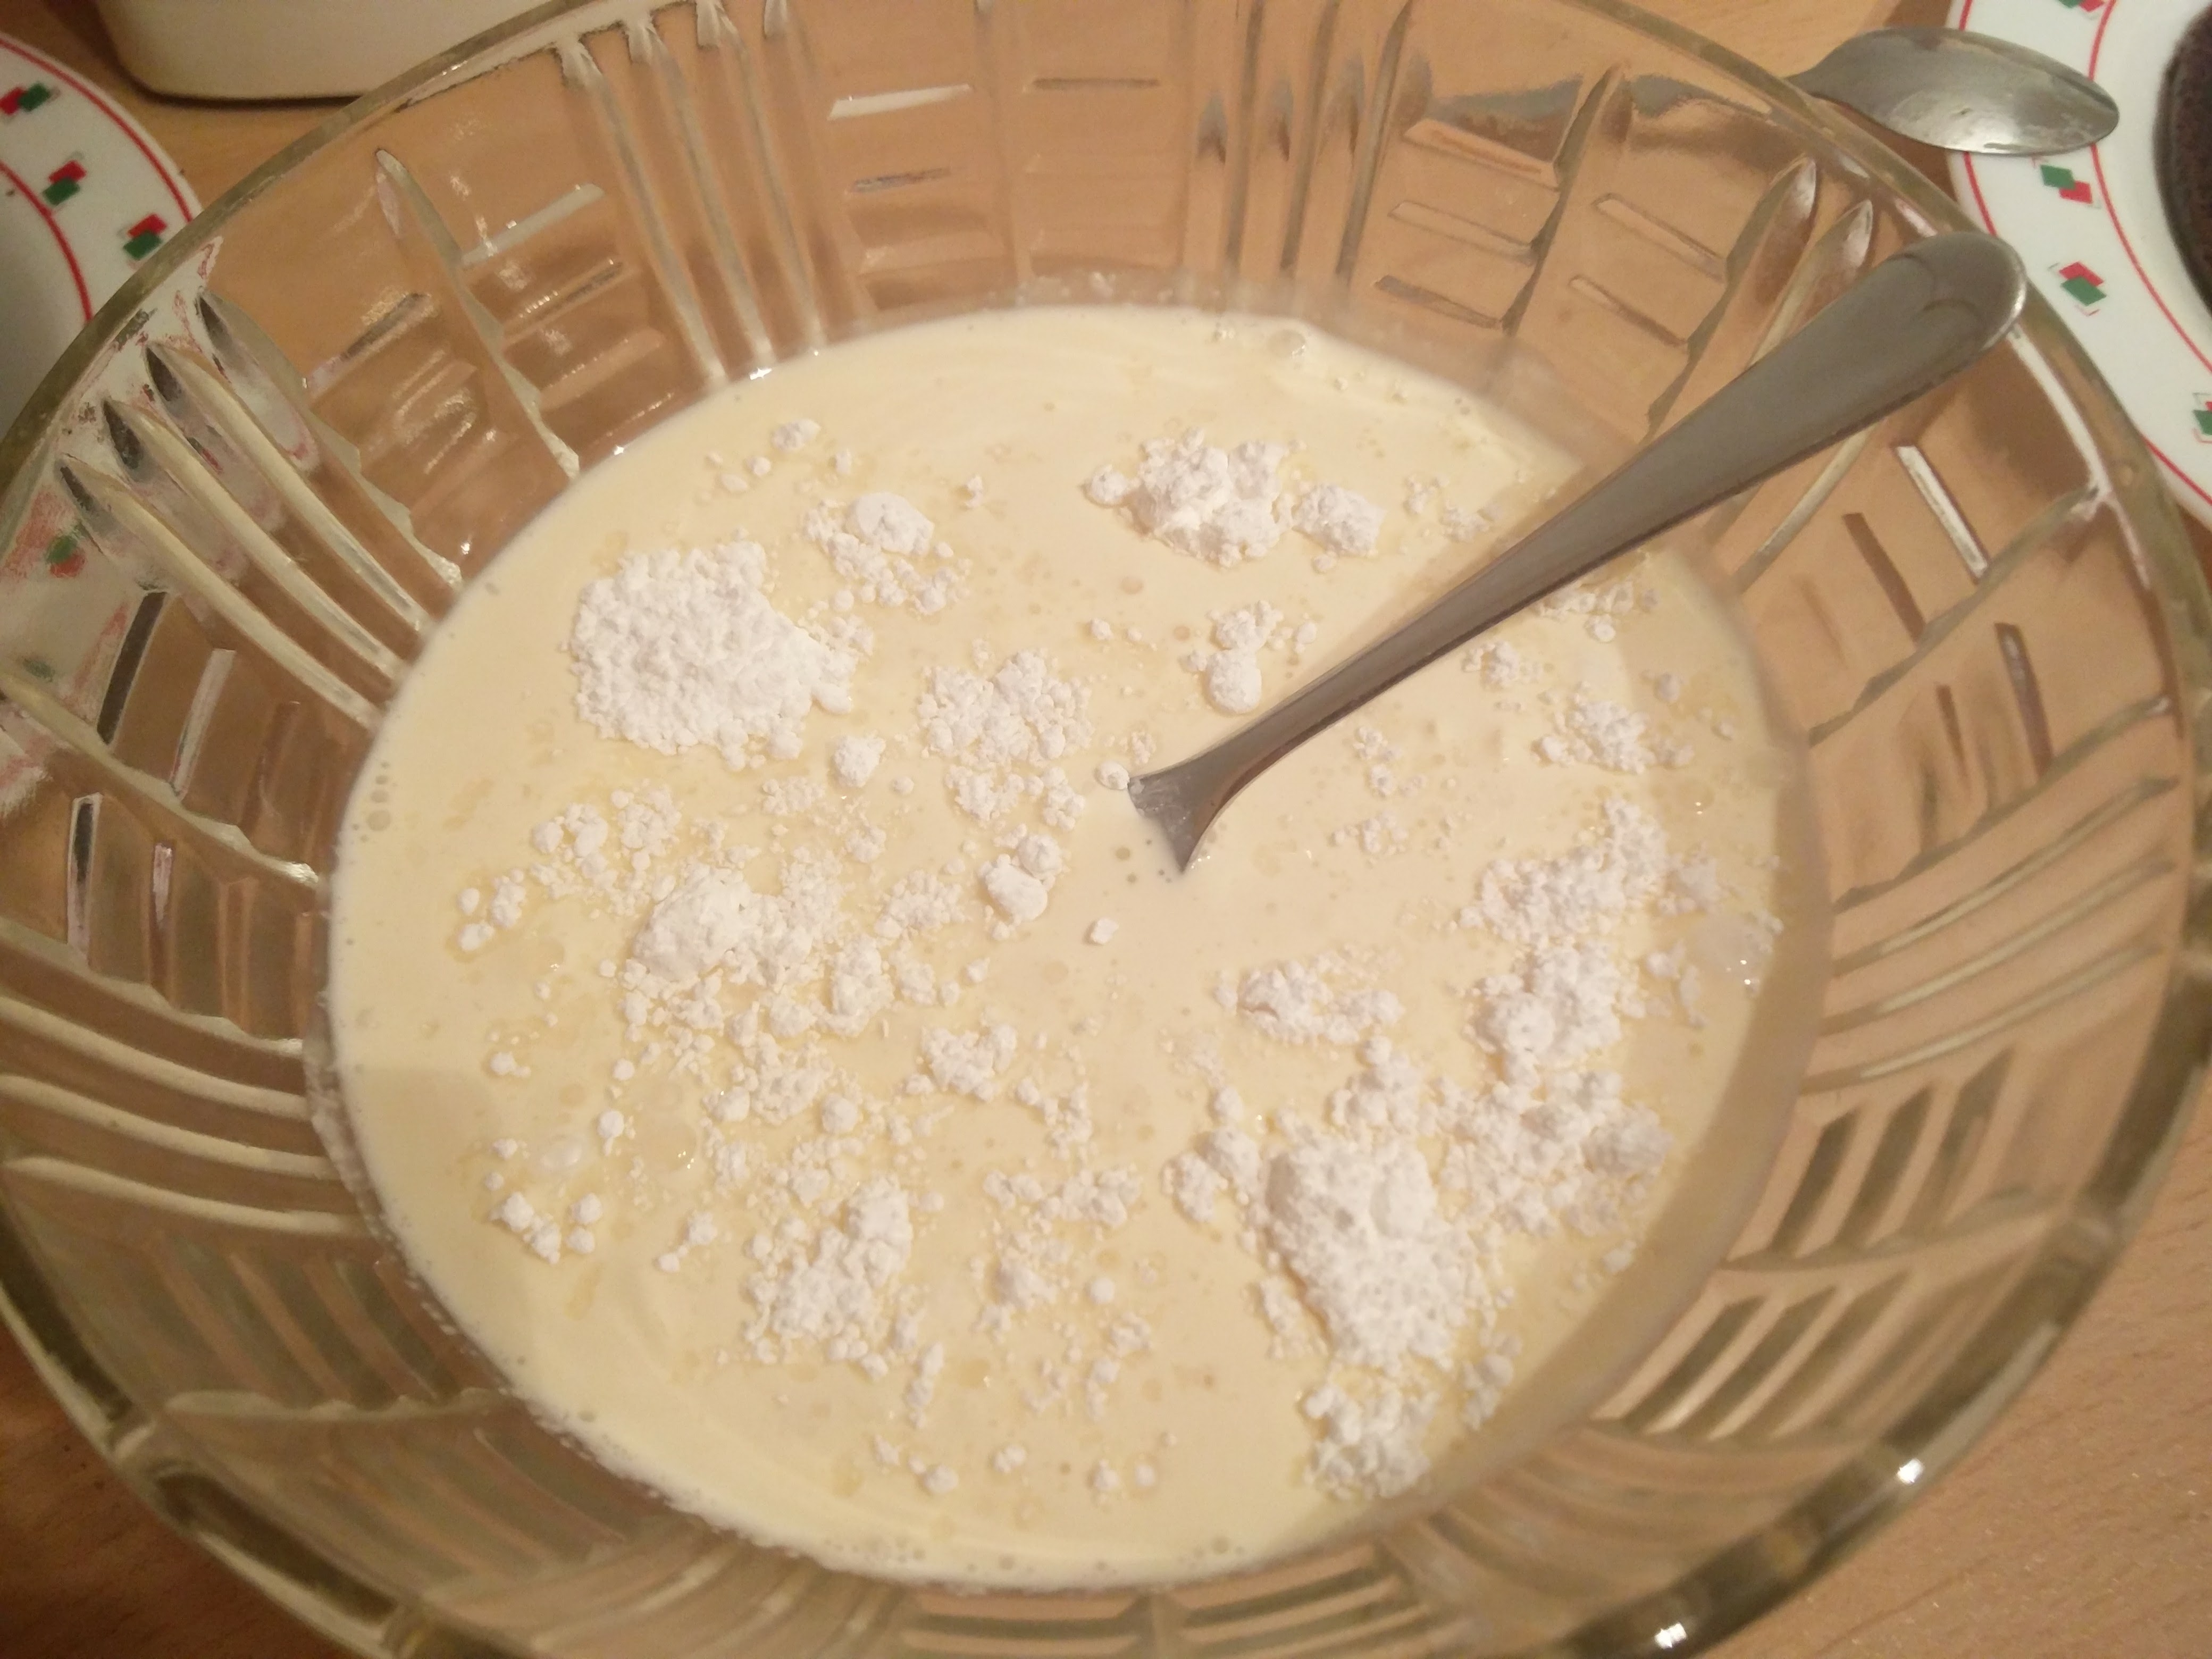
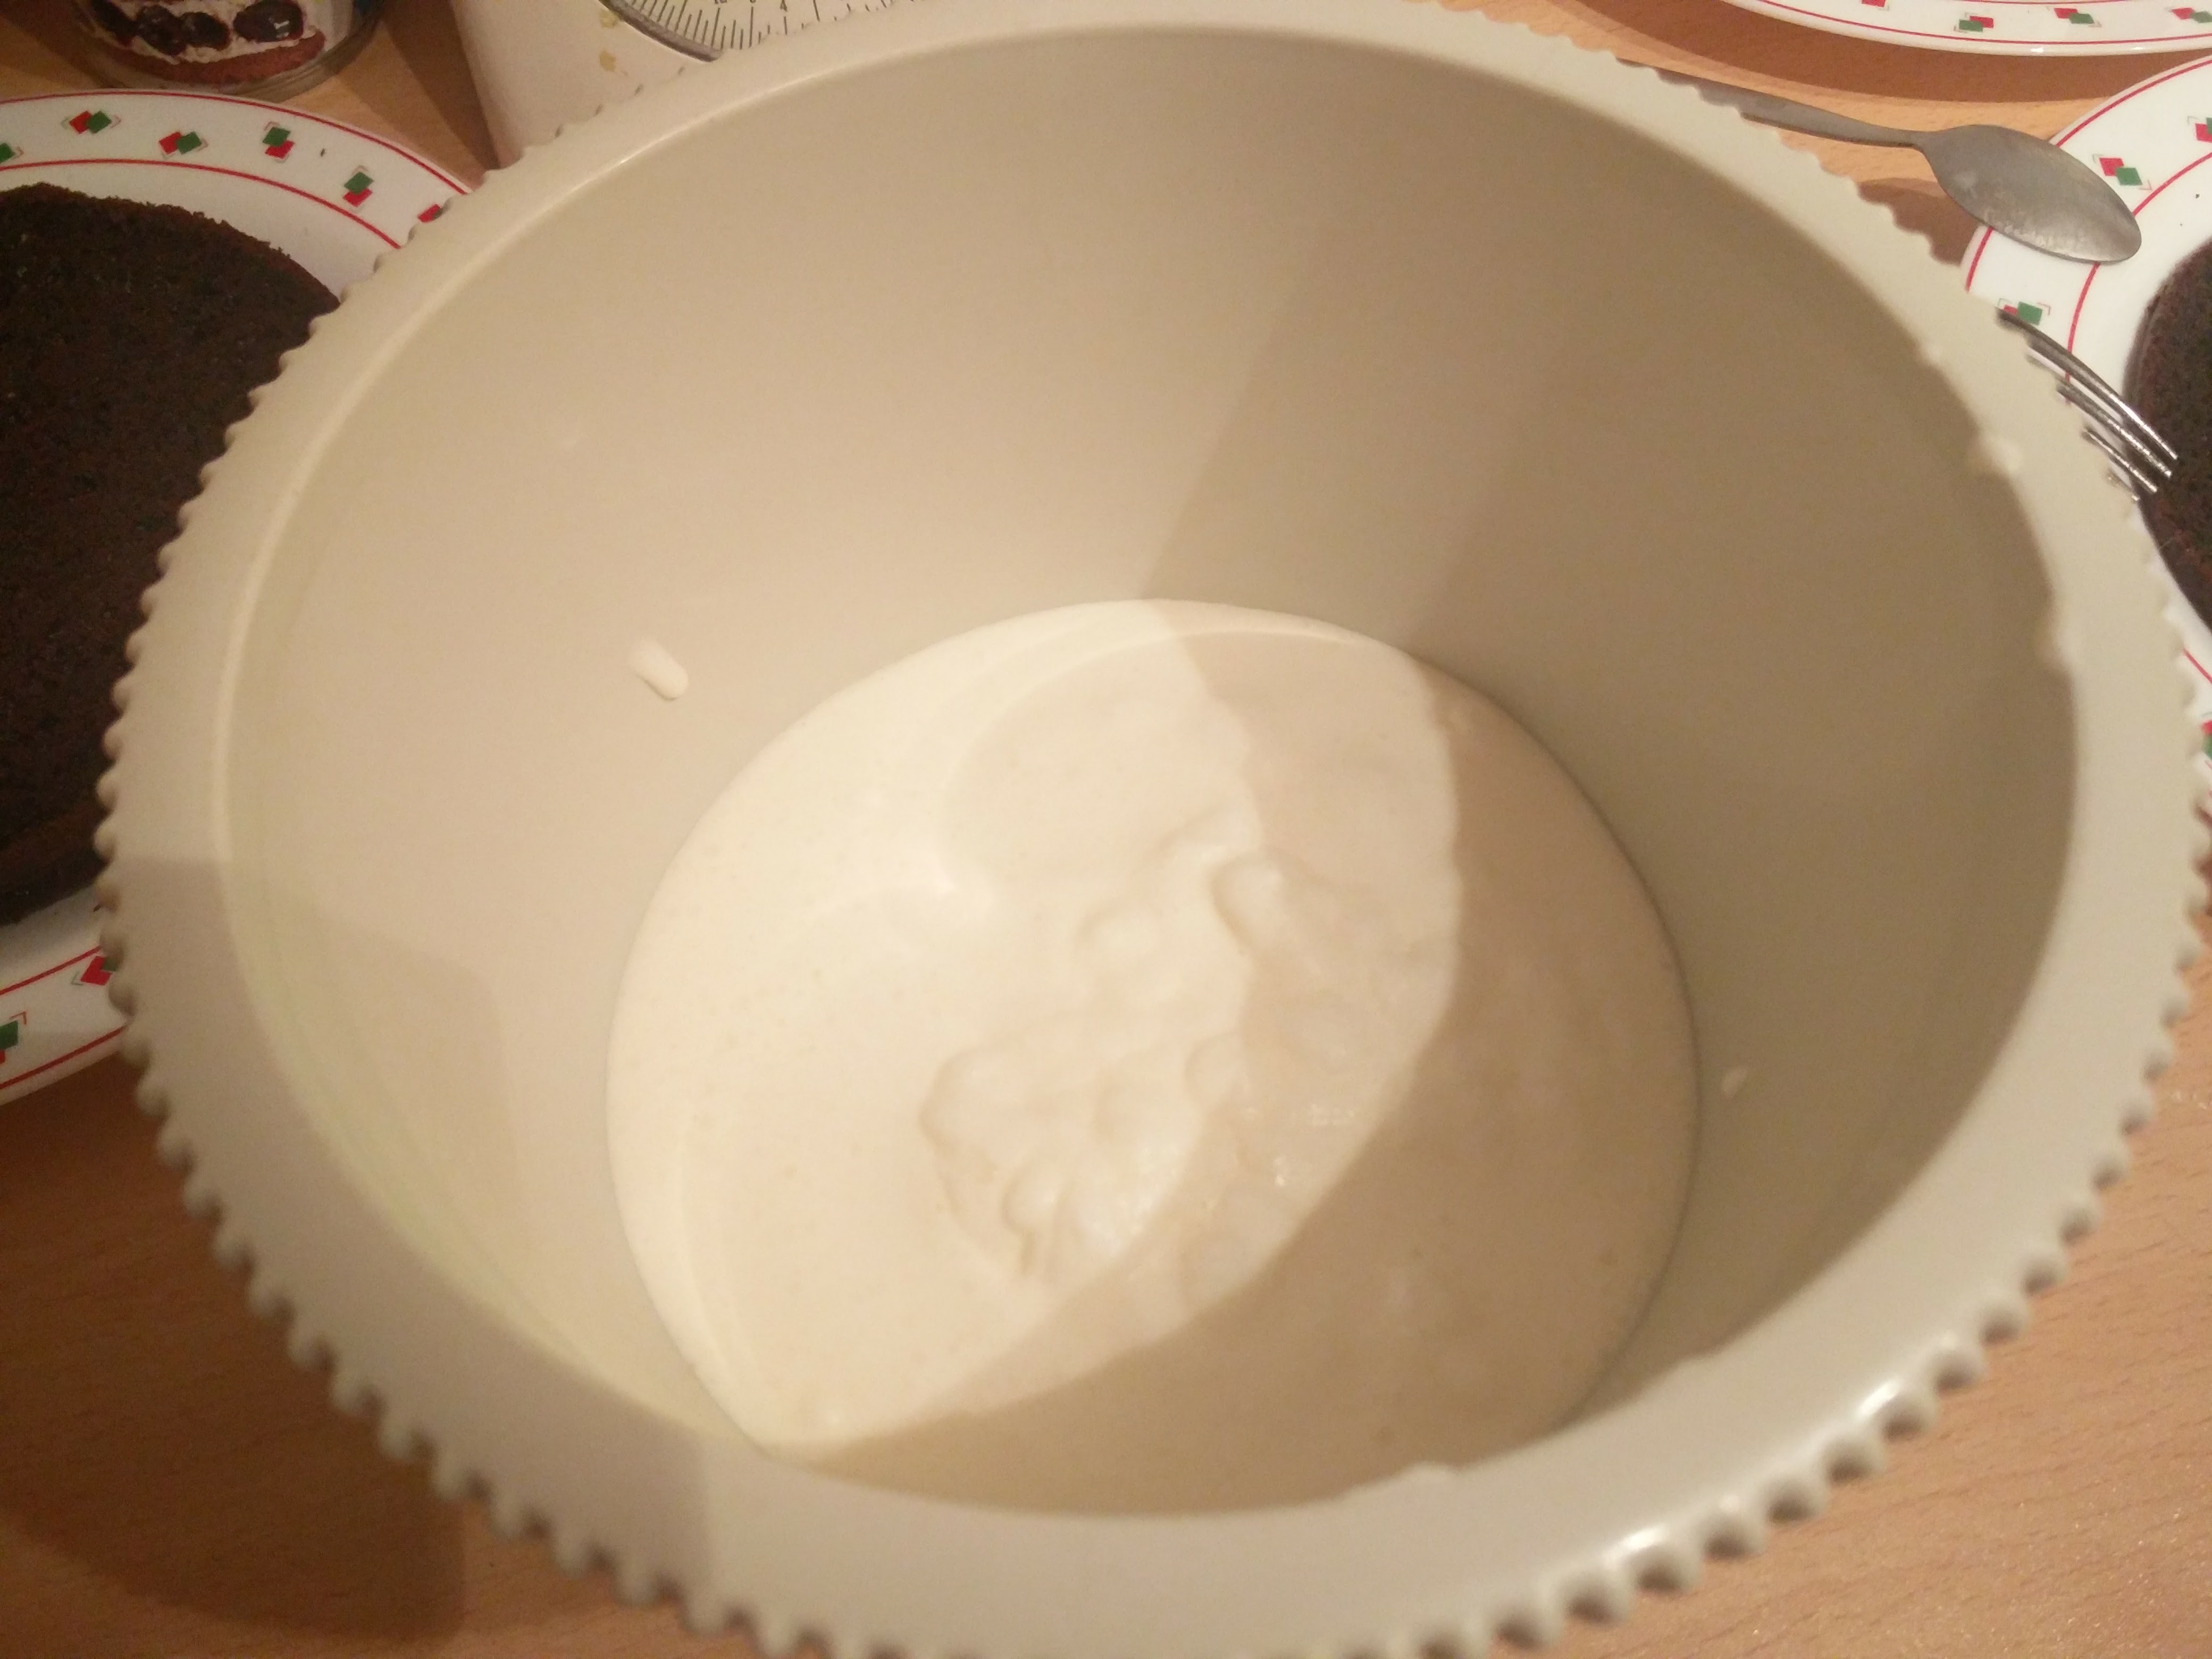
Next I needed to sift together the flour (1 2/3 cups), the cocoa (2/3 cup), the baking soda (1 1/2 teaspoons) and the salt (1 teaspoon). Unfortunately, I only had a scale that’s in pounds and ounces, so some conversions were needed to take place. While looking for the scales, I spotted the measuring jugs in a cupboard but dismissed them as “they’re just for measuring liquids” (it made sense to me at the time).

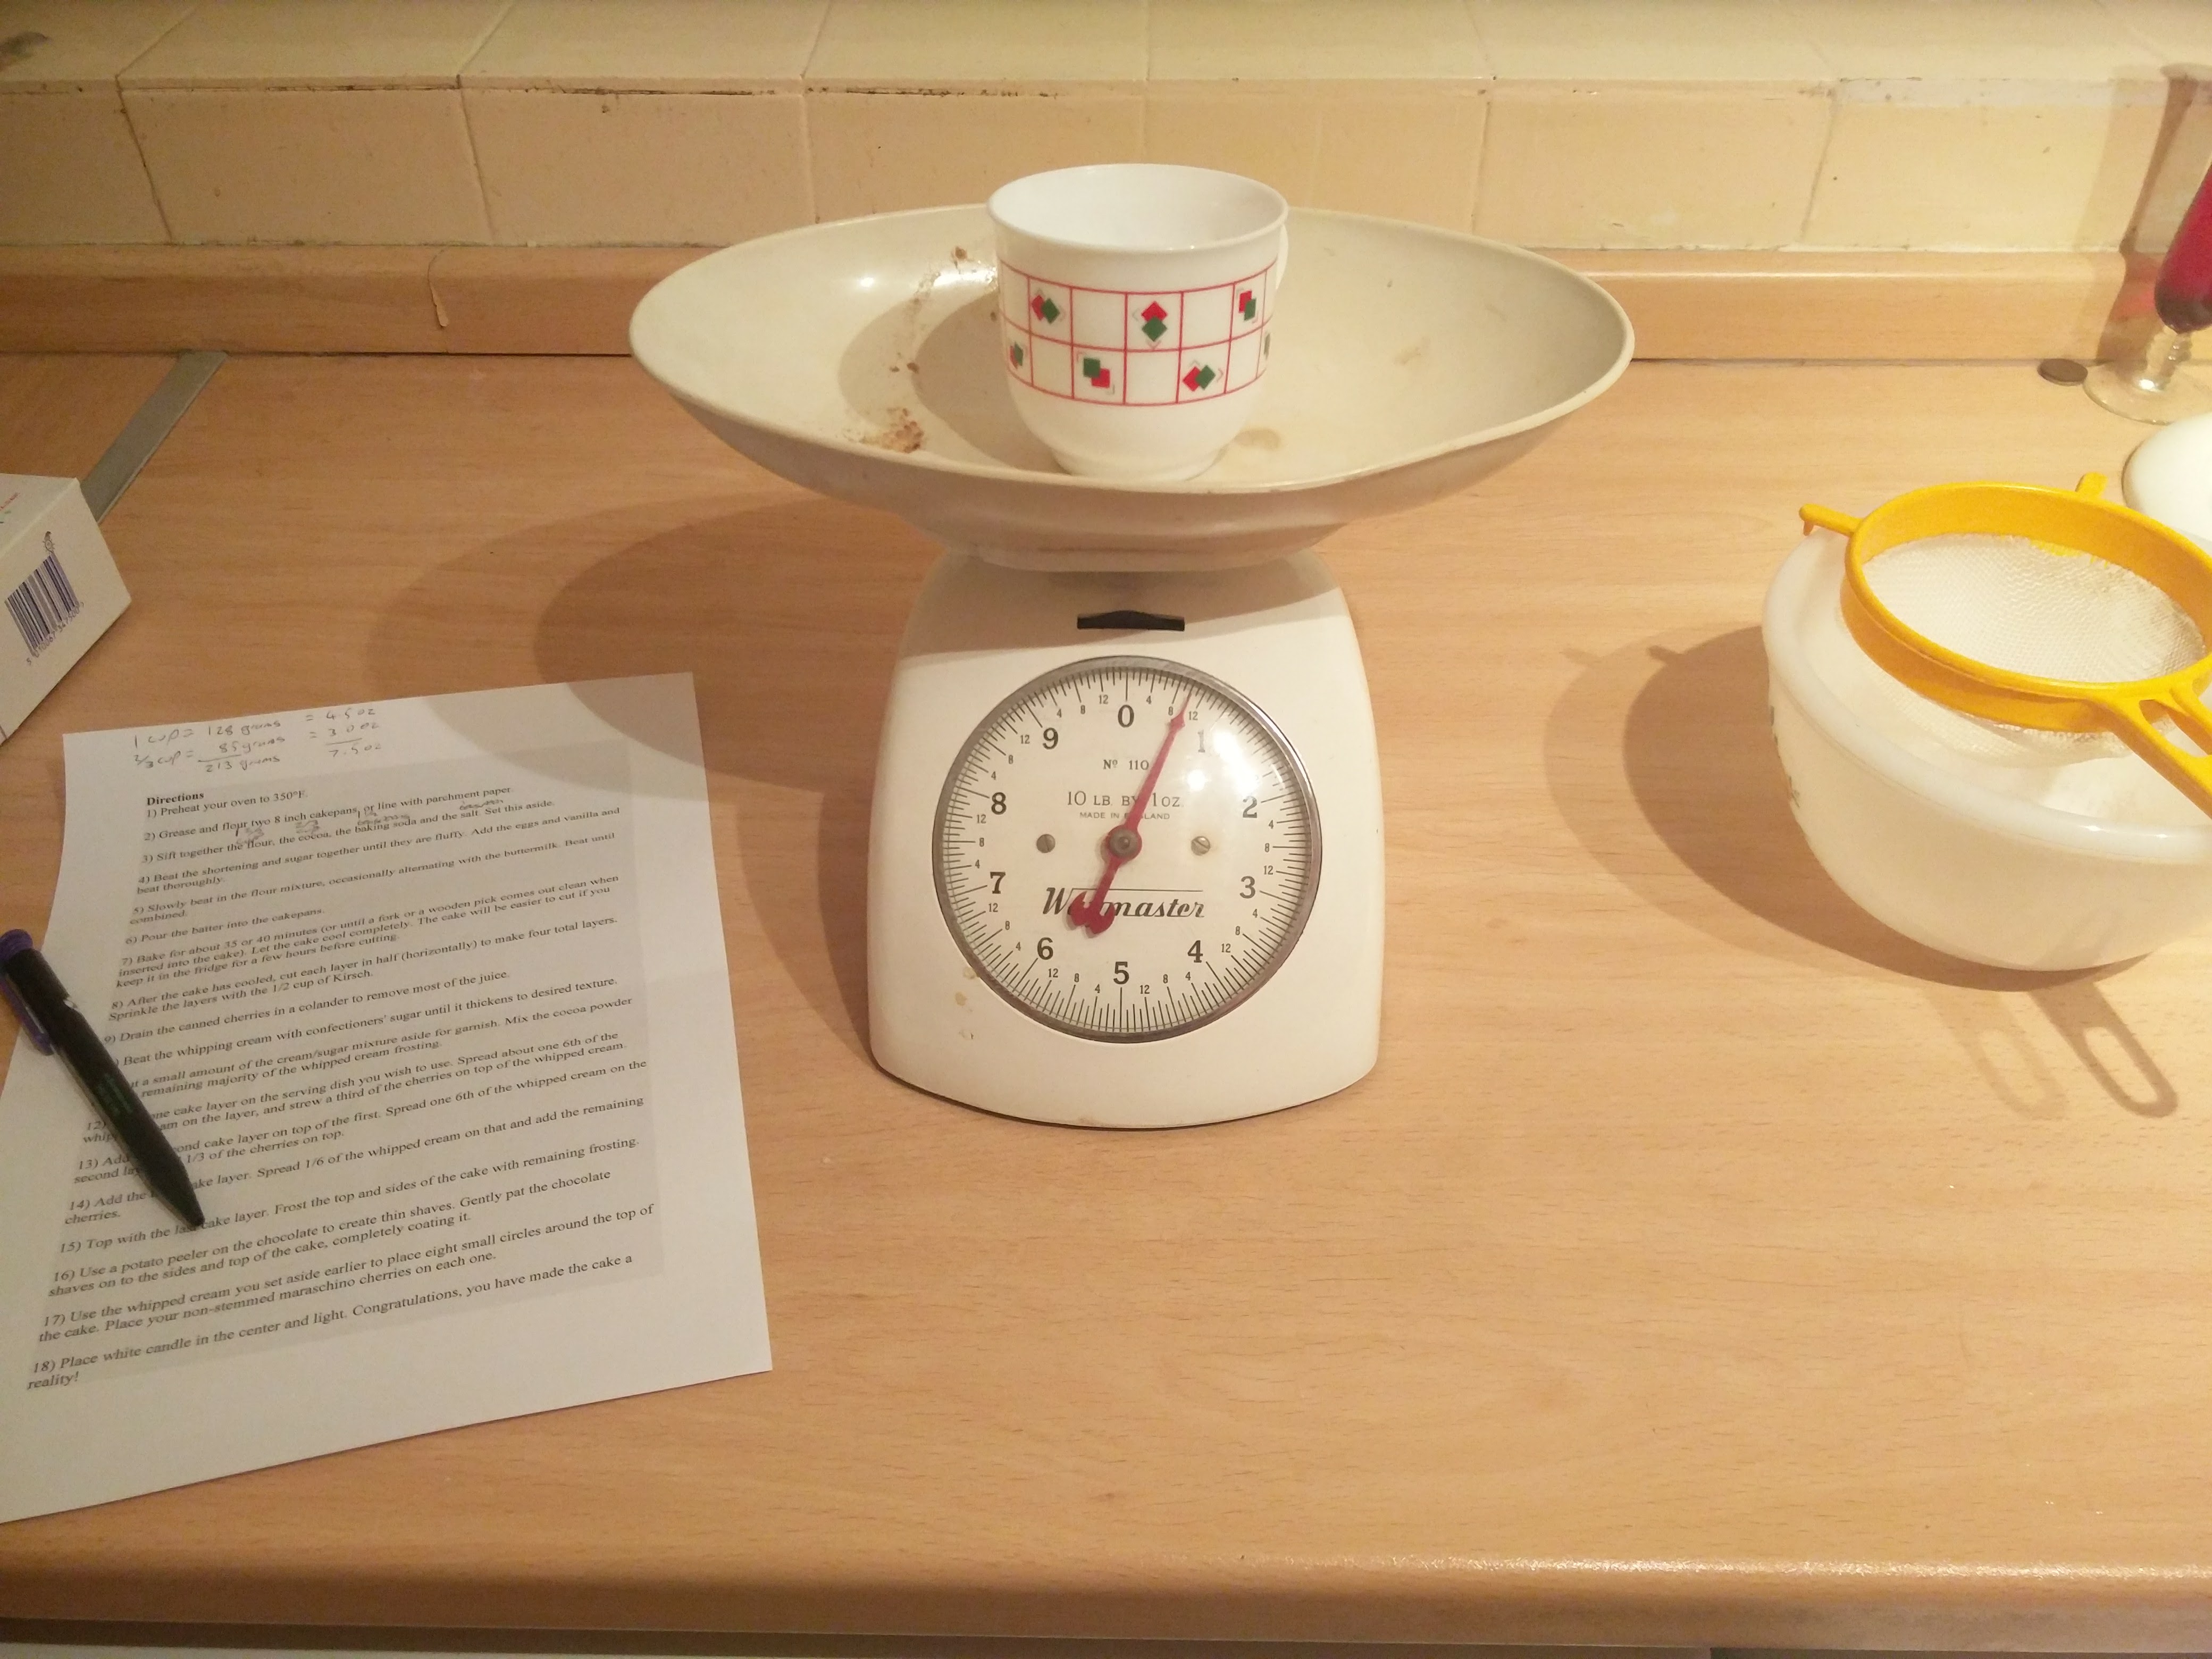
To make sure that I didn’t overfill on the amounts needed, I only poured around 2 ounces of flour / cocoa powder each time before sieving them into a mixing bowl. The unfortunate side effect of this was that it took a very, very, long time.

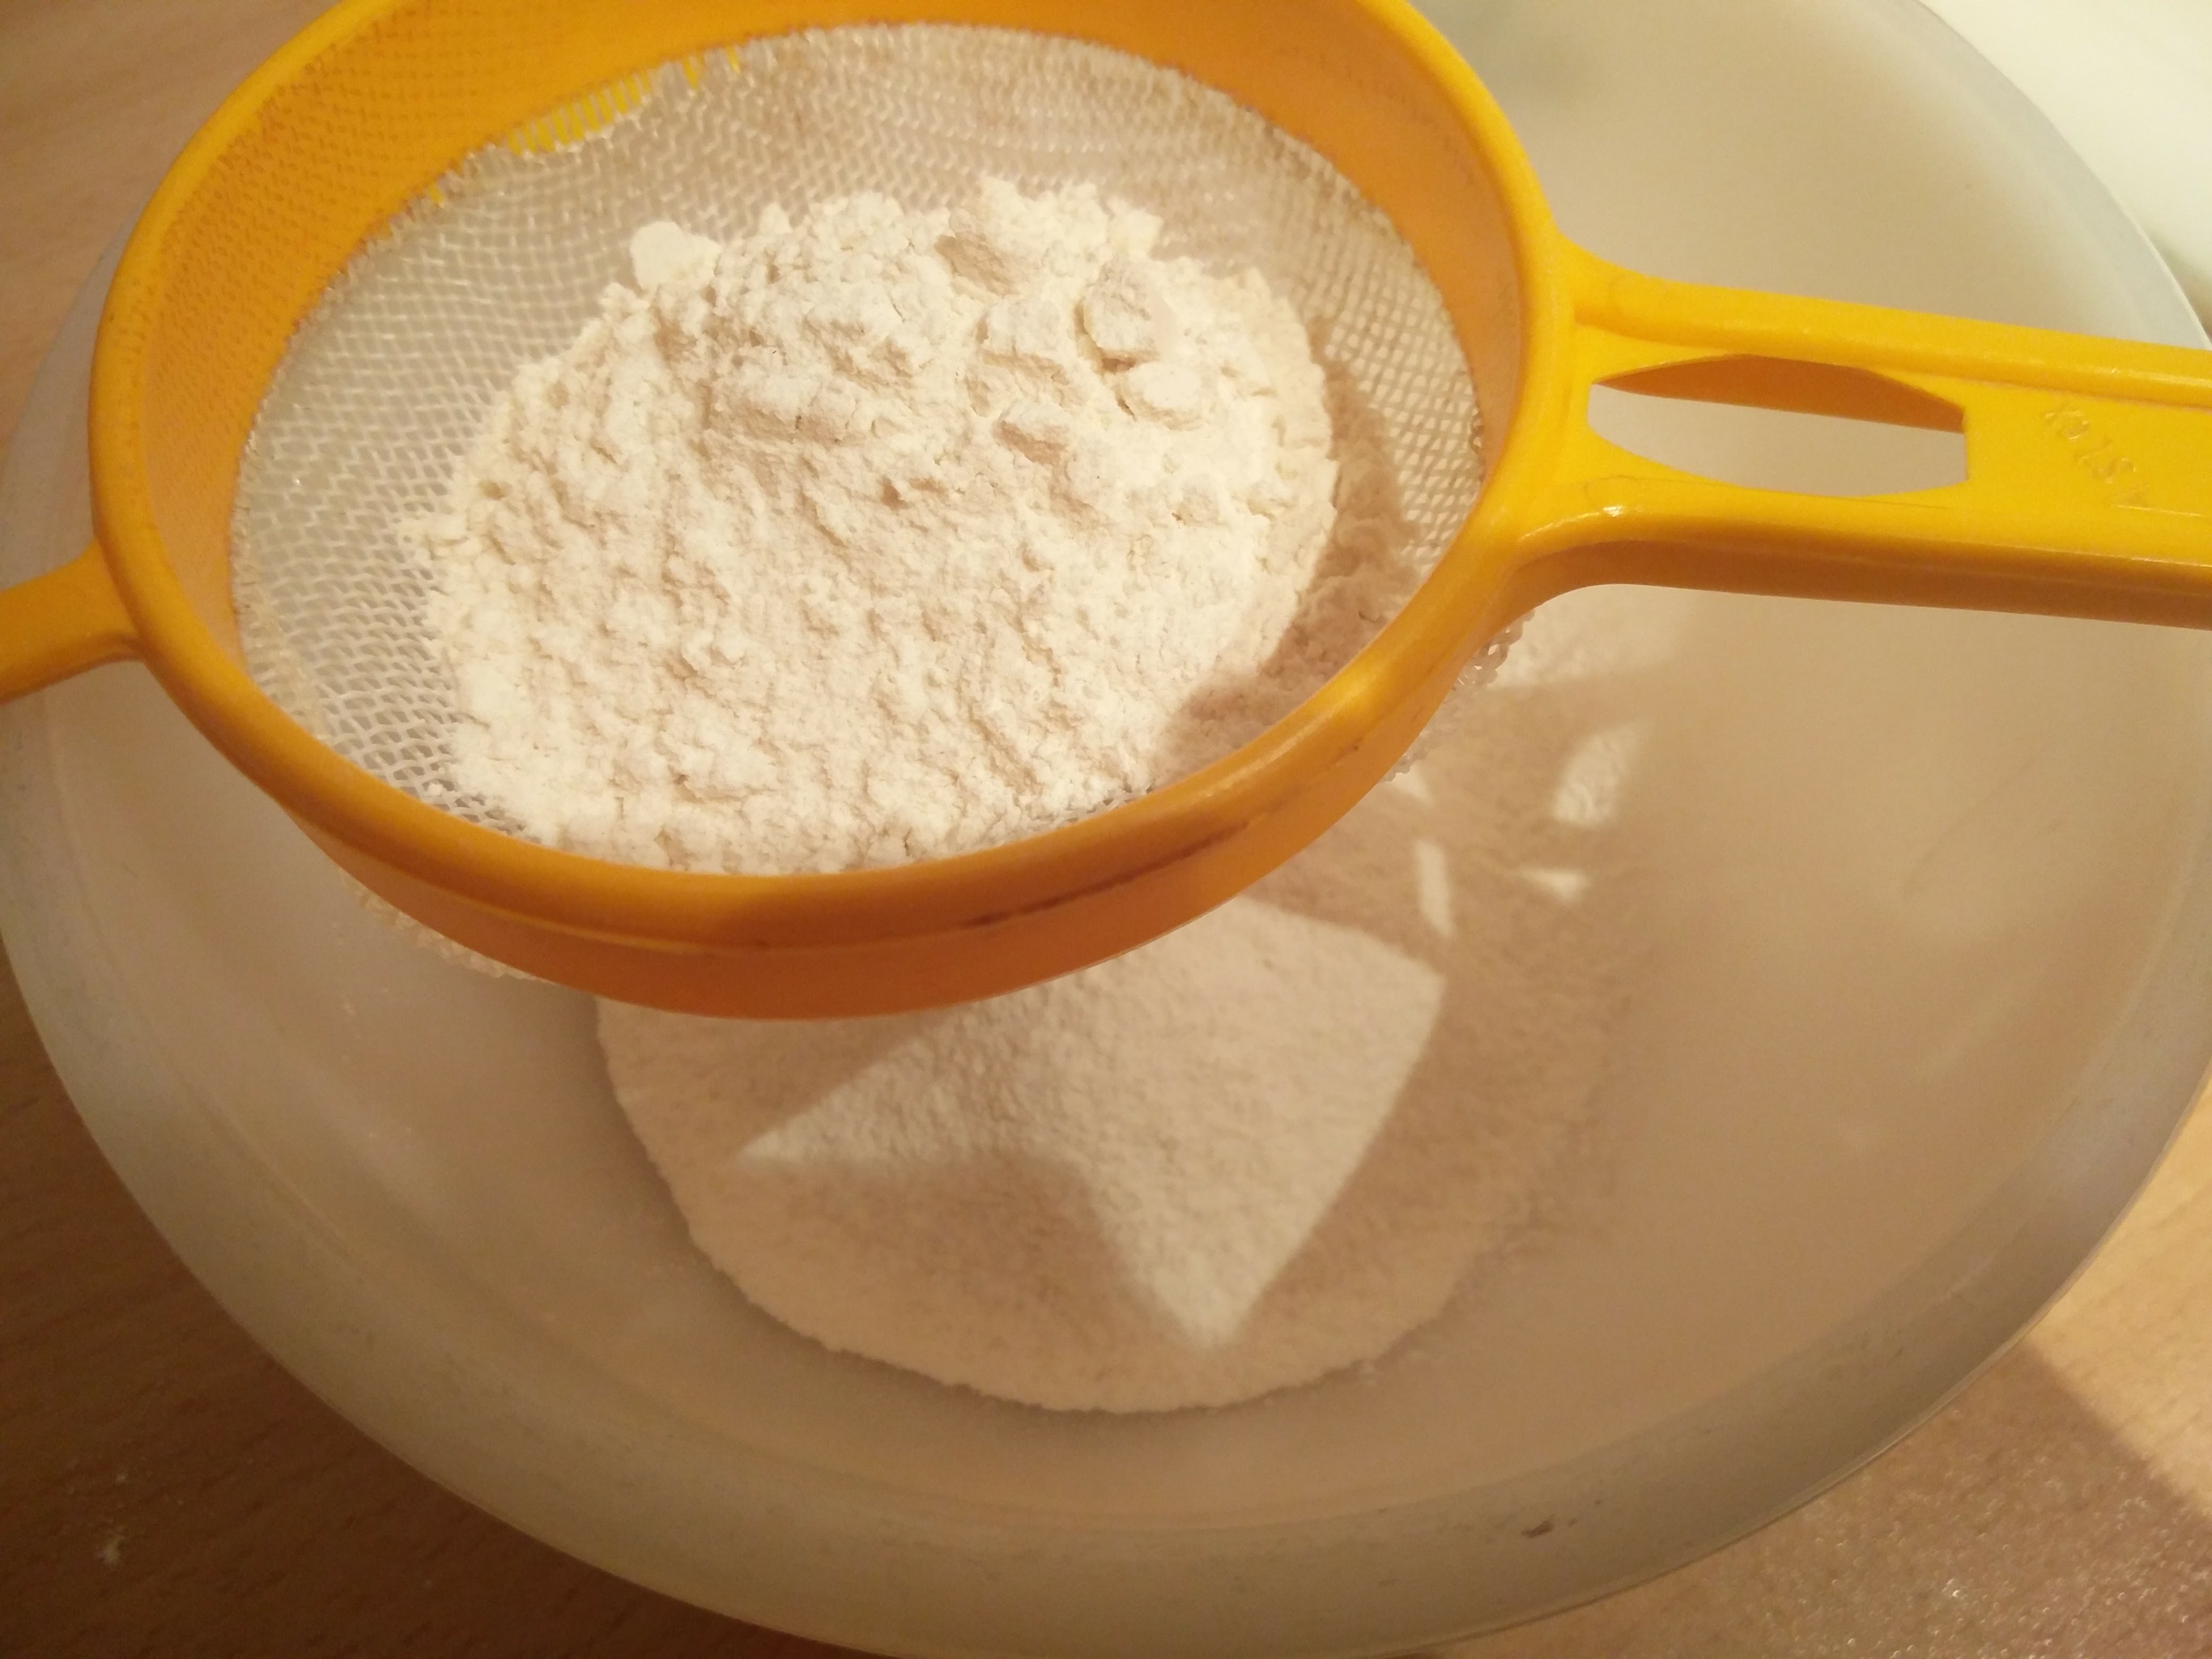

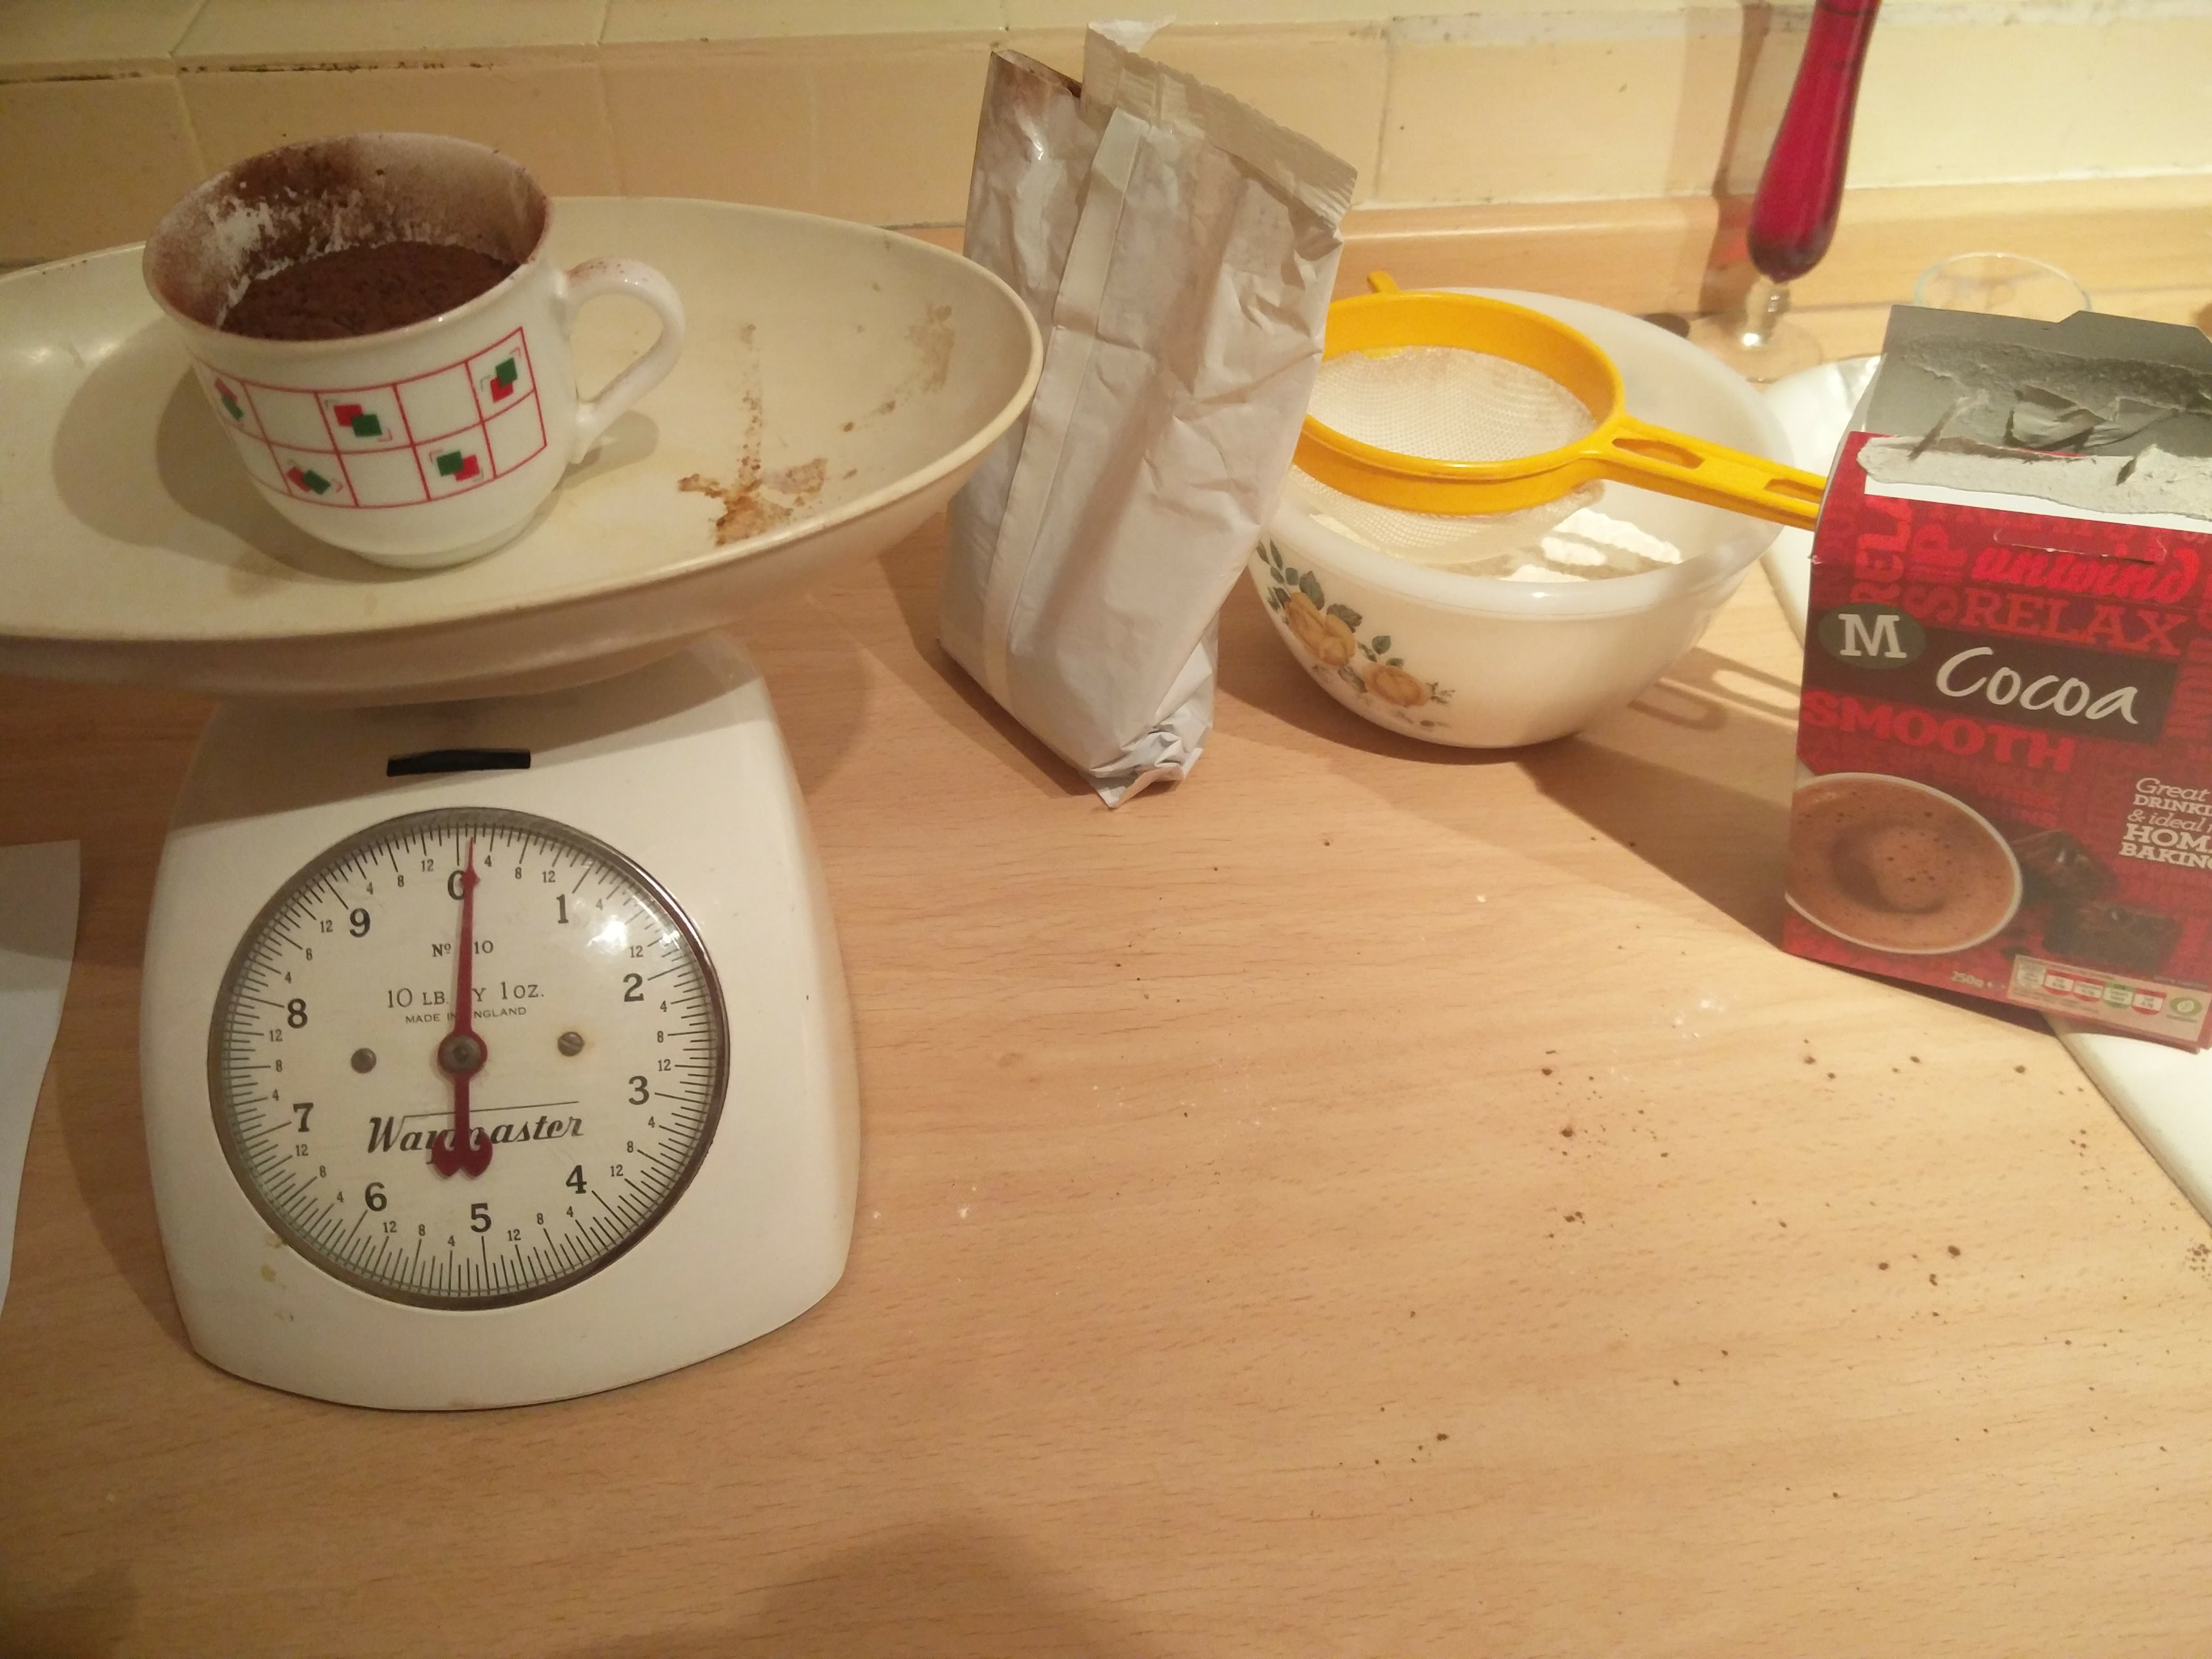
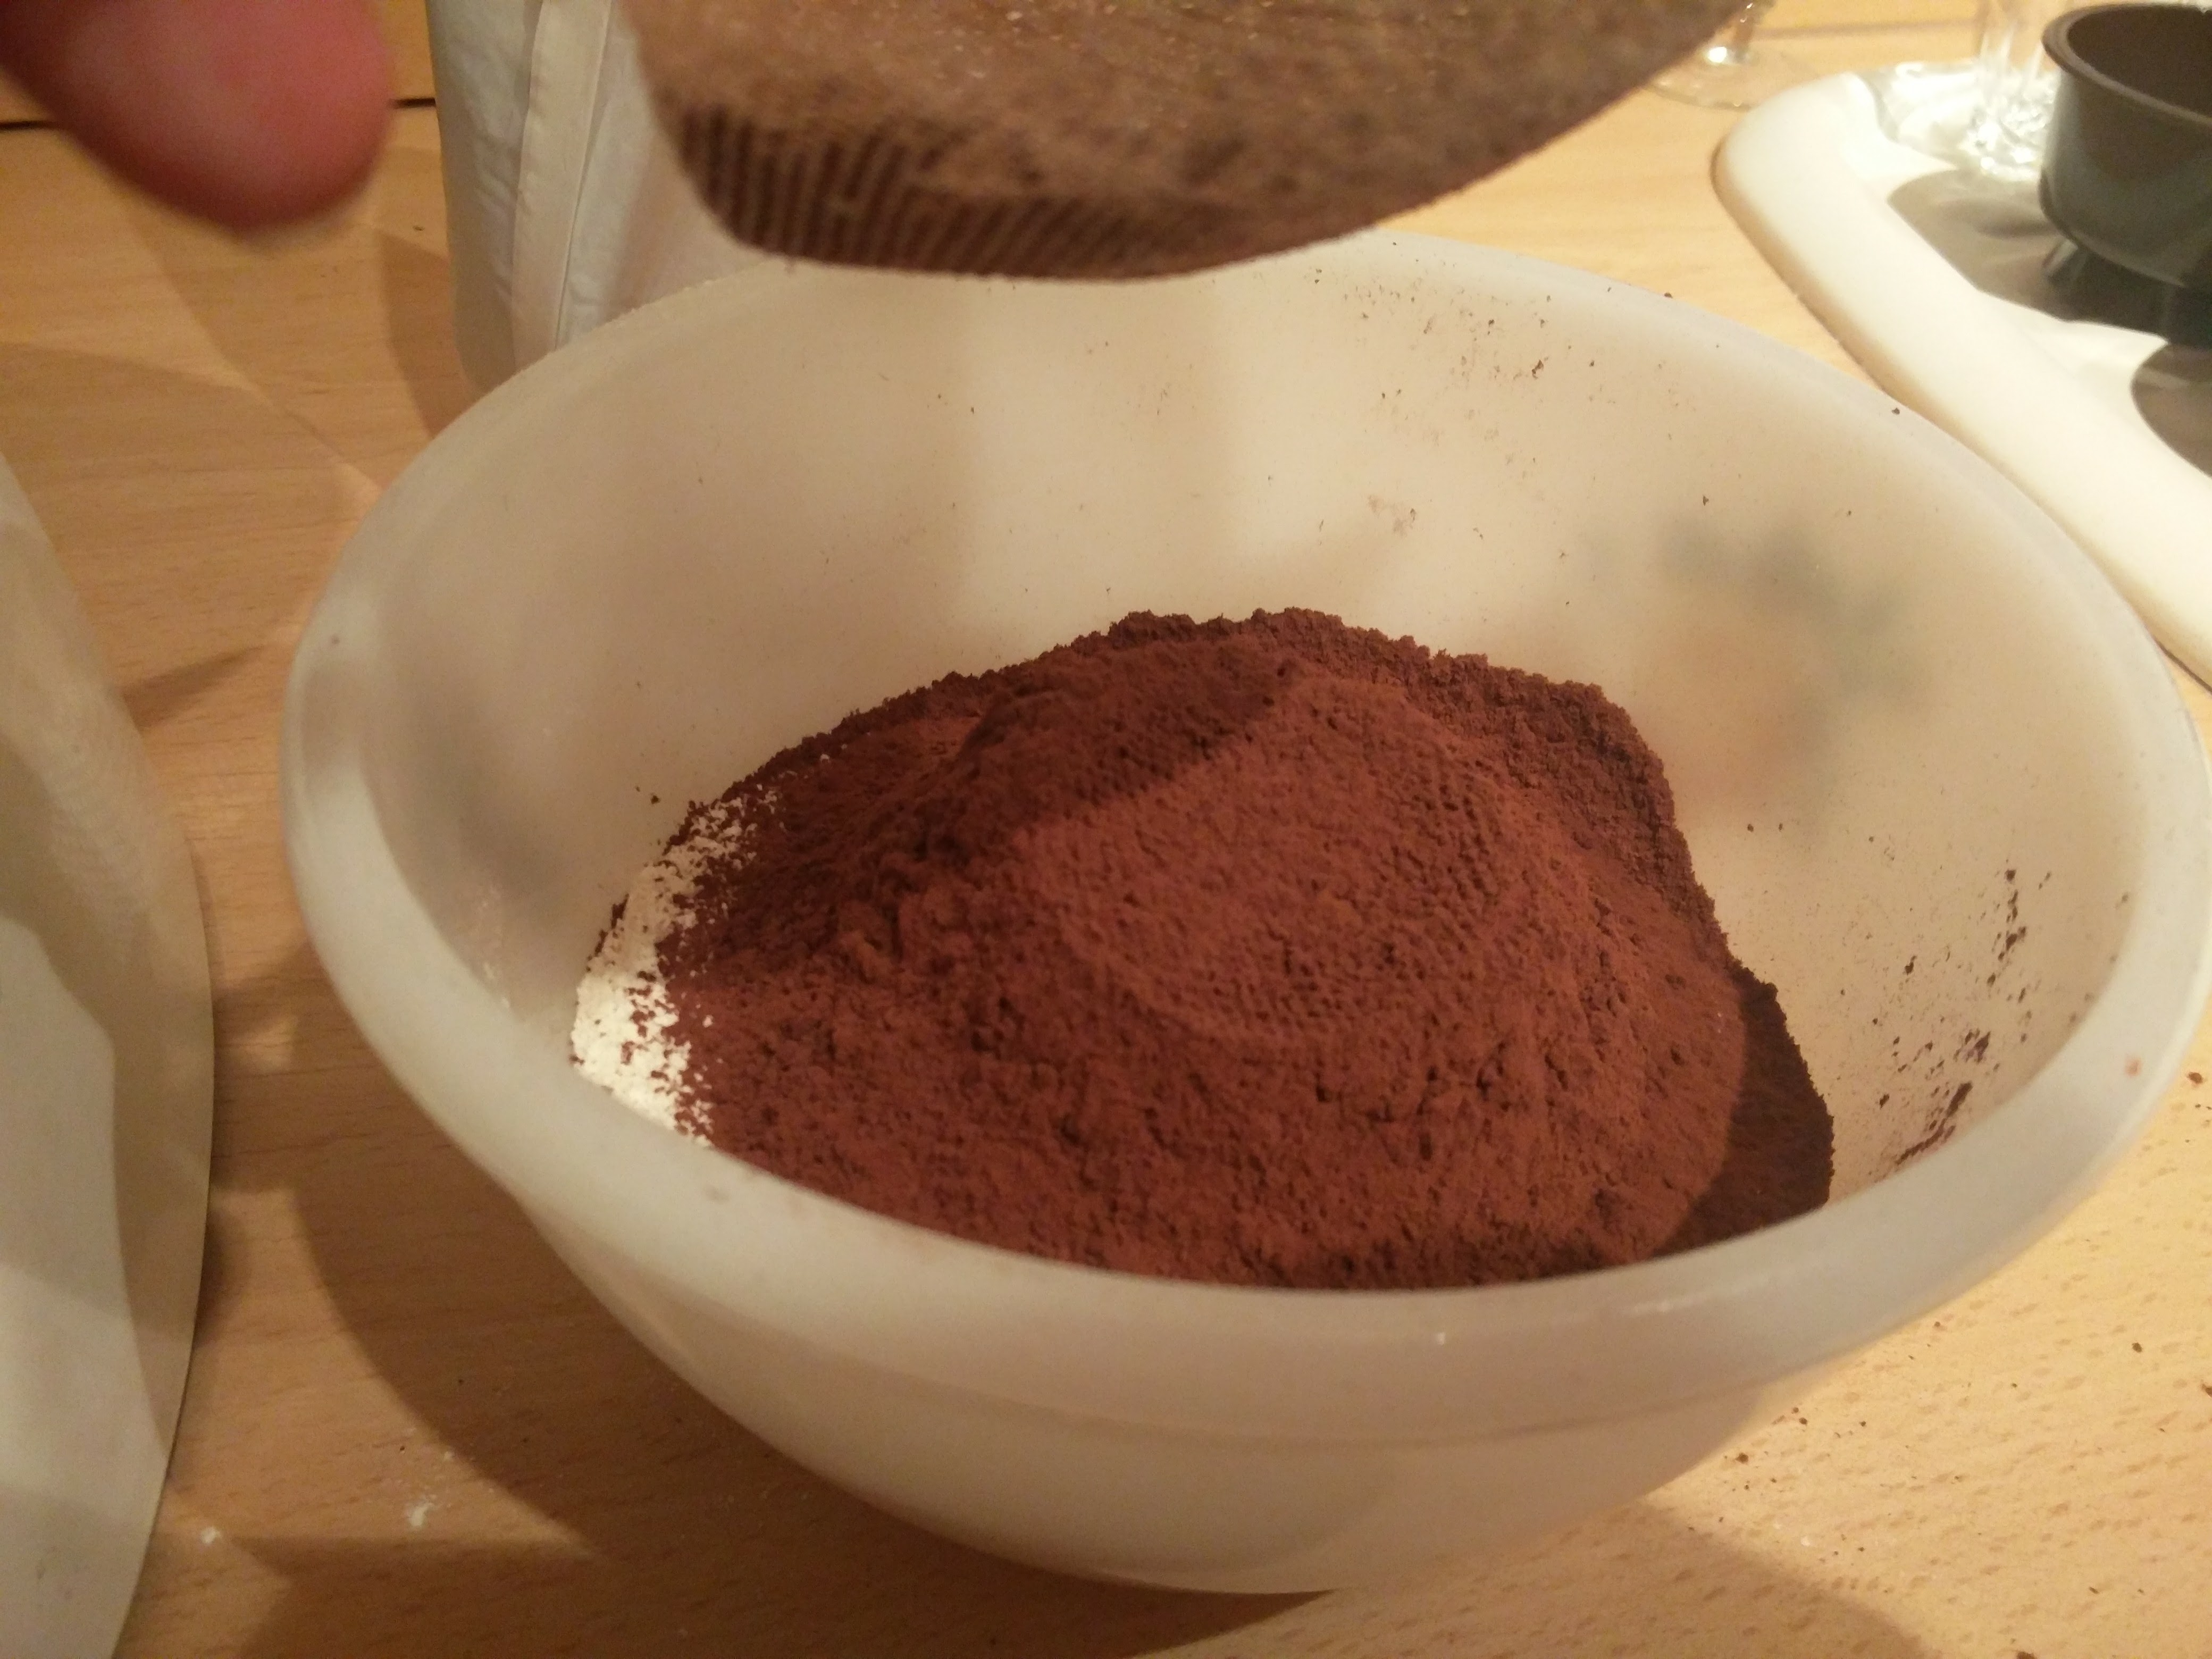
After spending a bit of time slowly pouring flour and cocoa powder into the cup and sieving it into the bowl, I then had to add the baking soda (also known as bicarbonate of soda) and salt.
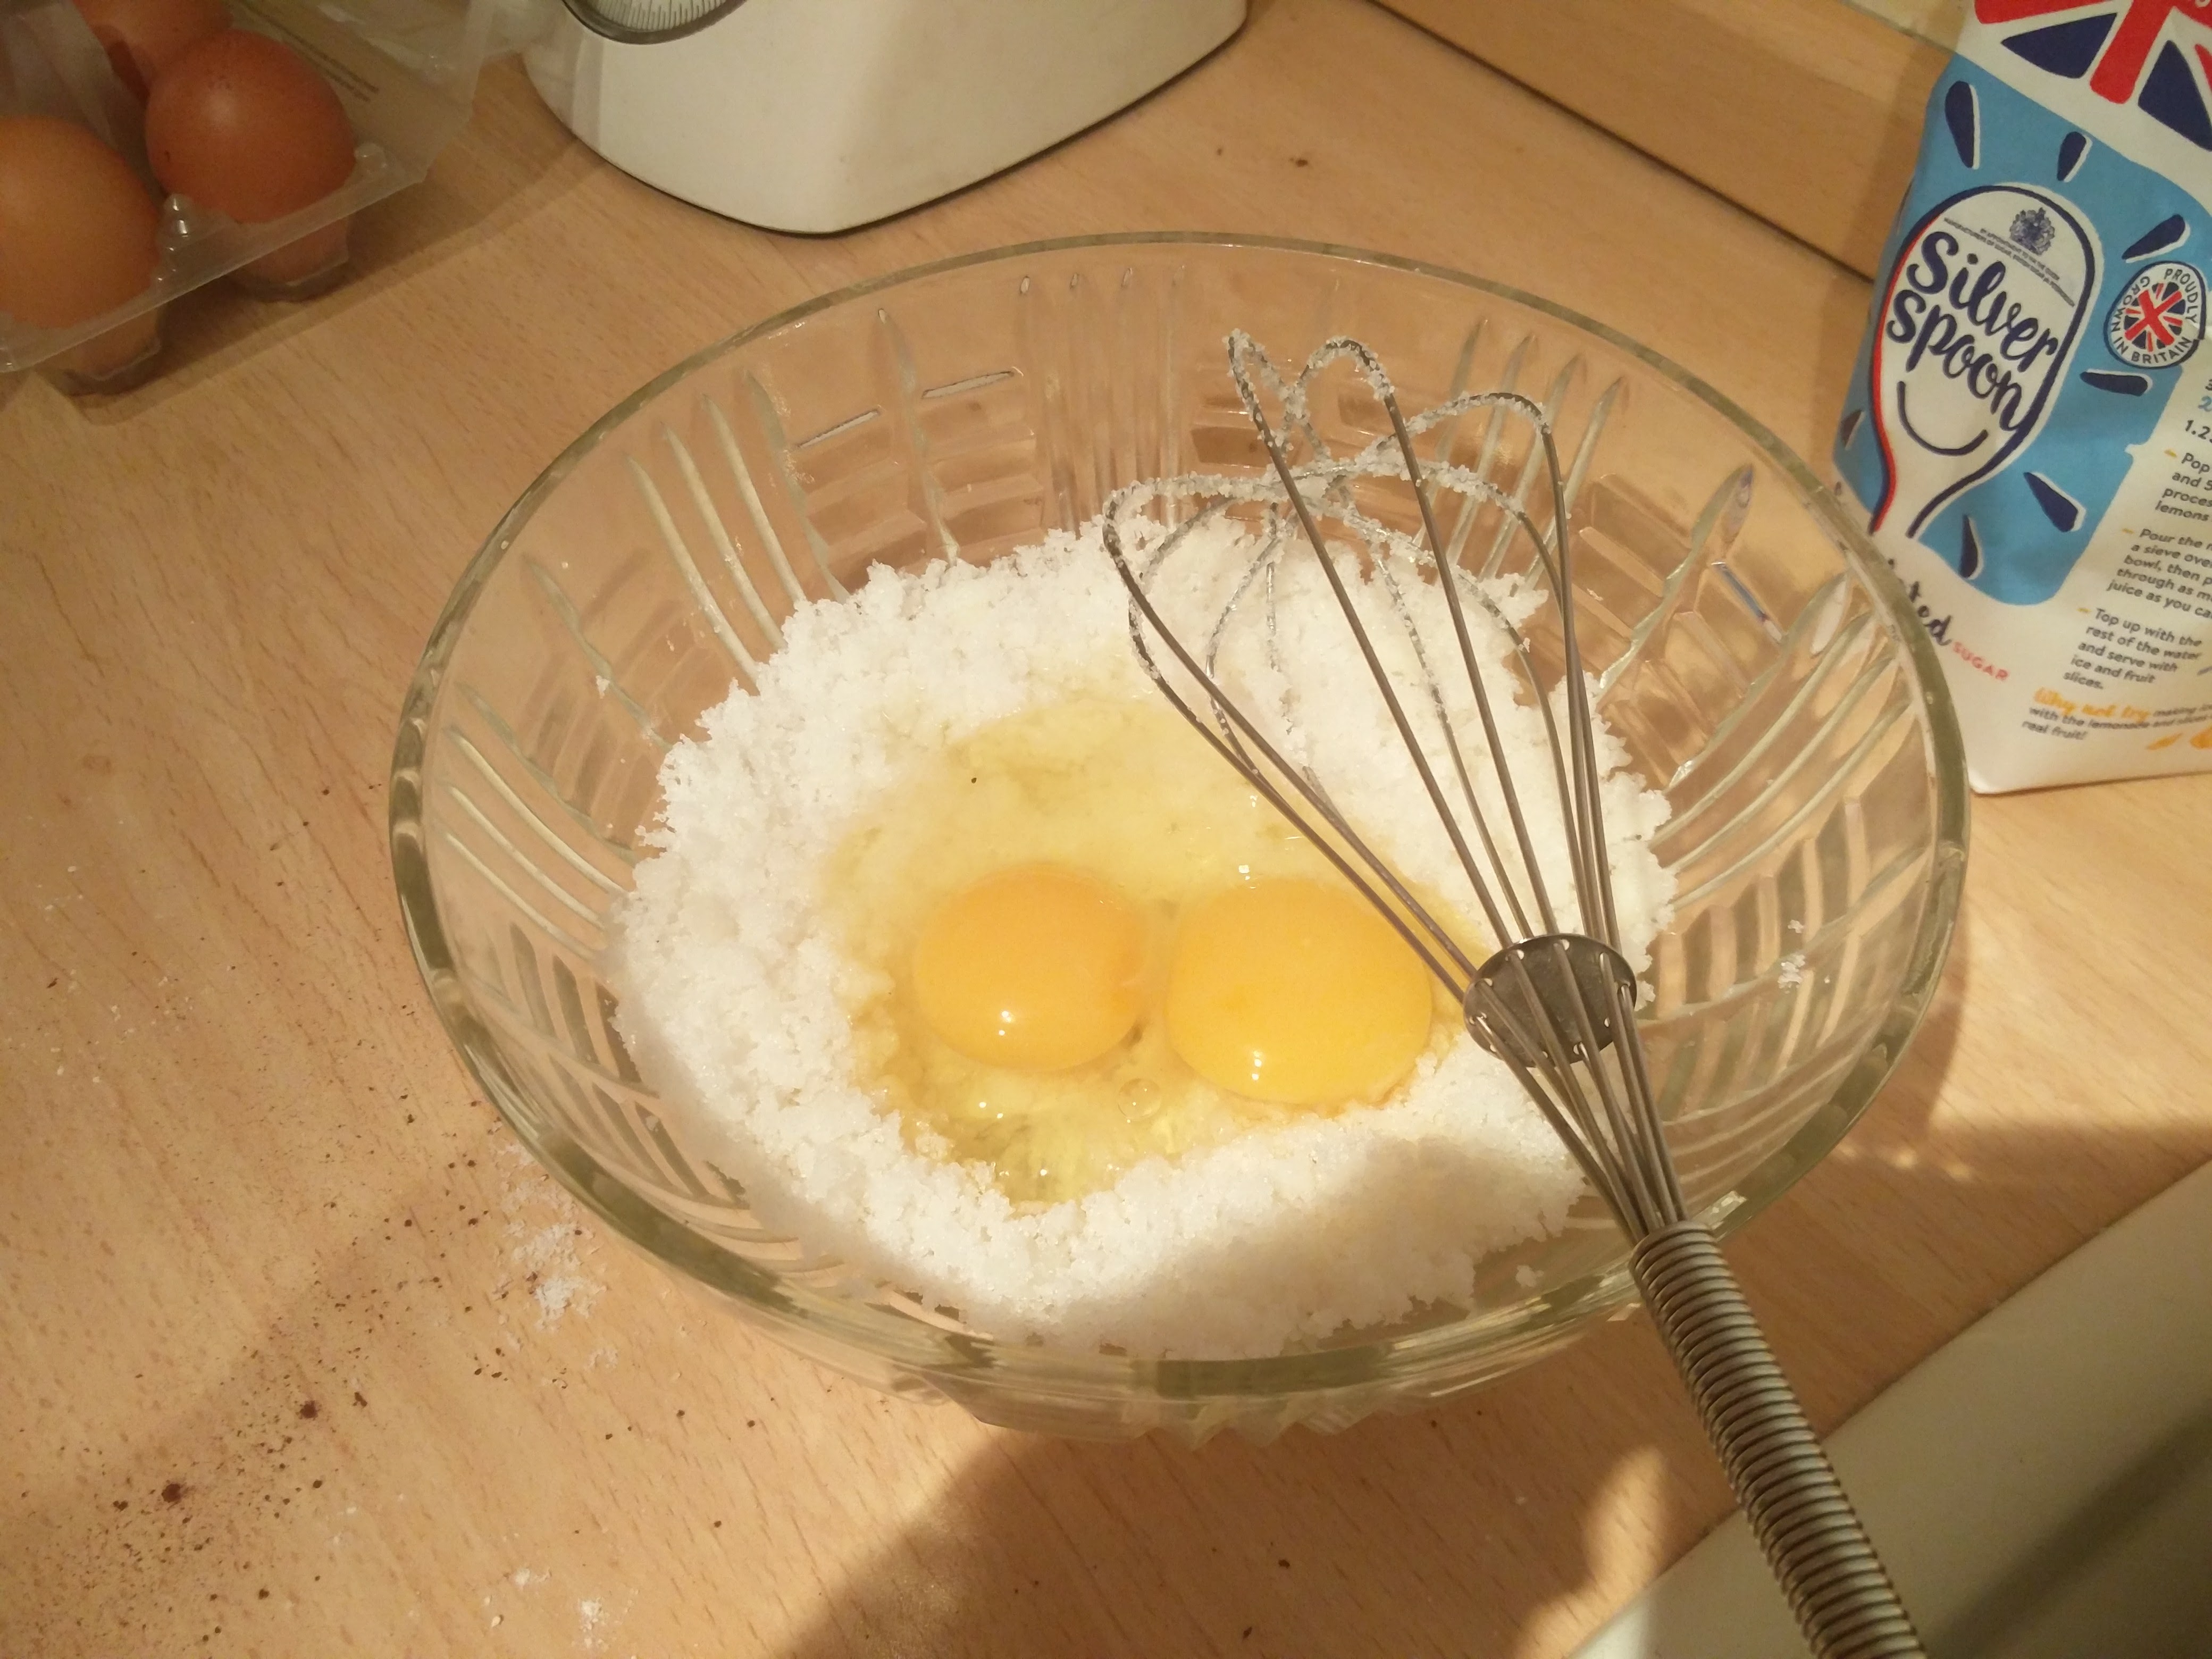
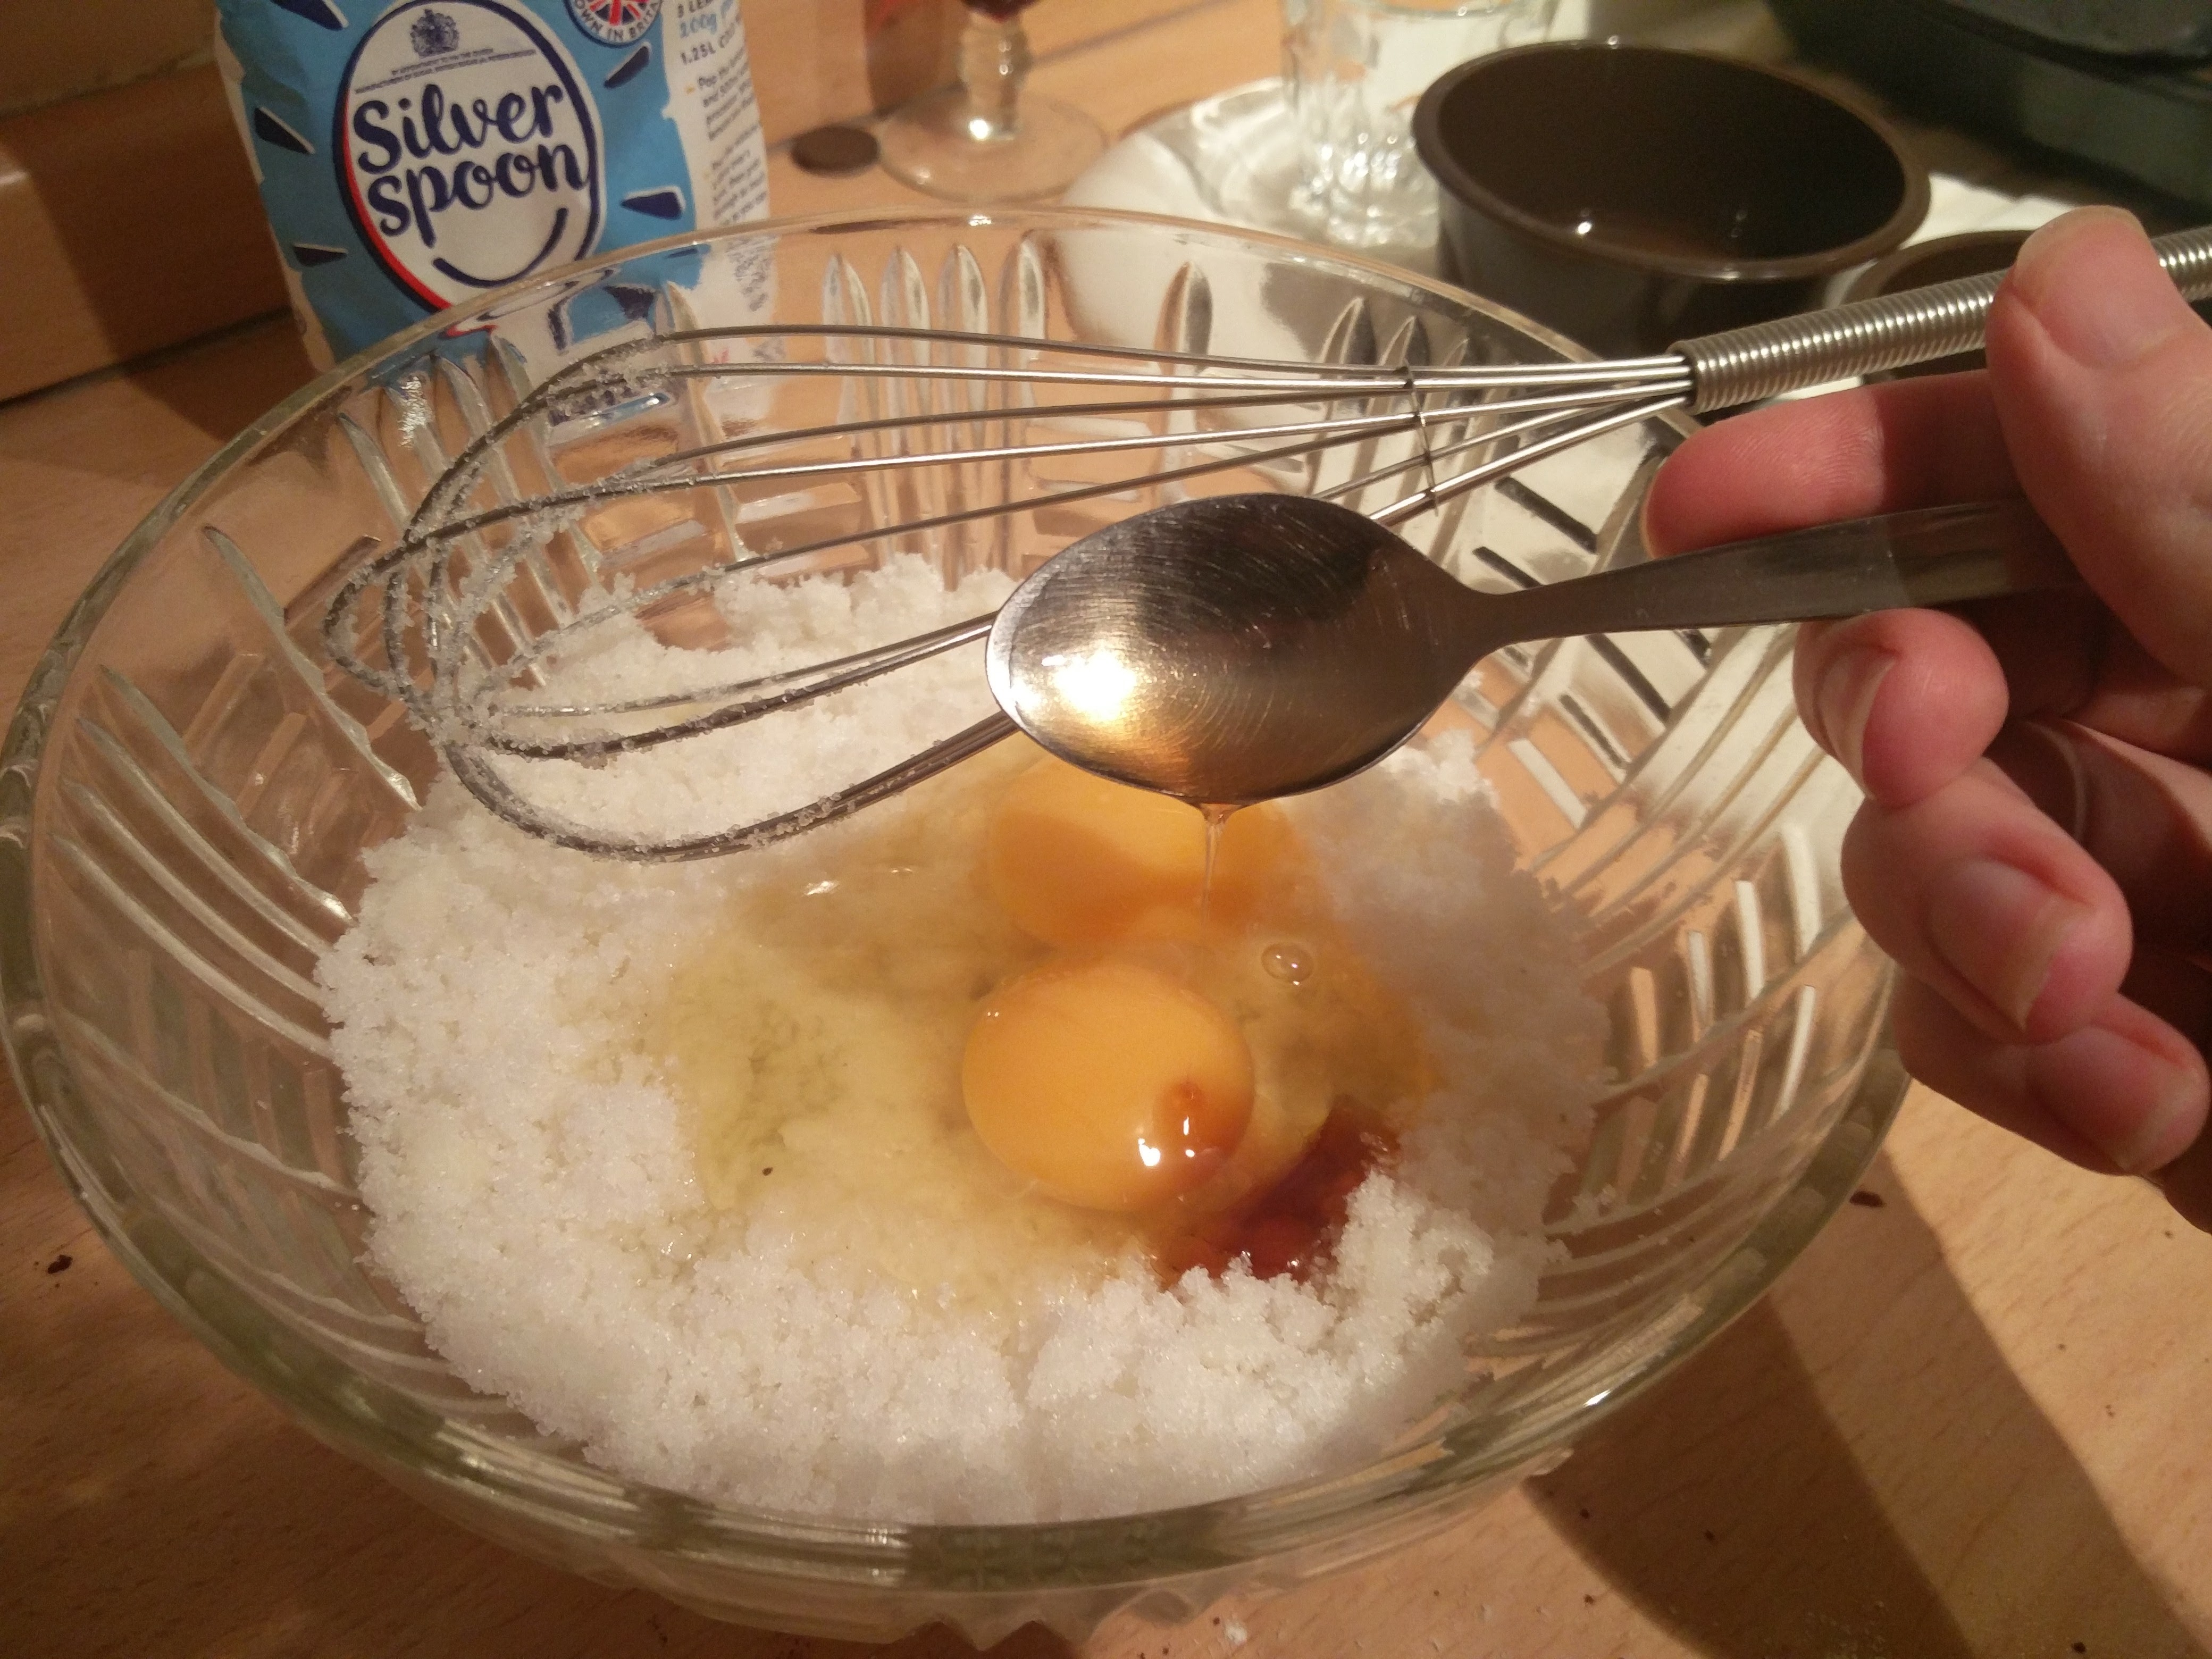
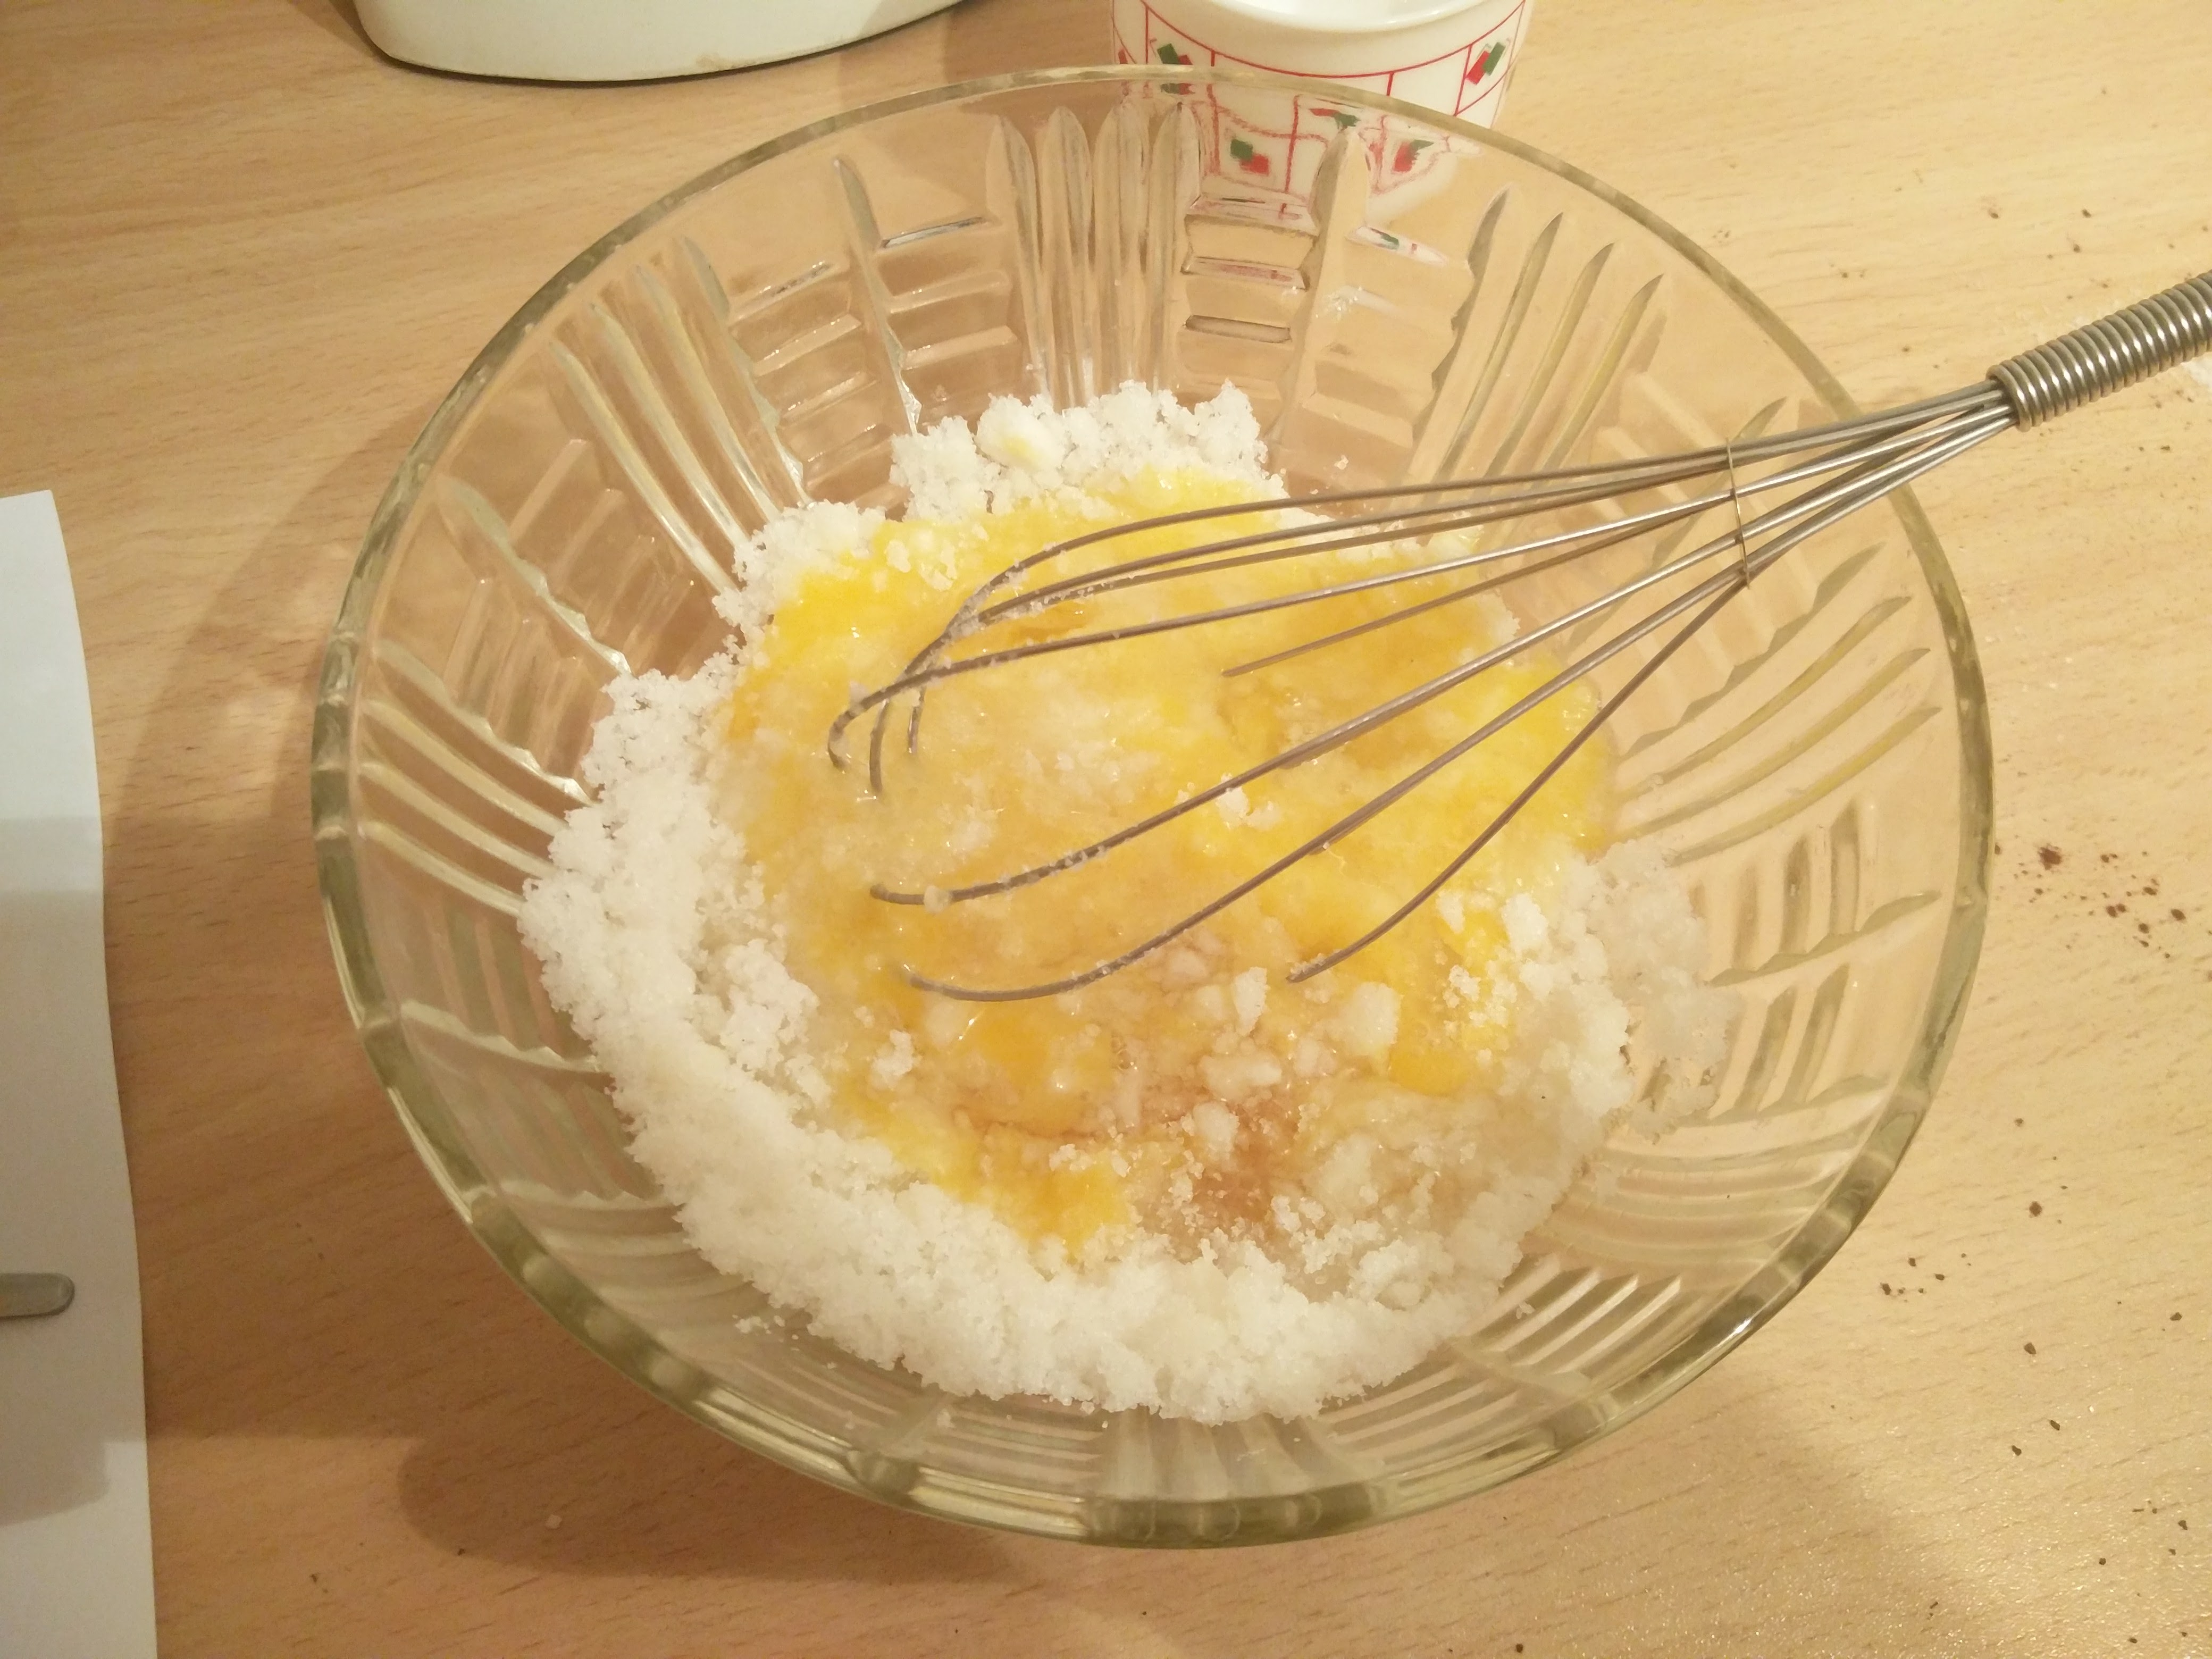
An hour after starting this I was now ready to move onto the next step: Beat the shortening (1/2 cup) and sugar (1 1/2) together until they are fluffy. Add the eggs (2 of them) and vanilla (1 teaspoon) and beat thoroughly.
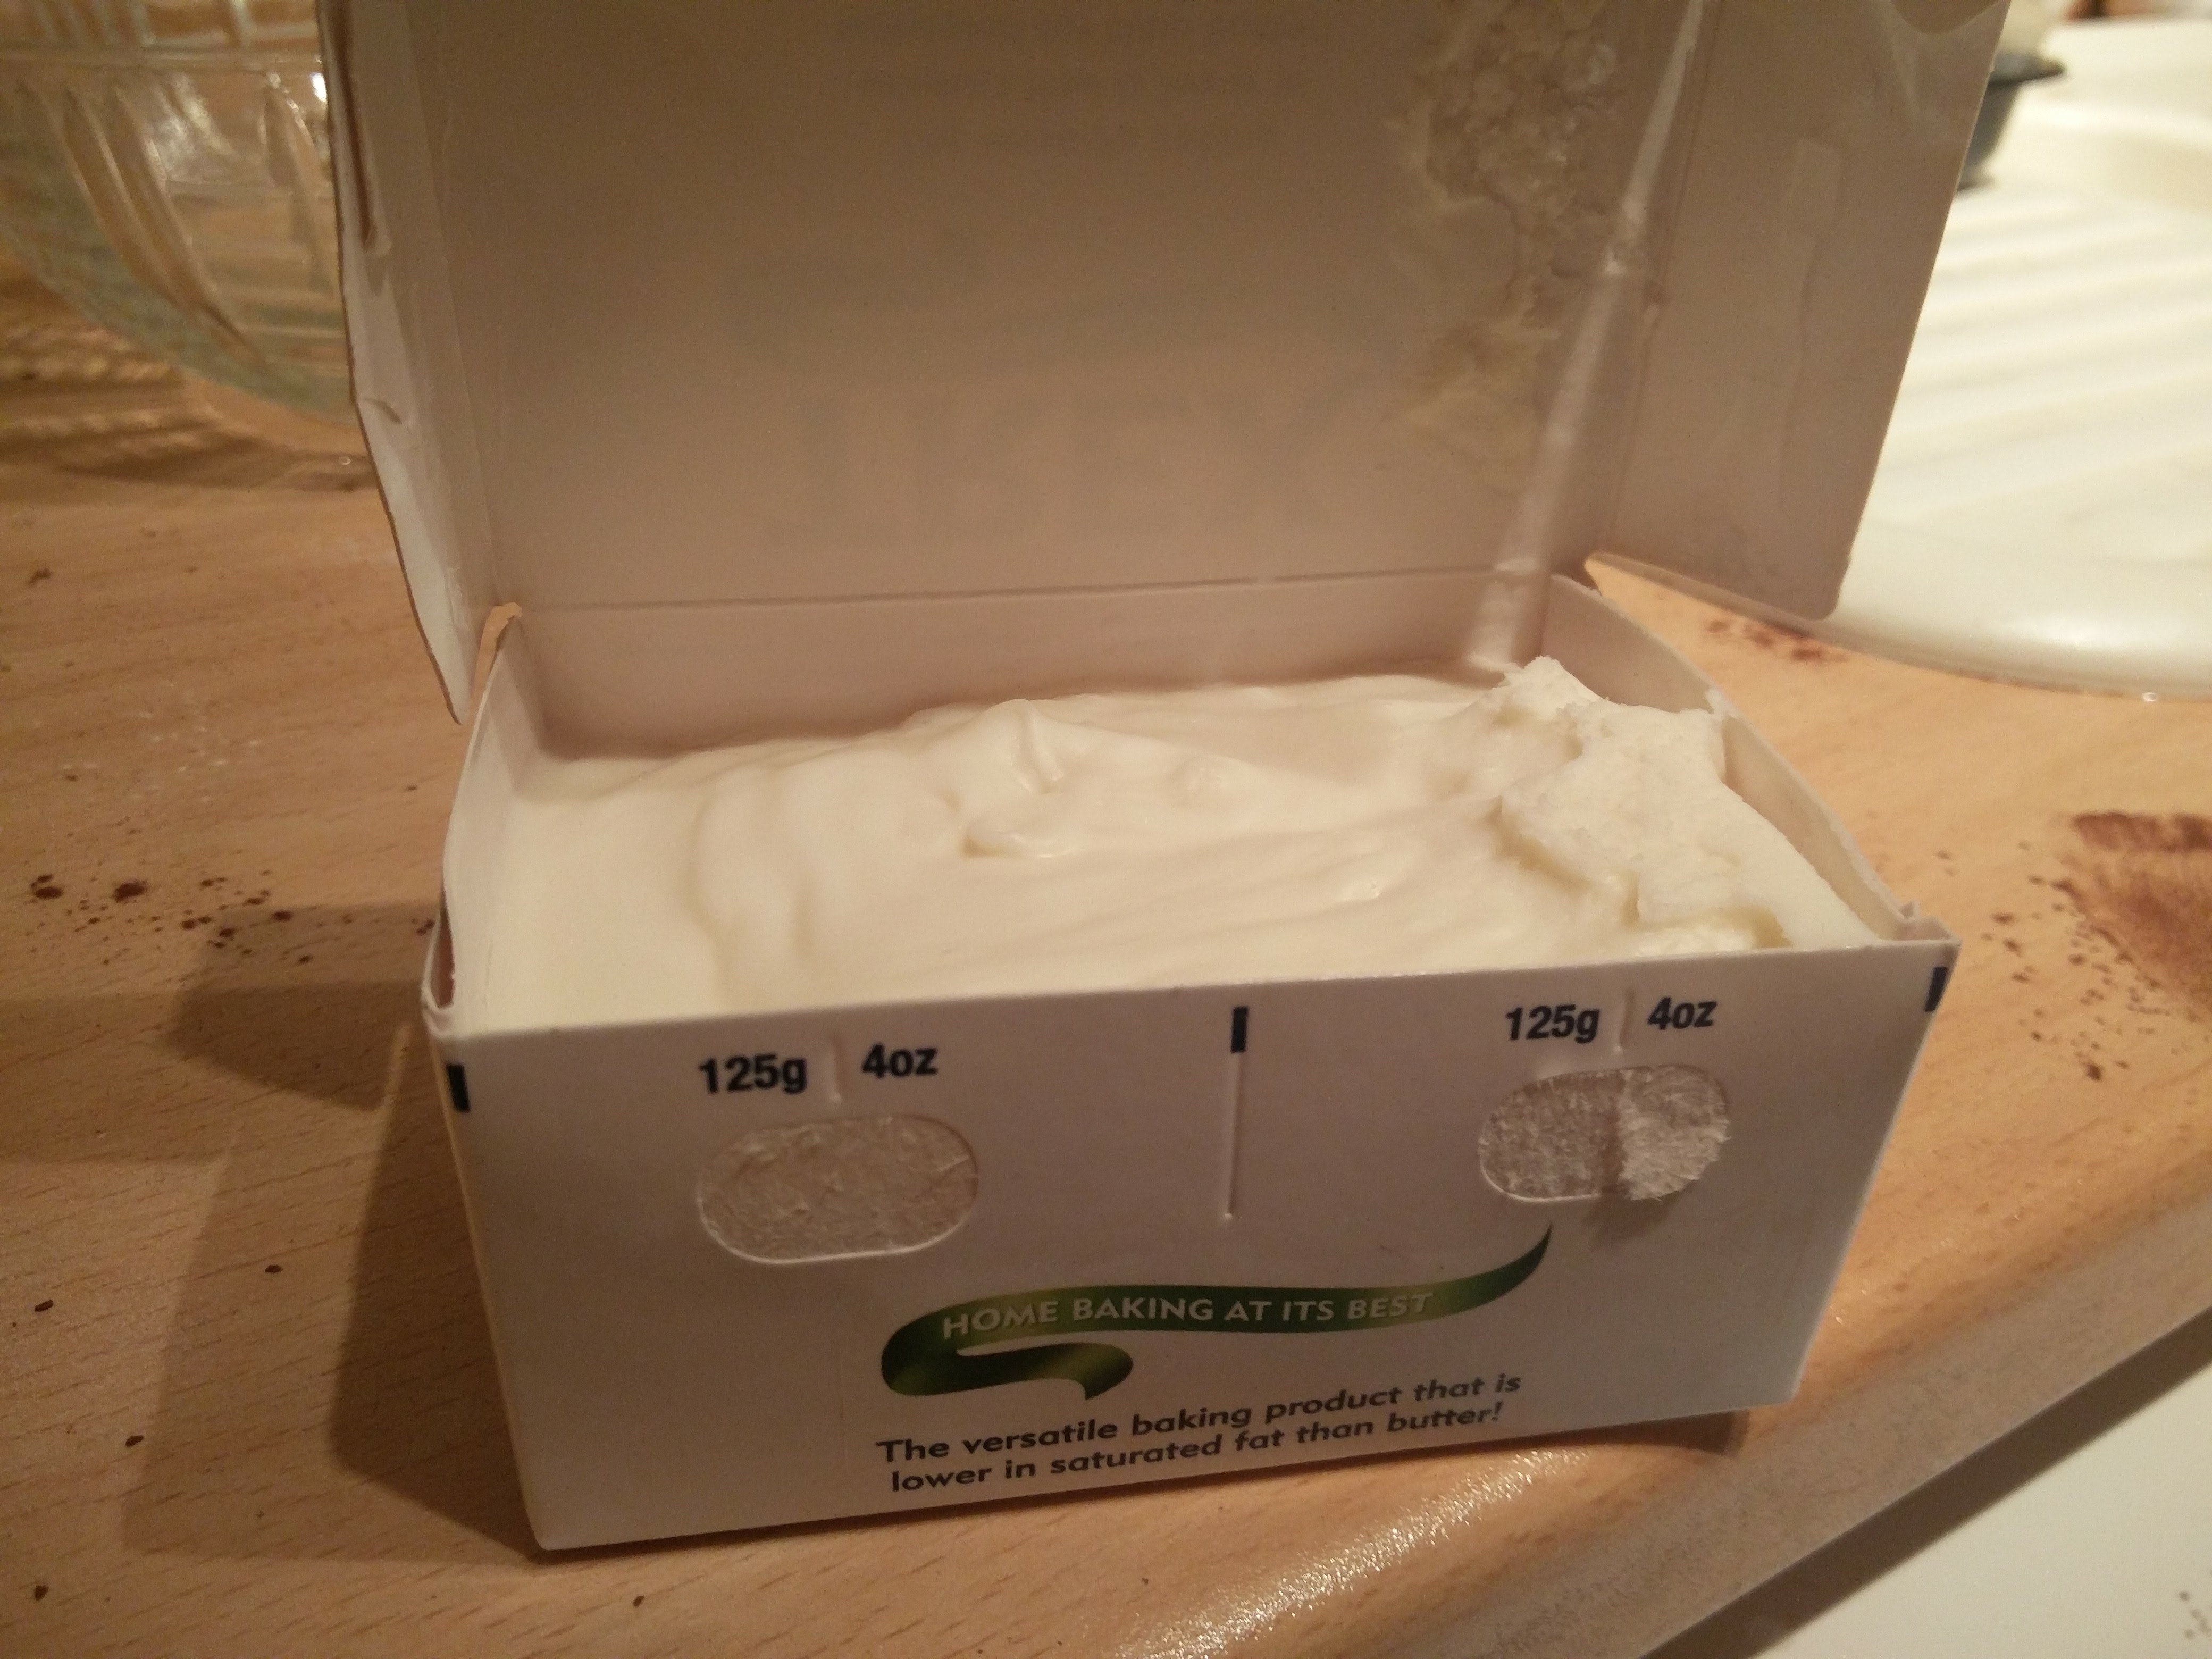
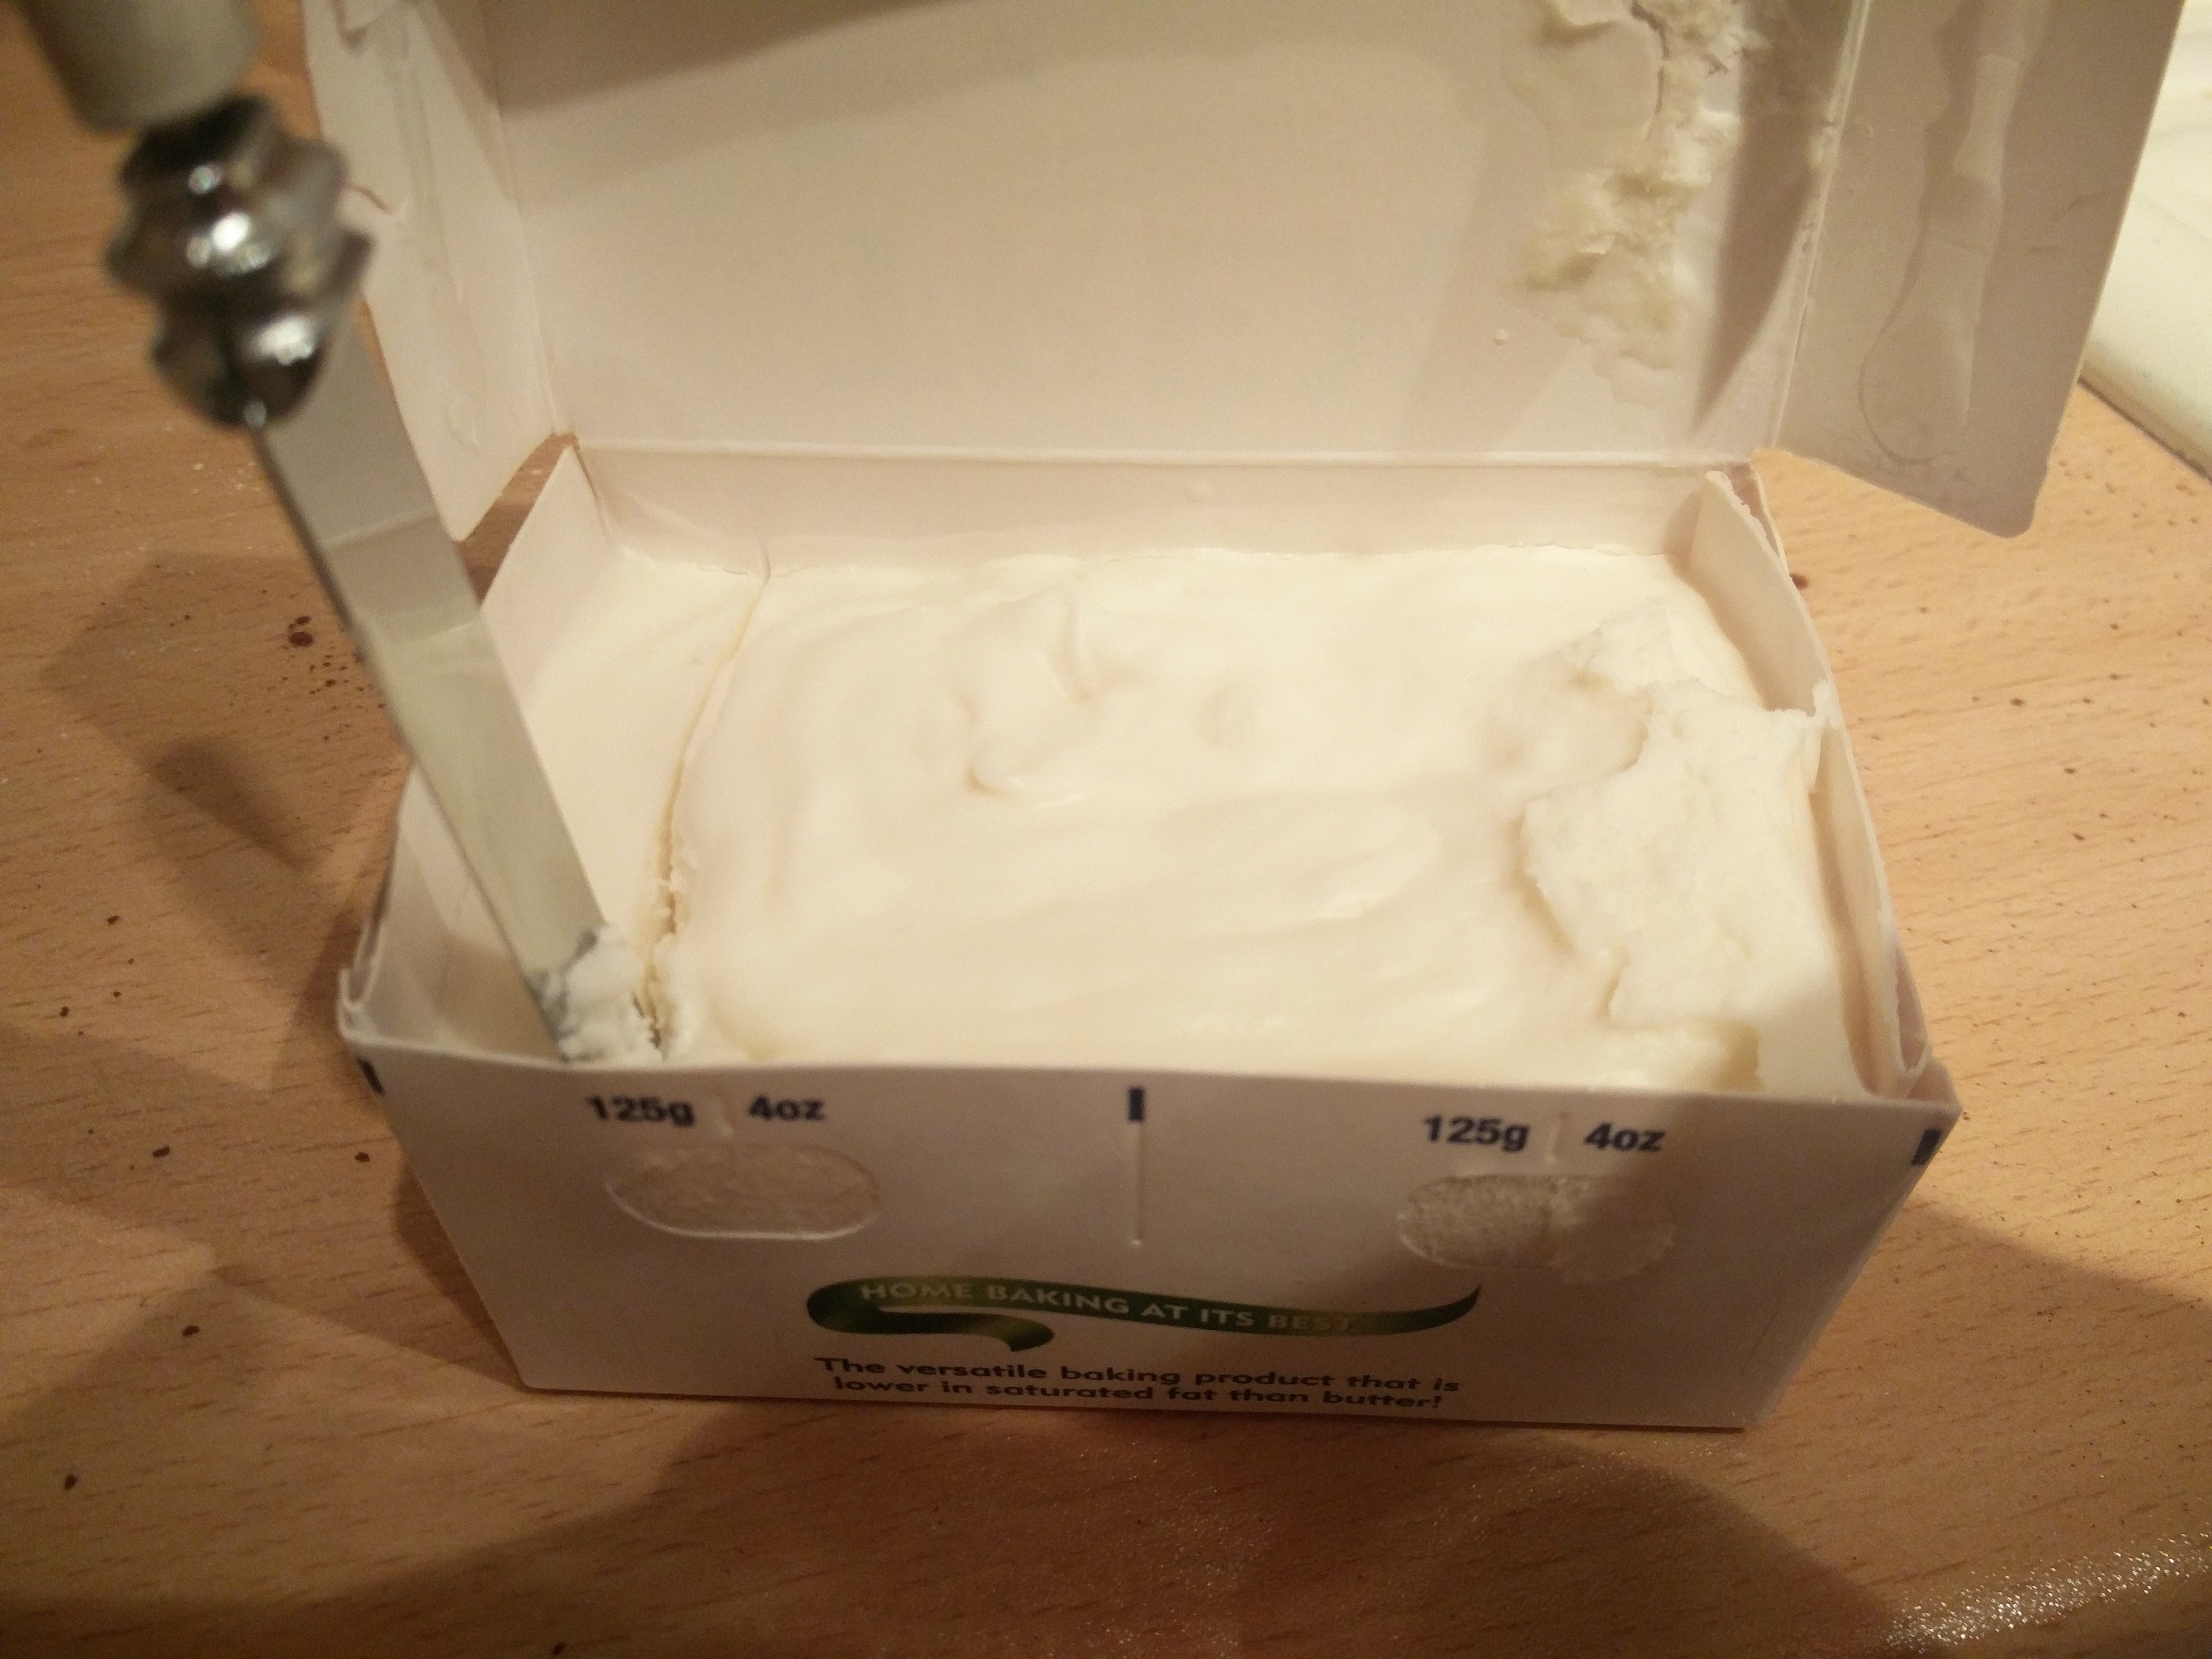
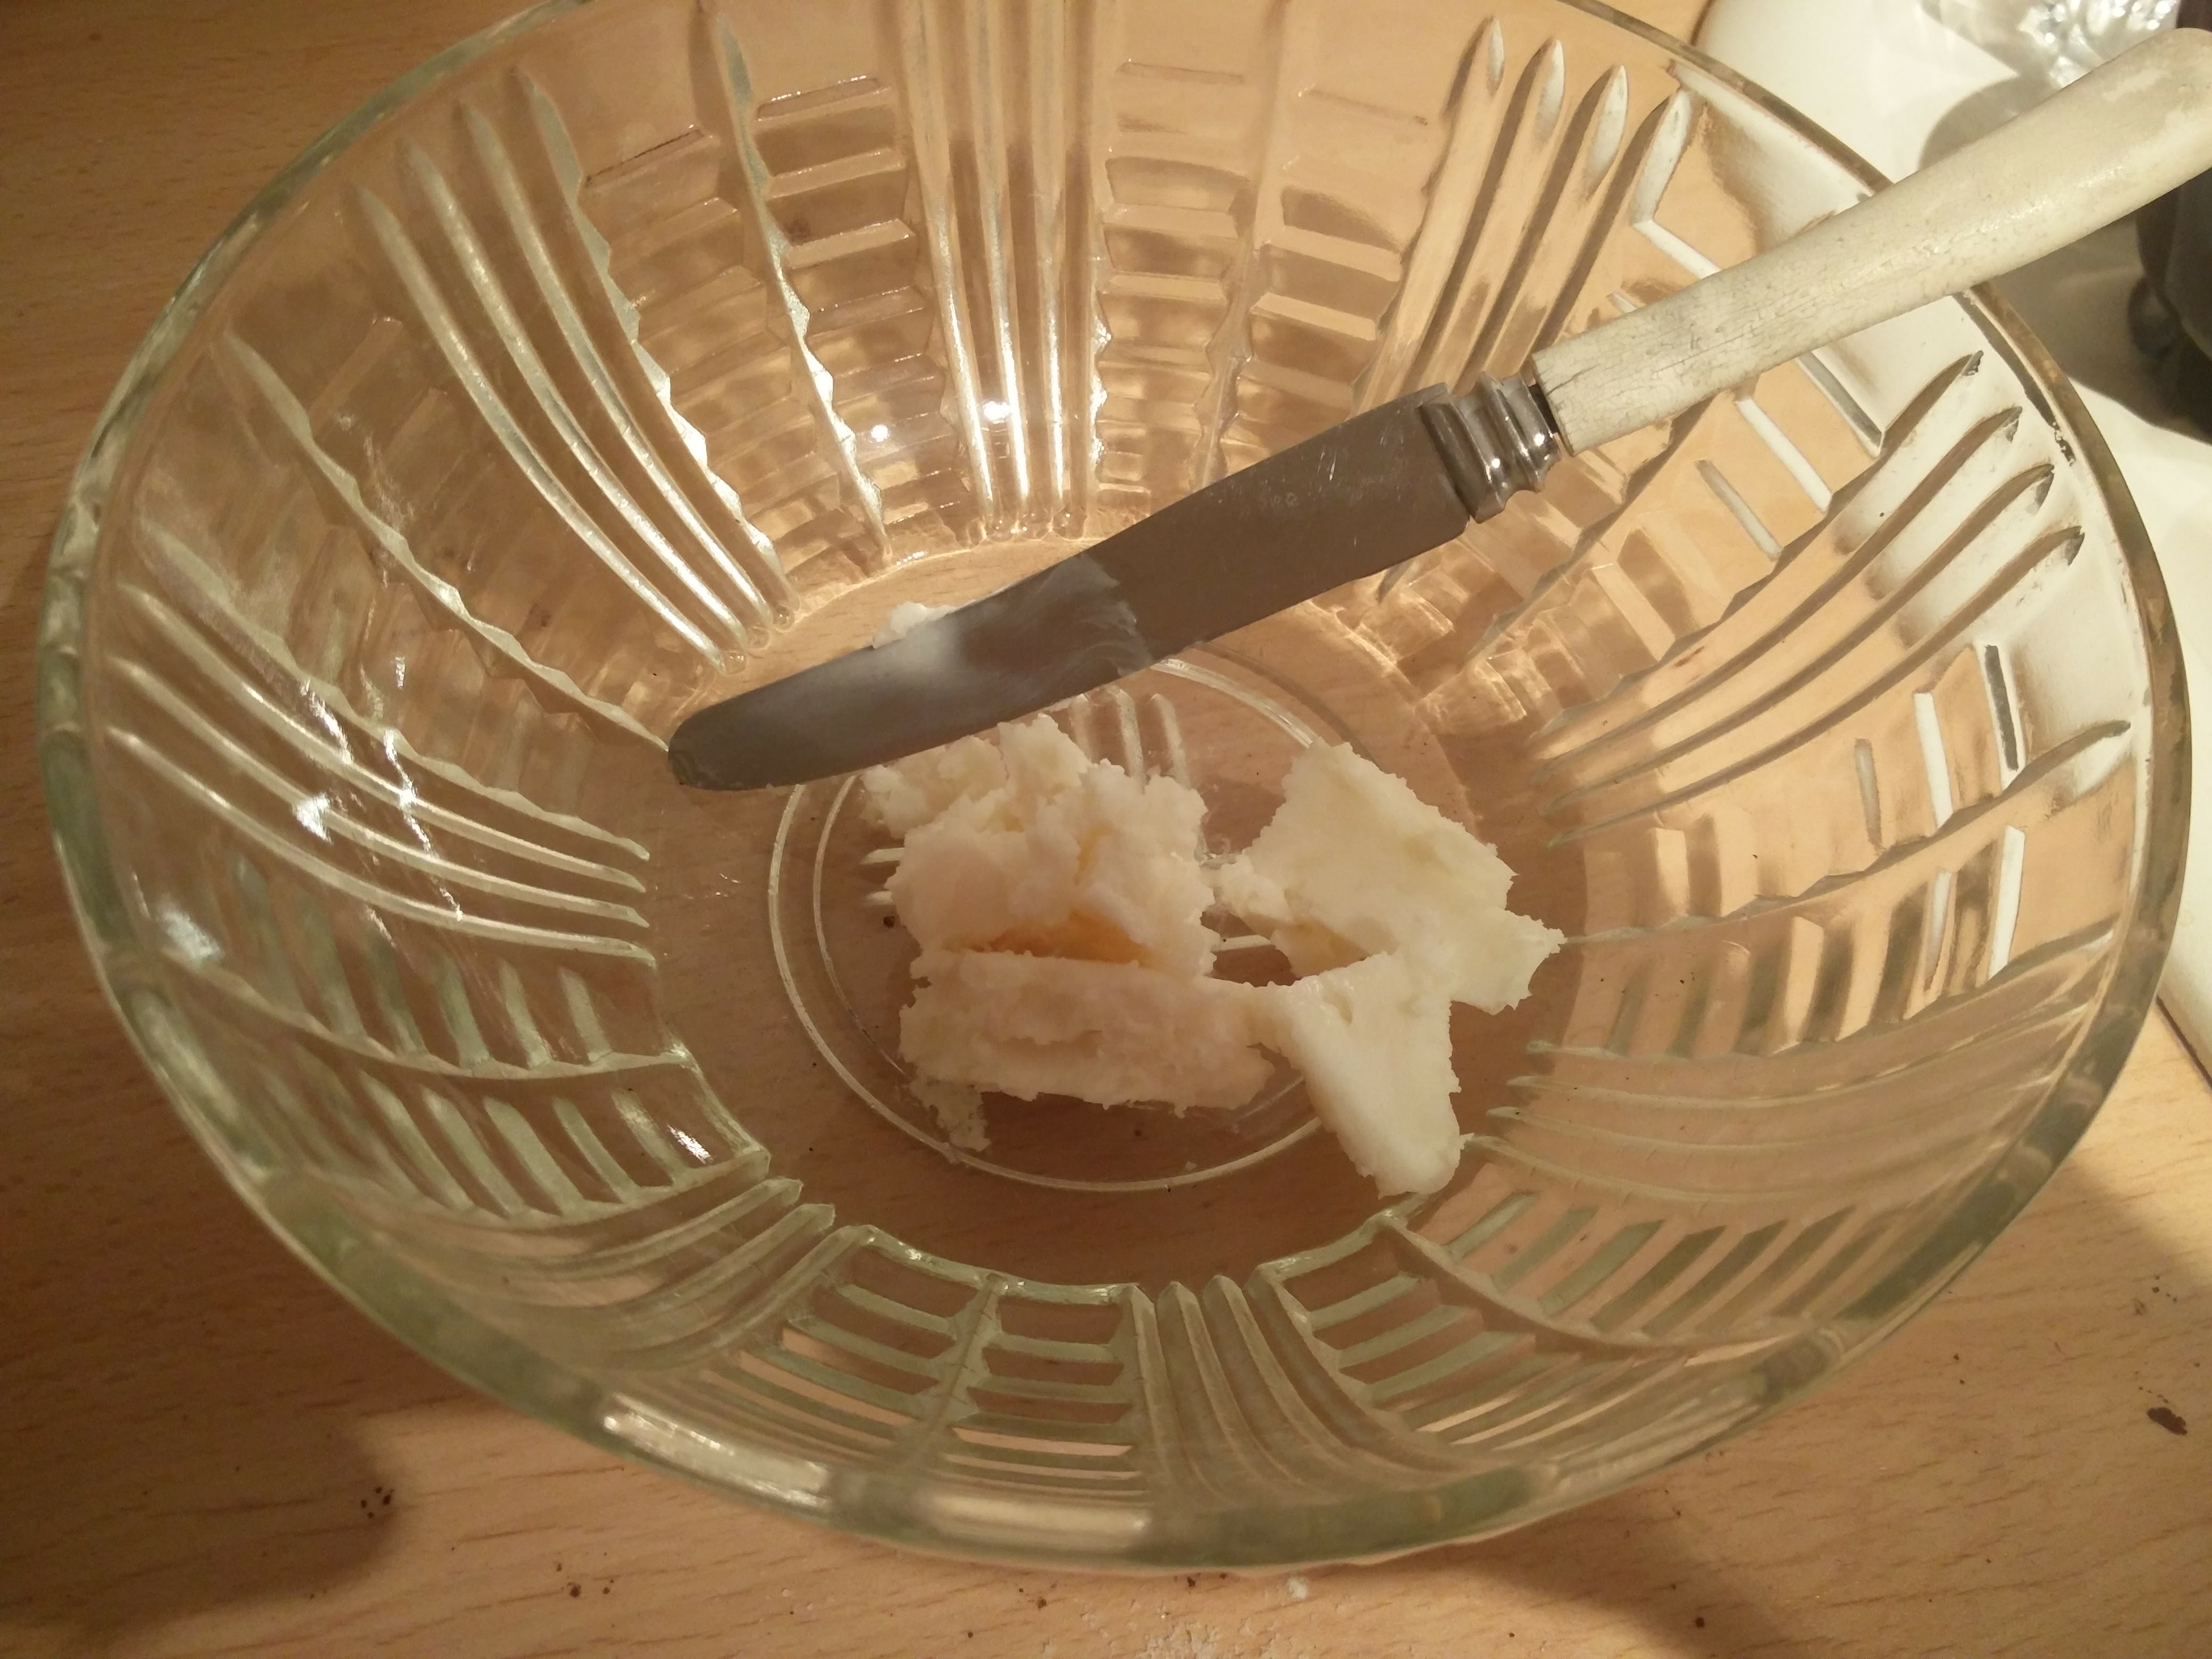
Vegetable shortening isn’t something that I’d come across before, so had to look up what brands it goes under. Luckily, the one that I went with had markings on the packaging, which helped with knowing how much was needed.

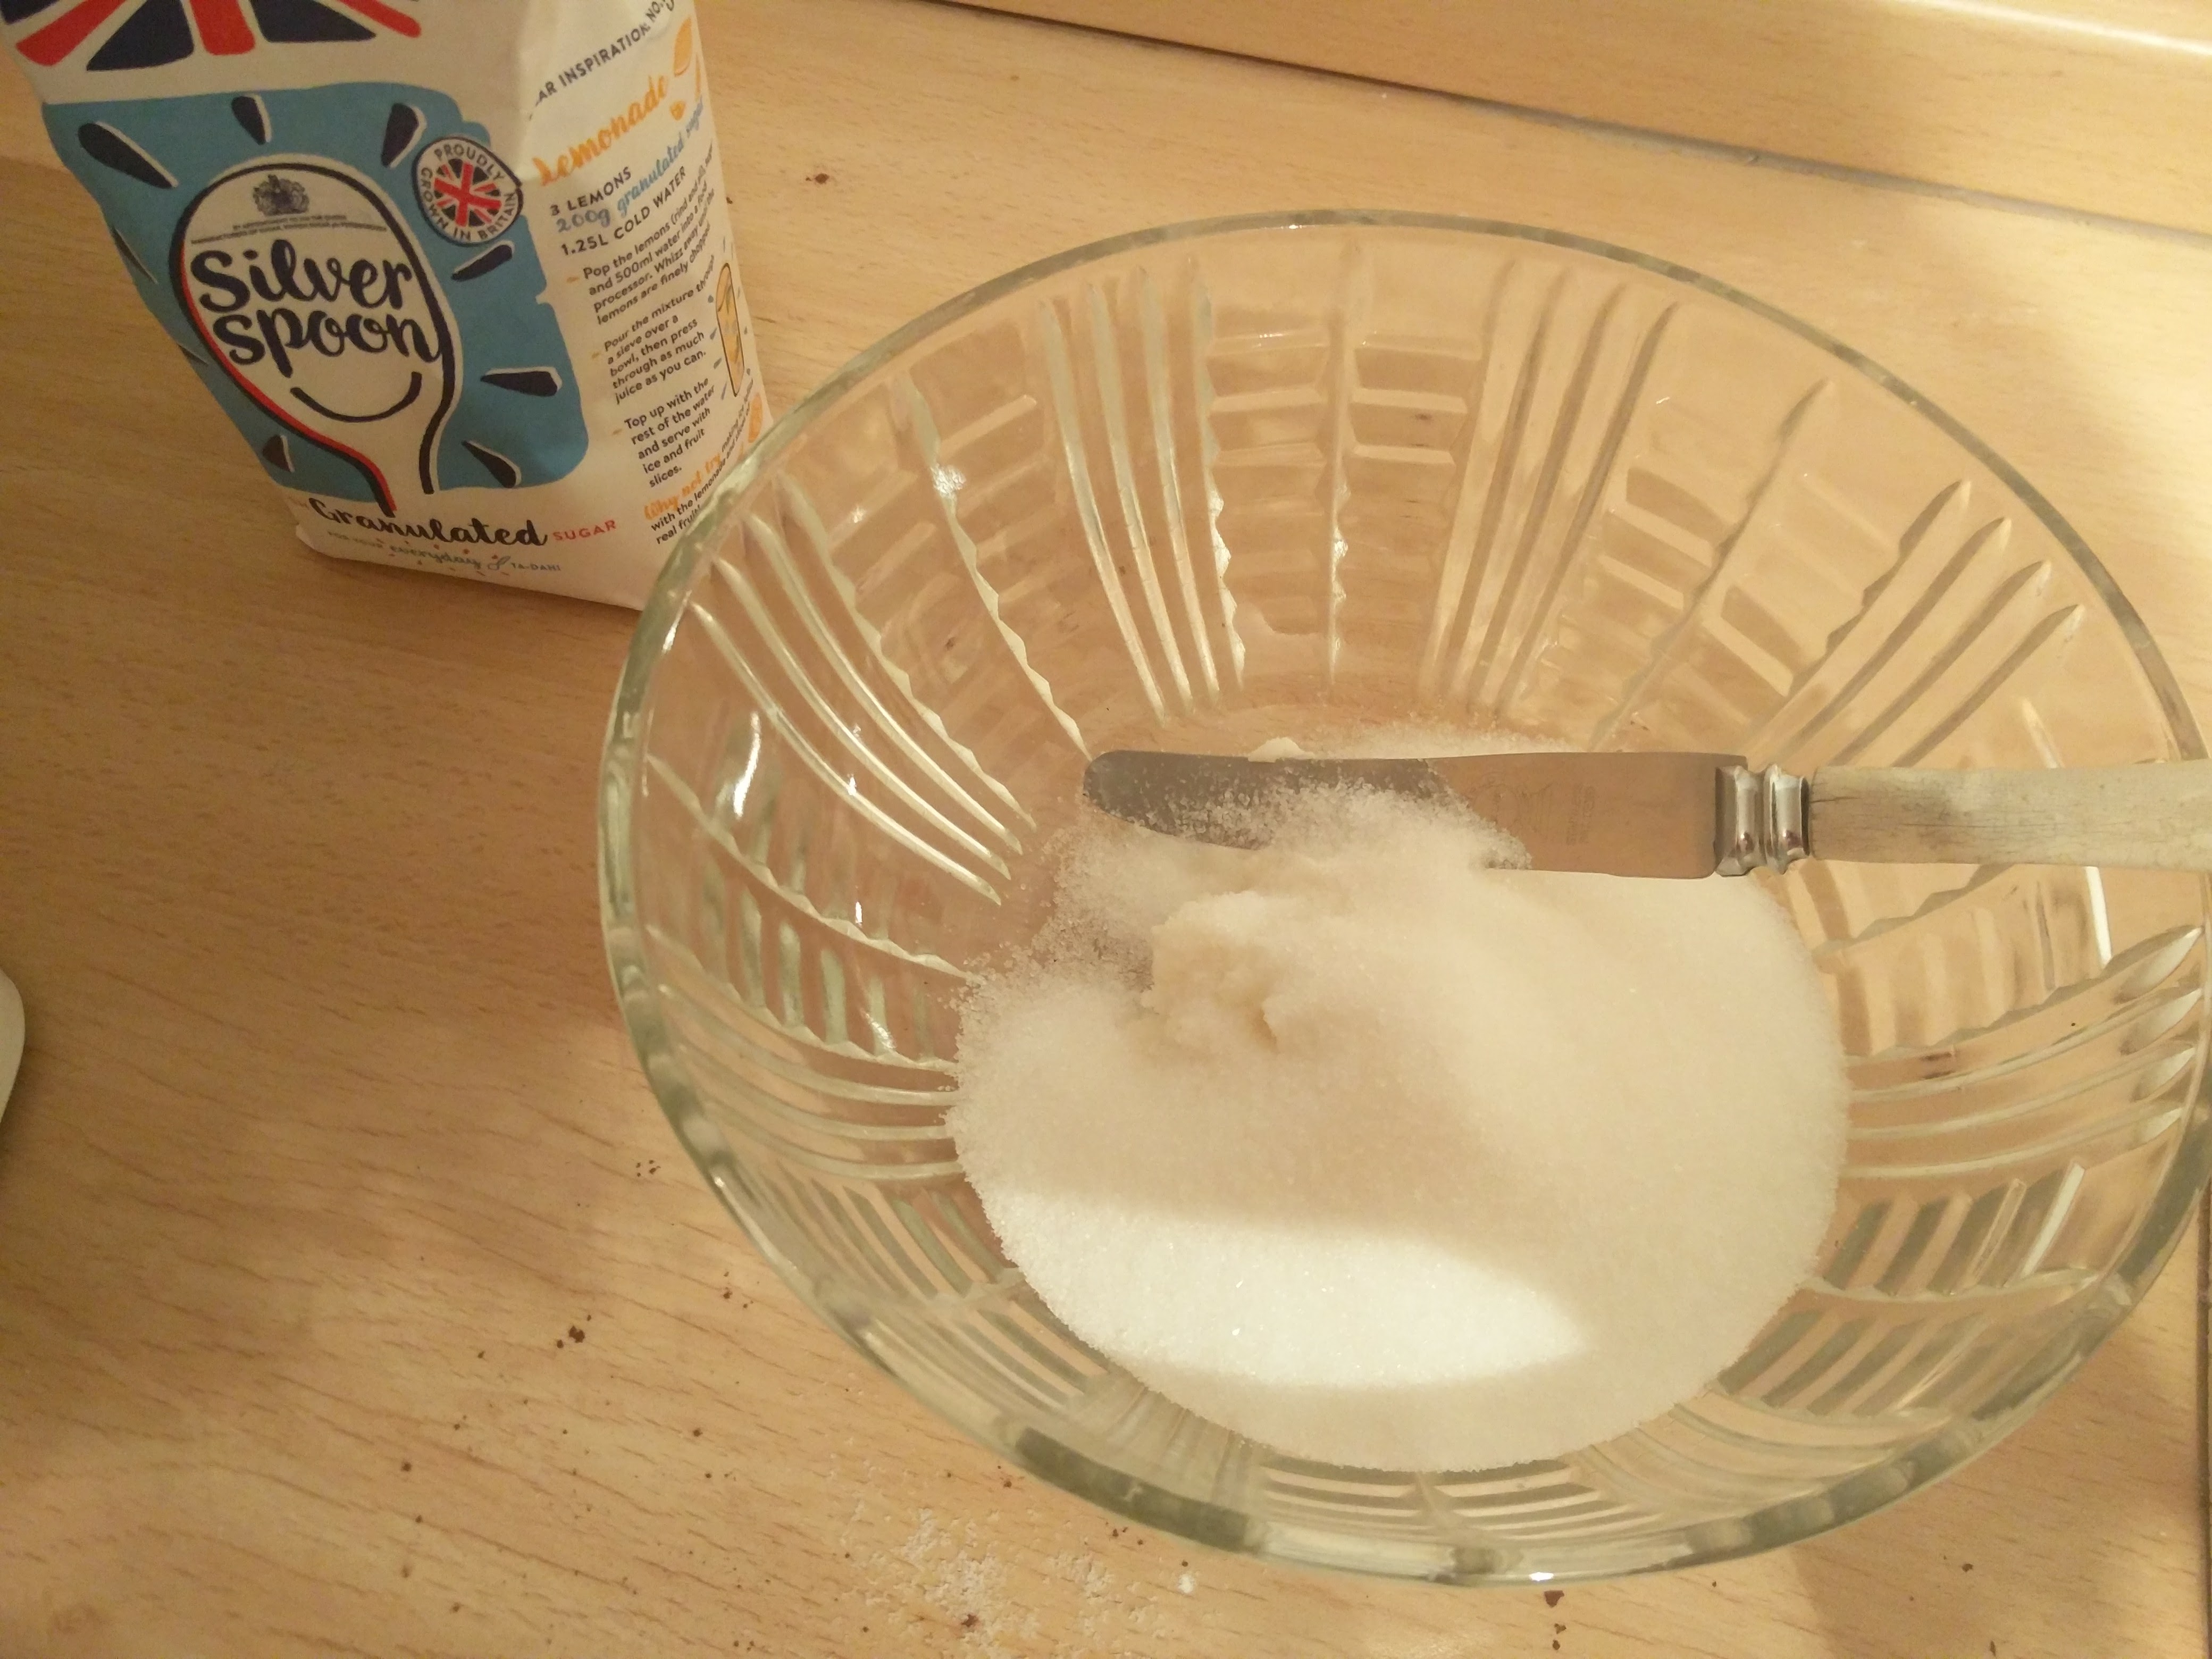
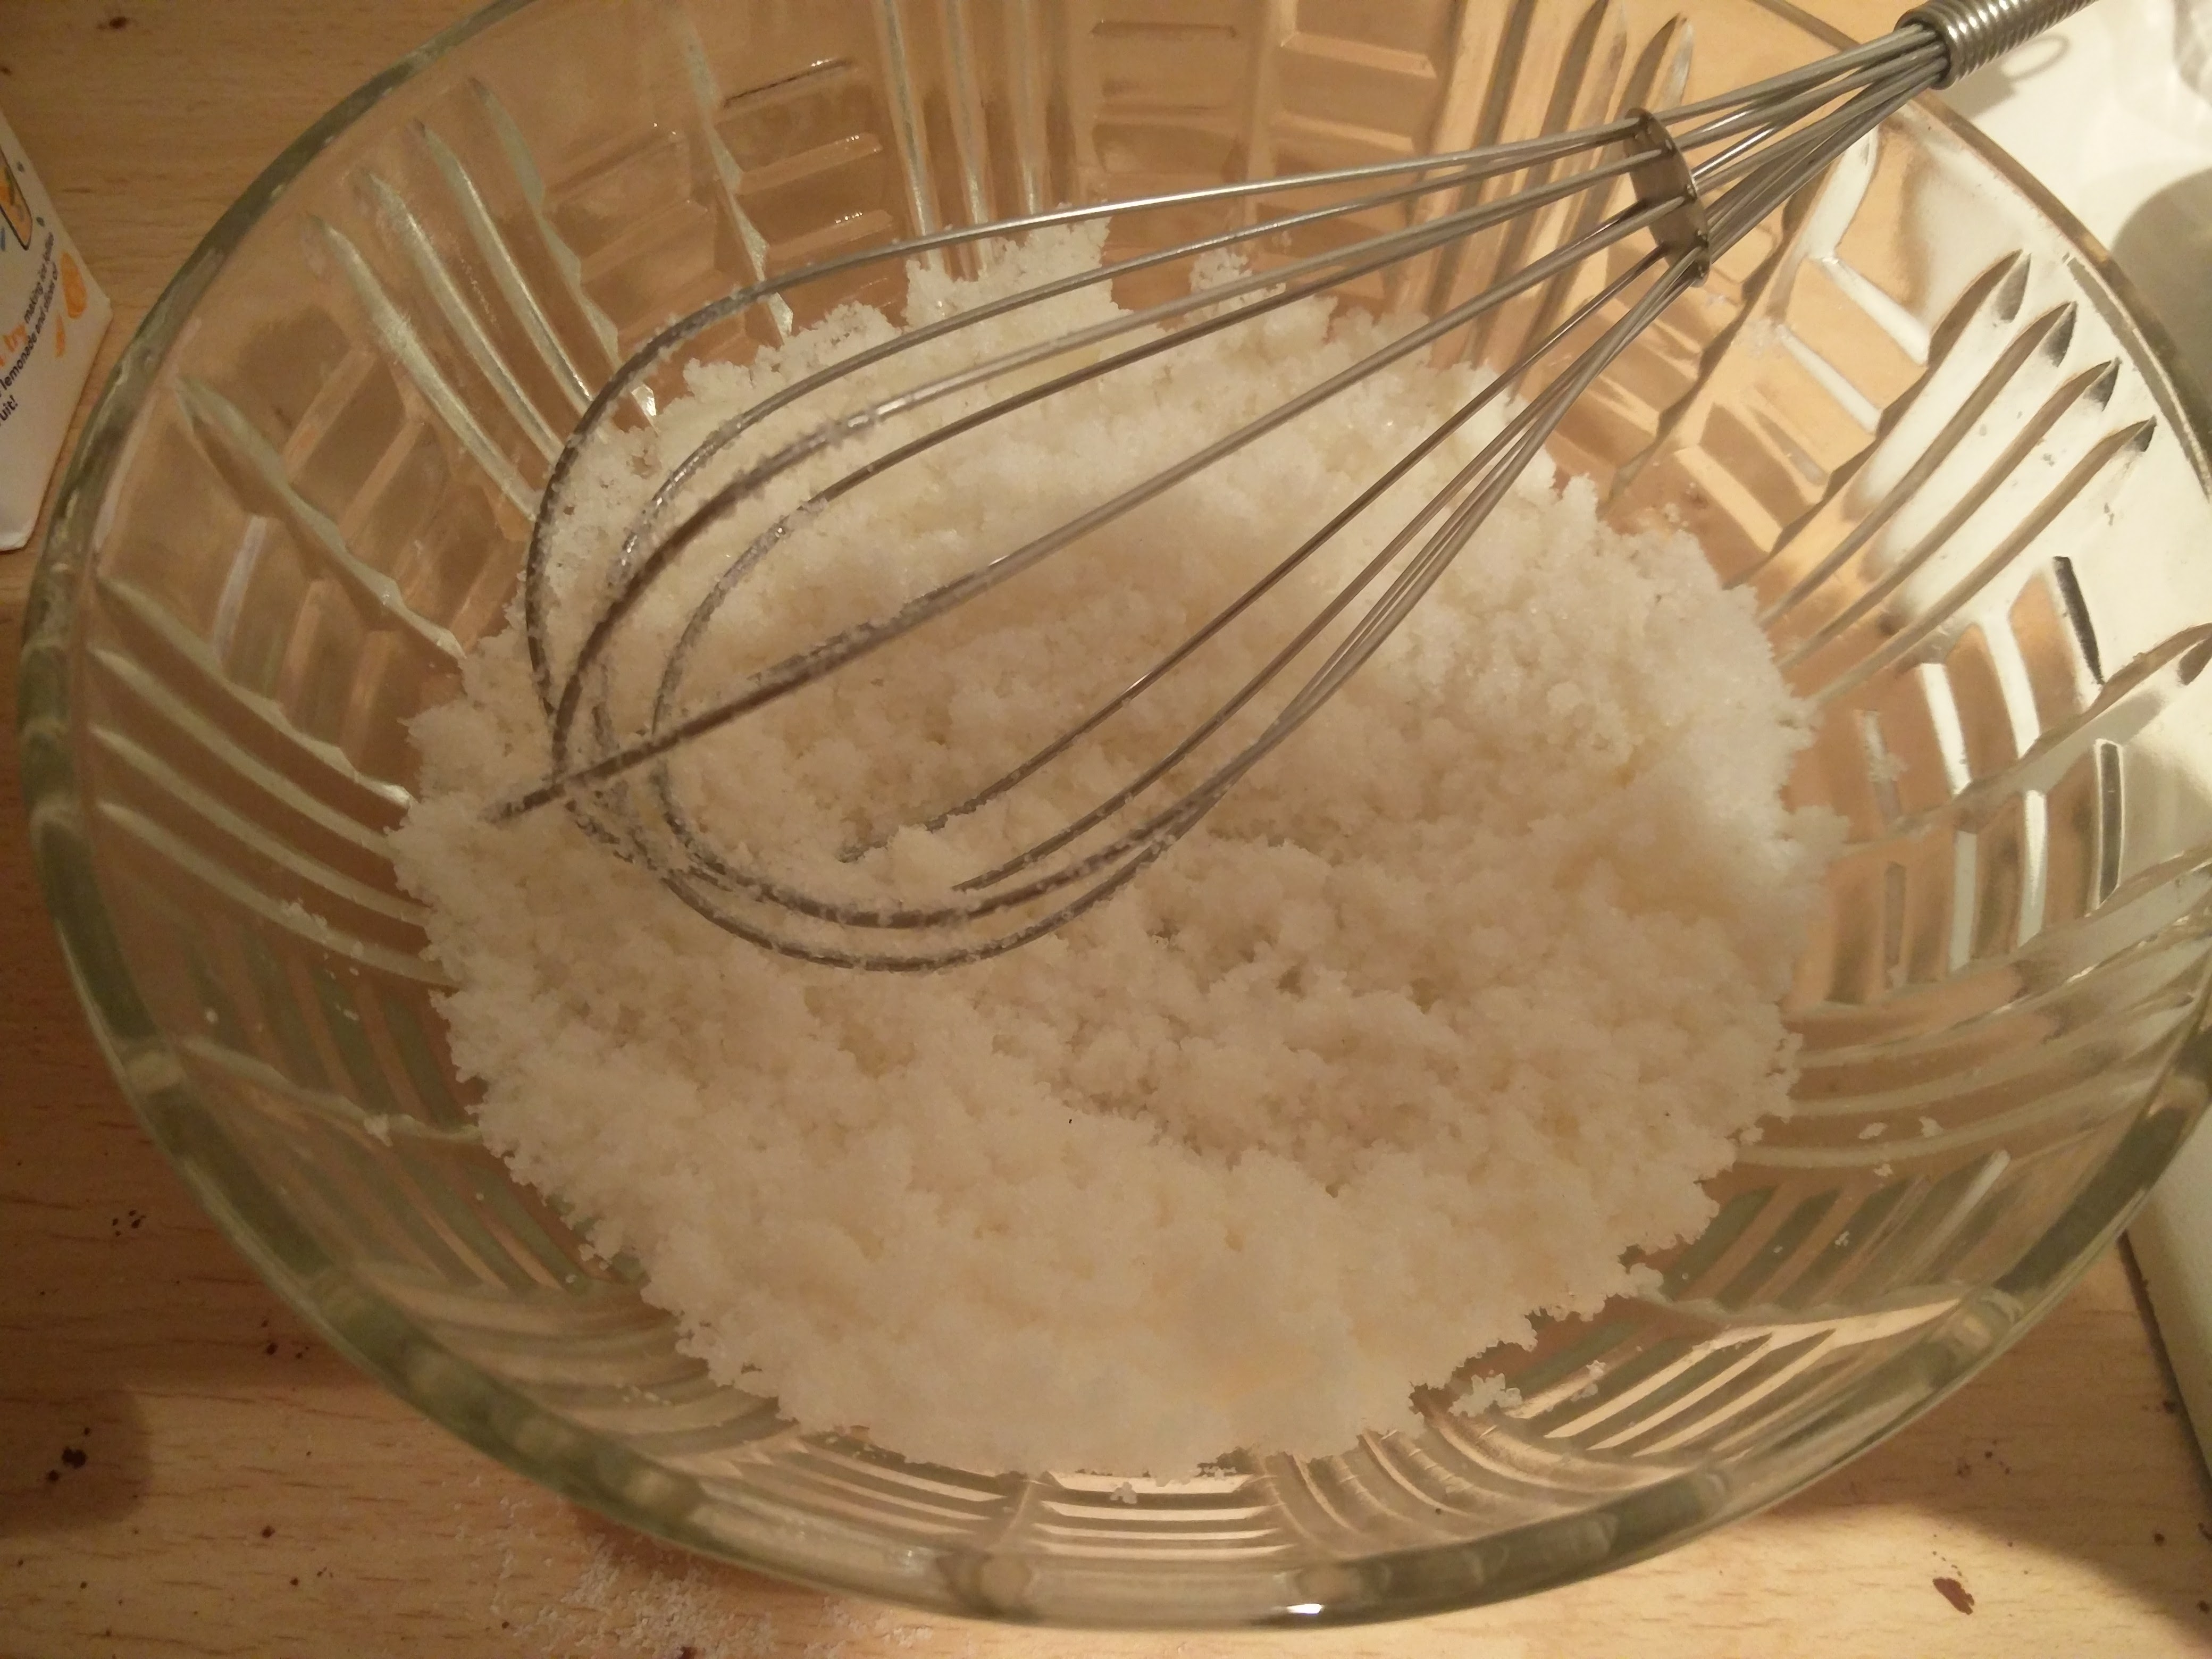
The sugar was then weighed on the scales and mixed into the vegetable shortening. Surprisingly, this turned fluffy after mixing it for a few minutes, as at the start it just seemed to have the sugar stick to the lumps of vegetable shortening while leaving loads loose in the mixing bowl.
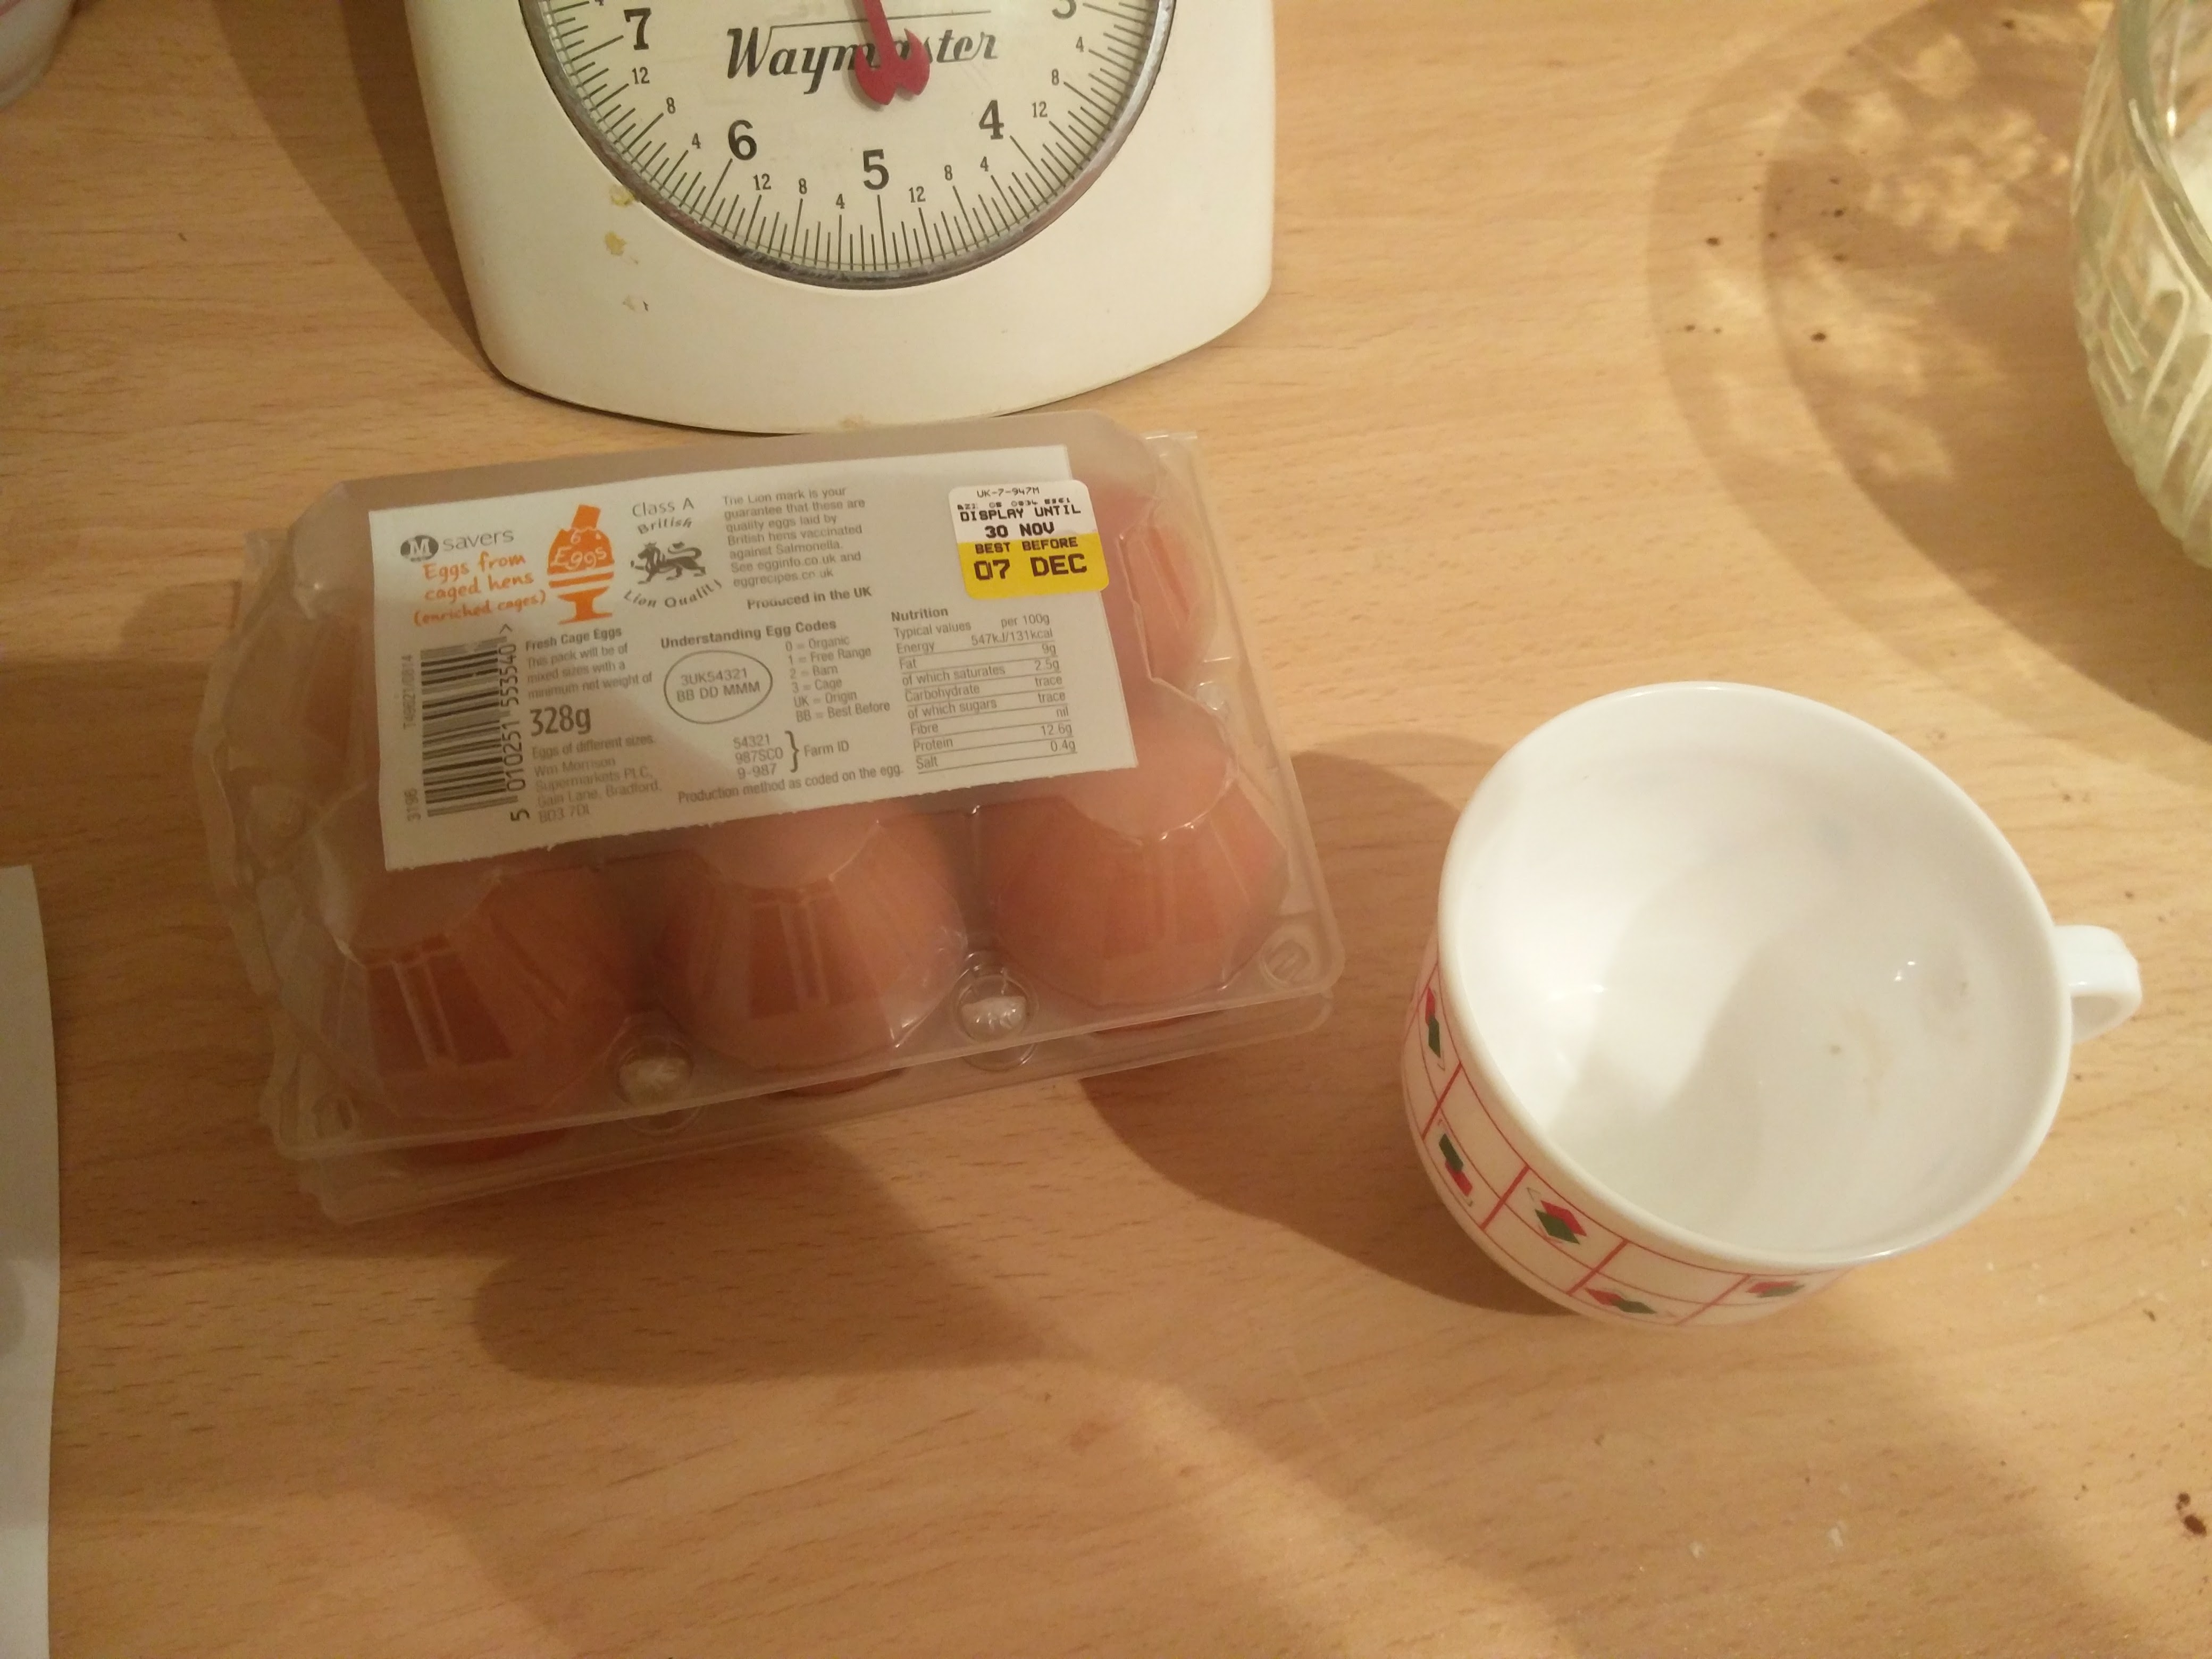
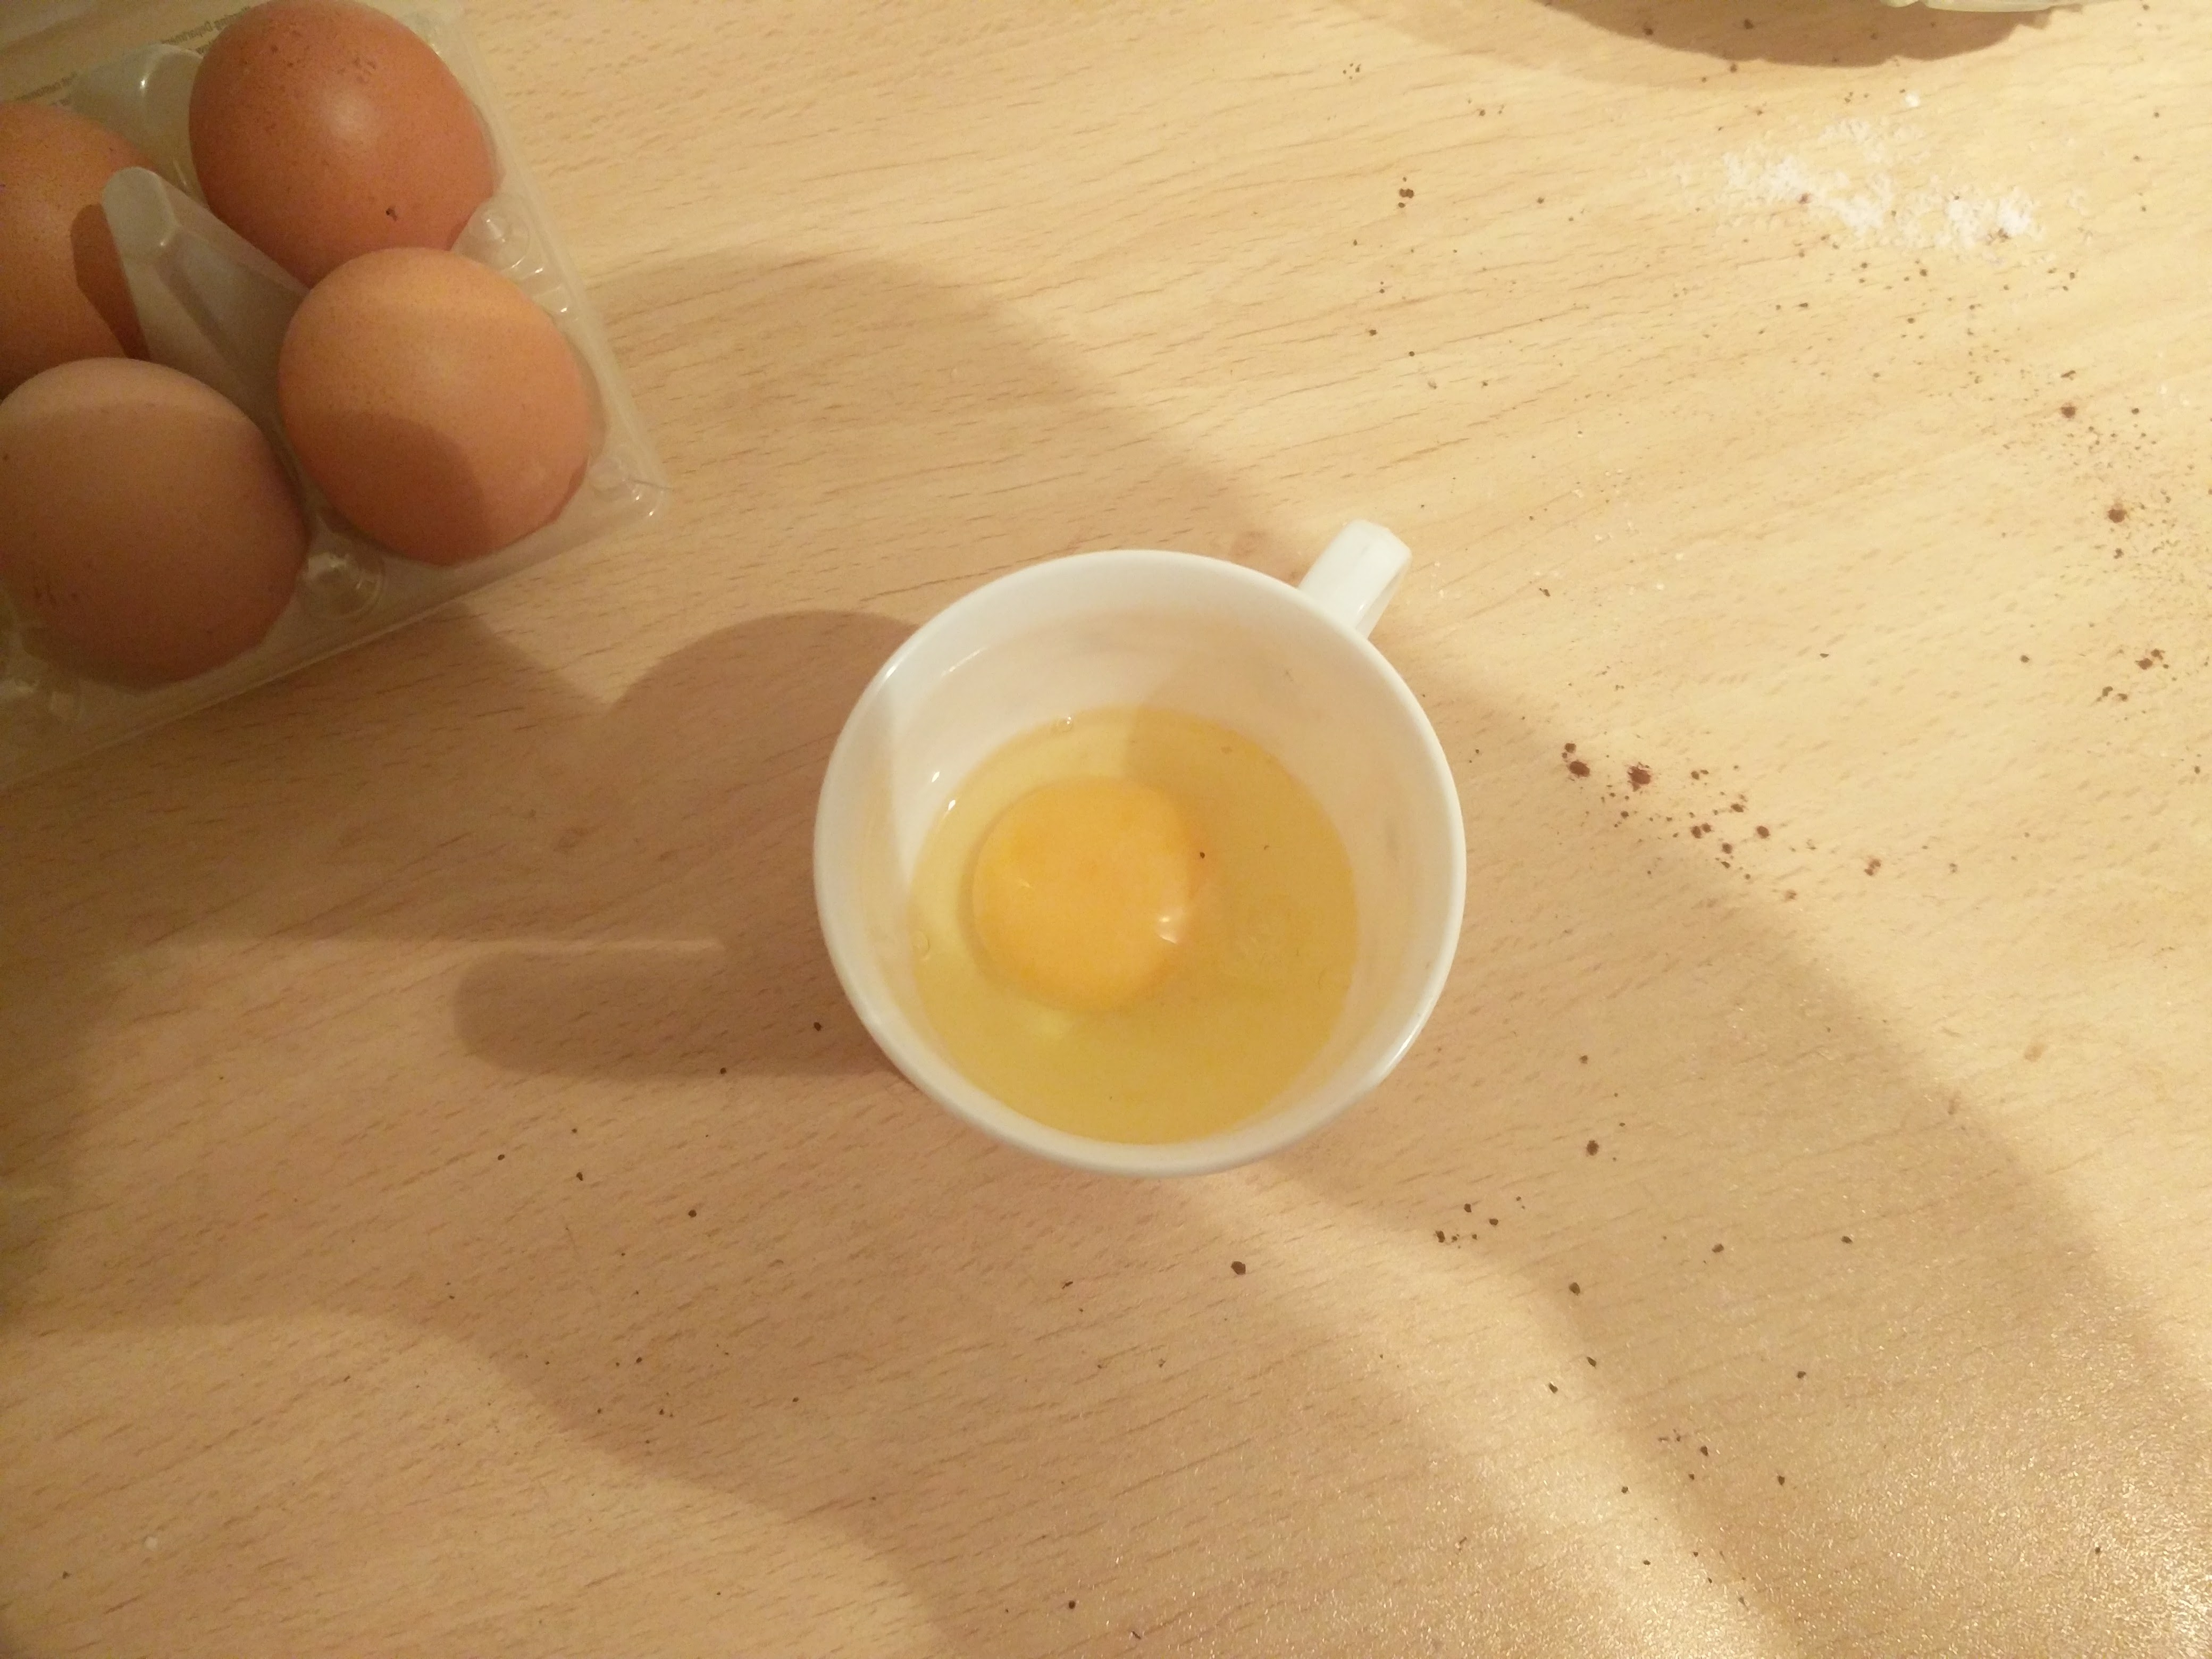
Finally, for this step of the recipe, I cracked open the two eggs (into a cup first which is how I was taught – you never know if it’s gone off and don’t want to put it straight into the mix, or have stray eggshell in the mix either) and poured in the vanilla extract (Pro Tip: Licking the spoon afterwards is delicious!).


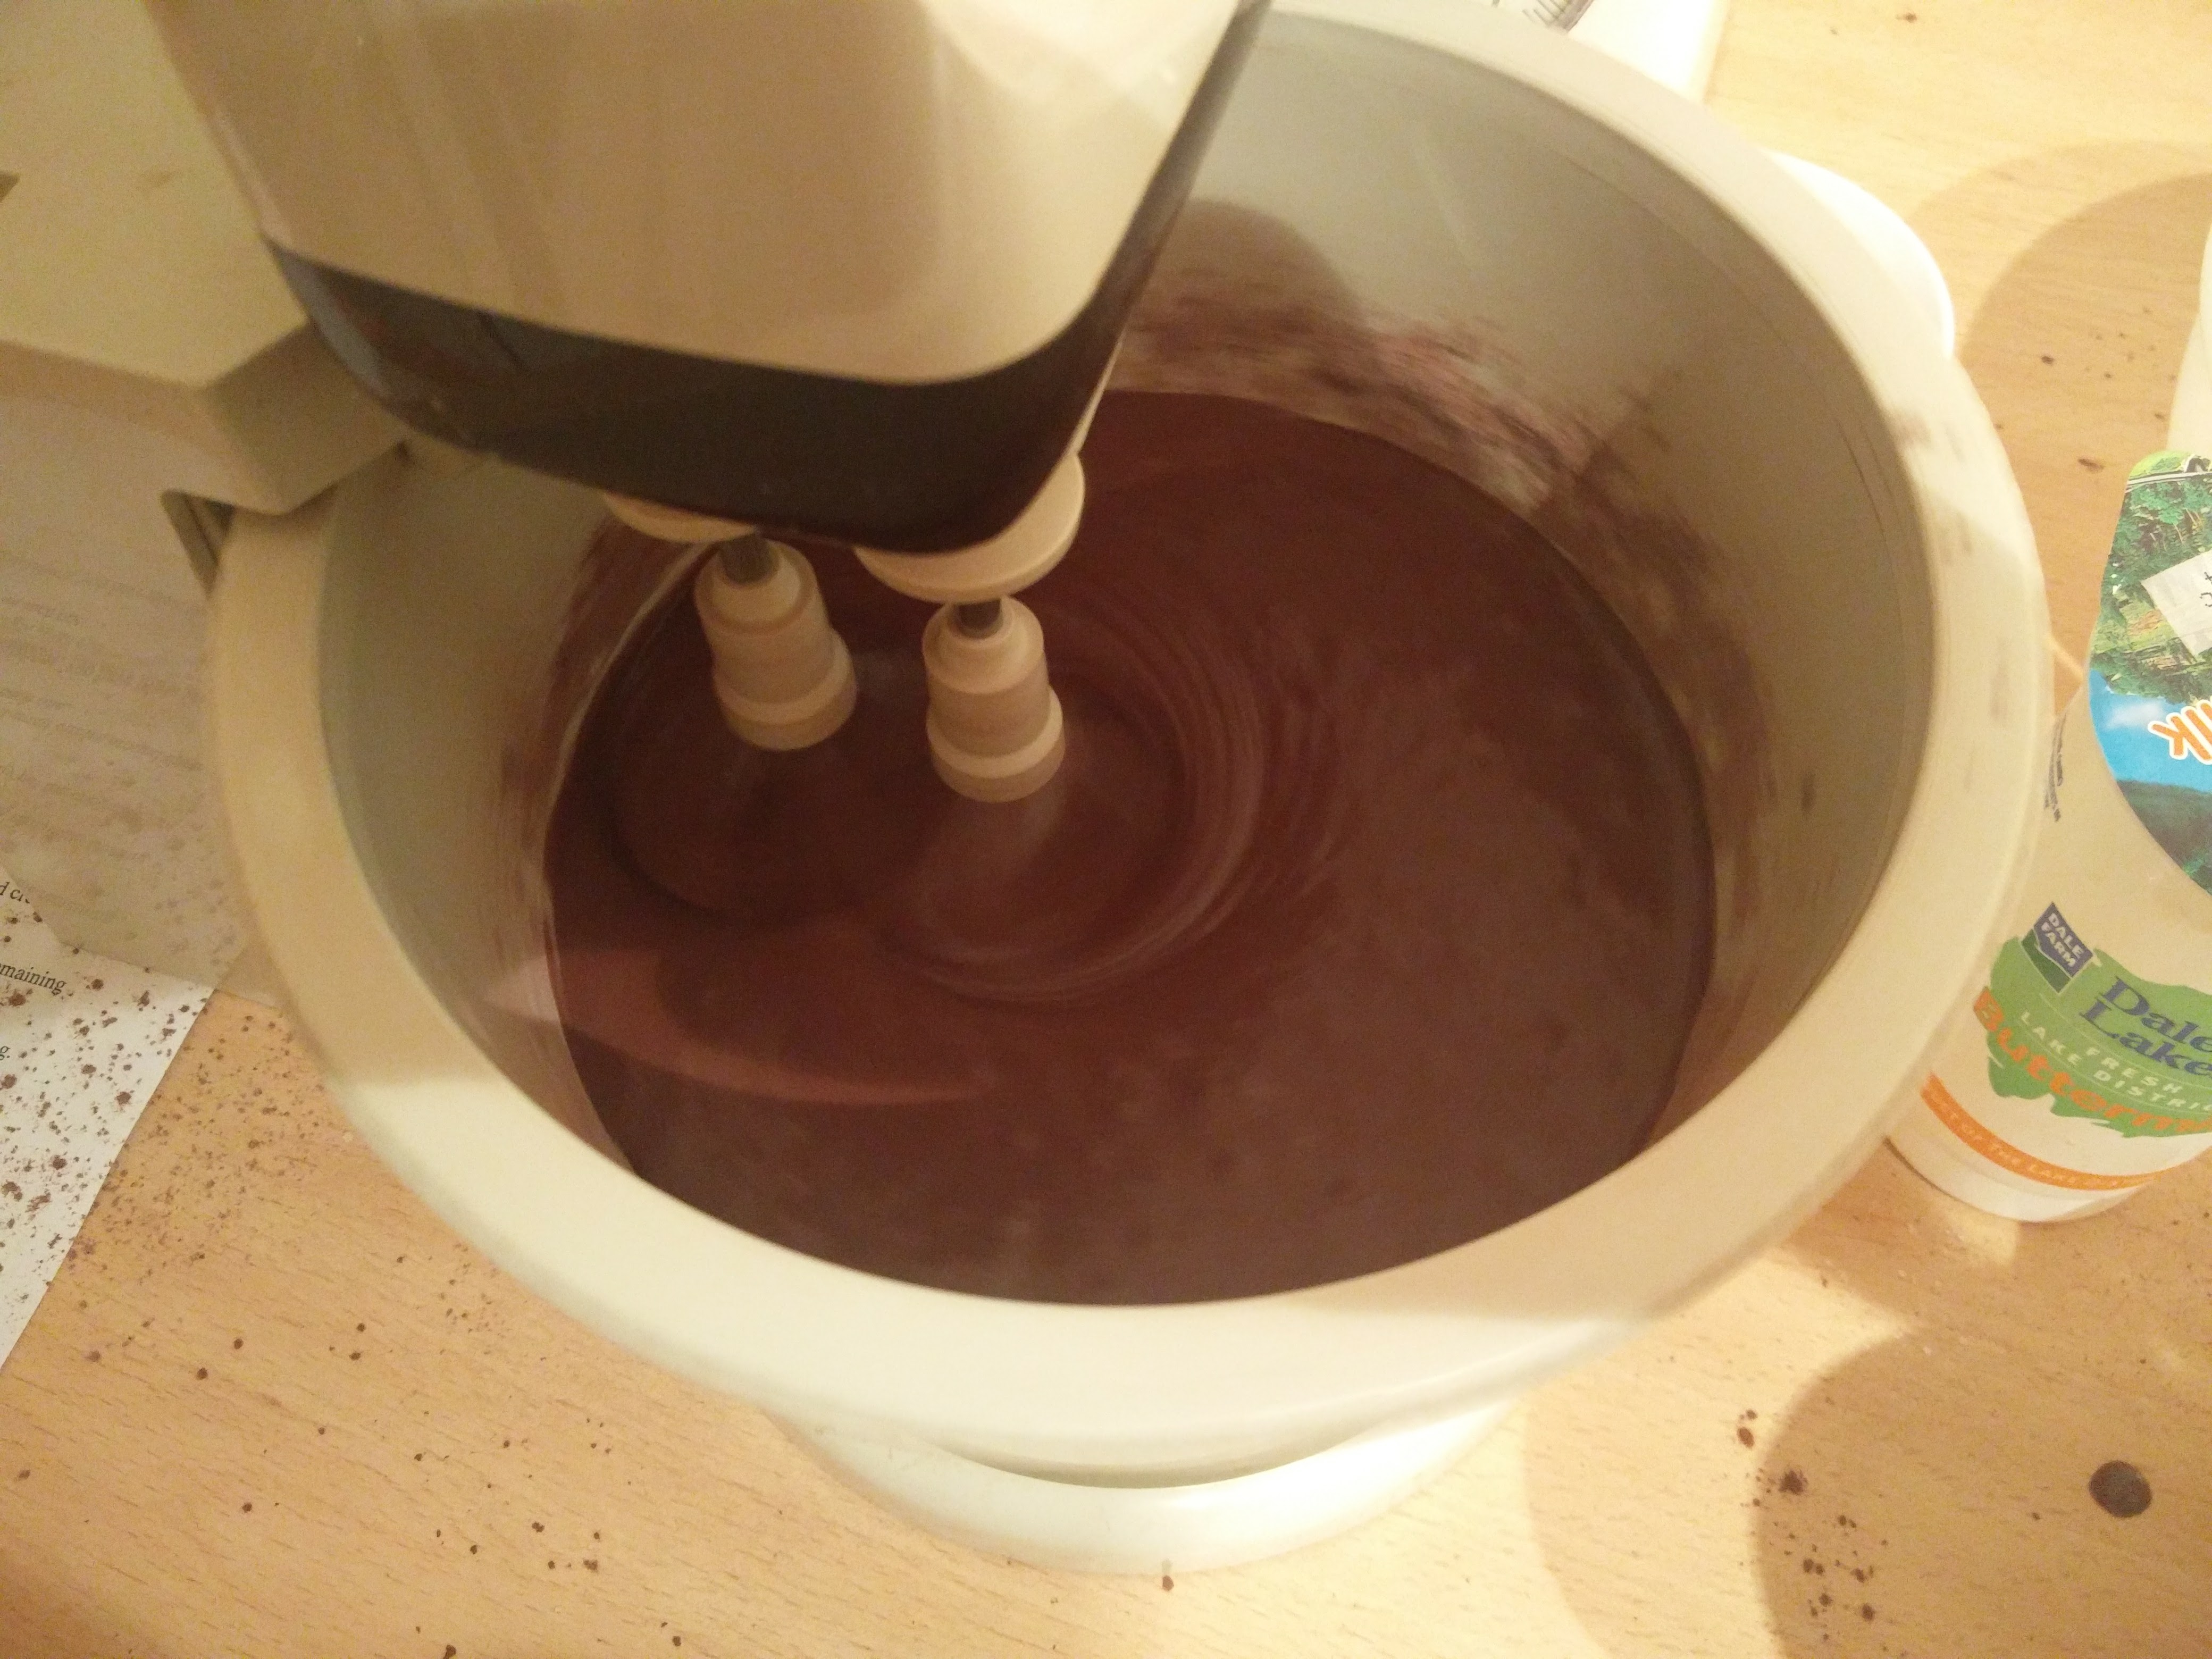
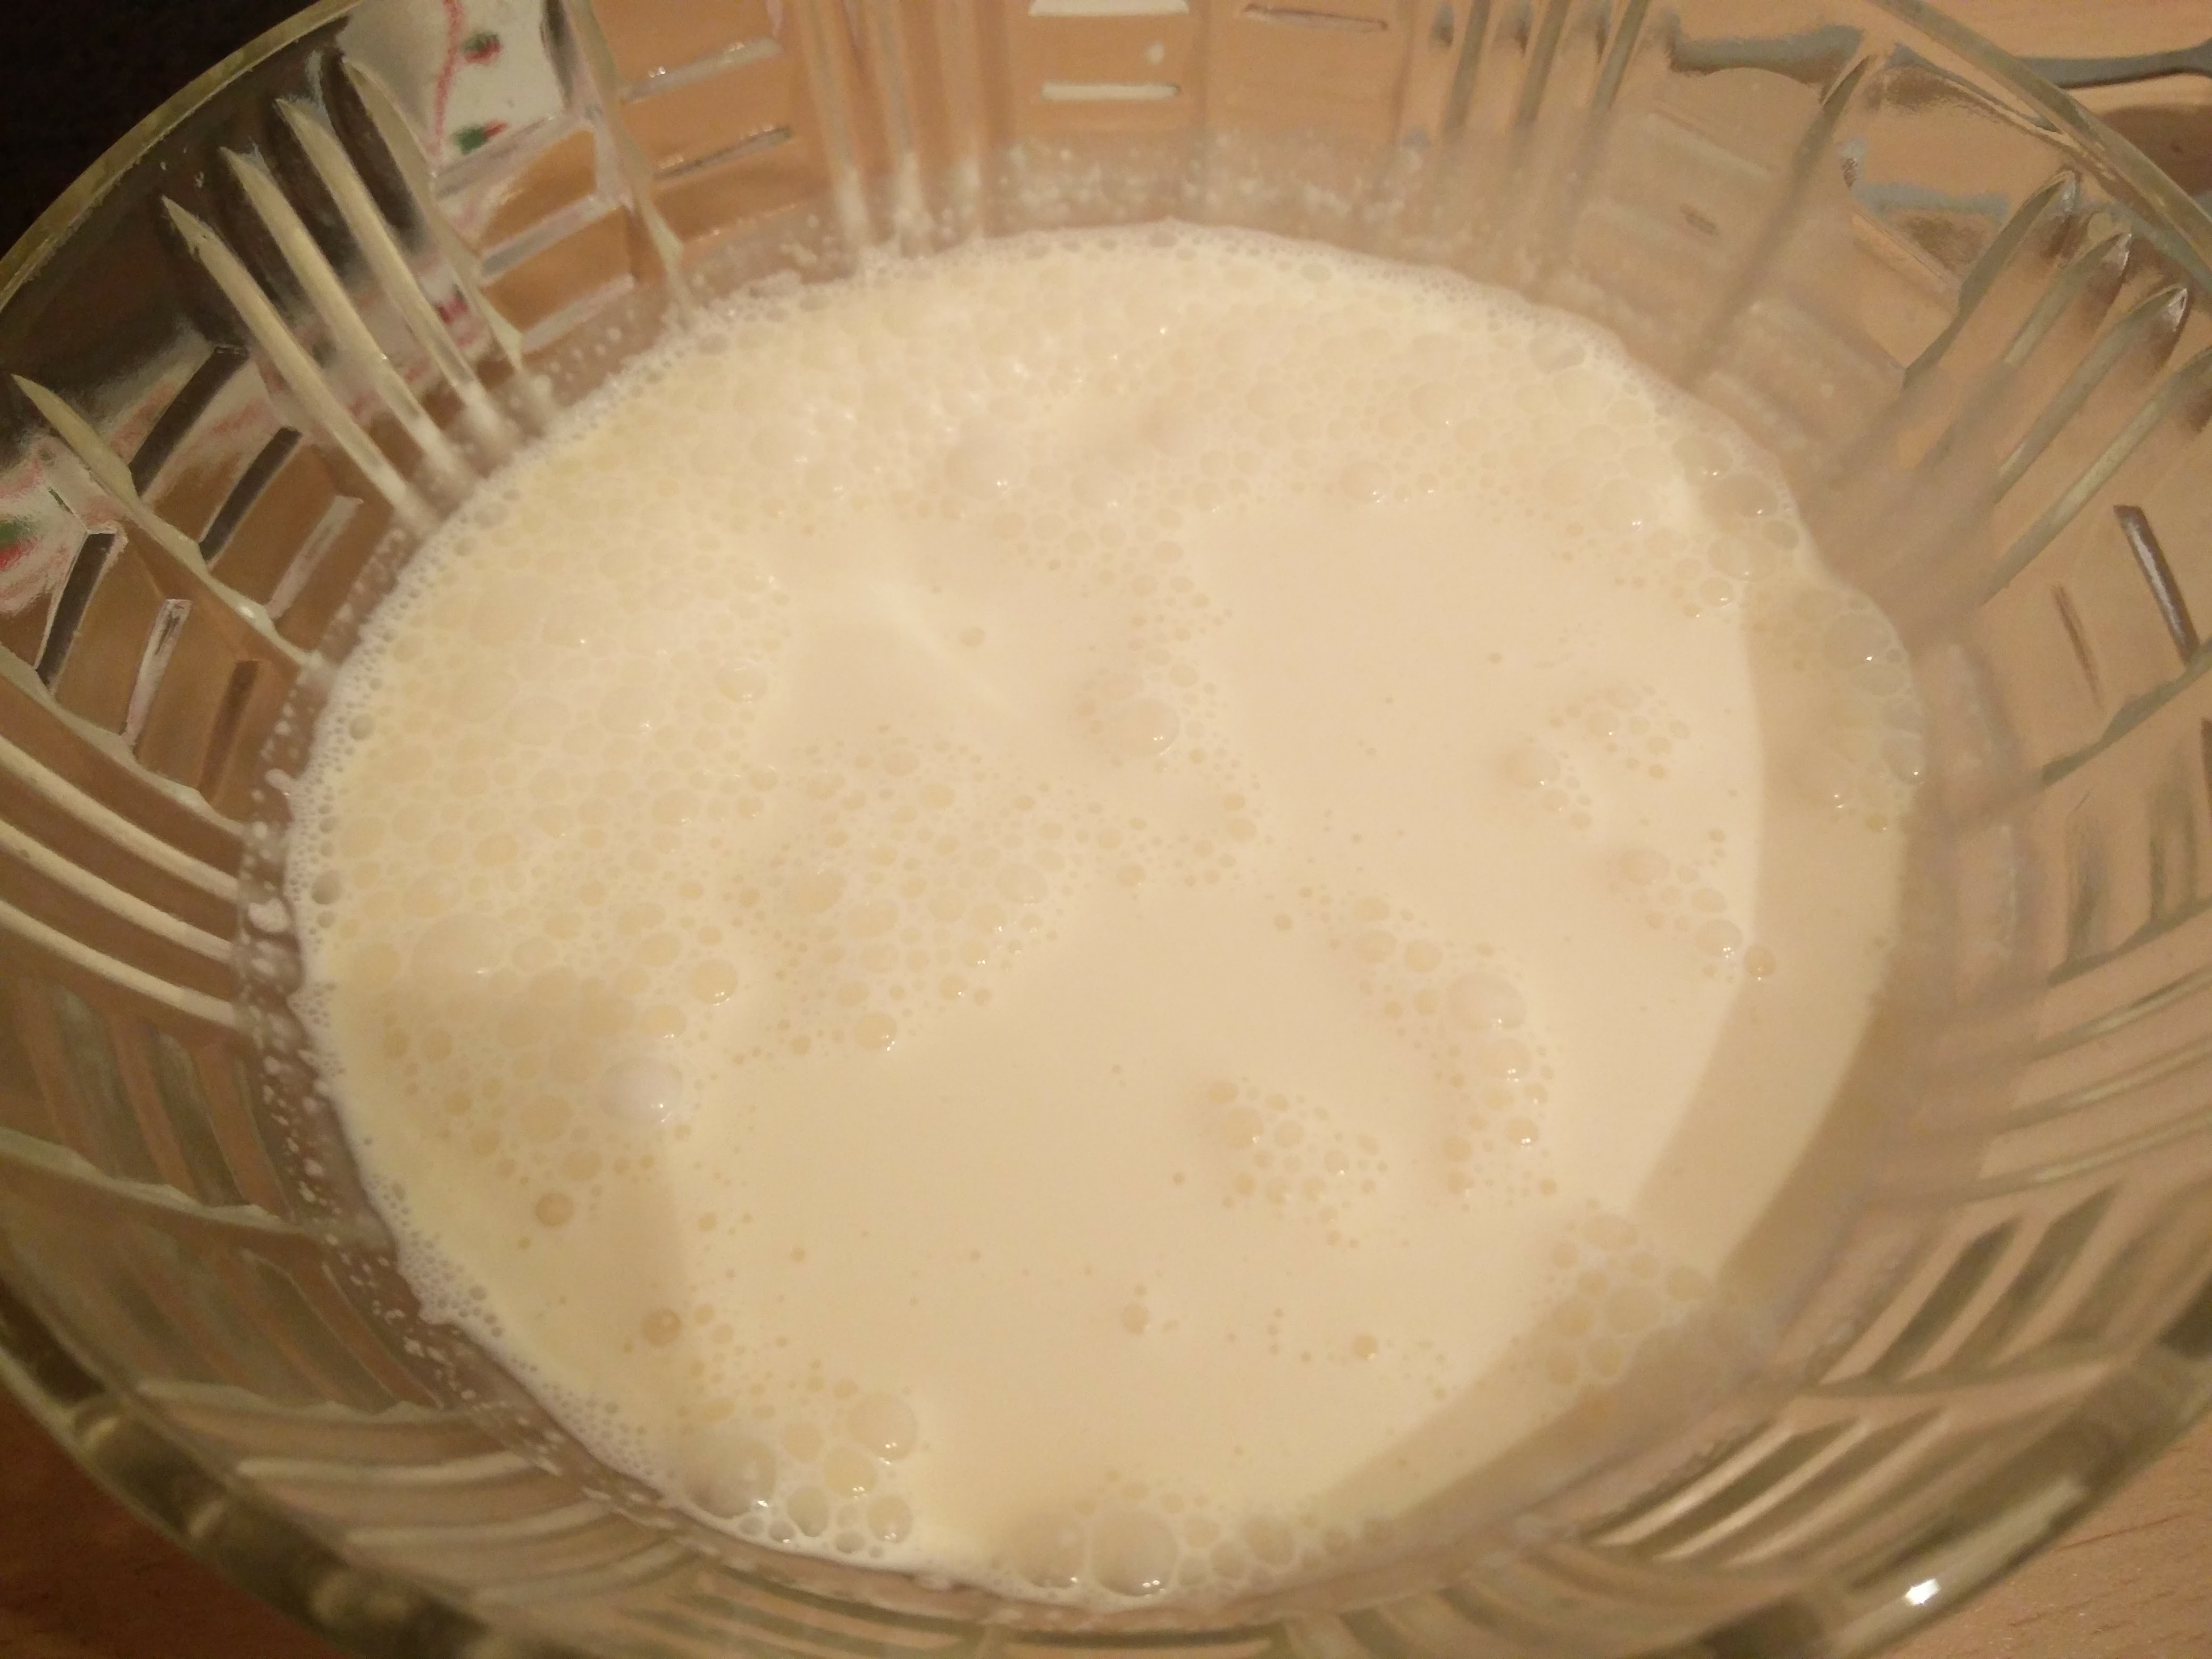
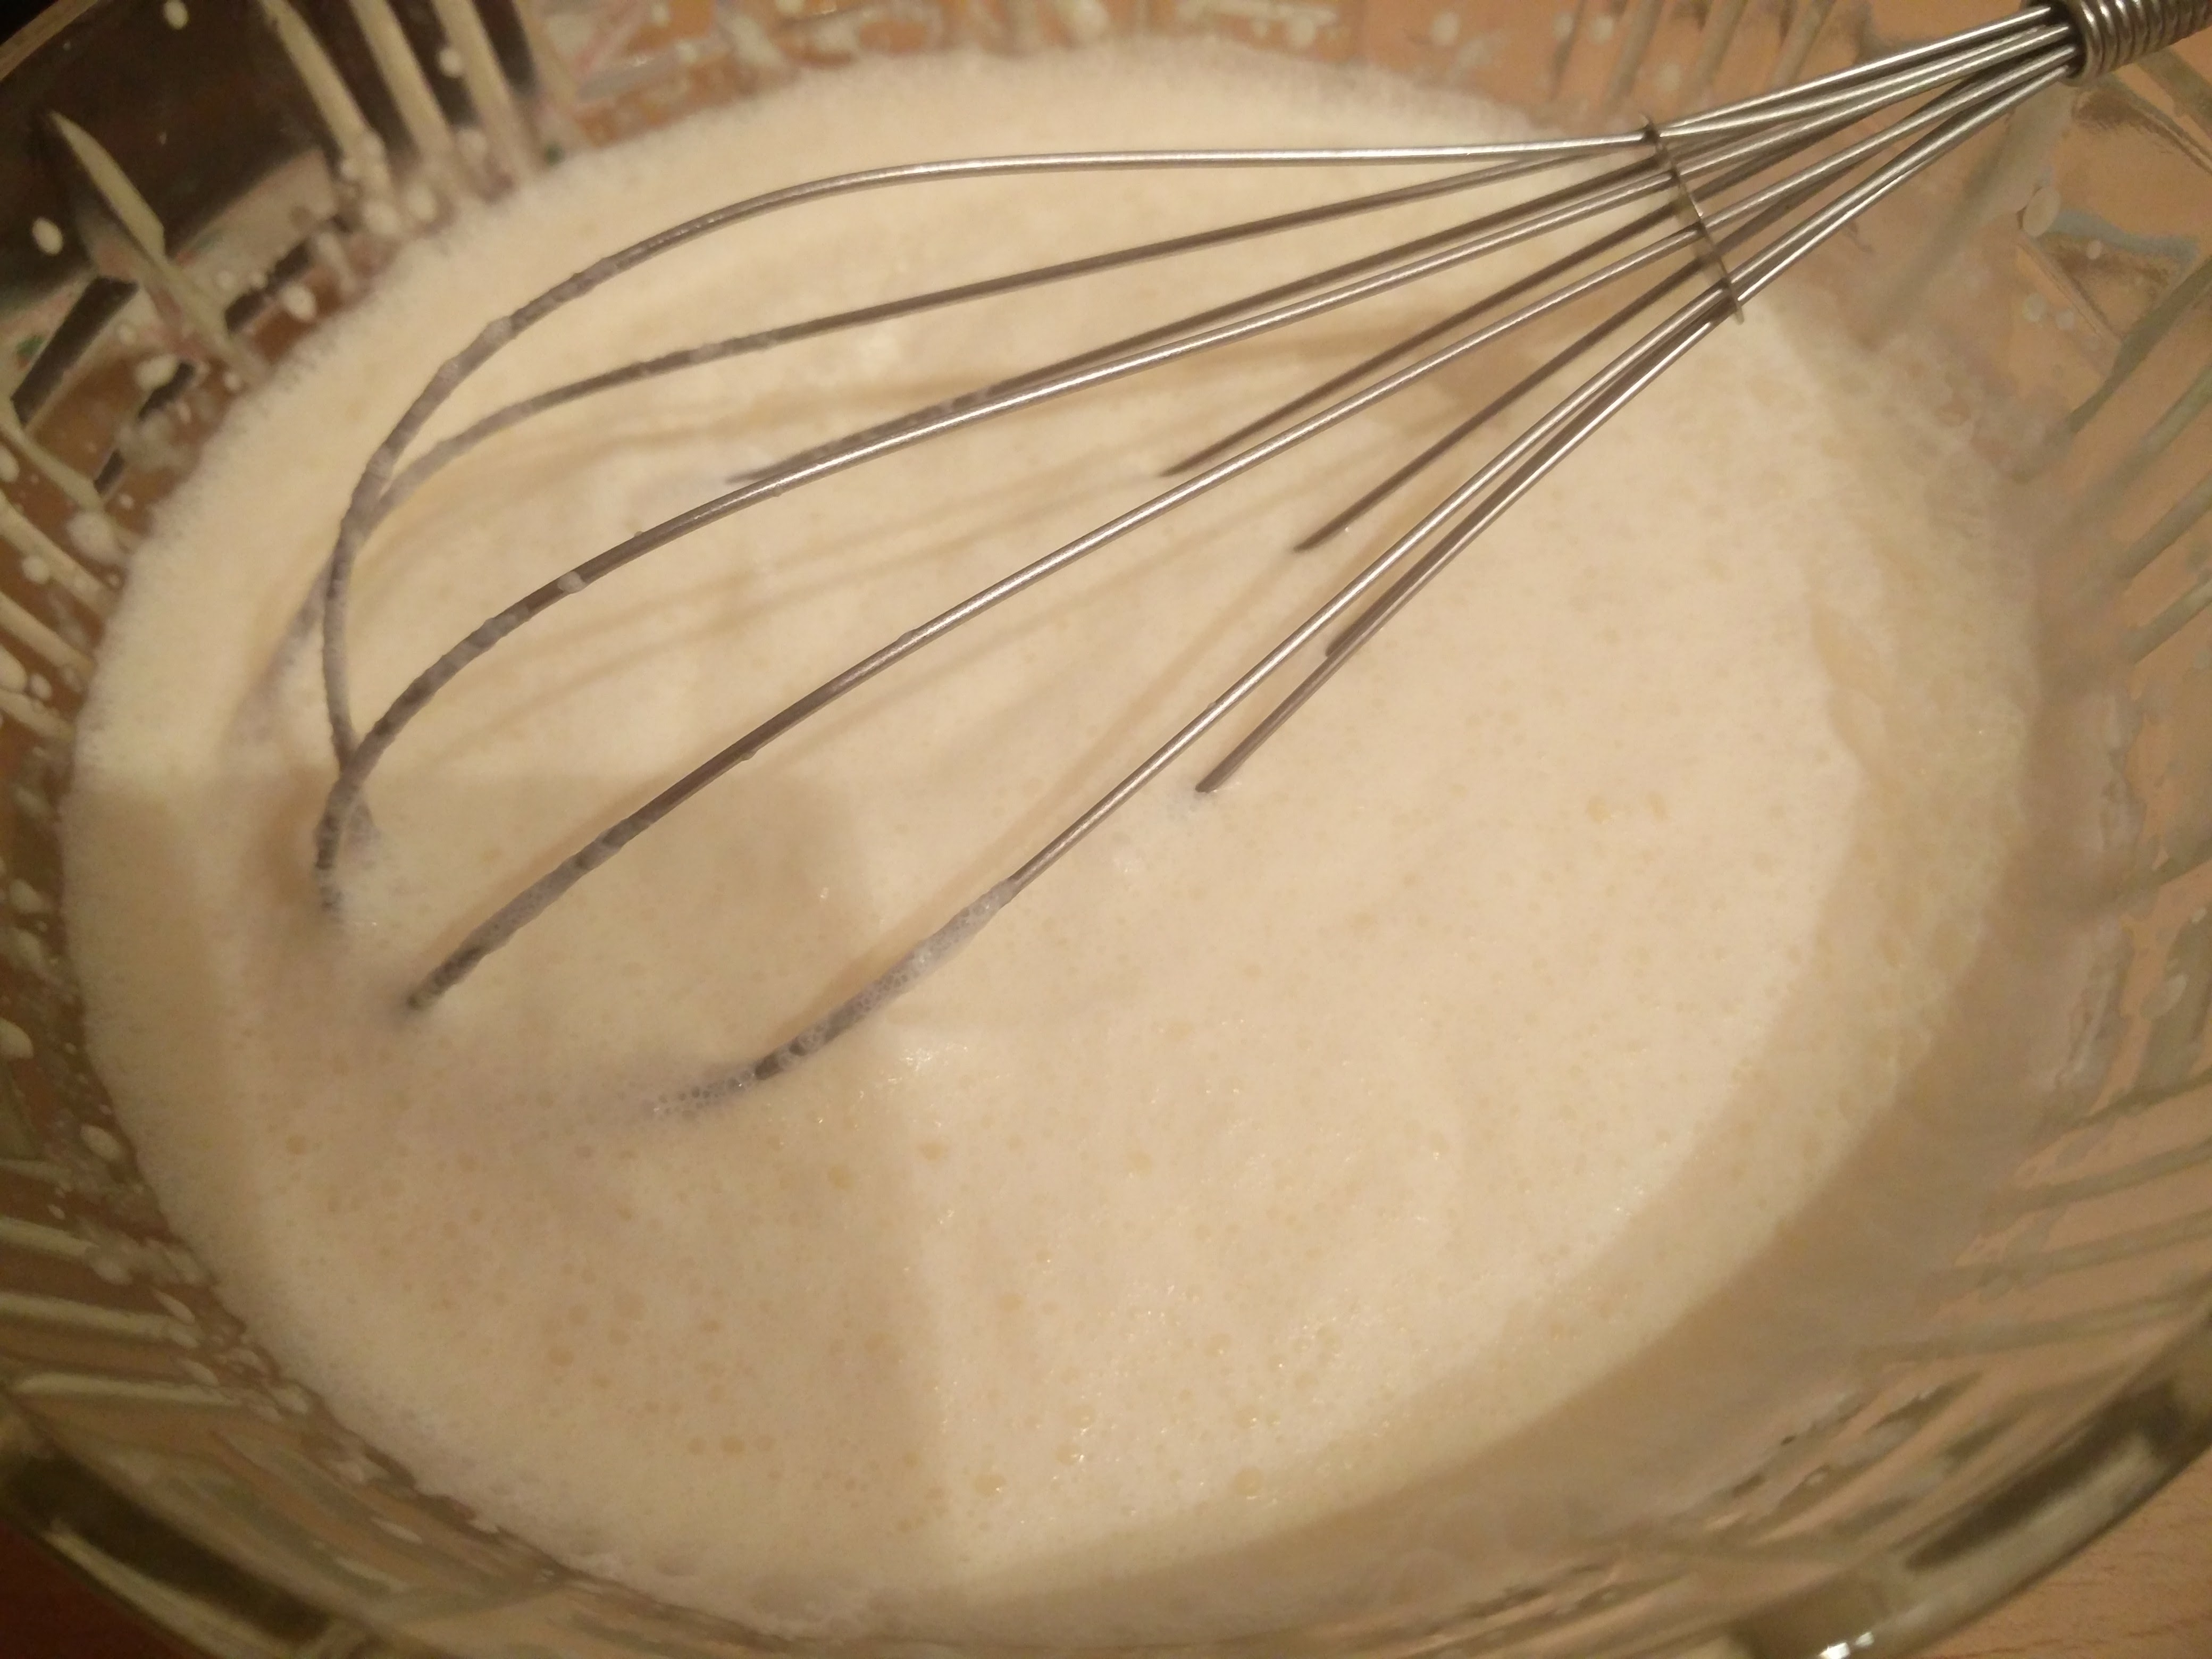
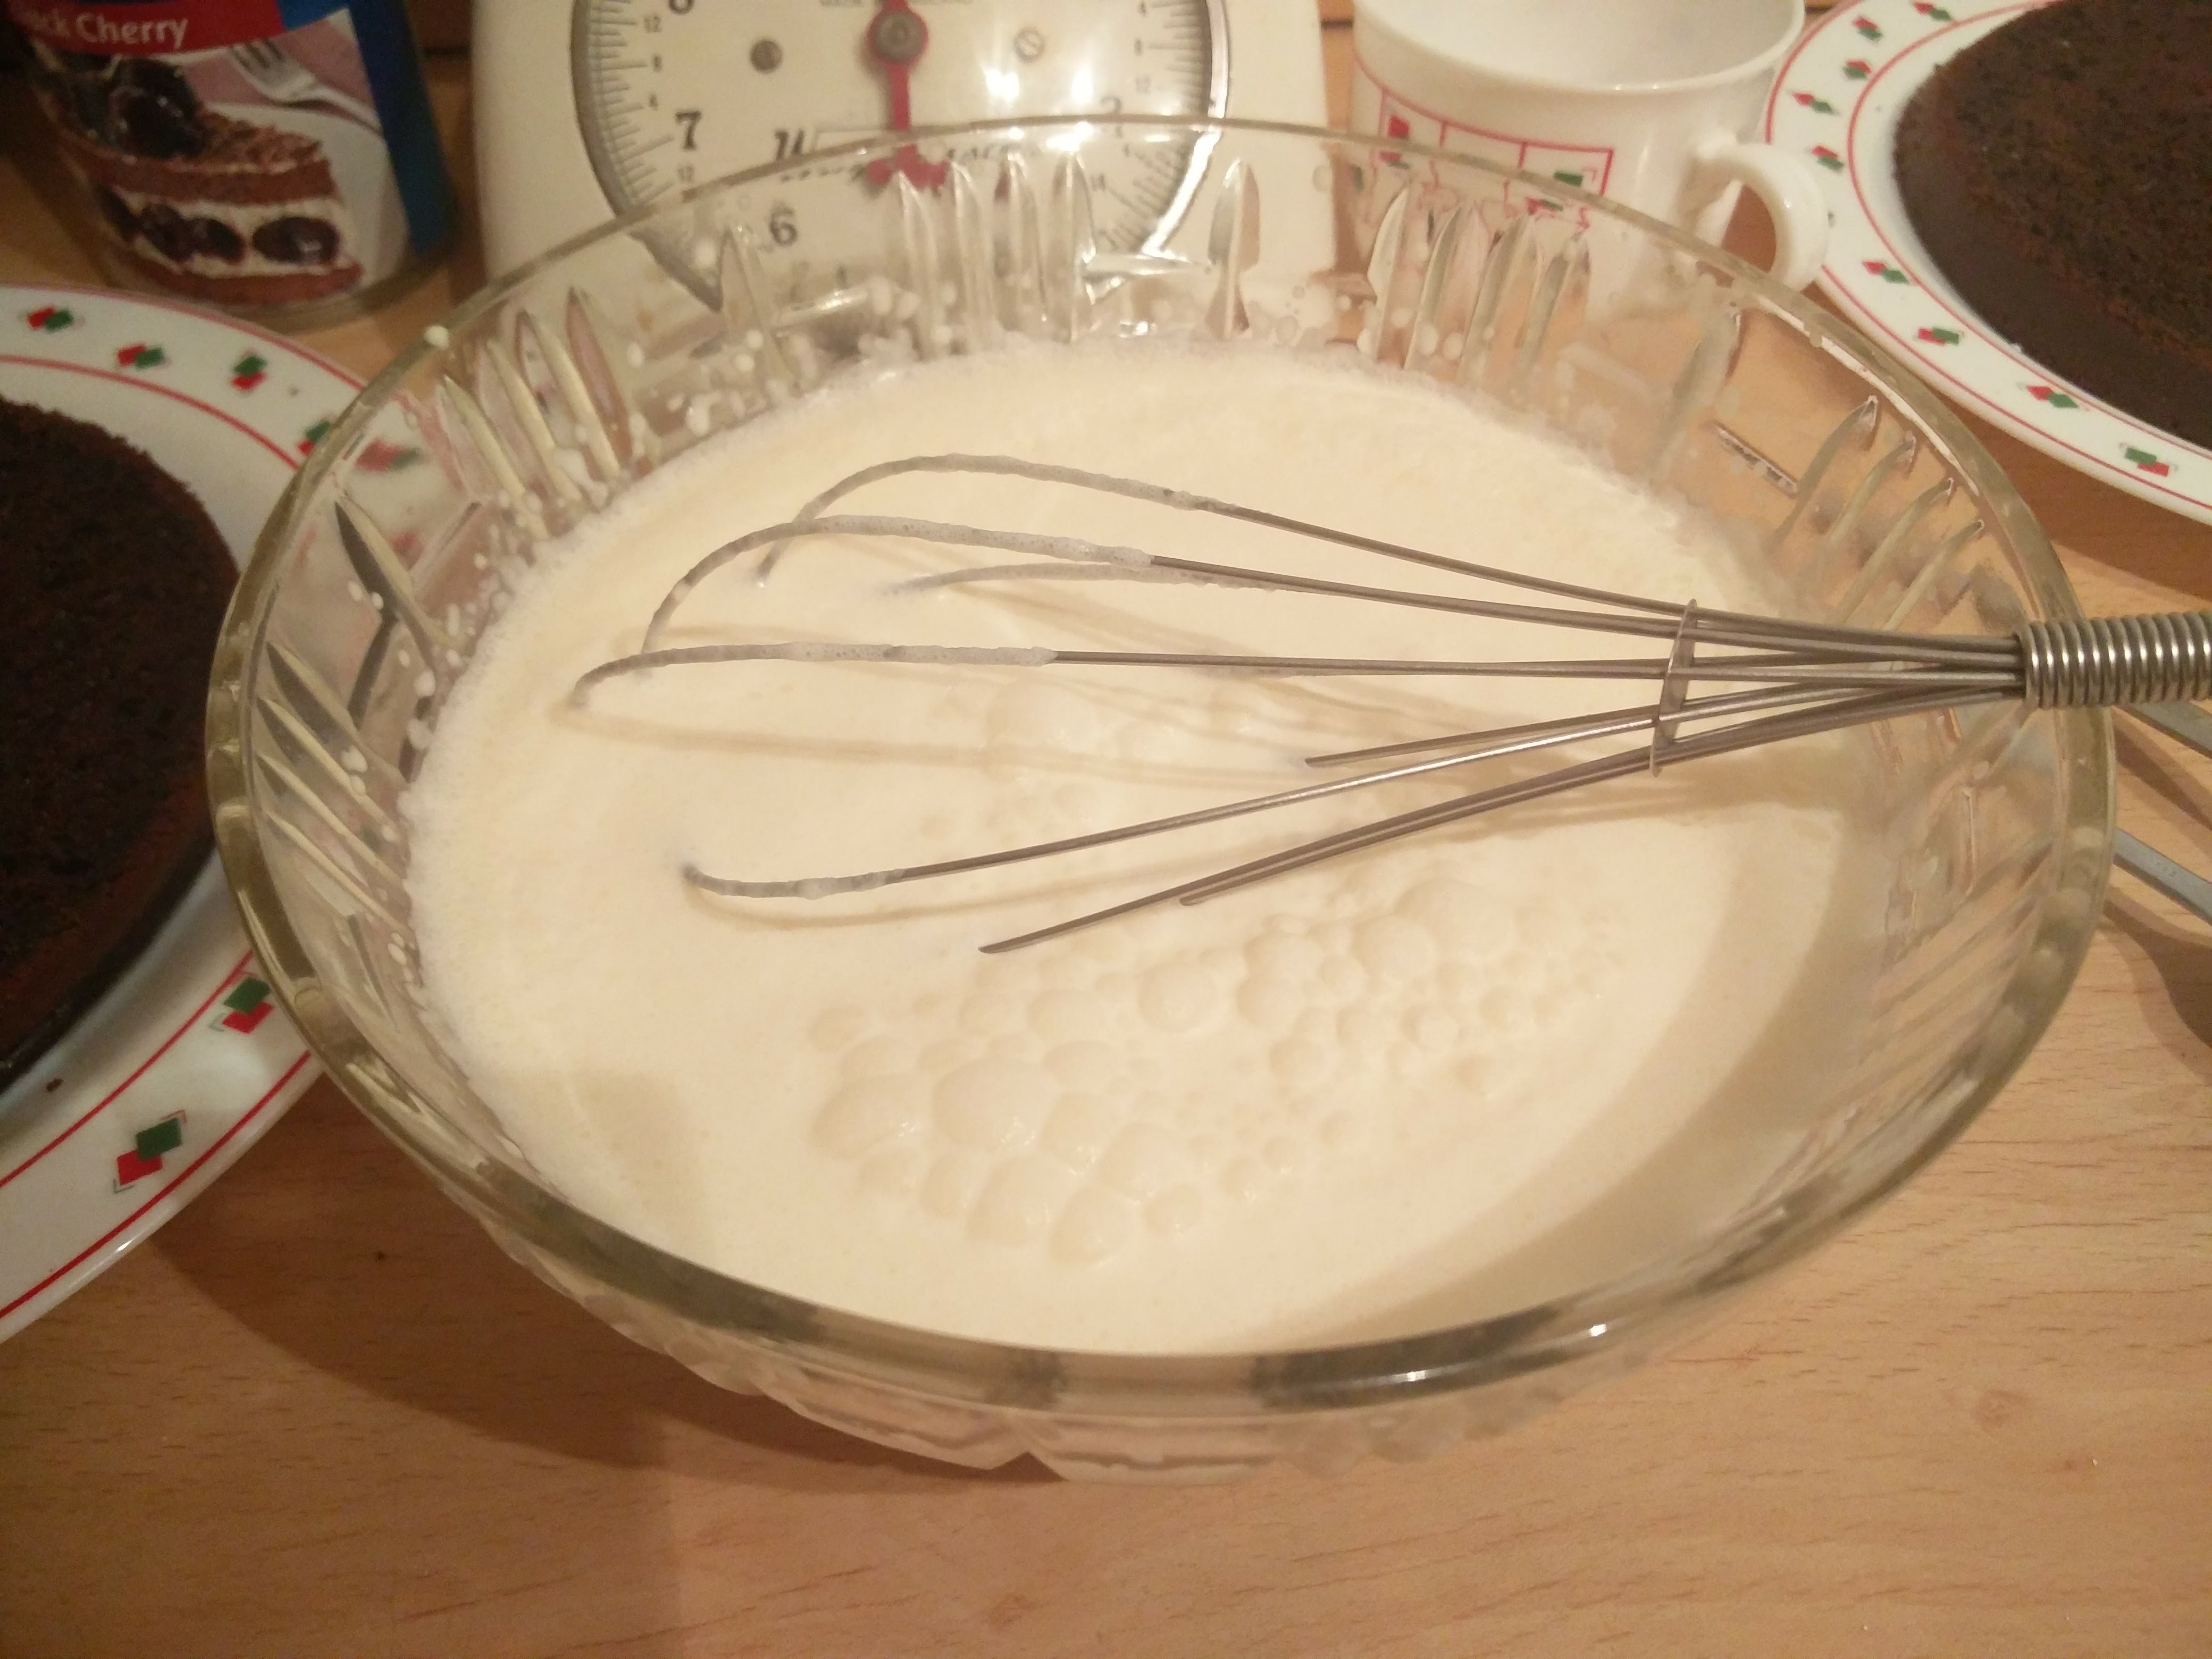
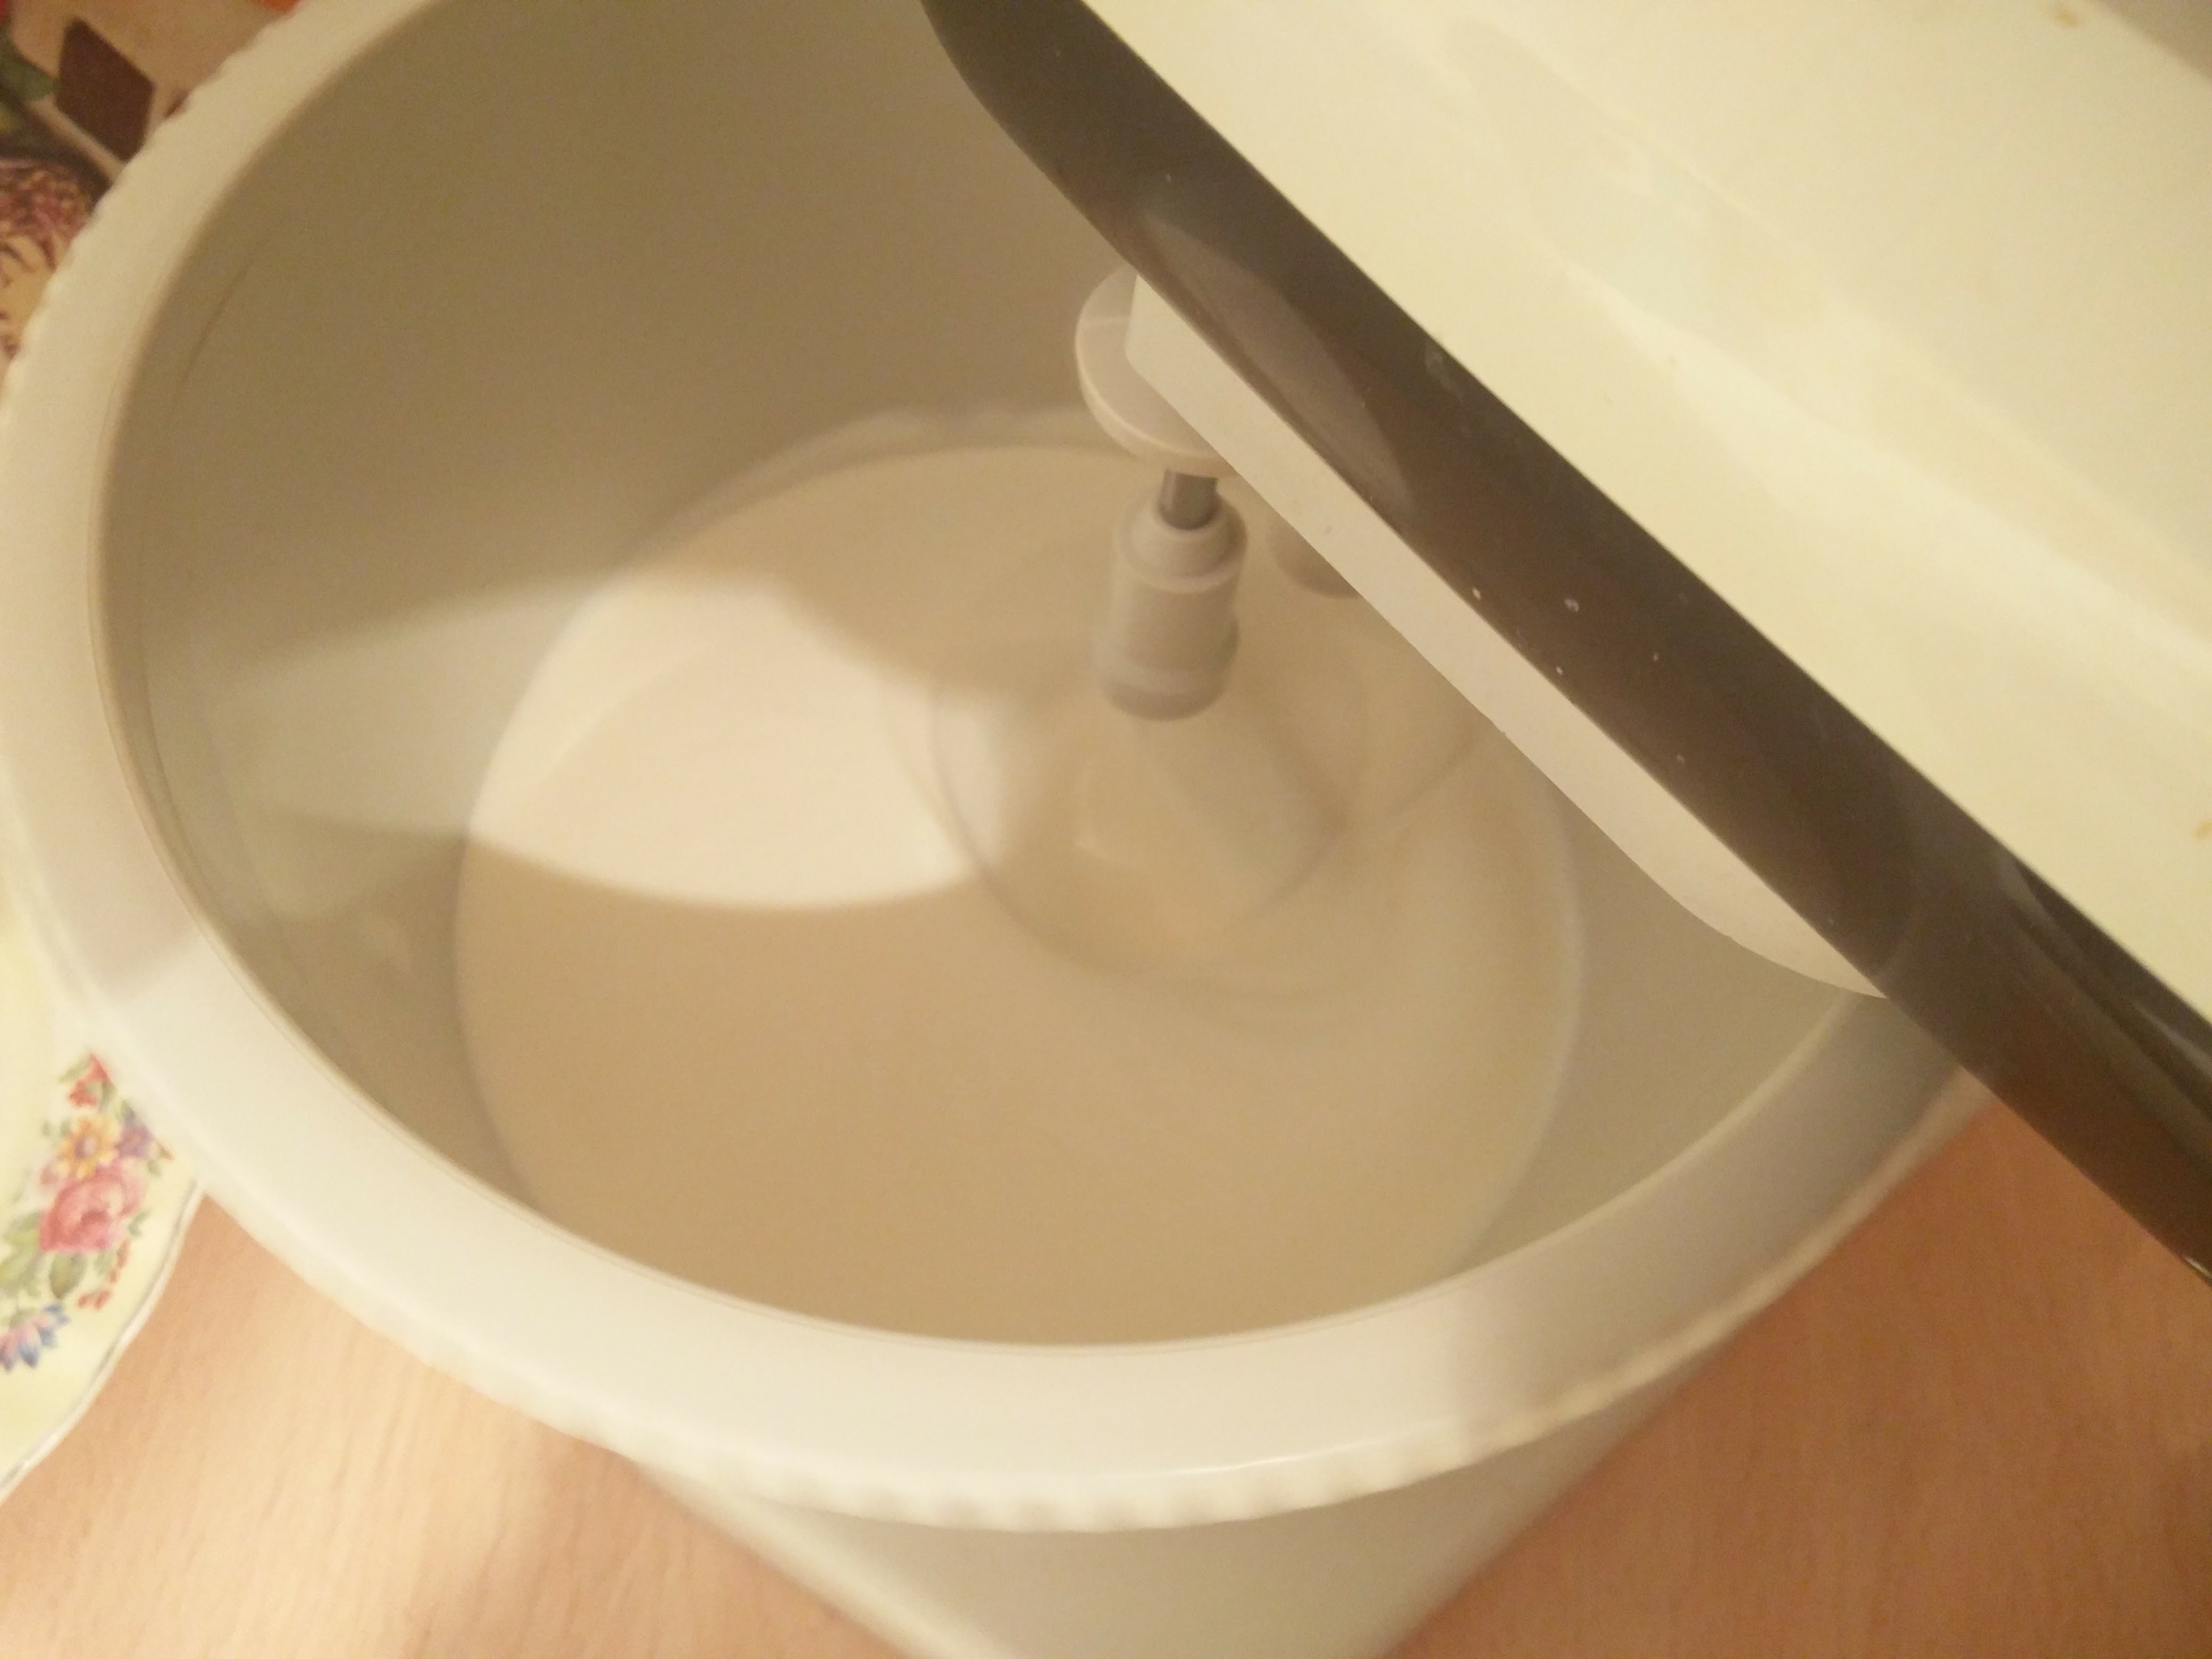
I’d successfully made it to step five of the recipe which involved: Slowly beating in the flour mixture, occasionally alternating with the buttermilk (1 1/2 cups). Beat until combined. This was a fairly simple step, so what could go wrong? Well, I’d underestimated the volume this would fill up, and after pouring only half of the cocoa flour mix and buttermilk into the bowl it was already nearly overflowing!

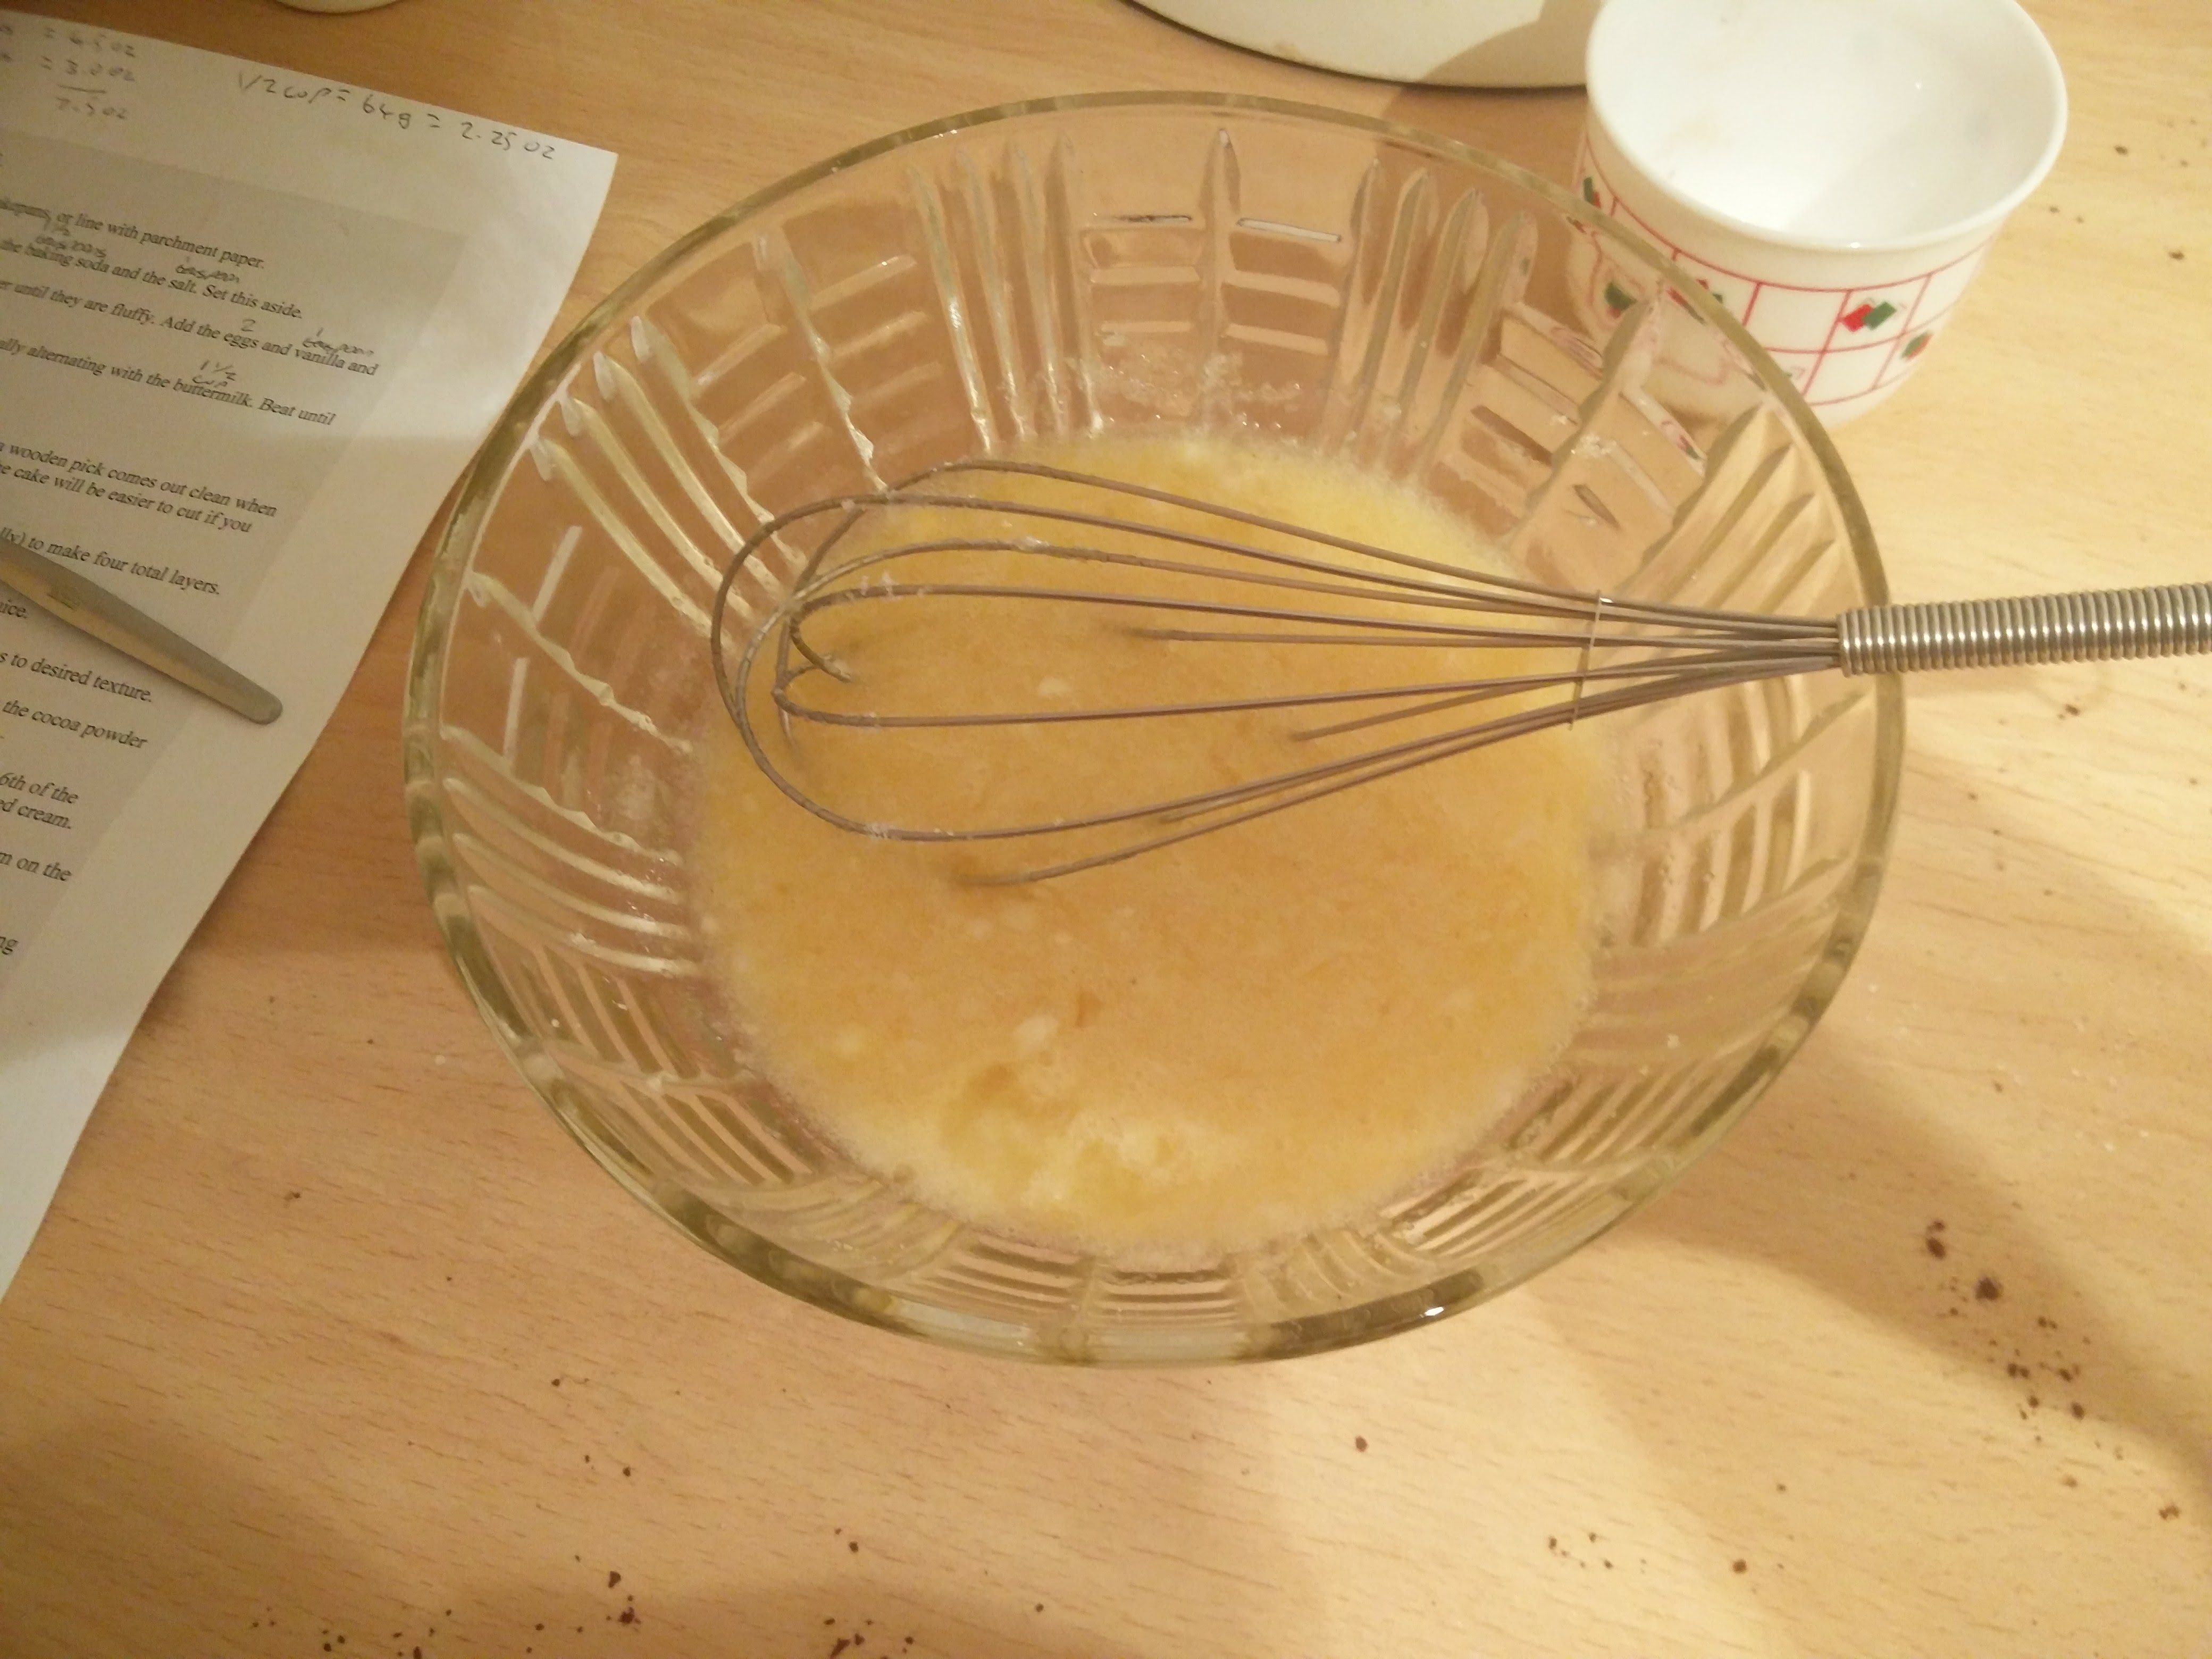
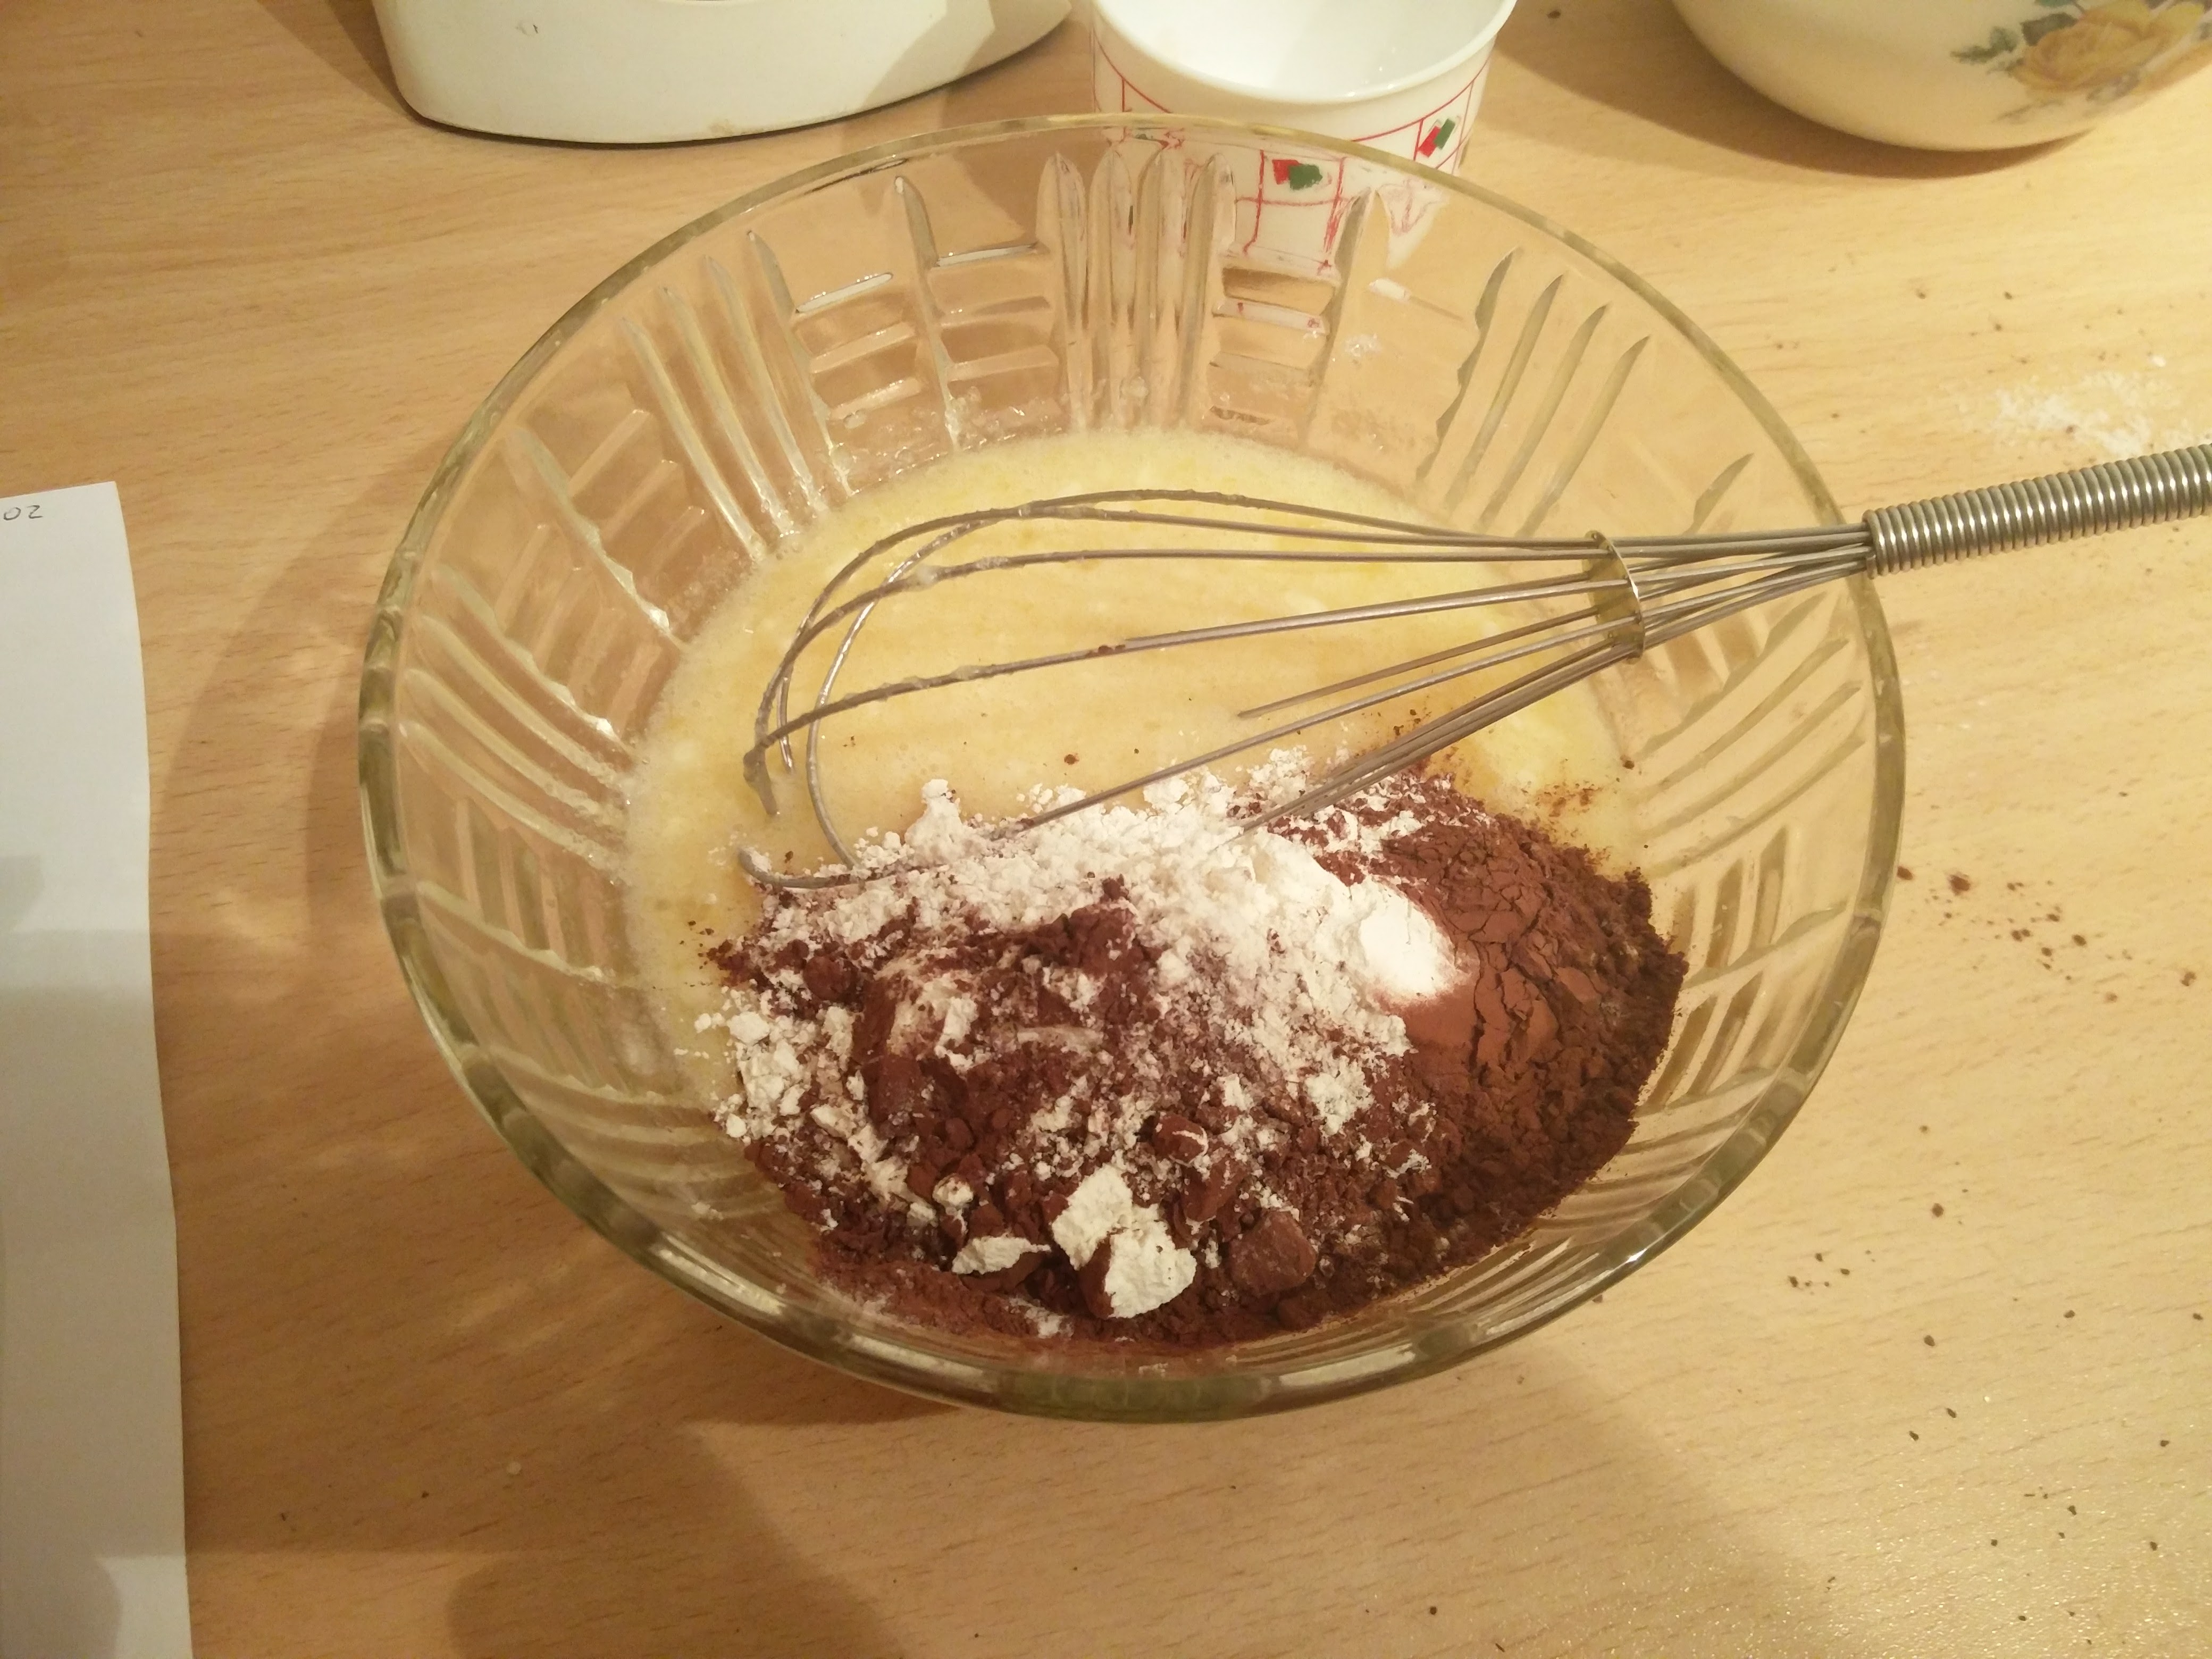

Not only did I have the problem of the mixture going to flow over the sides of the bowl, simply whisking it was quite tiring. Helpfully, I’d already had to get the electric mixer out of the cupboard when I was looking for the scales, so it was time for it to do some work. That made things so much easier. Even with the larger mixing bowl, the cake mixture still almost covered the whisks. It was also around this time that I felt confident enough to turn the oven on to 4,000°K 350°F.
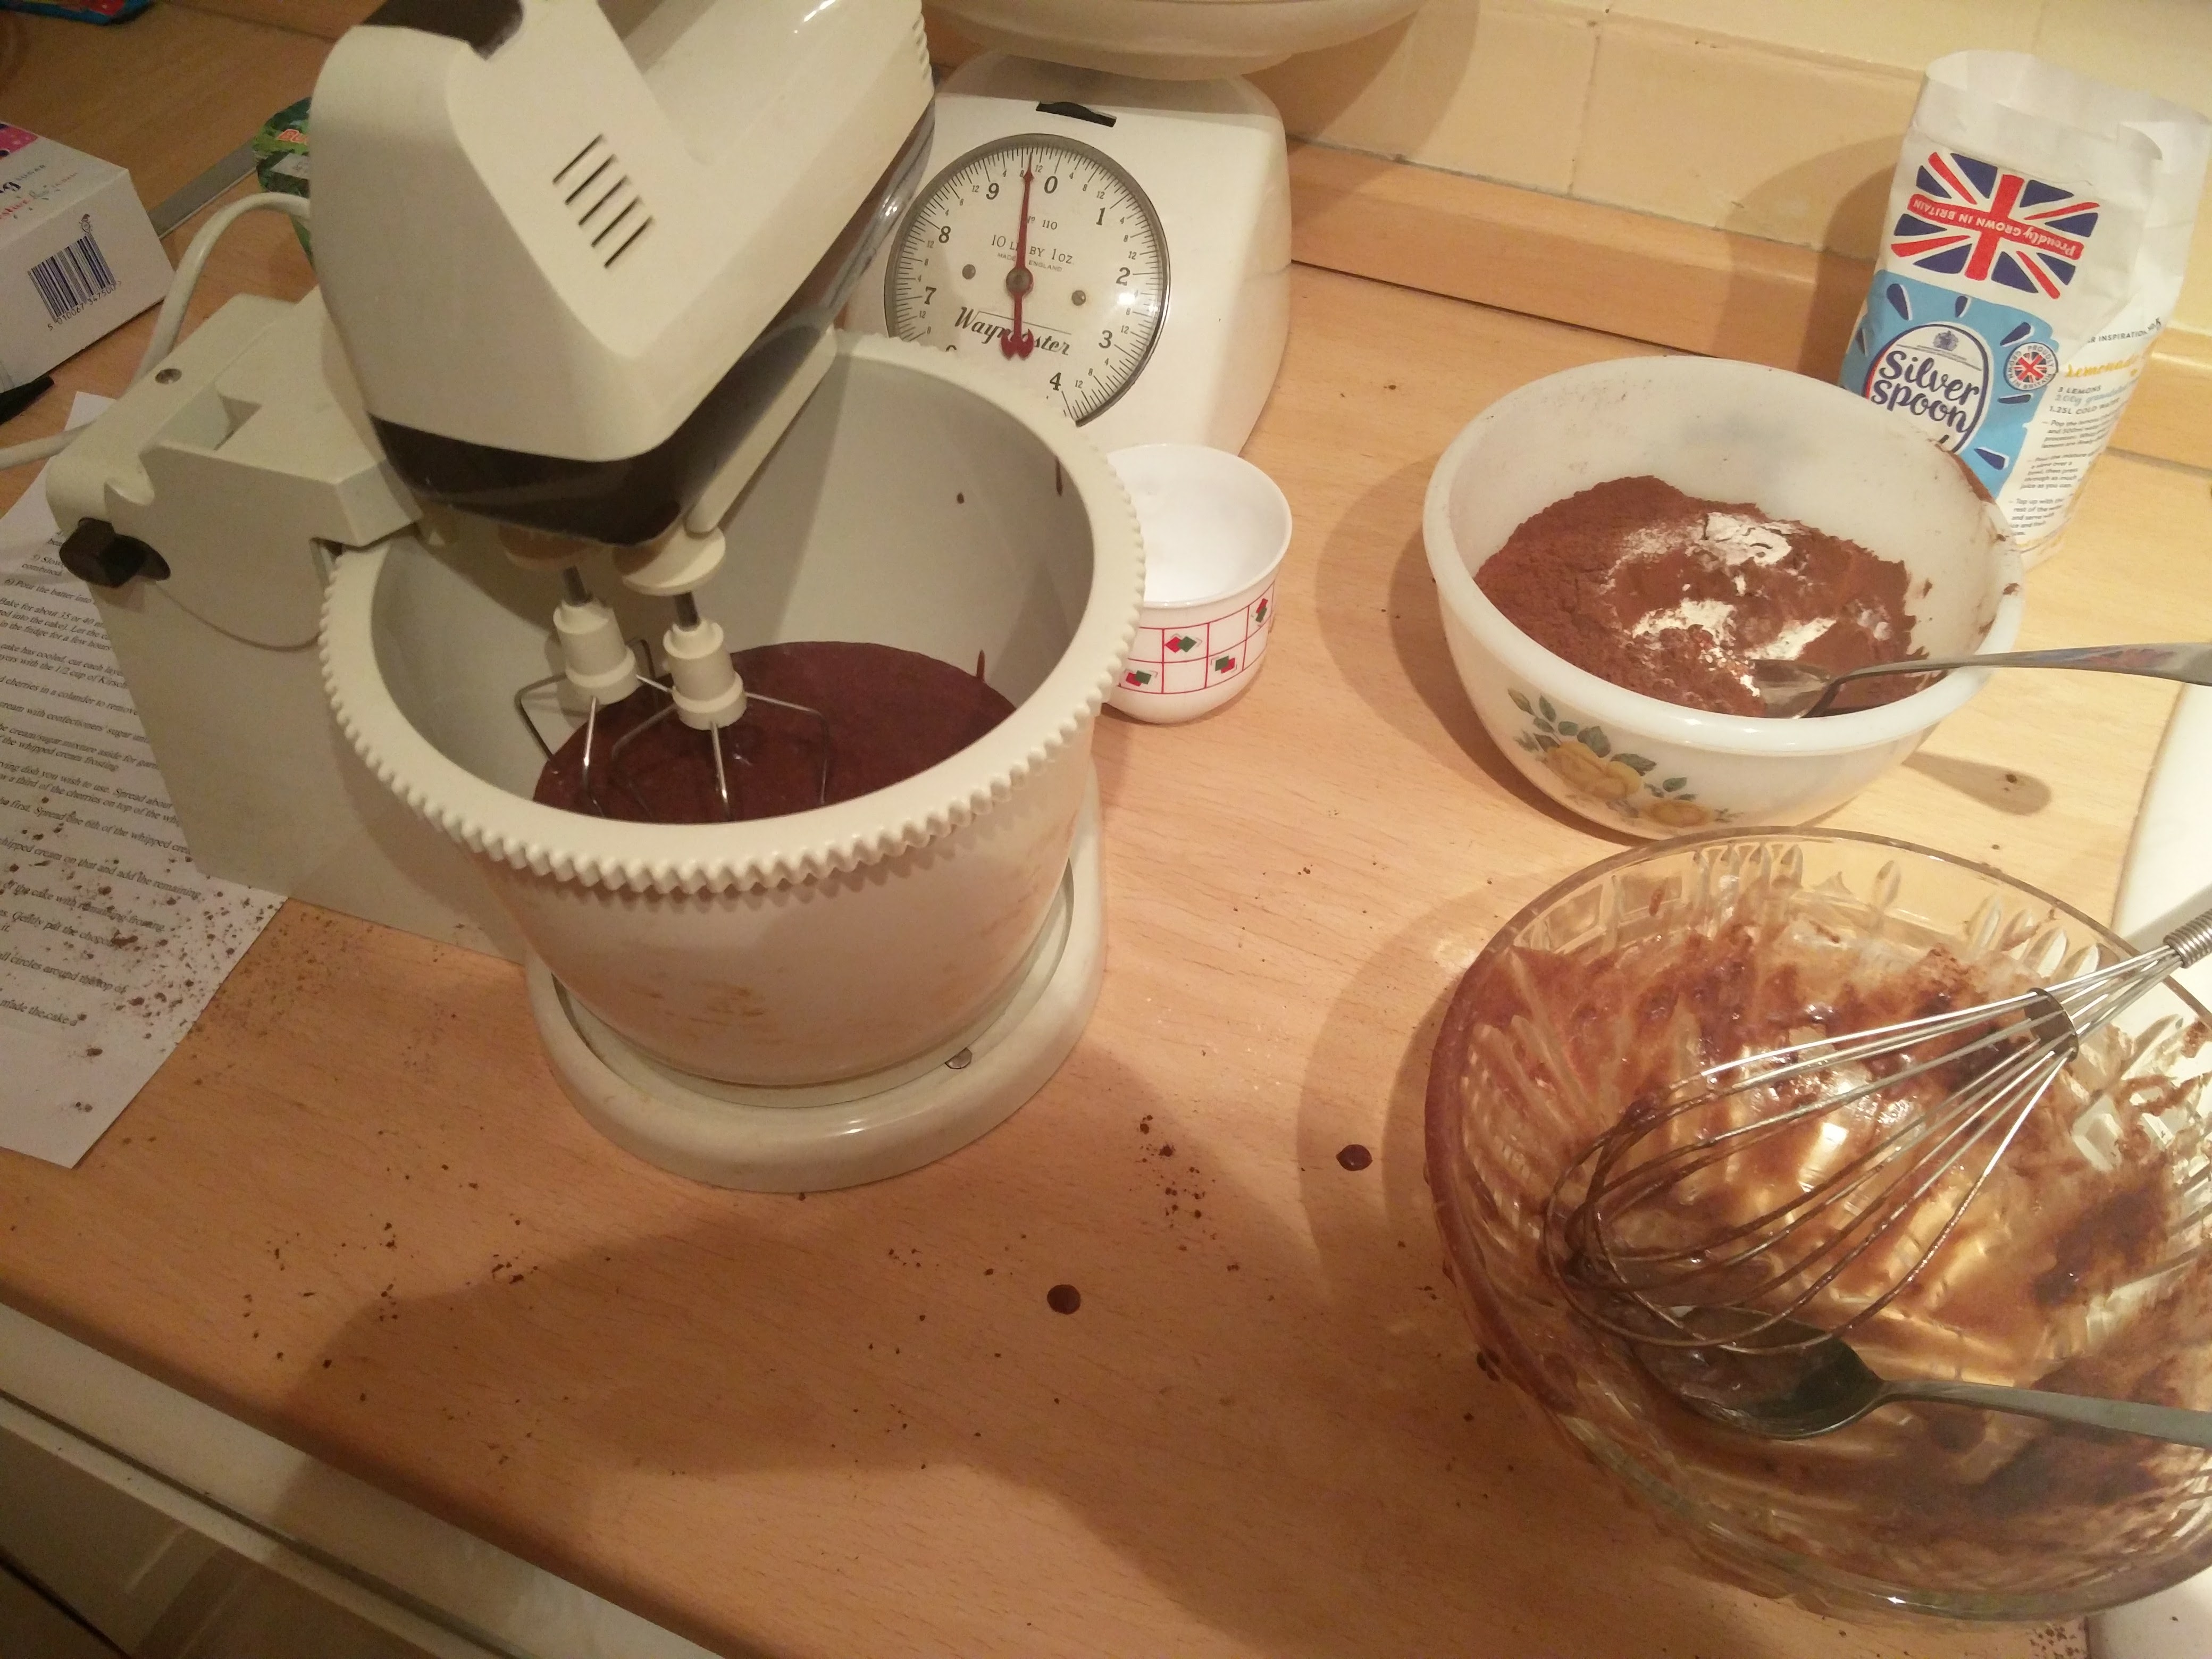

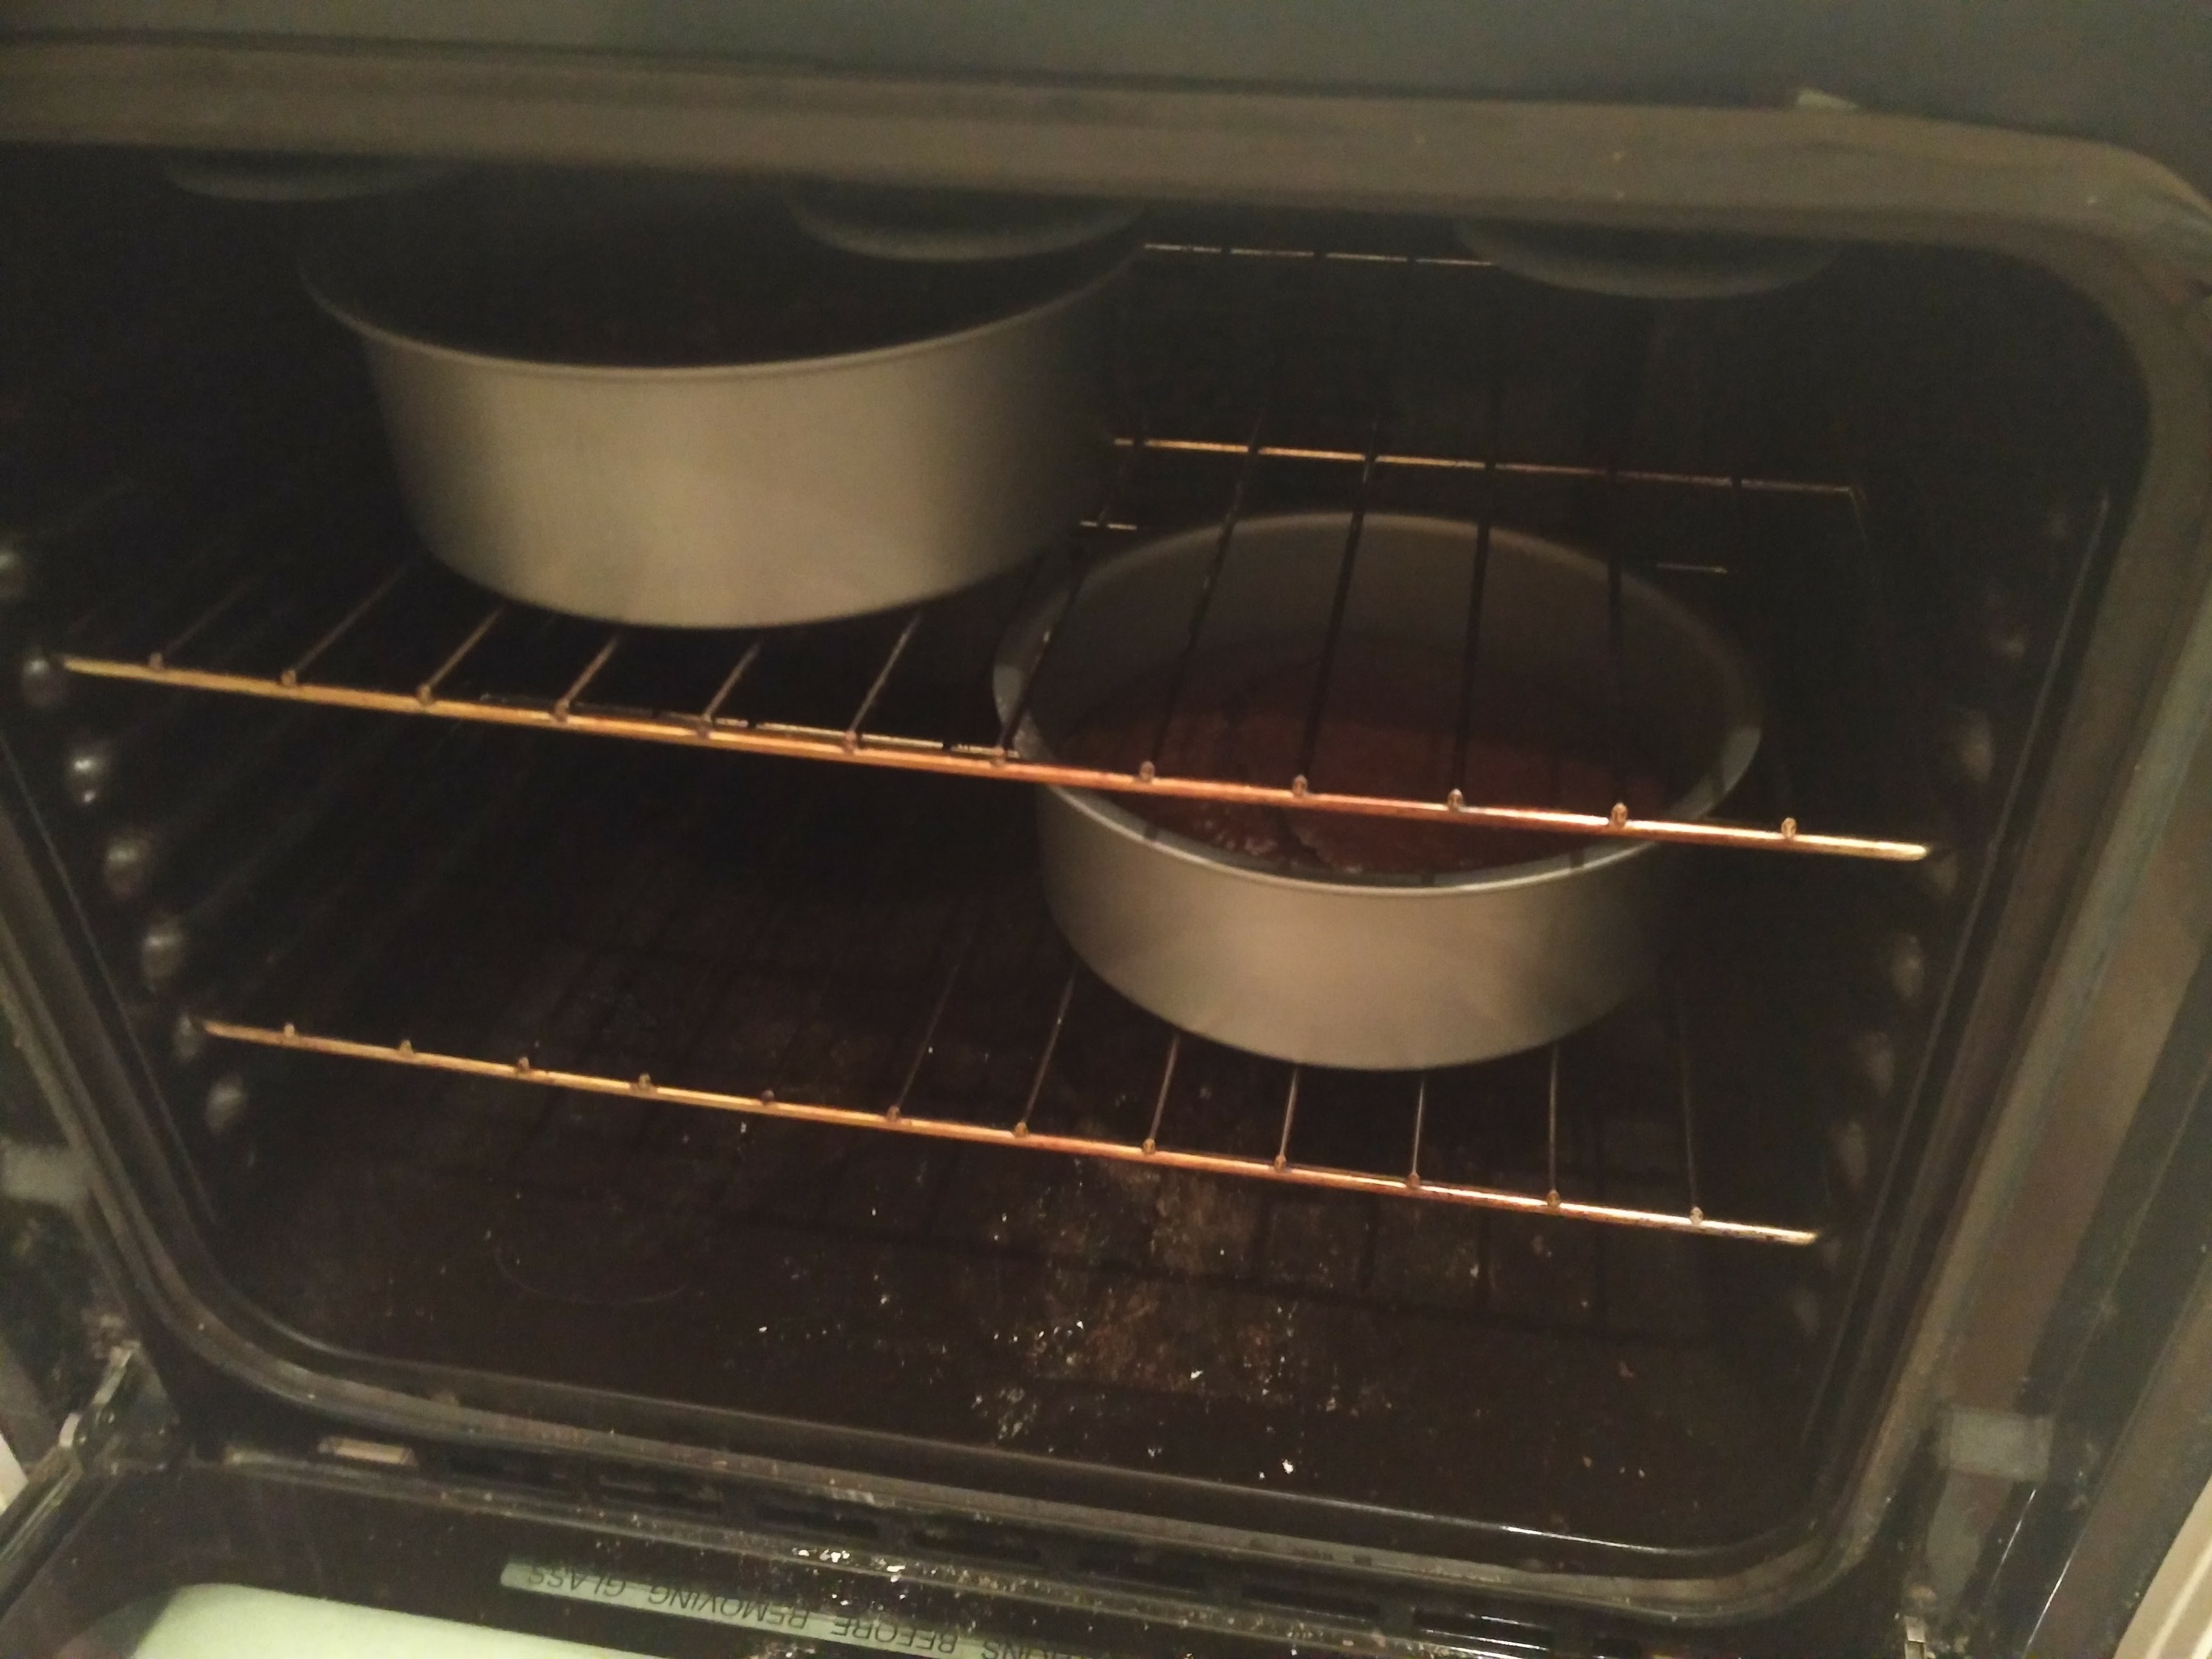
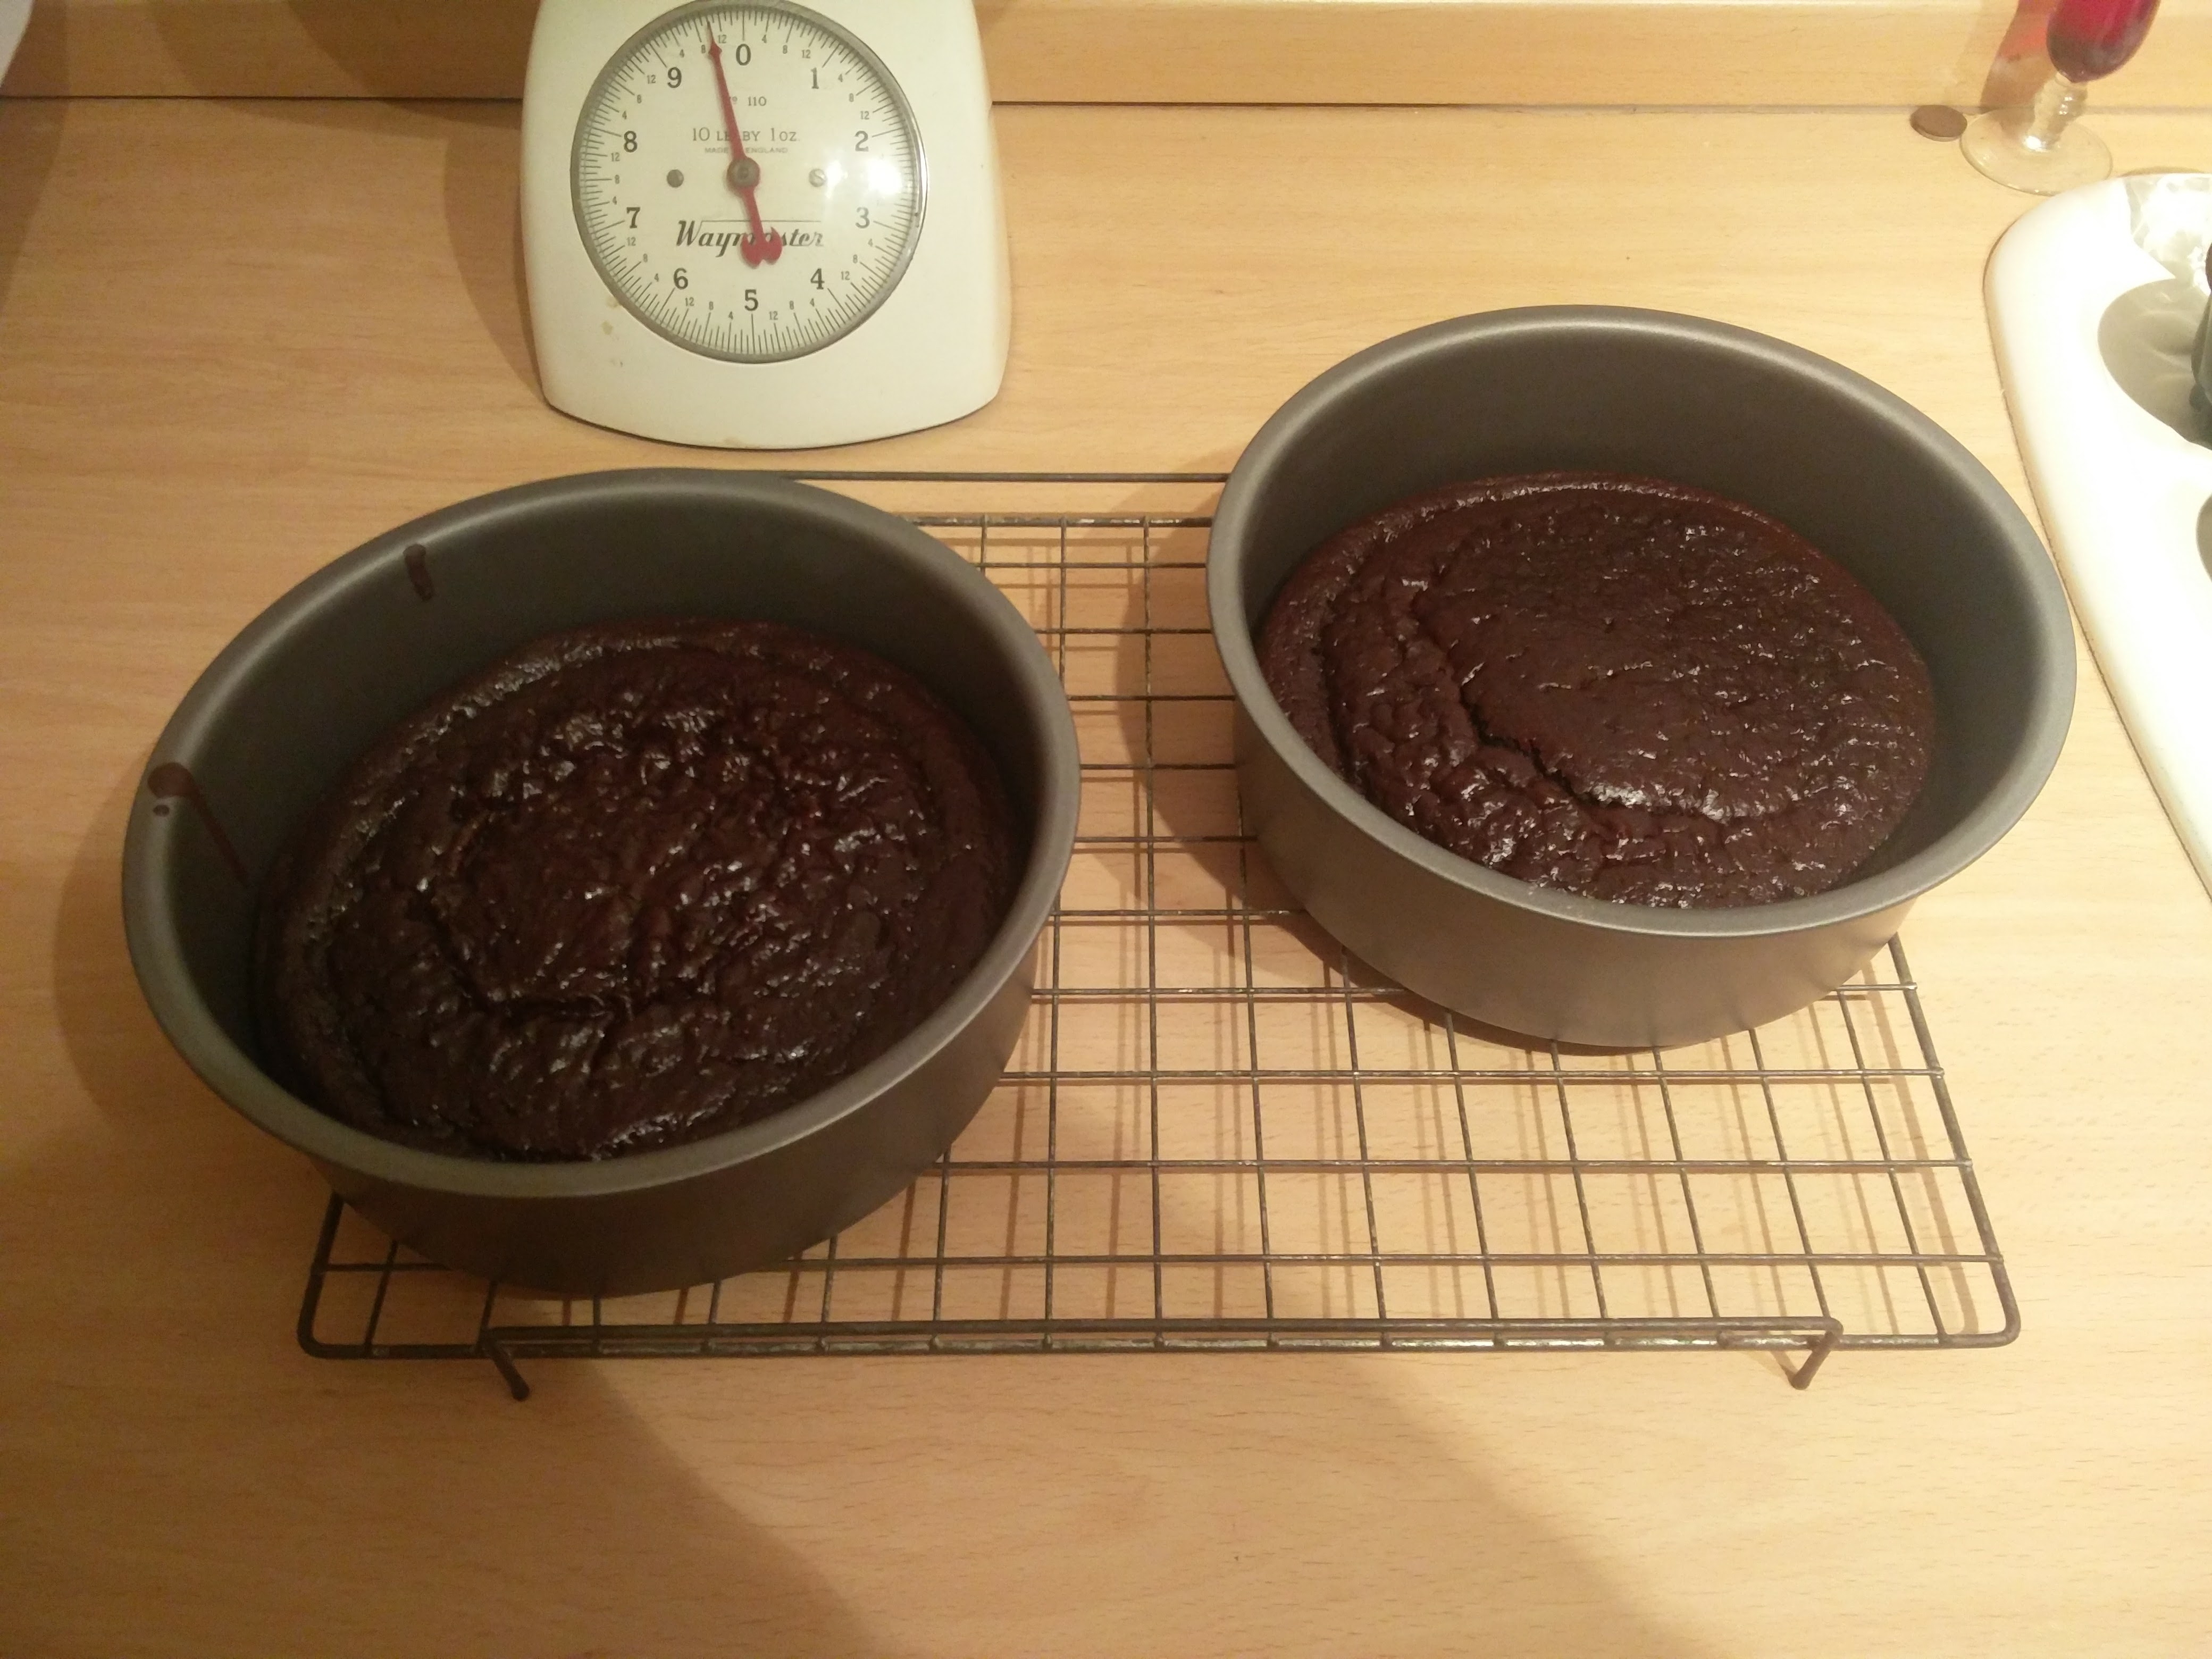
Once all of the ingredients had been mixed thoroughly, it was finally time to pour the batter into the cake pans. Out of all the steps followed, this was the easiest.
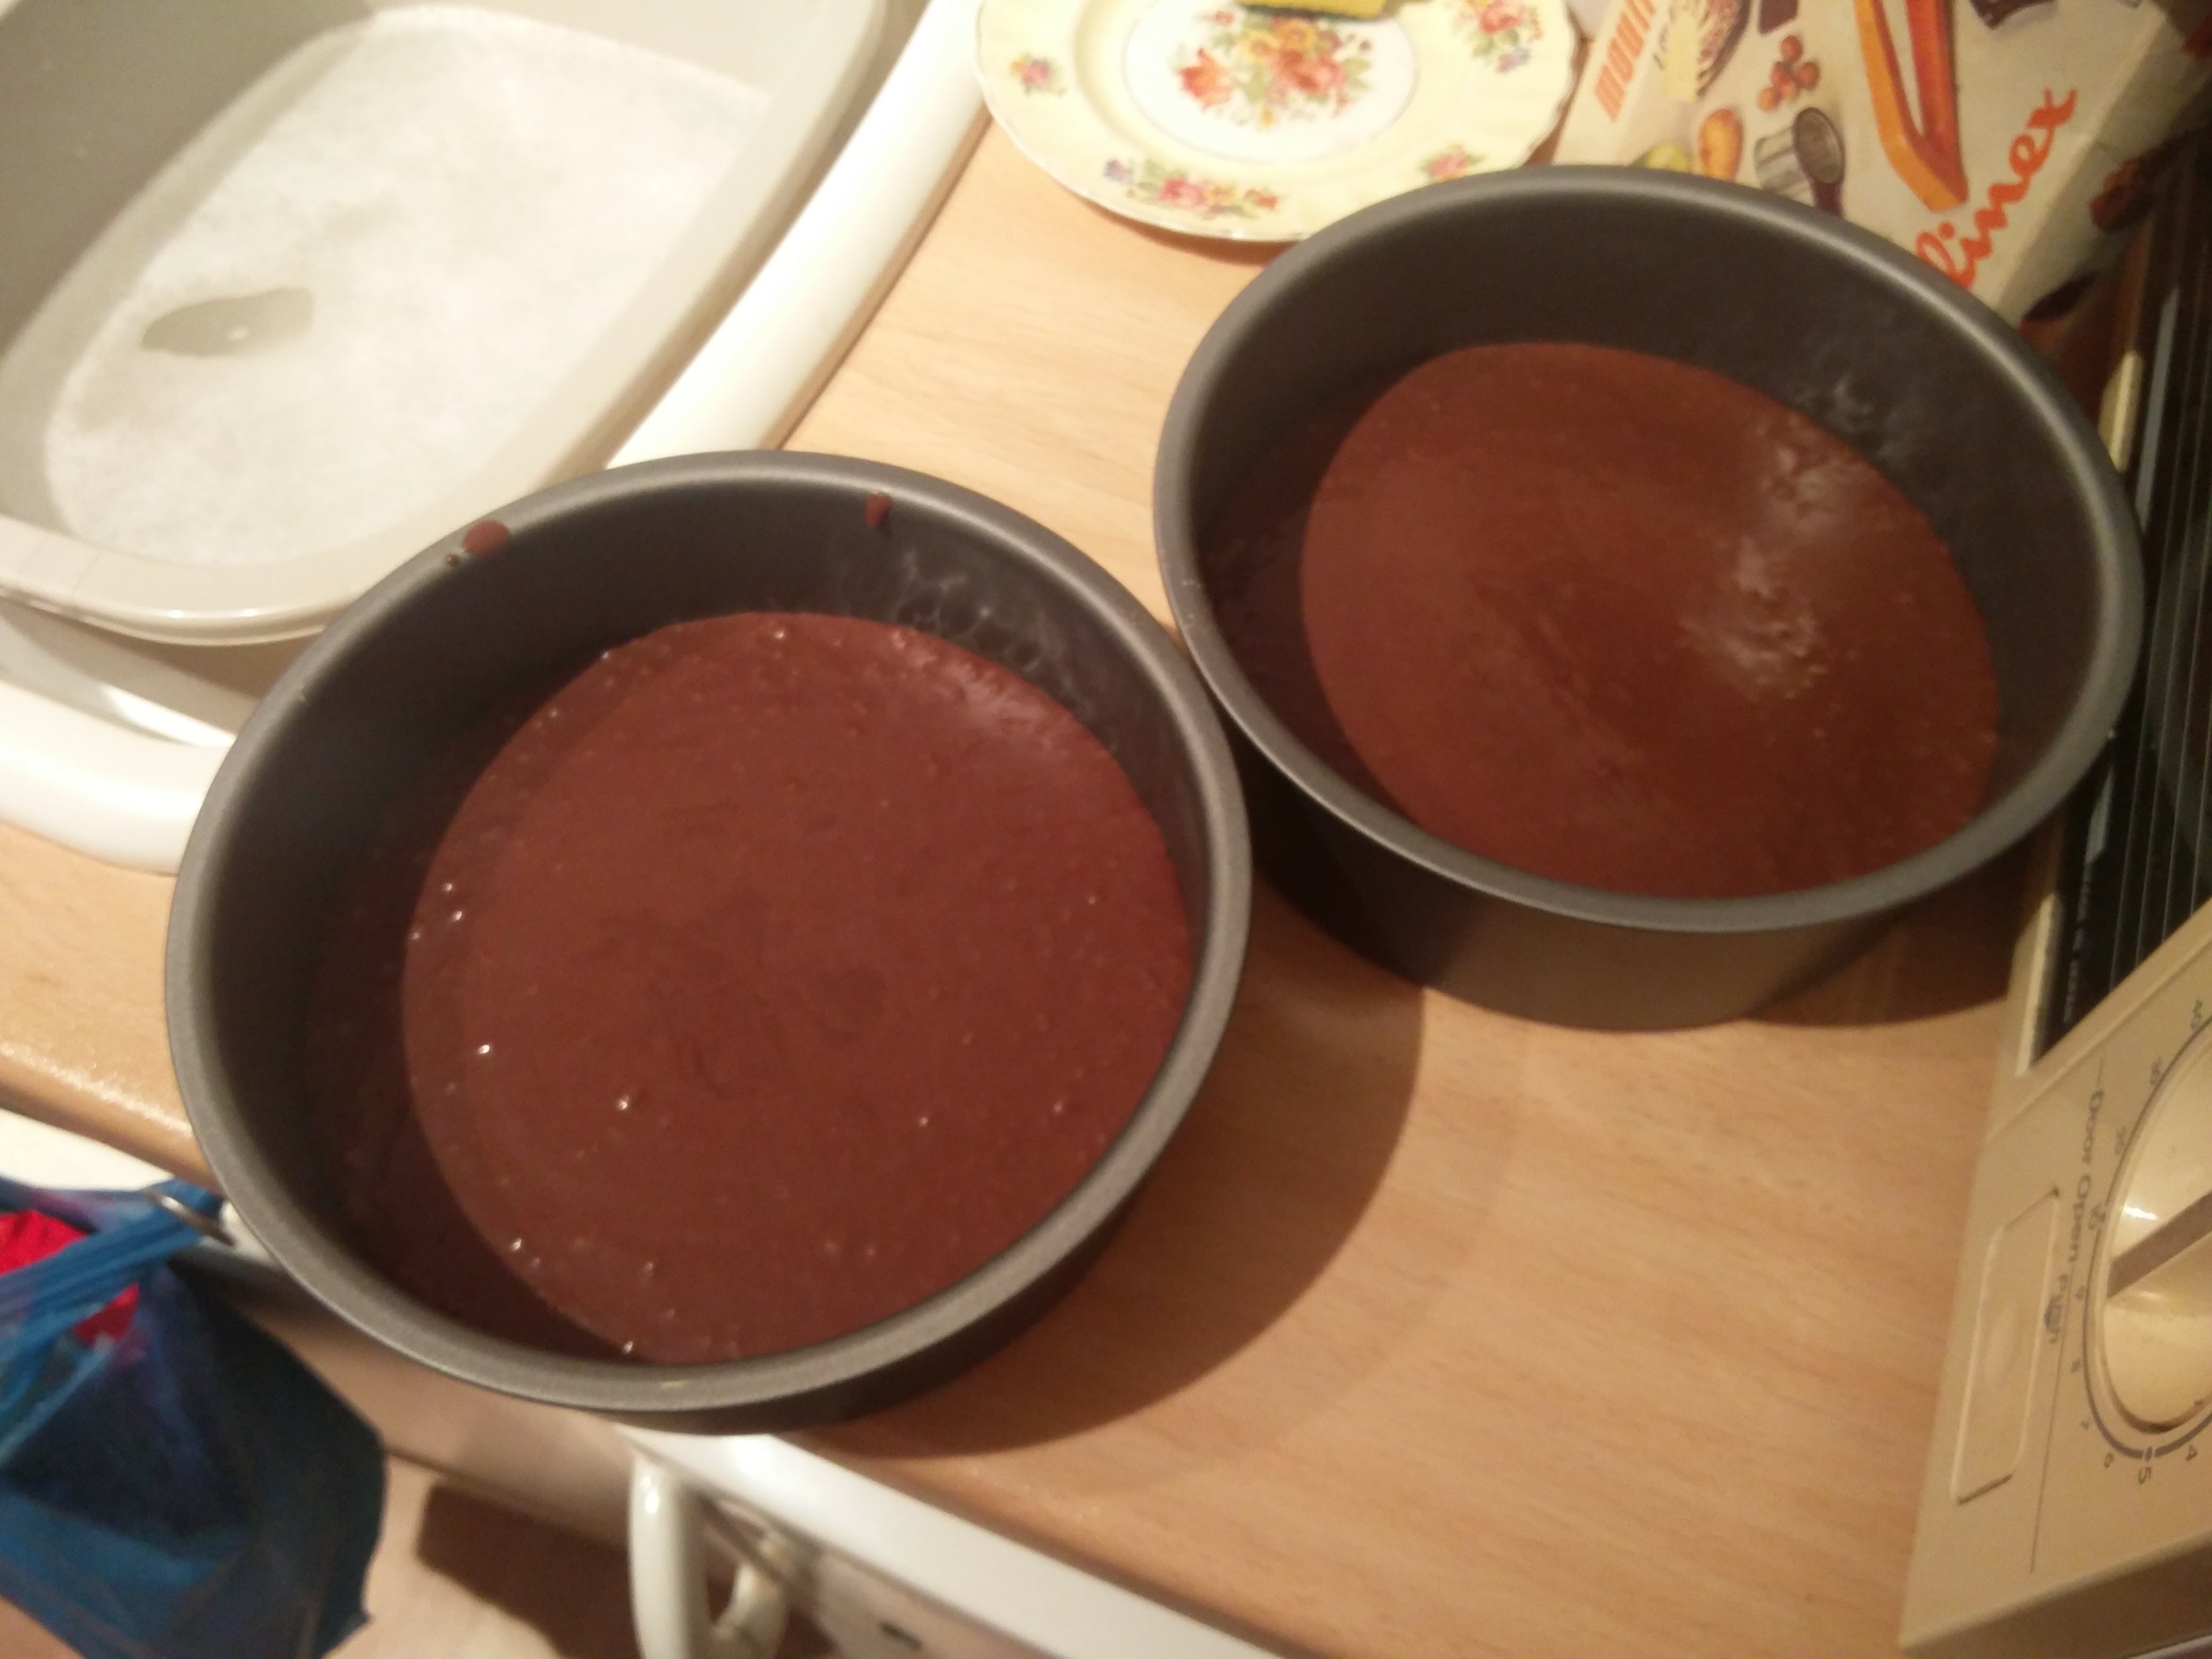

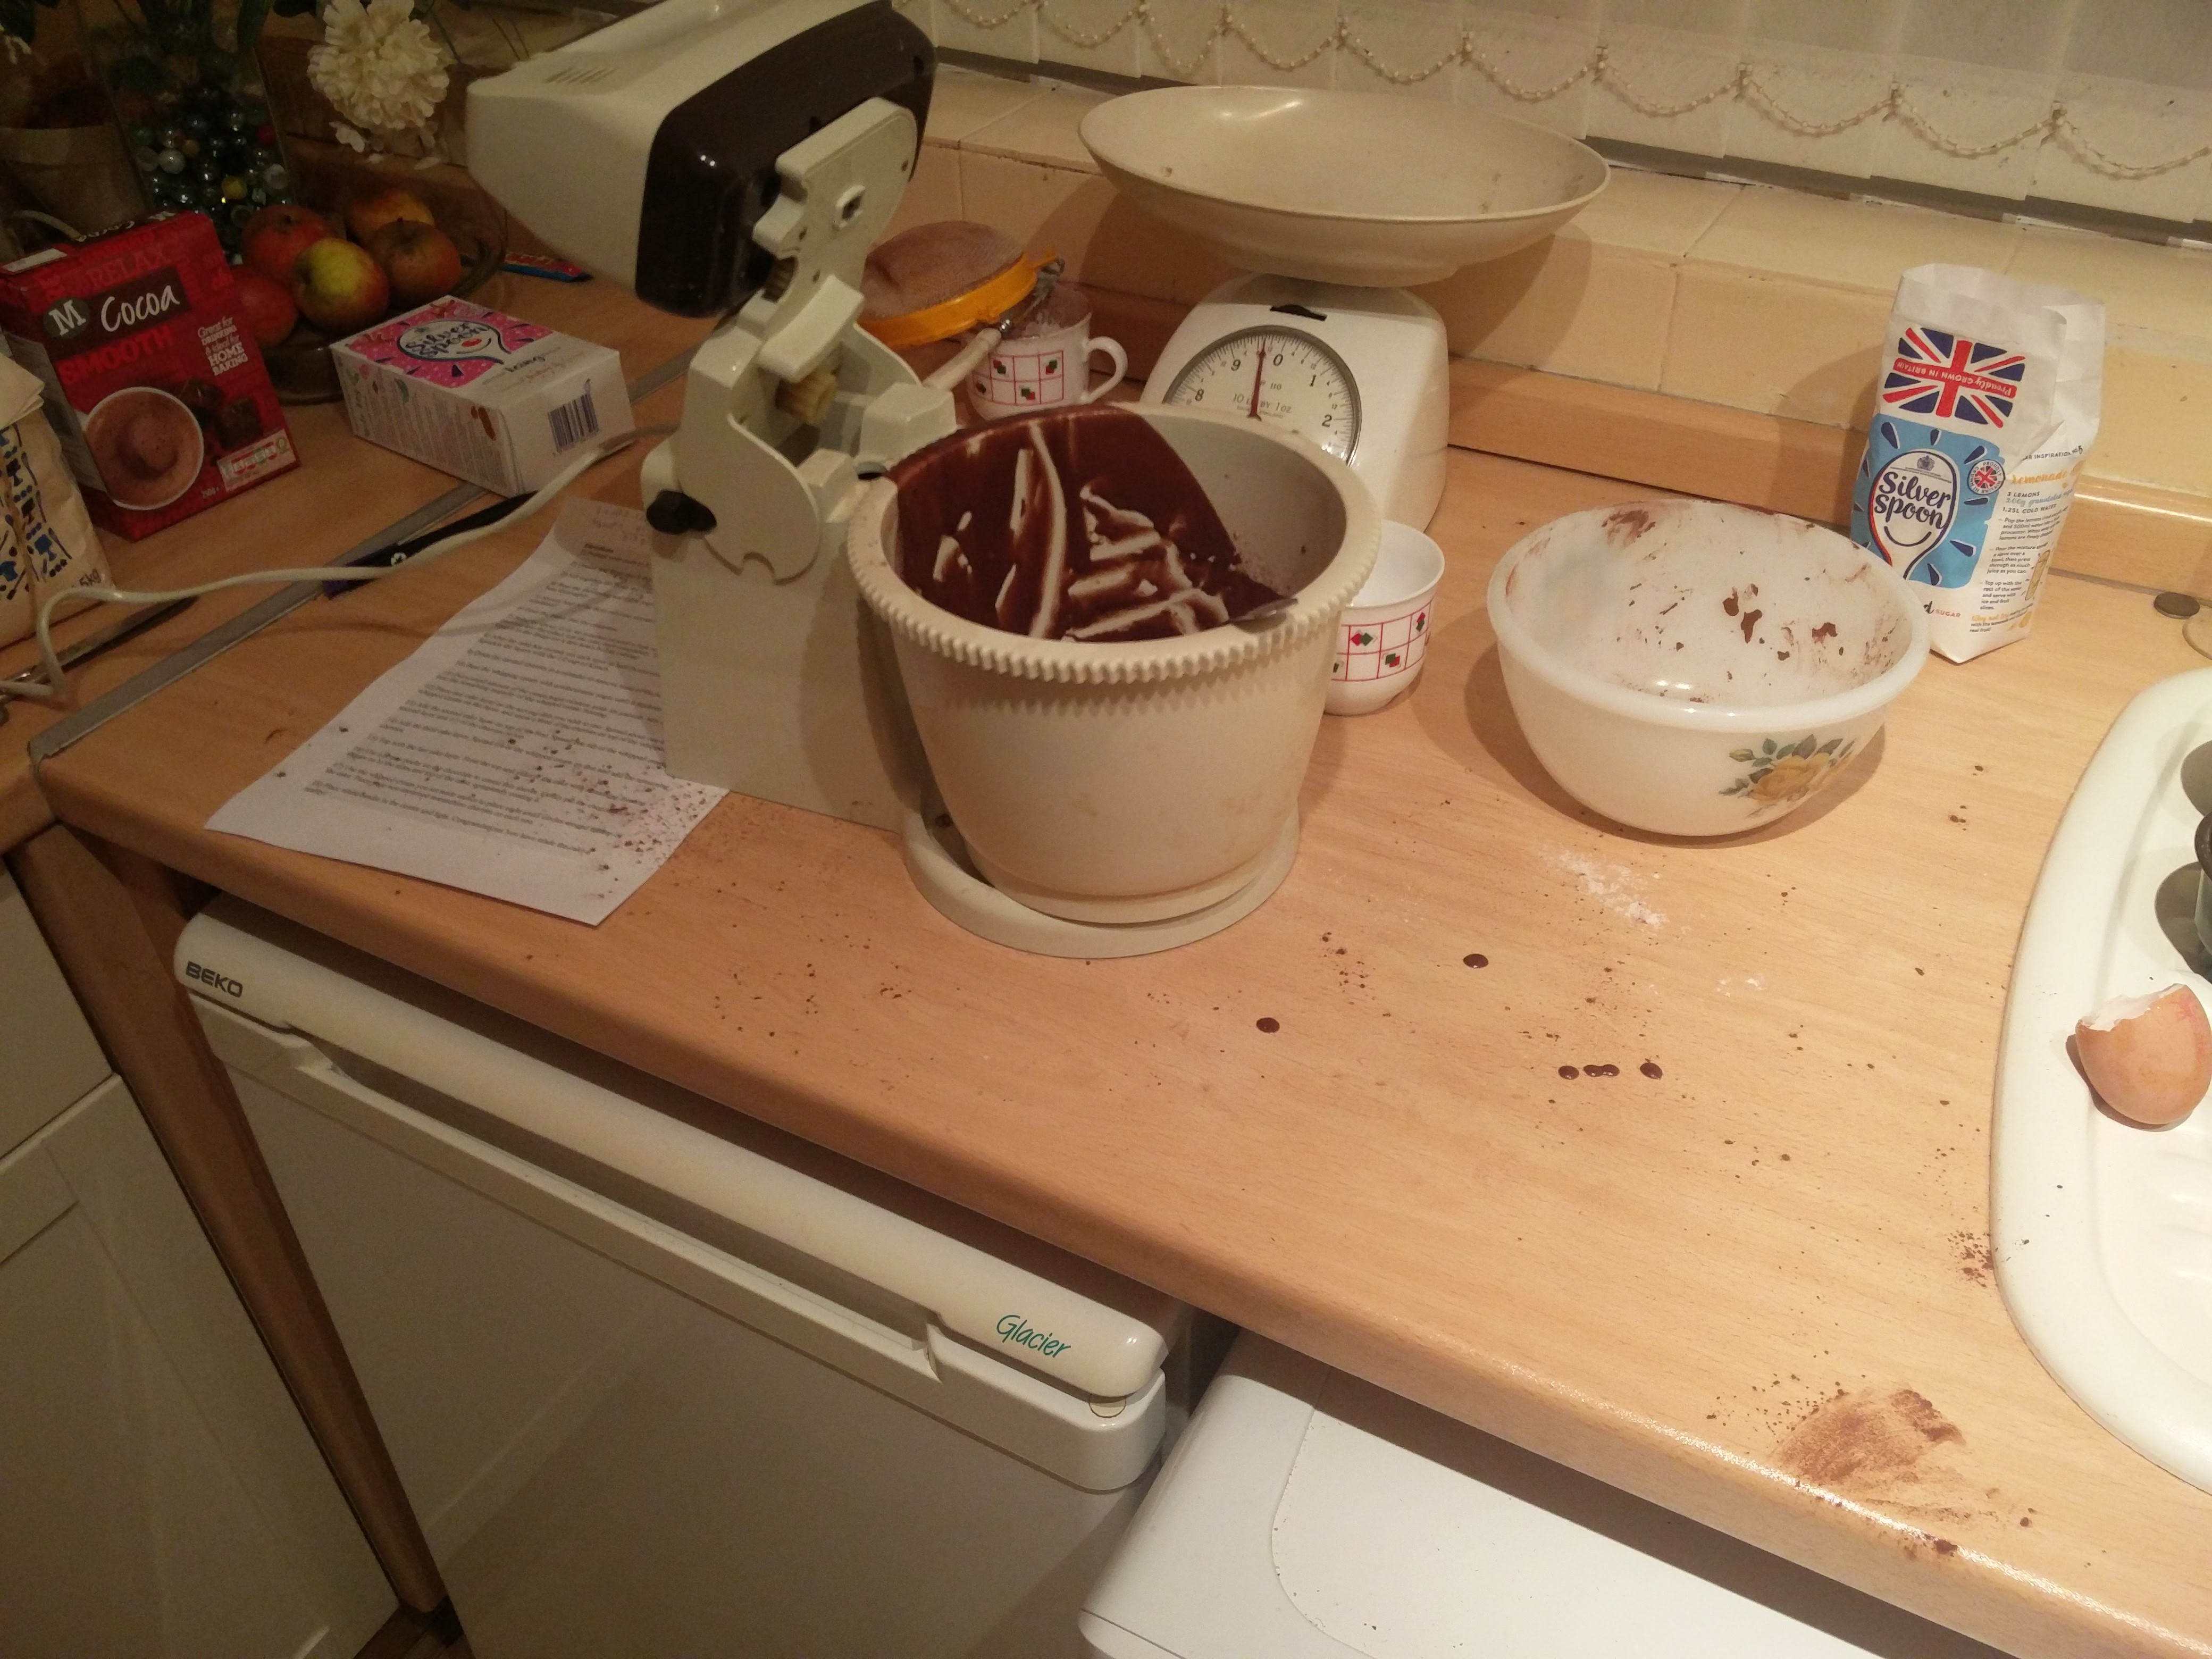
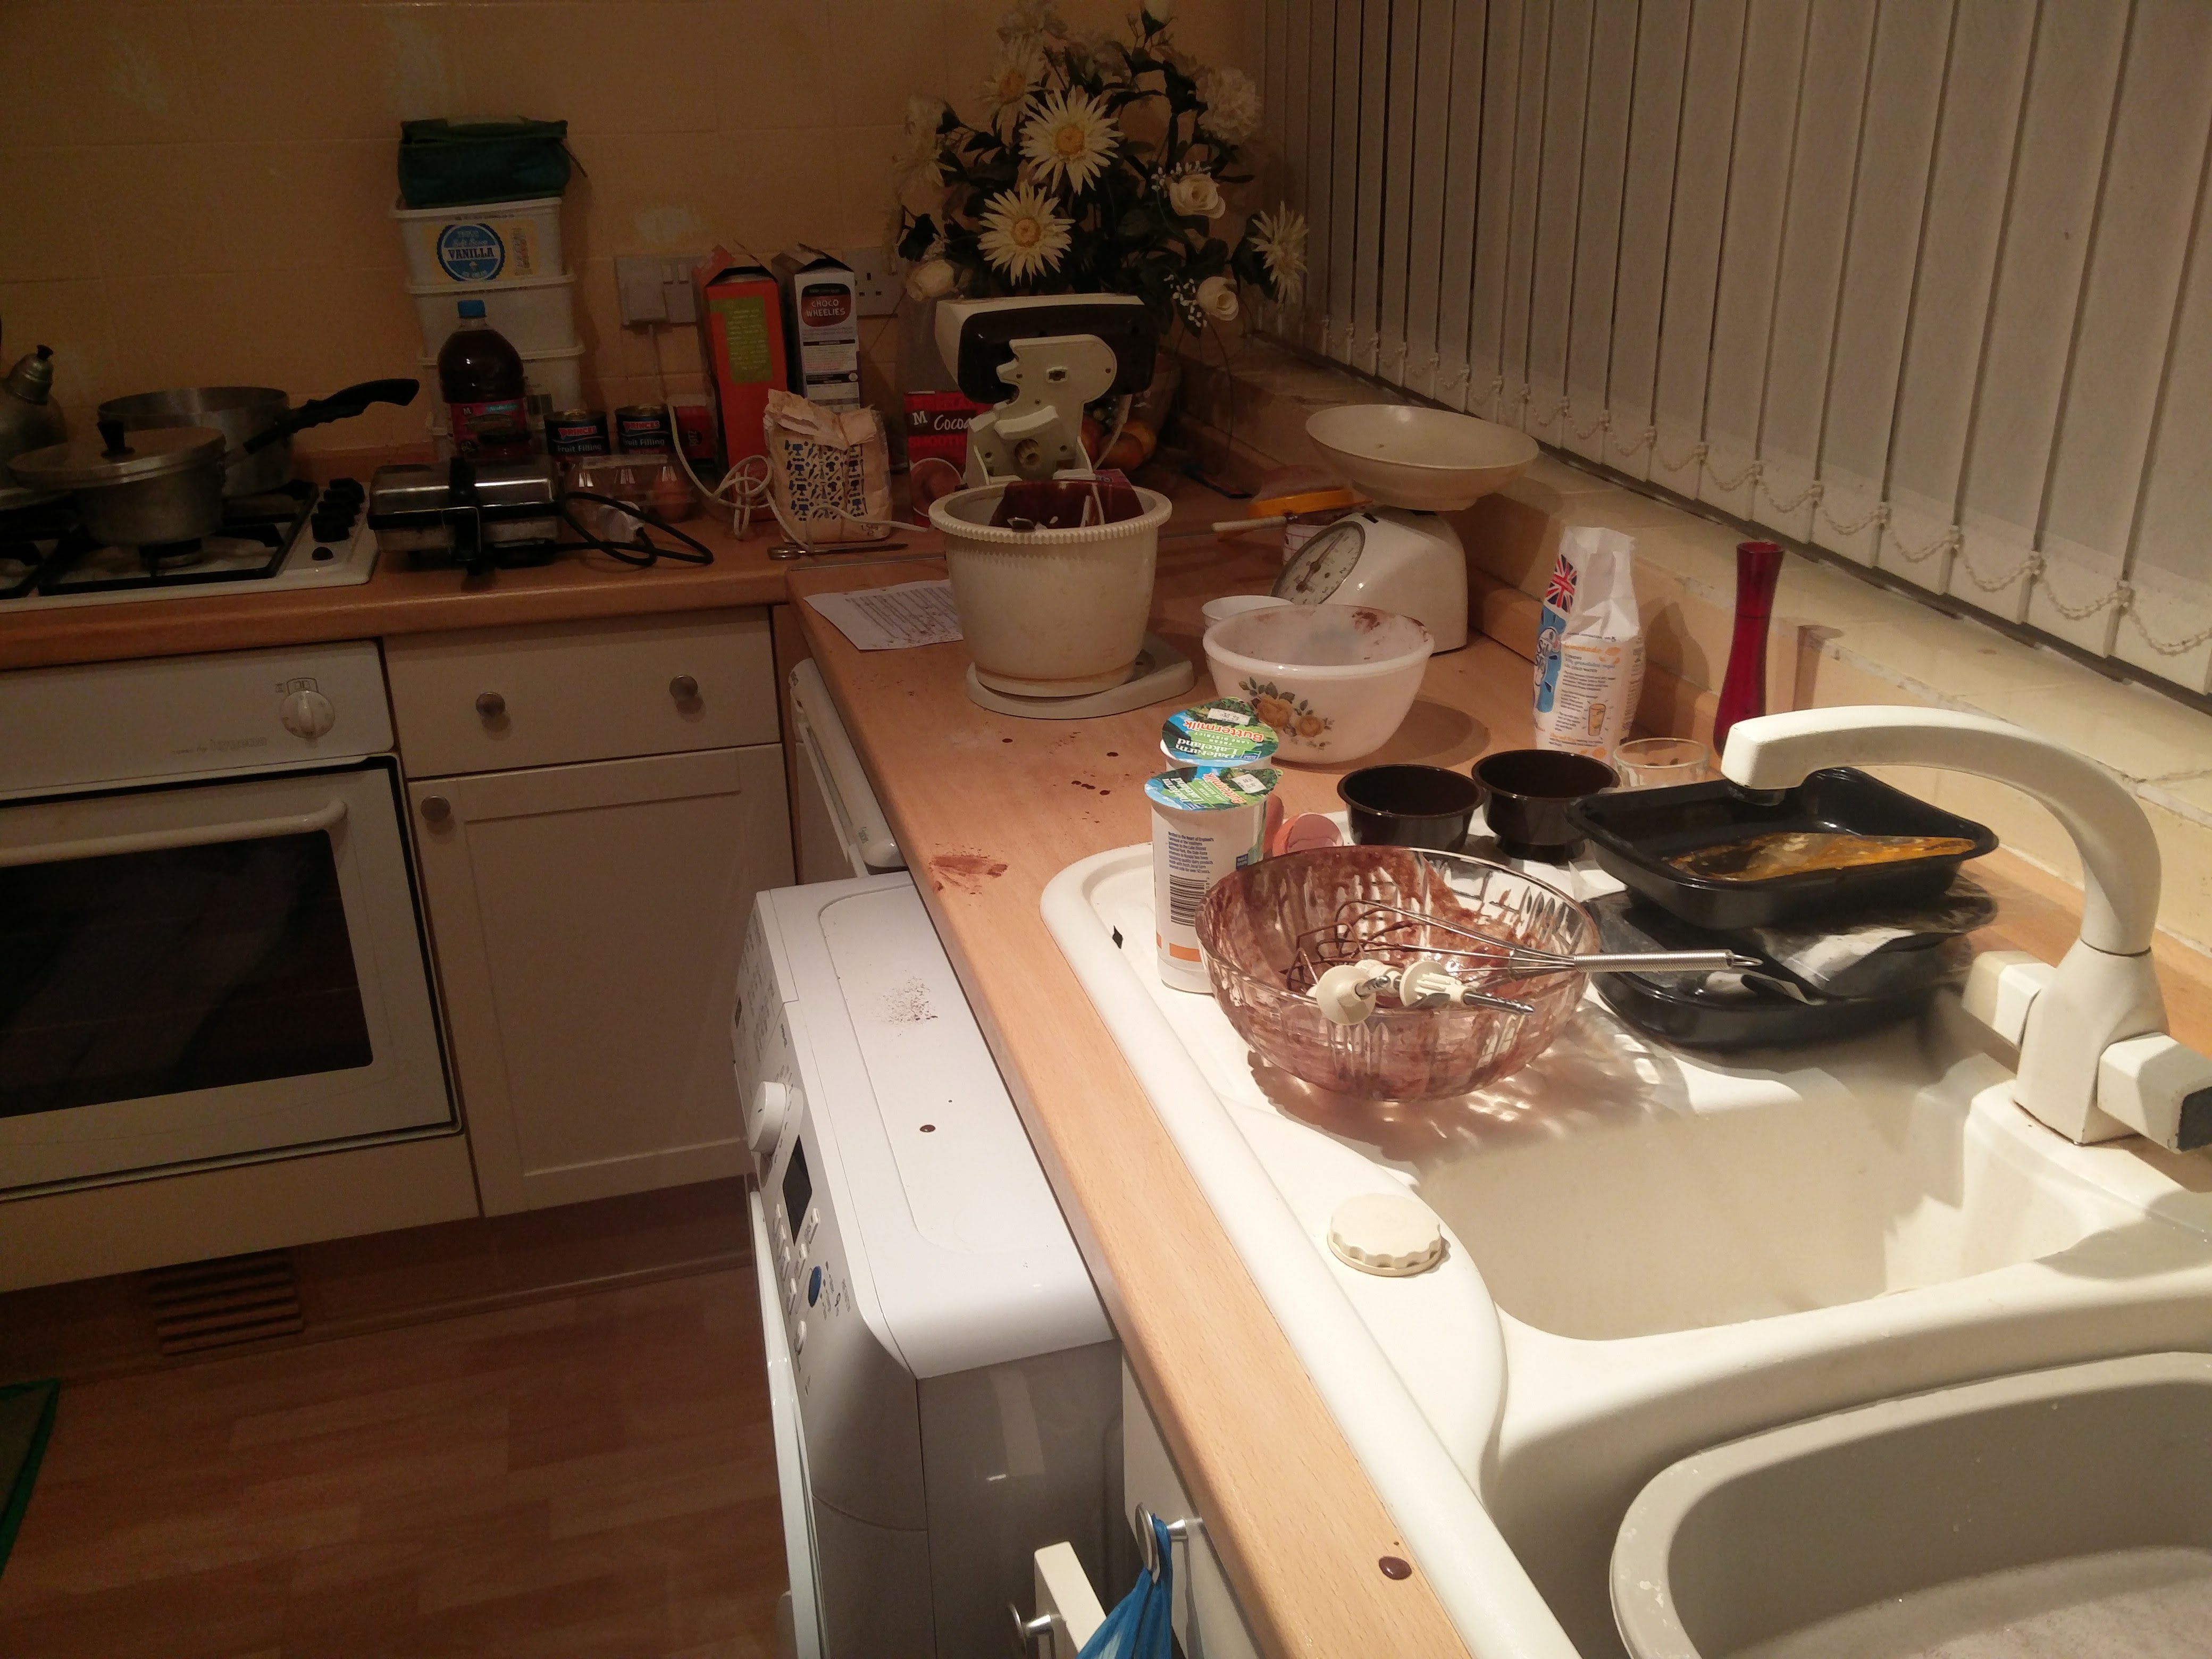
While the cakes baked, for about 35 or 40 minutes it was time to tidy up the mess that I’d made. It’s funny, you never see this step in recipe books or on TV cooking programmes!
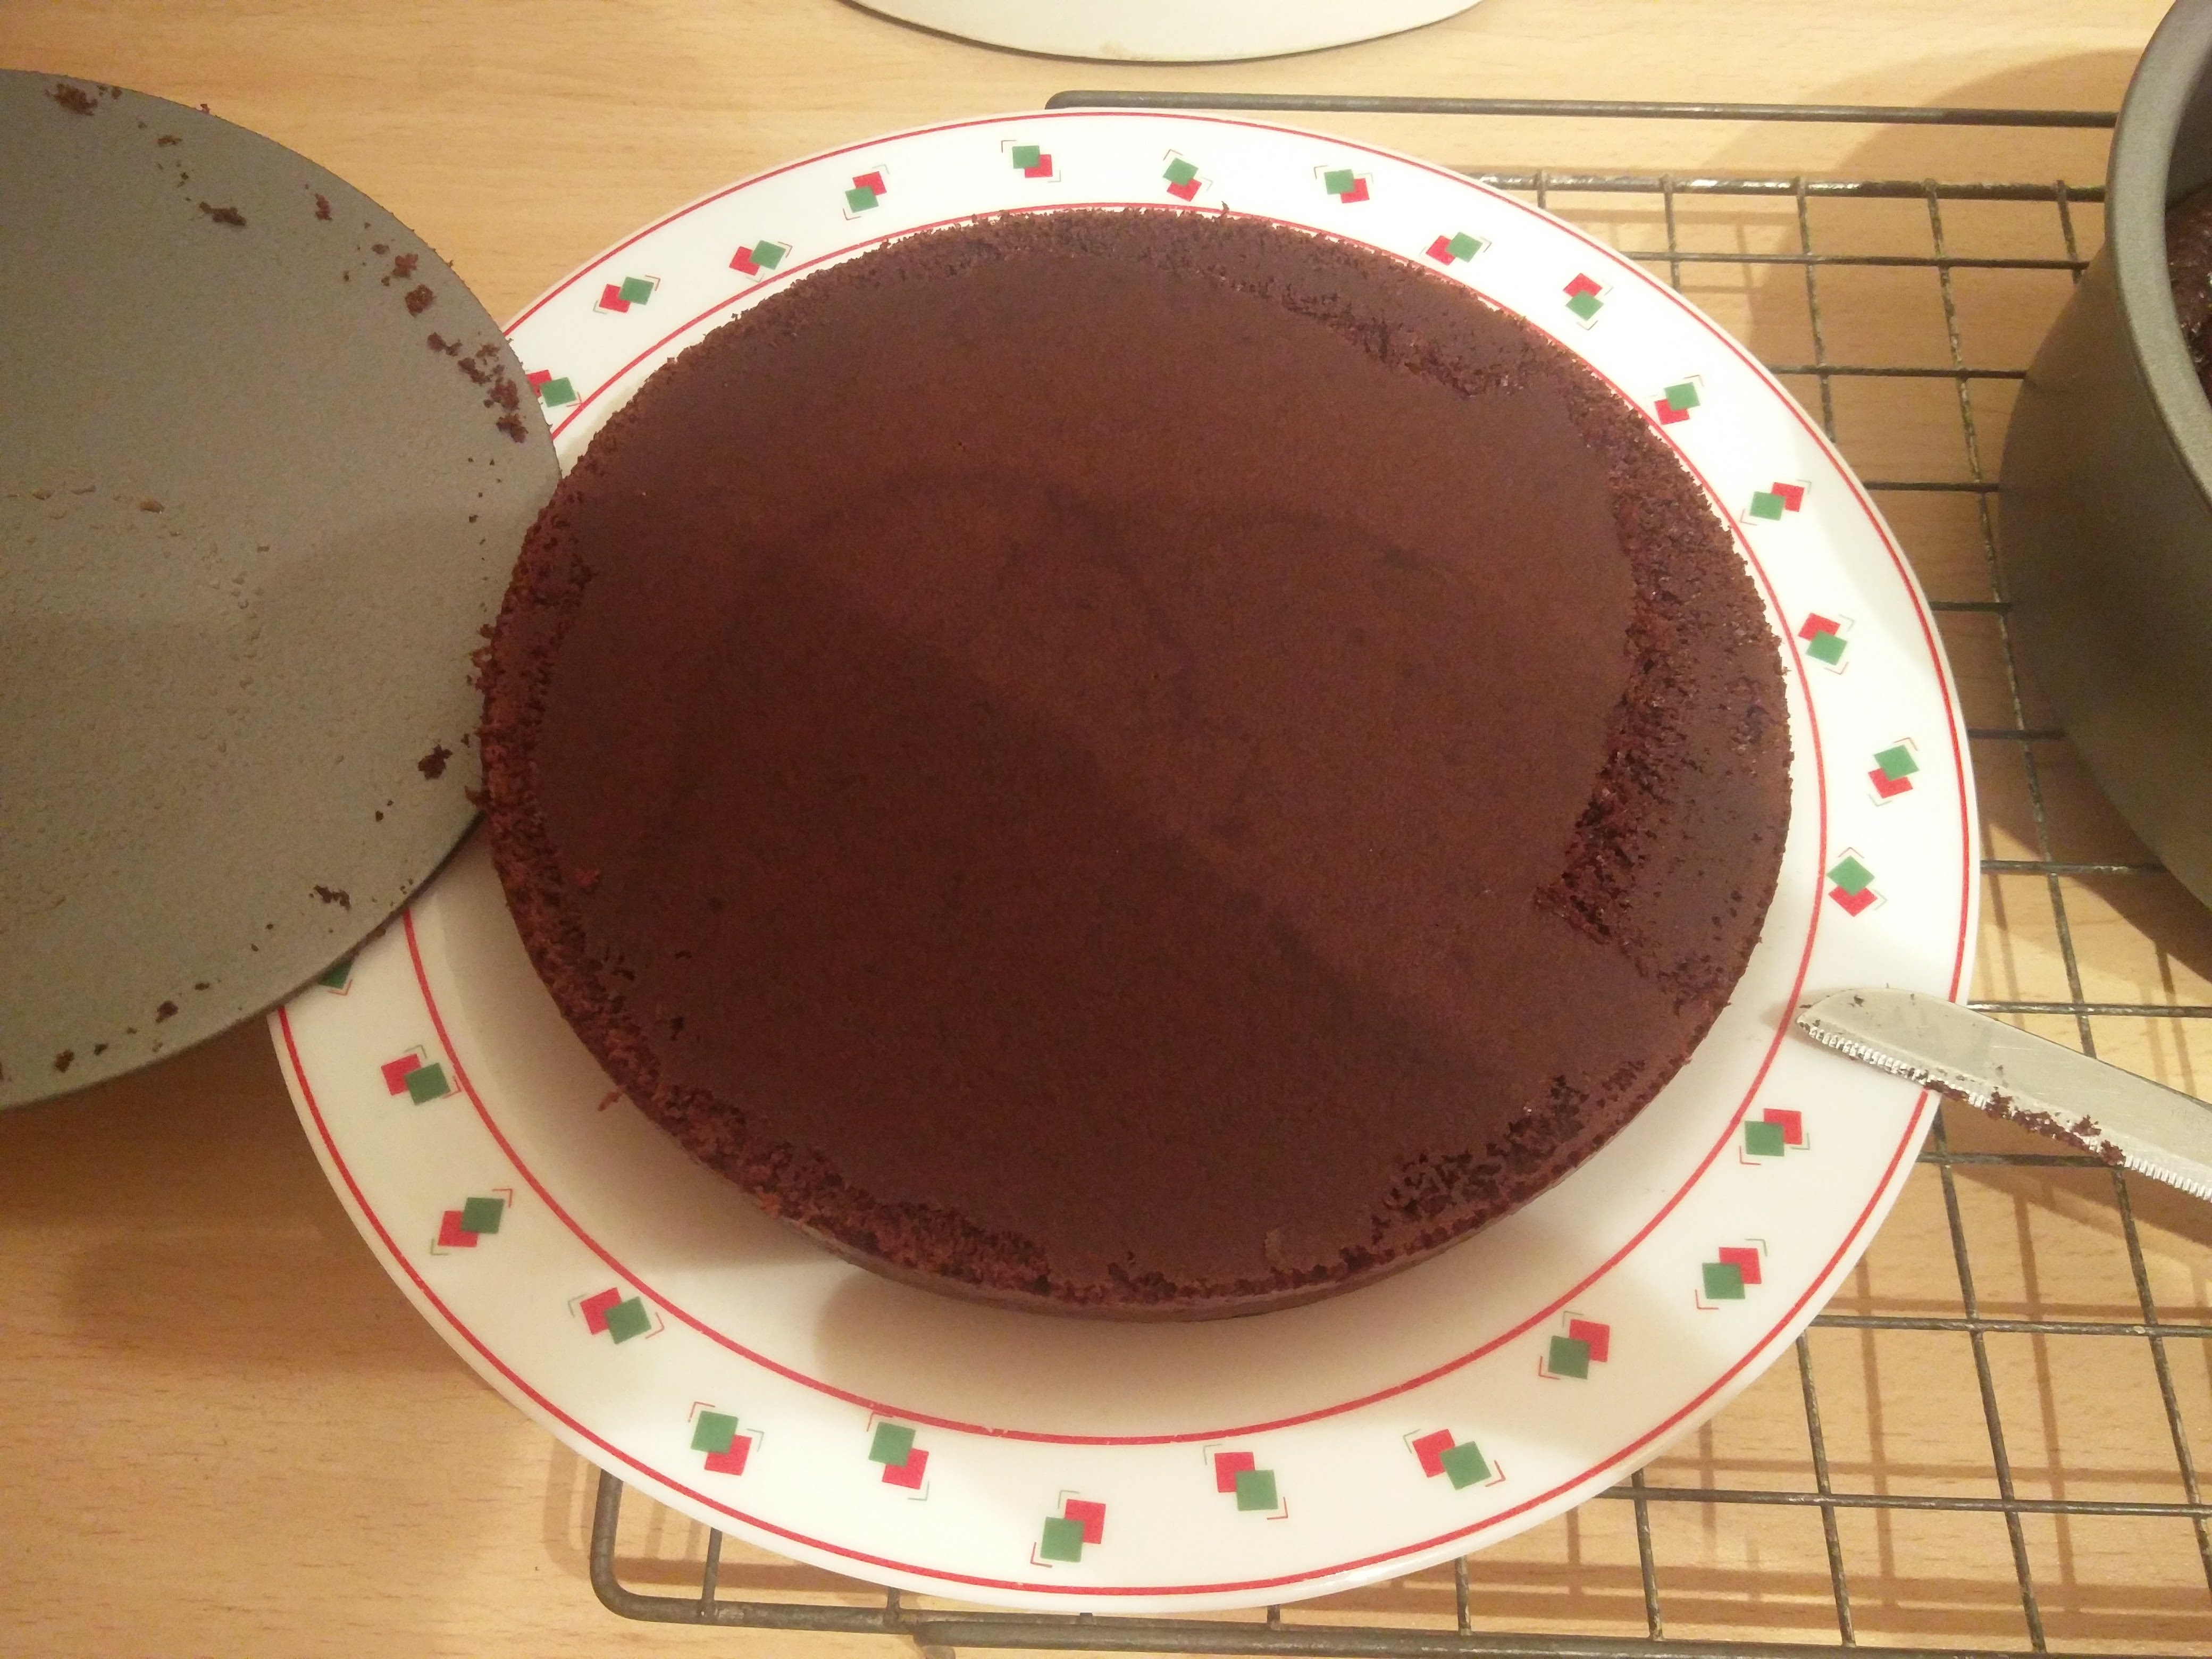
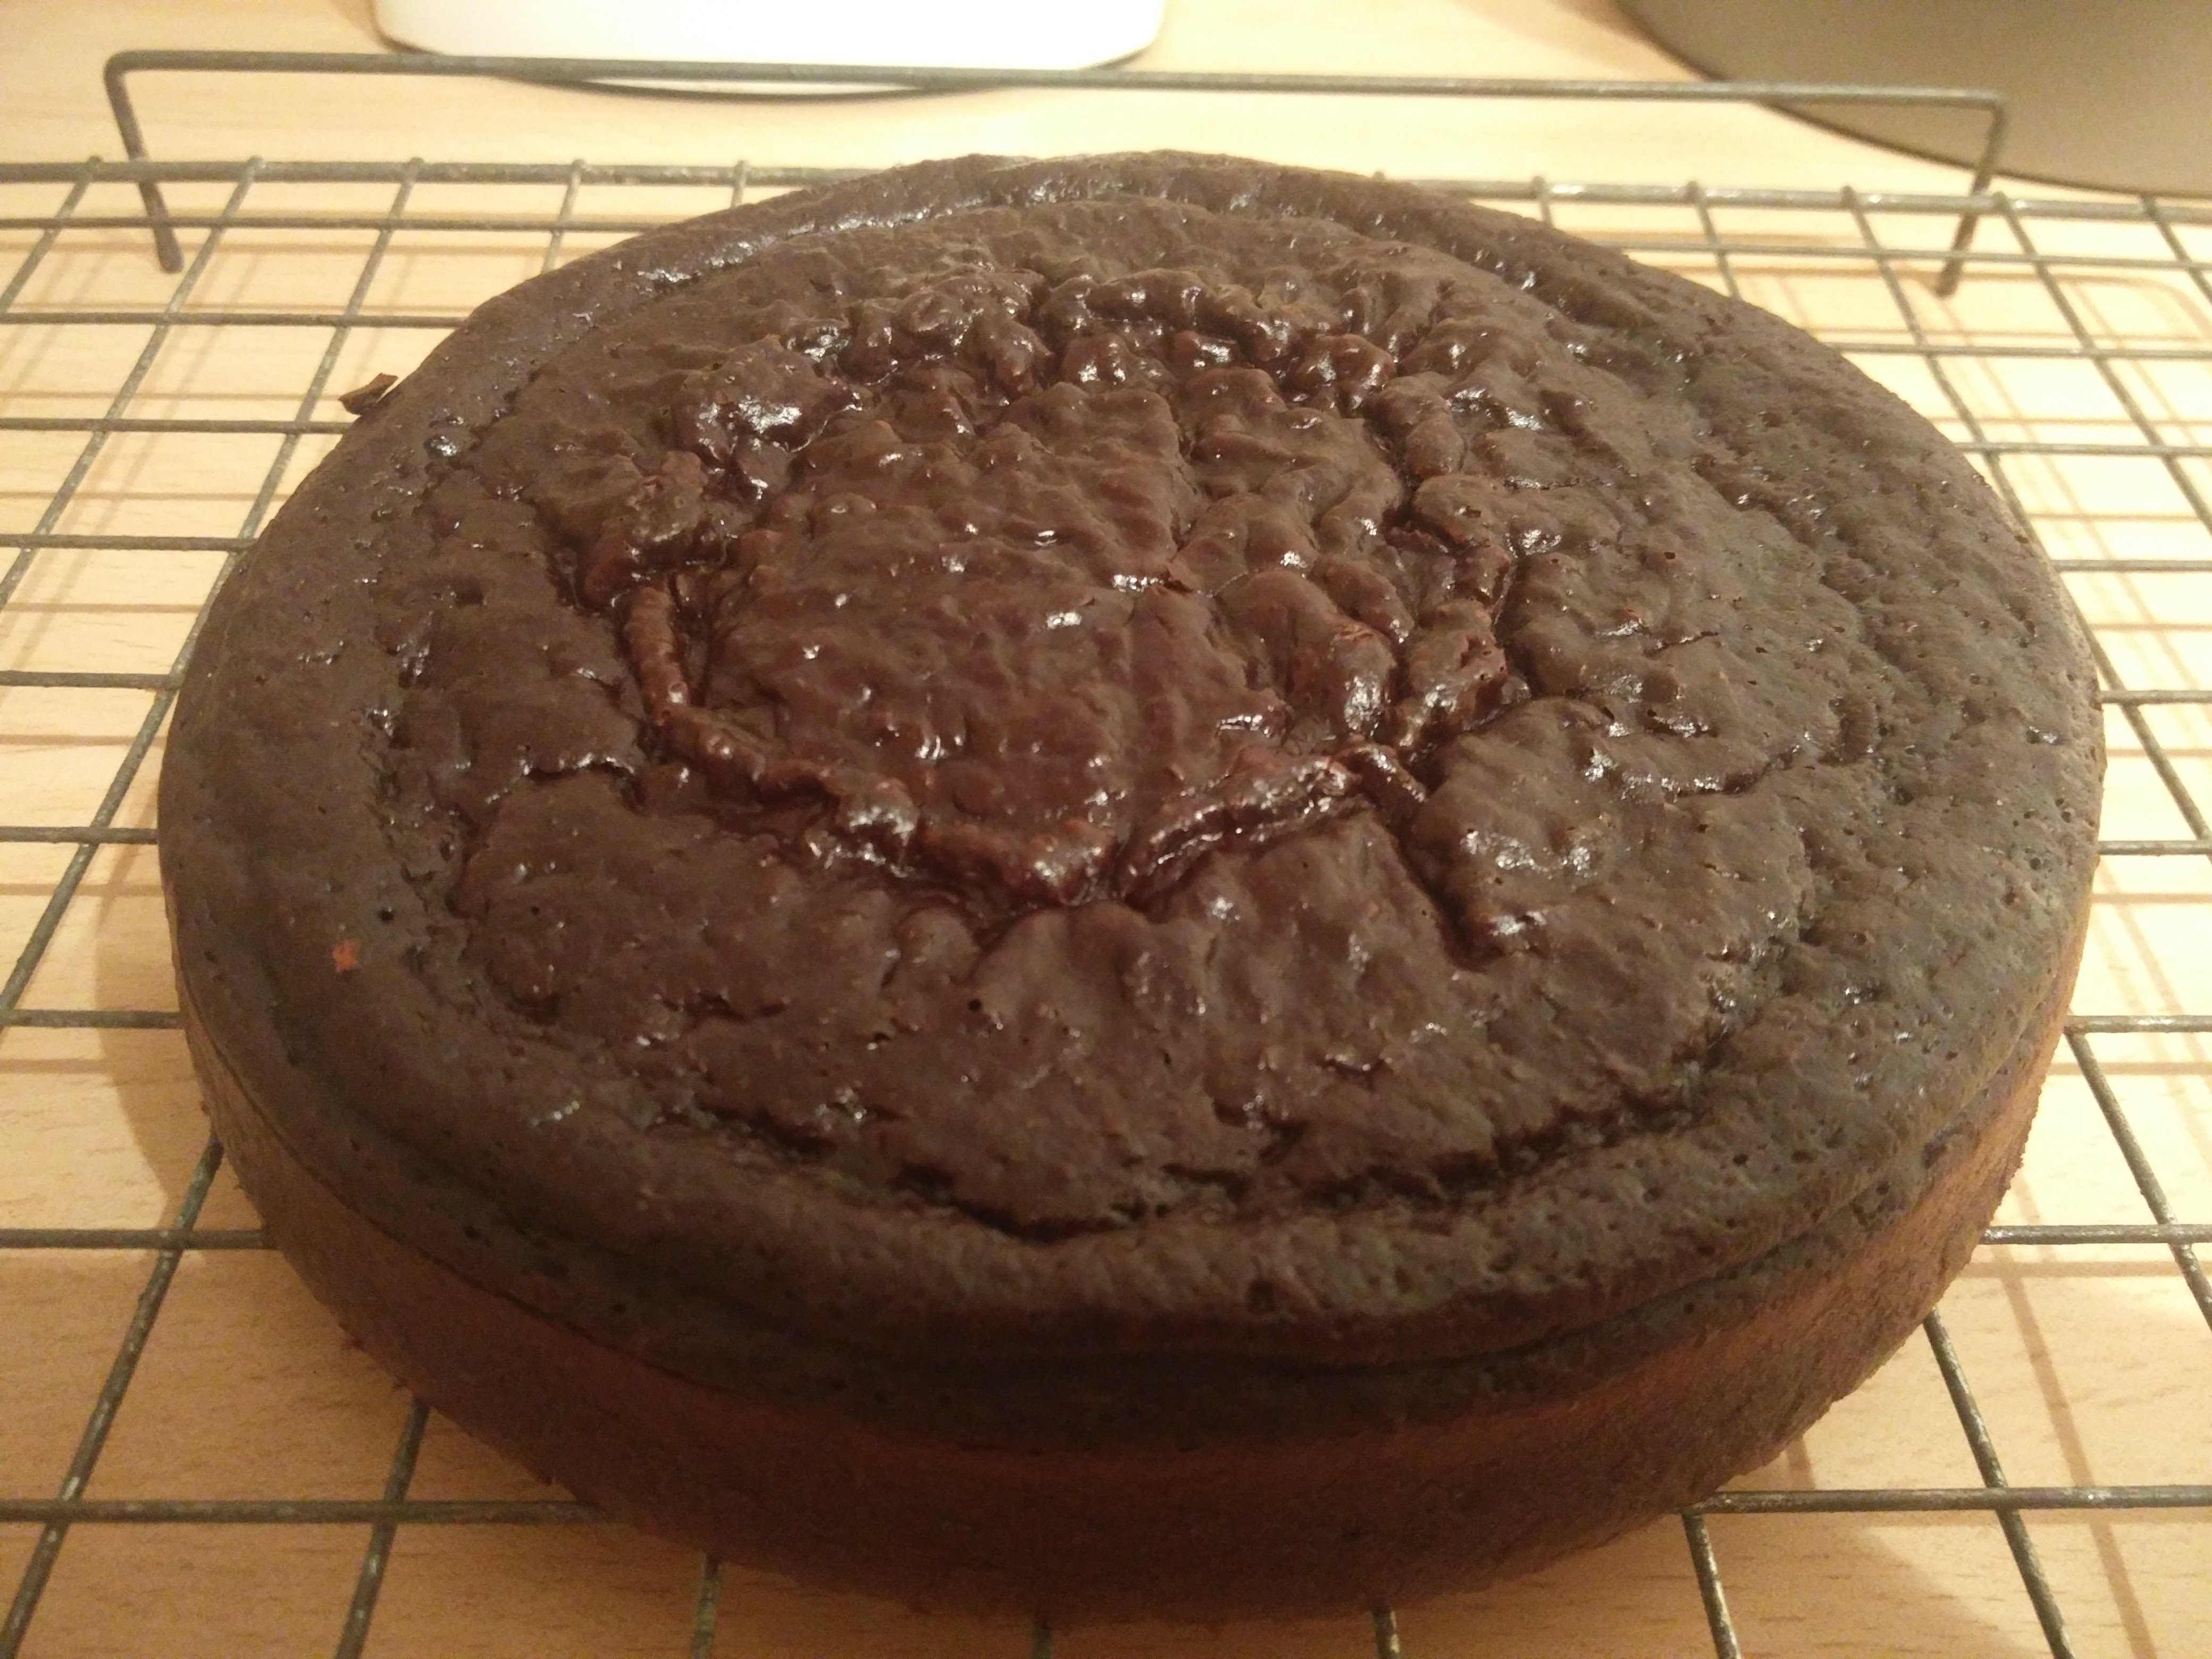
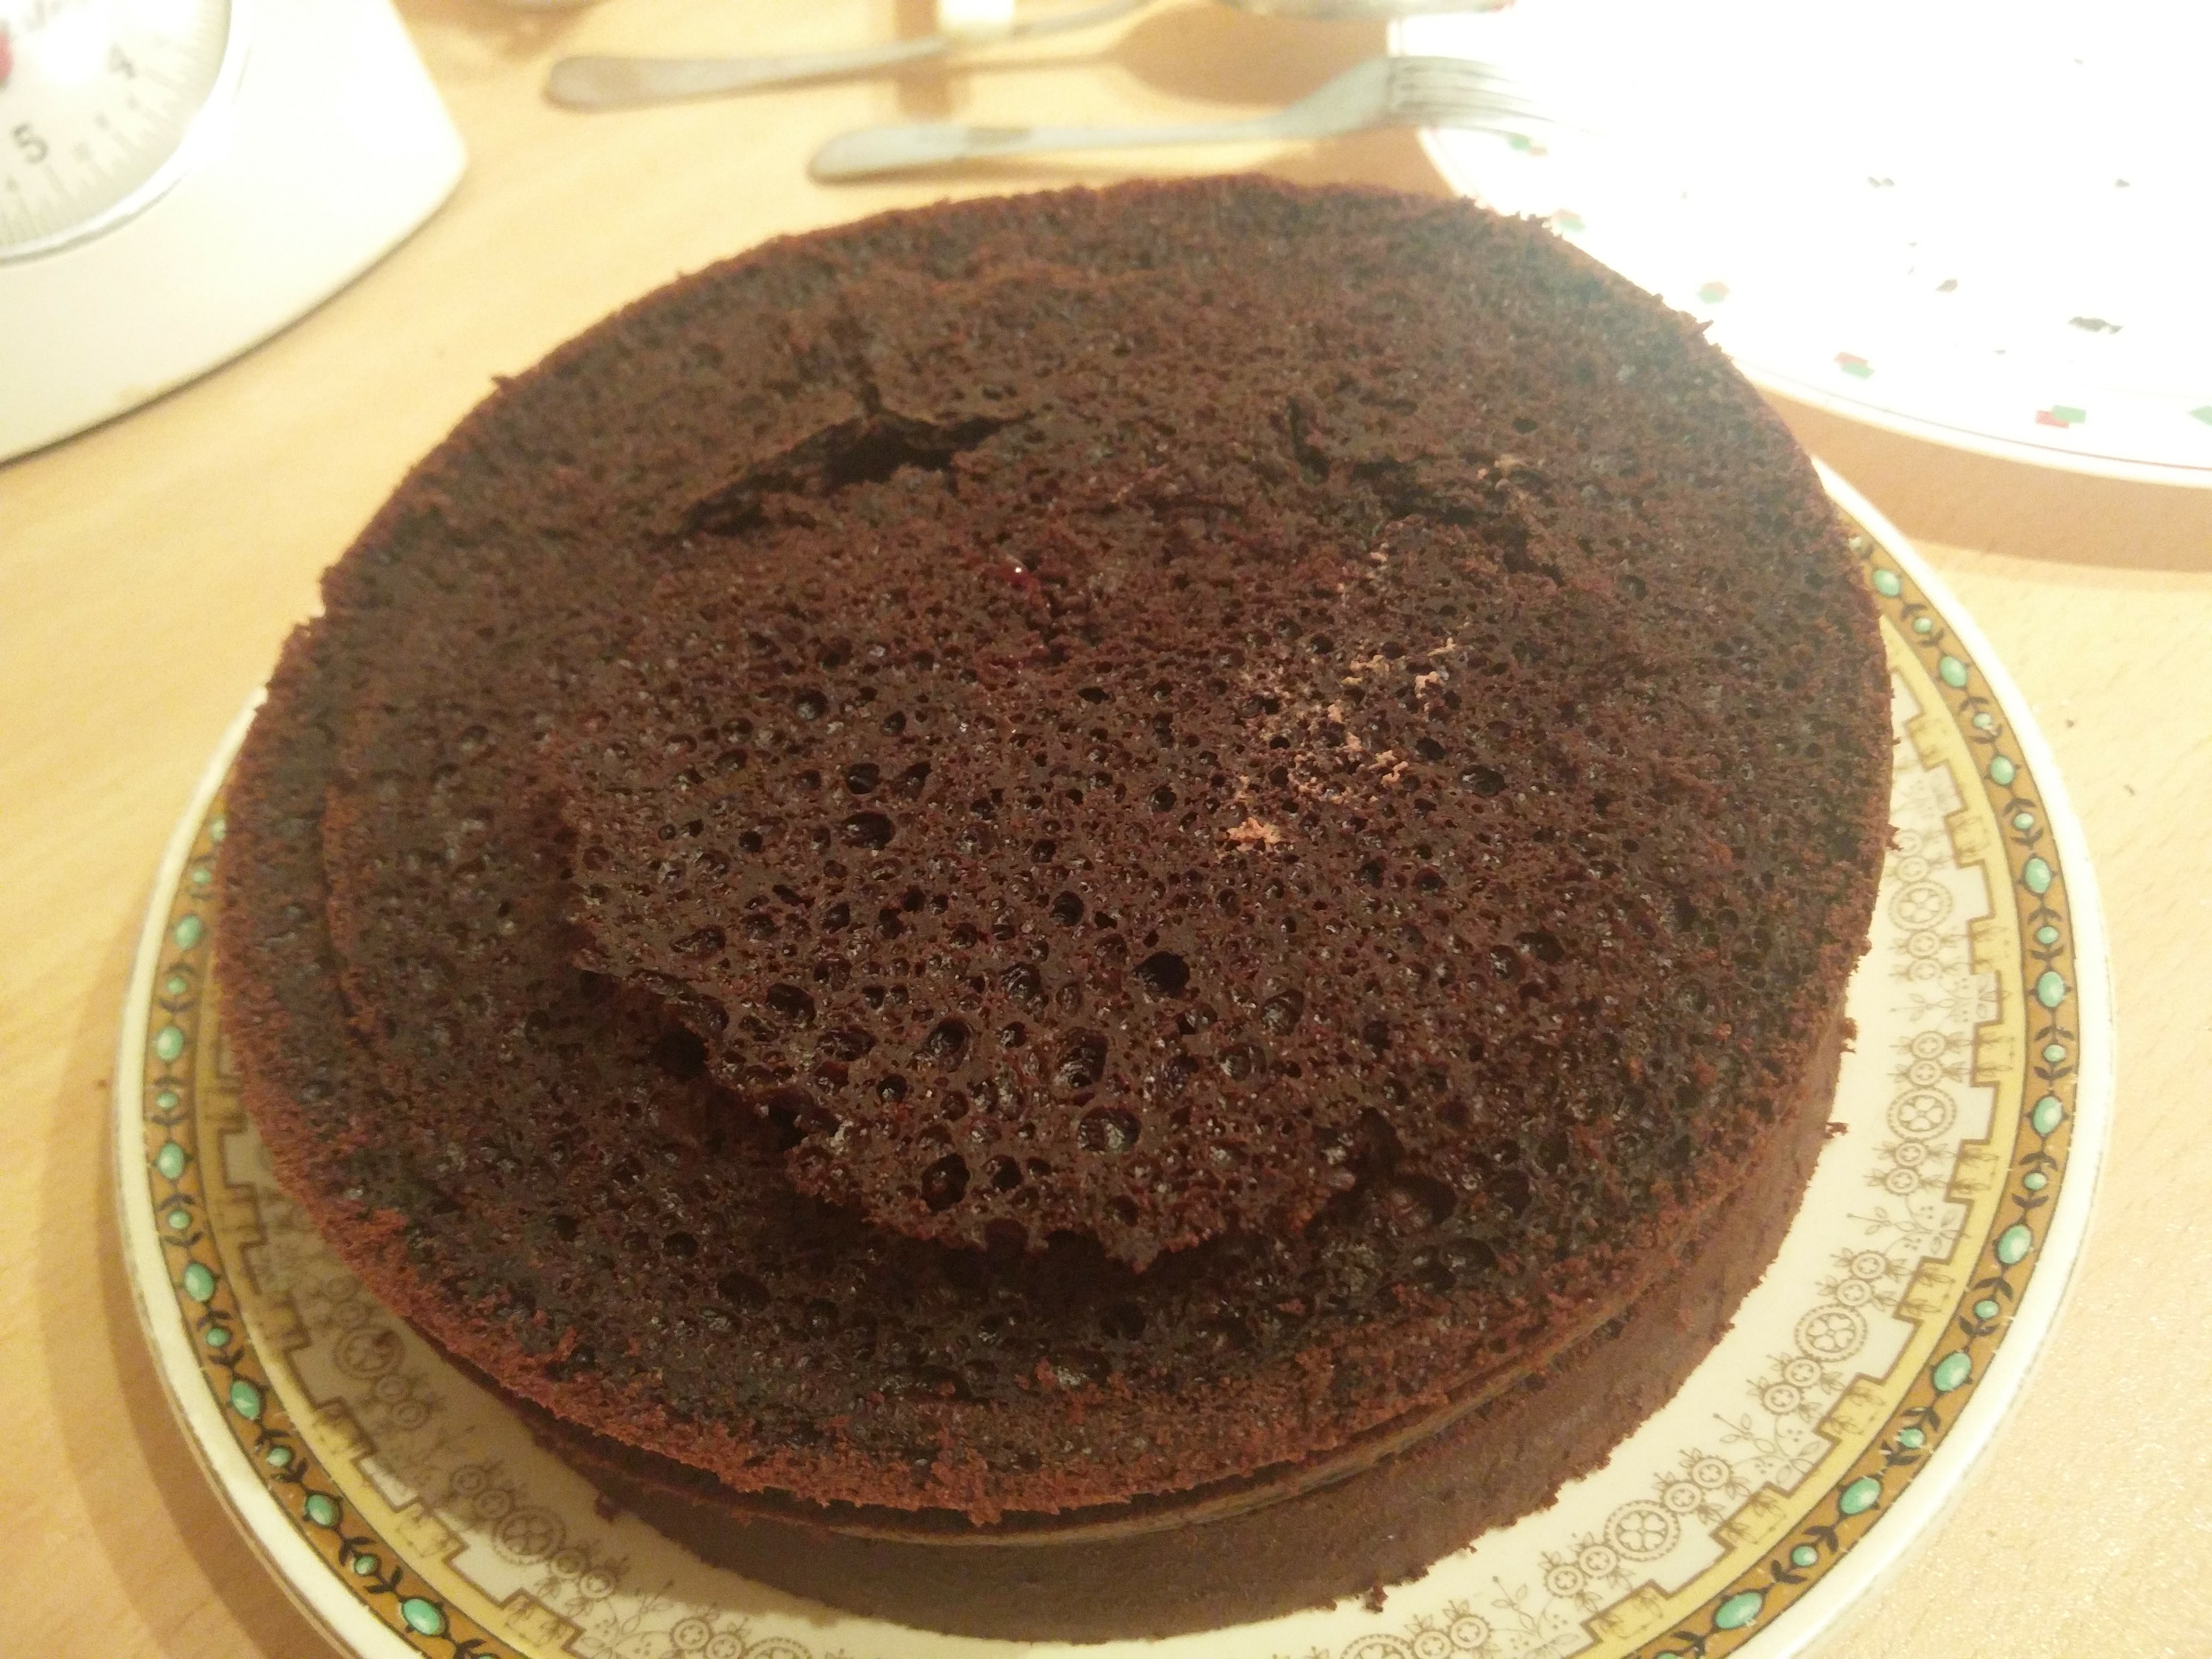
Once the cake halves had cooked, it was time to take them out of the oven. This was difficult to do as Polytetrafluoroethylene is super slippy and the pans didn’t want to stop moving when the oven trays were pulled out.
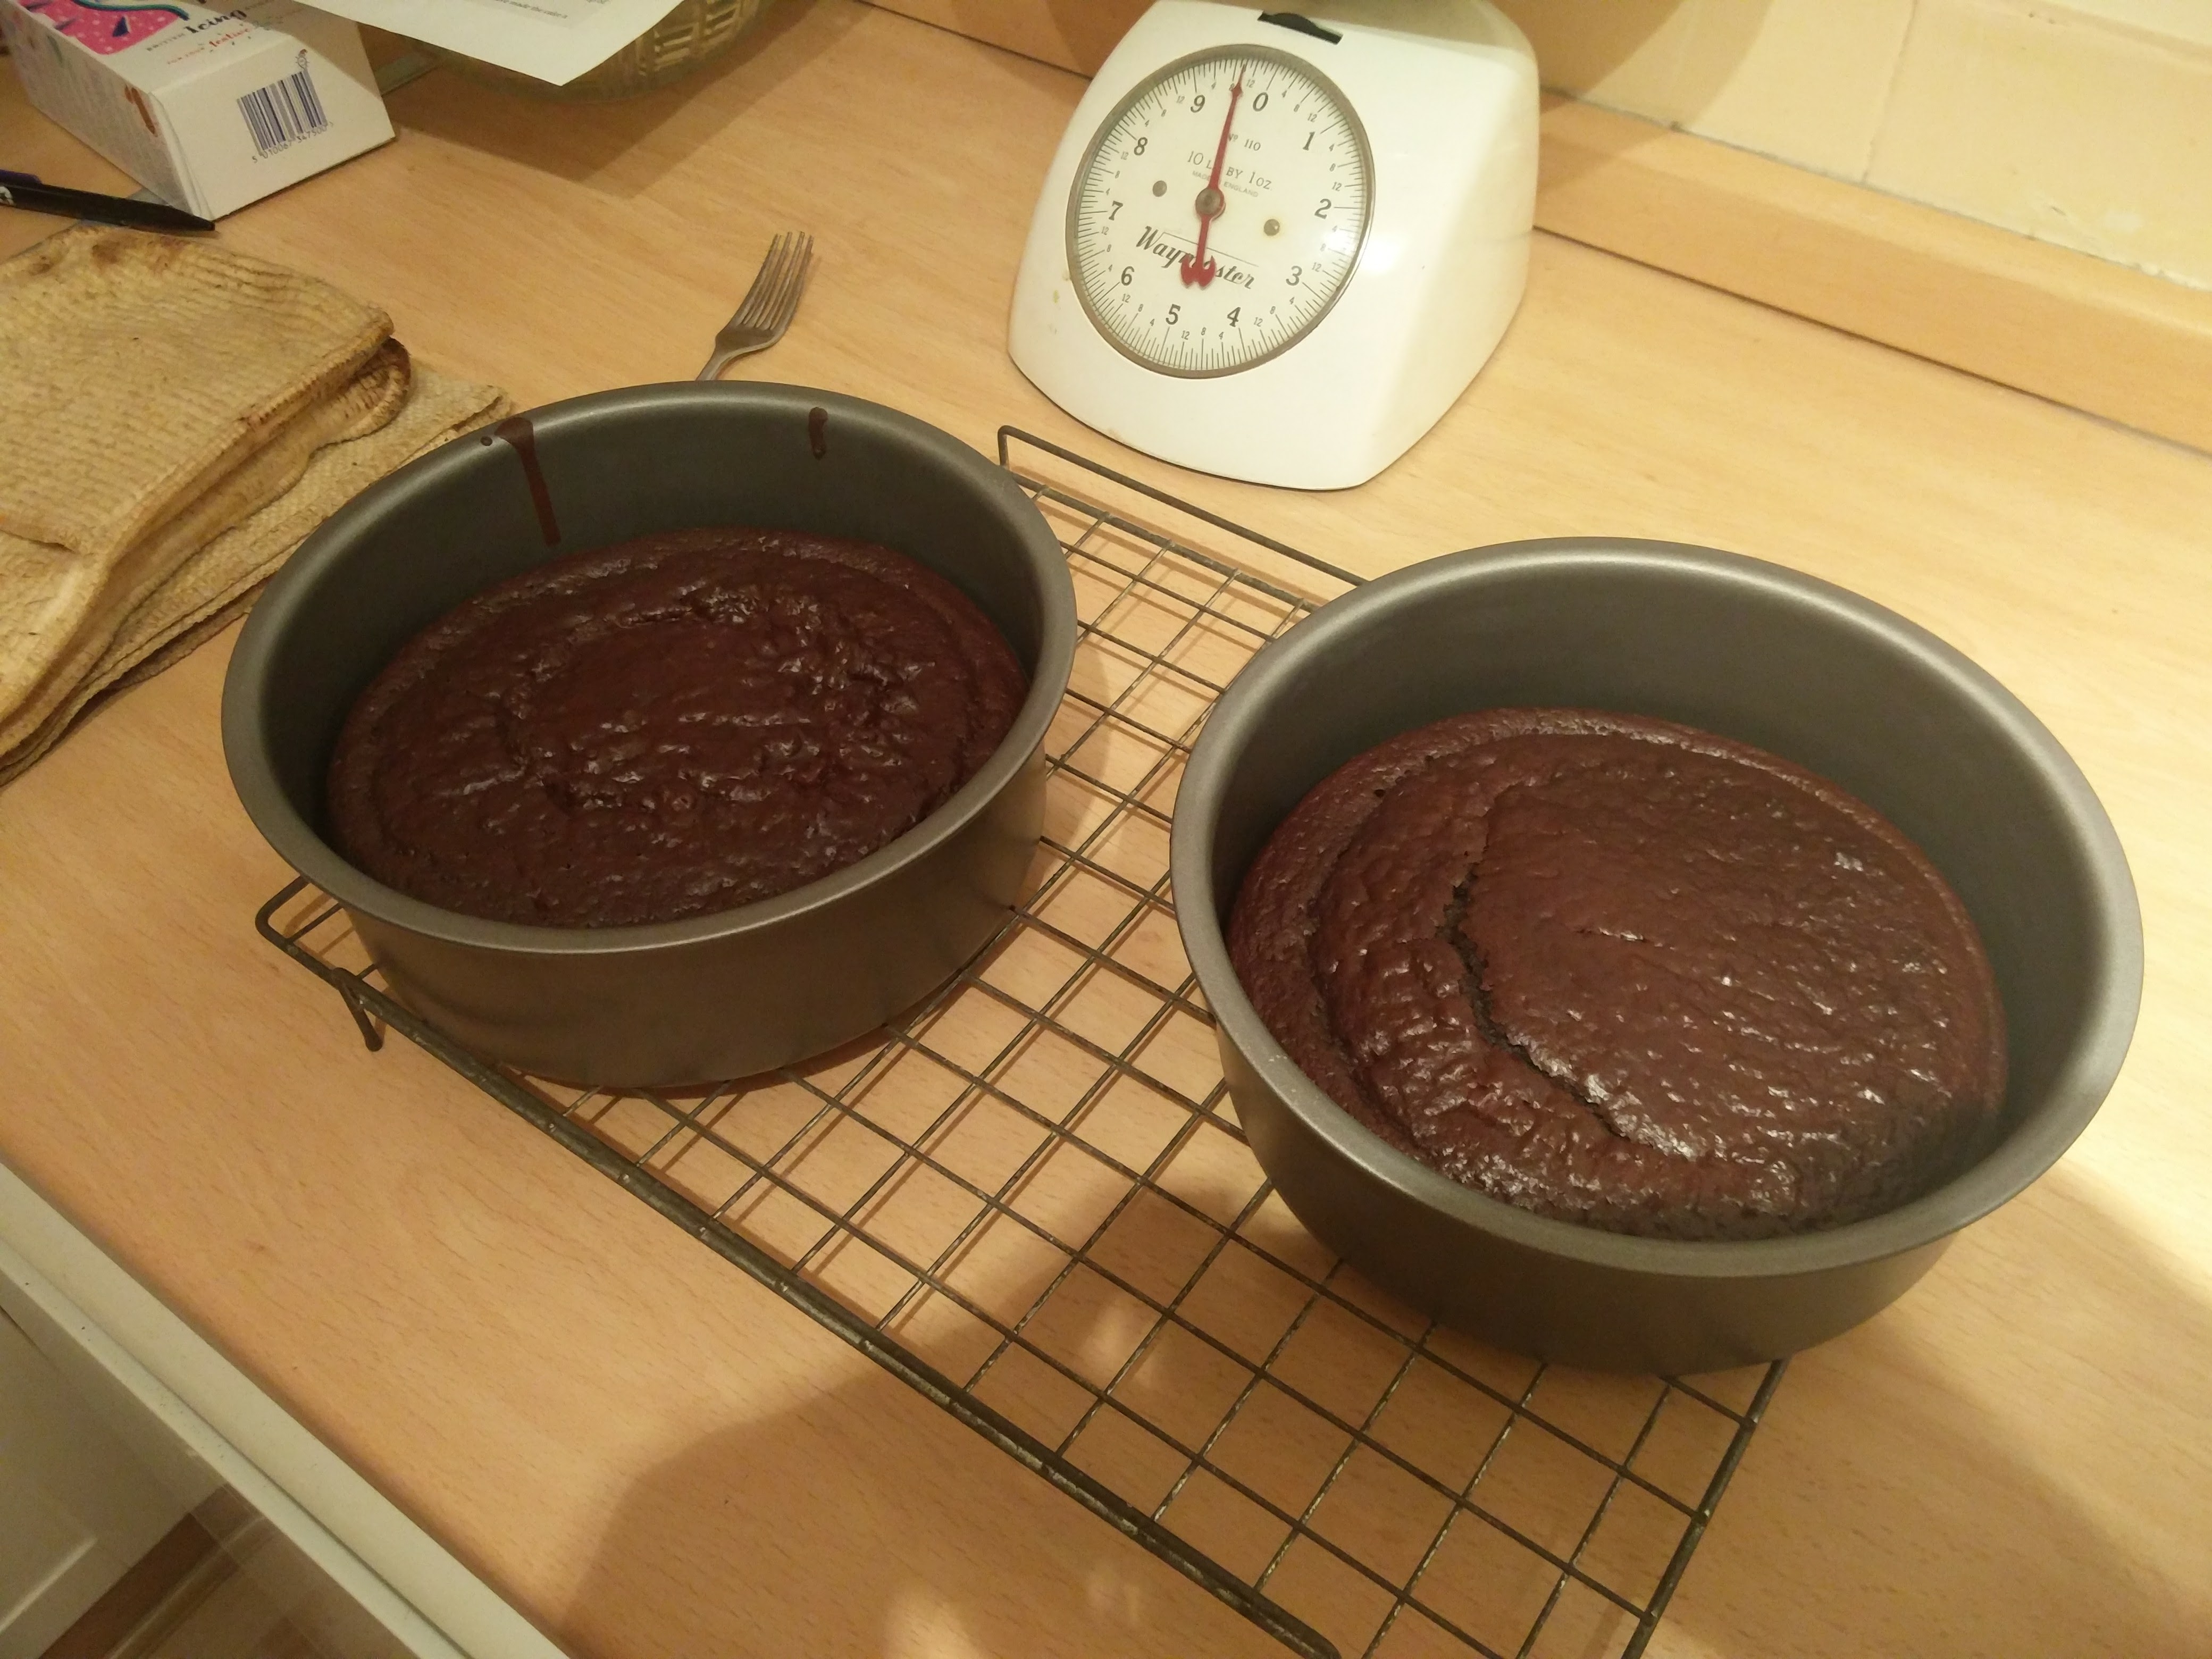
About two and a half hours after starting this stage, I’d finally finished and was ready for bed while the cakes cooled.


Portal Part Two
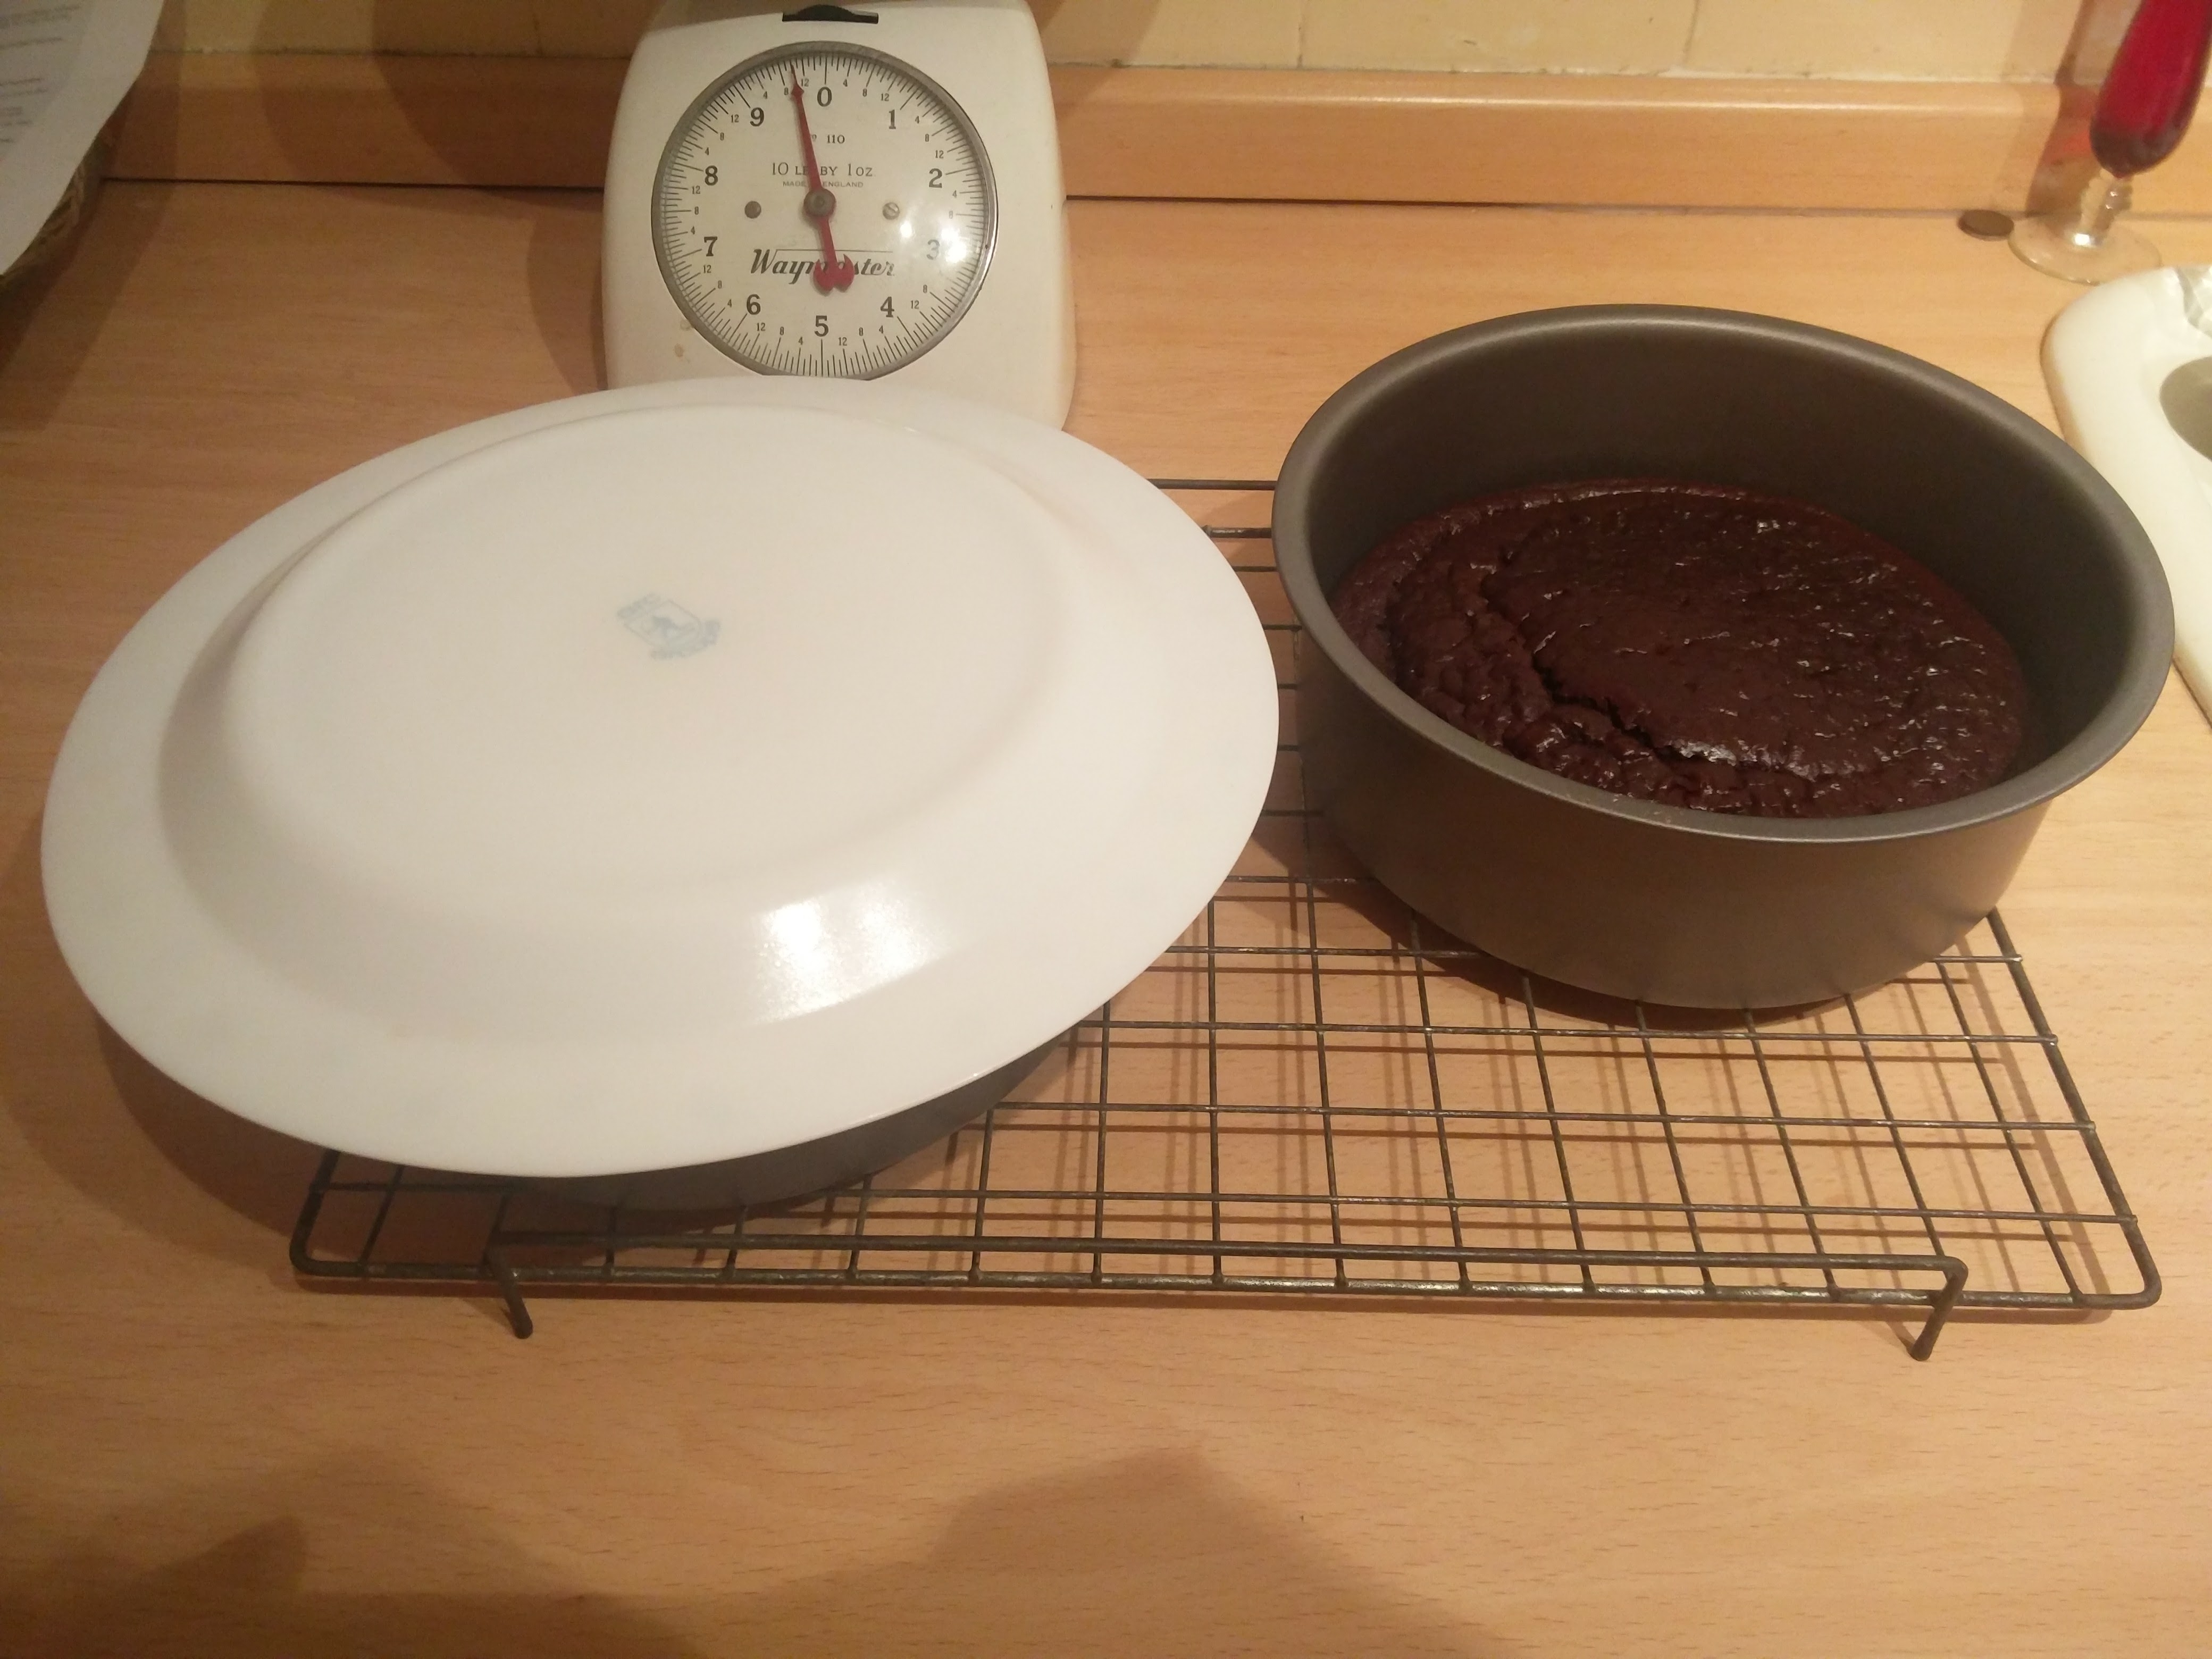
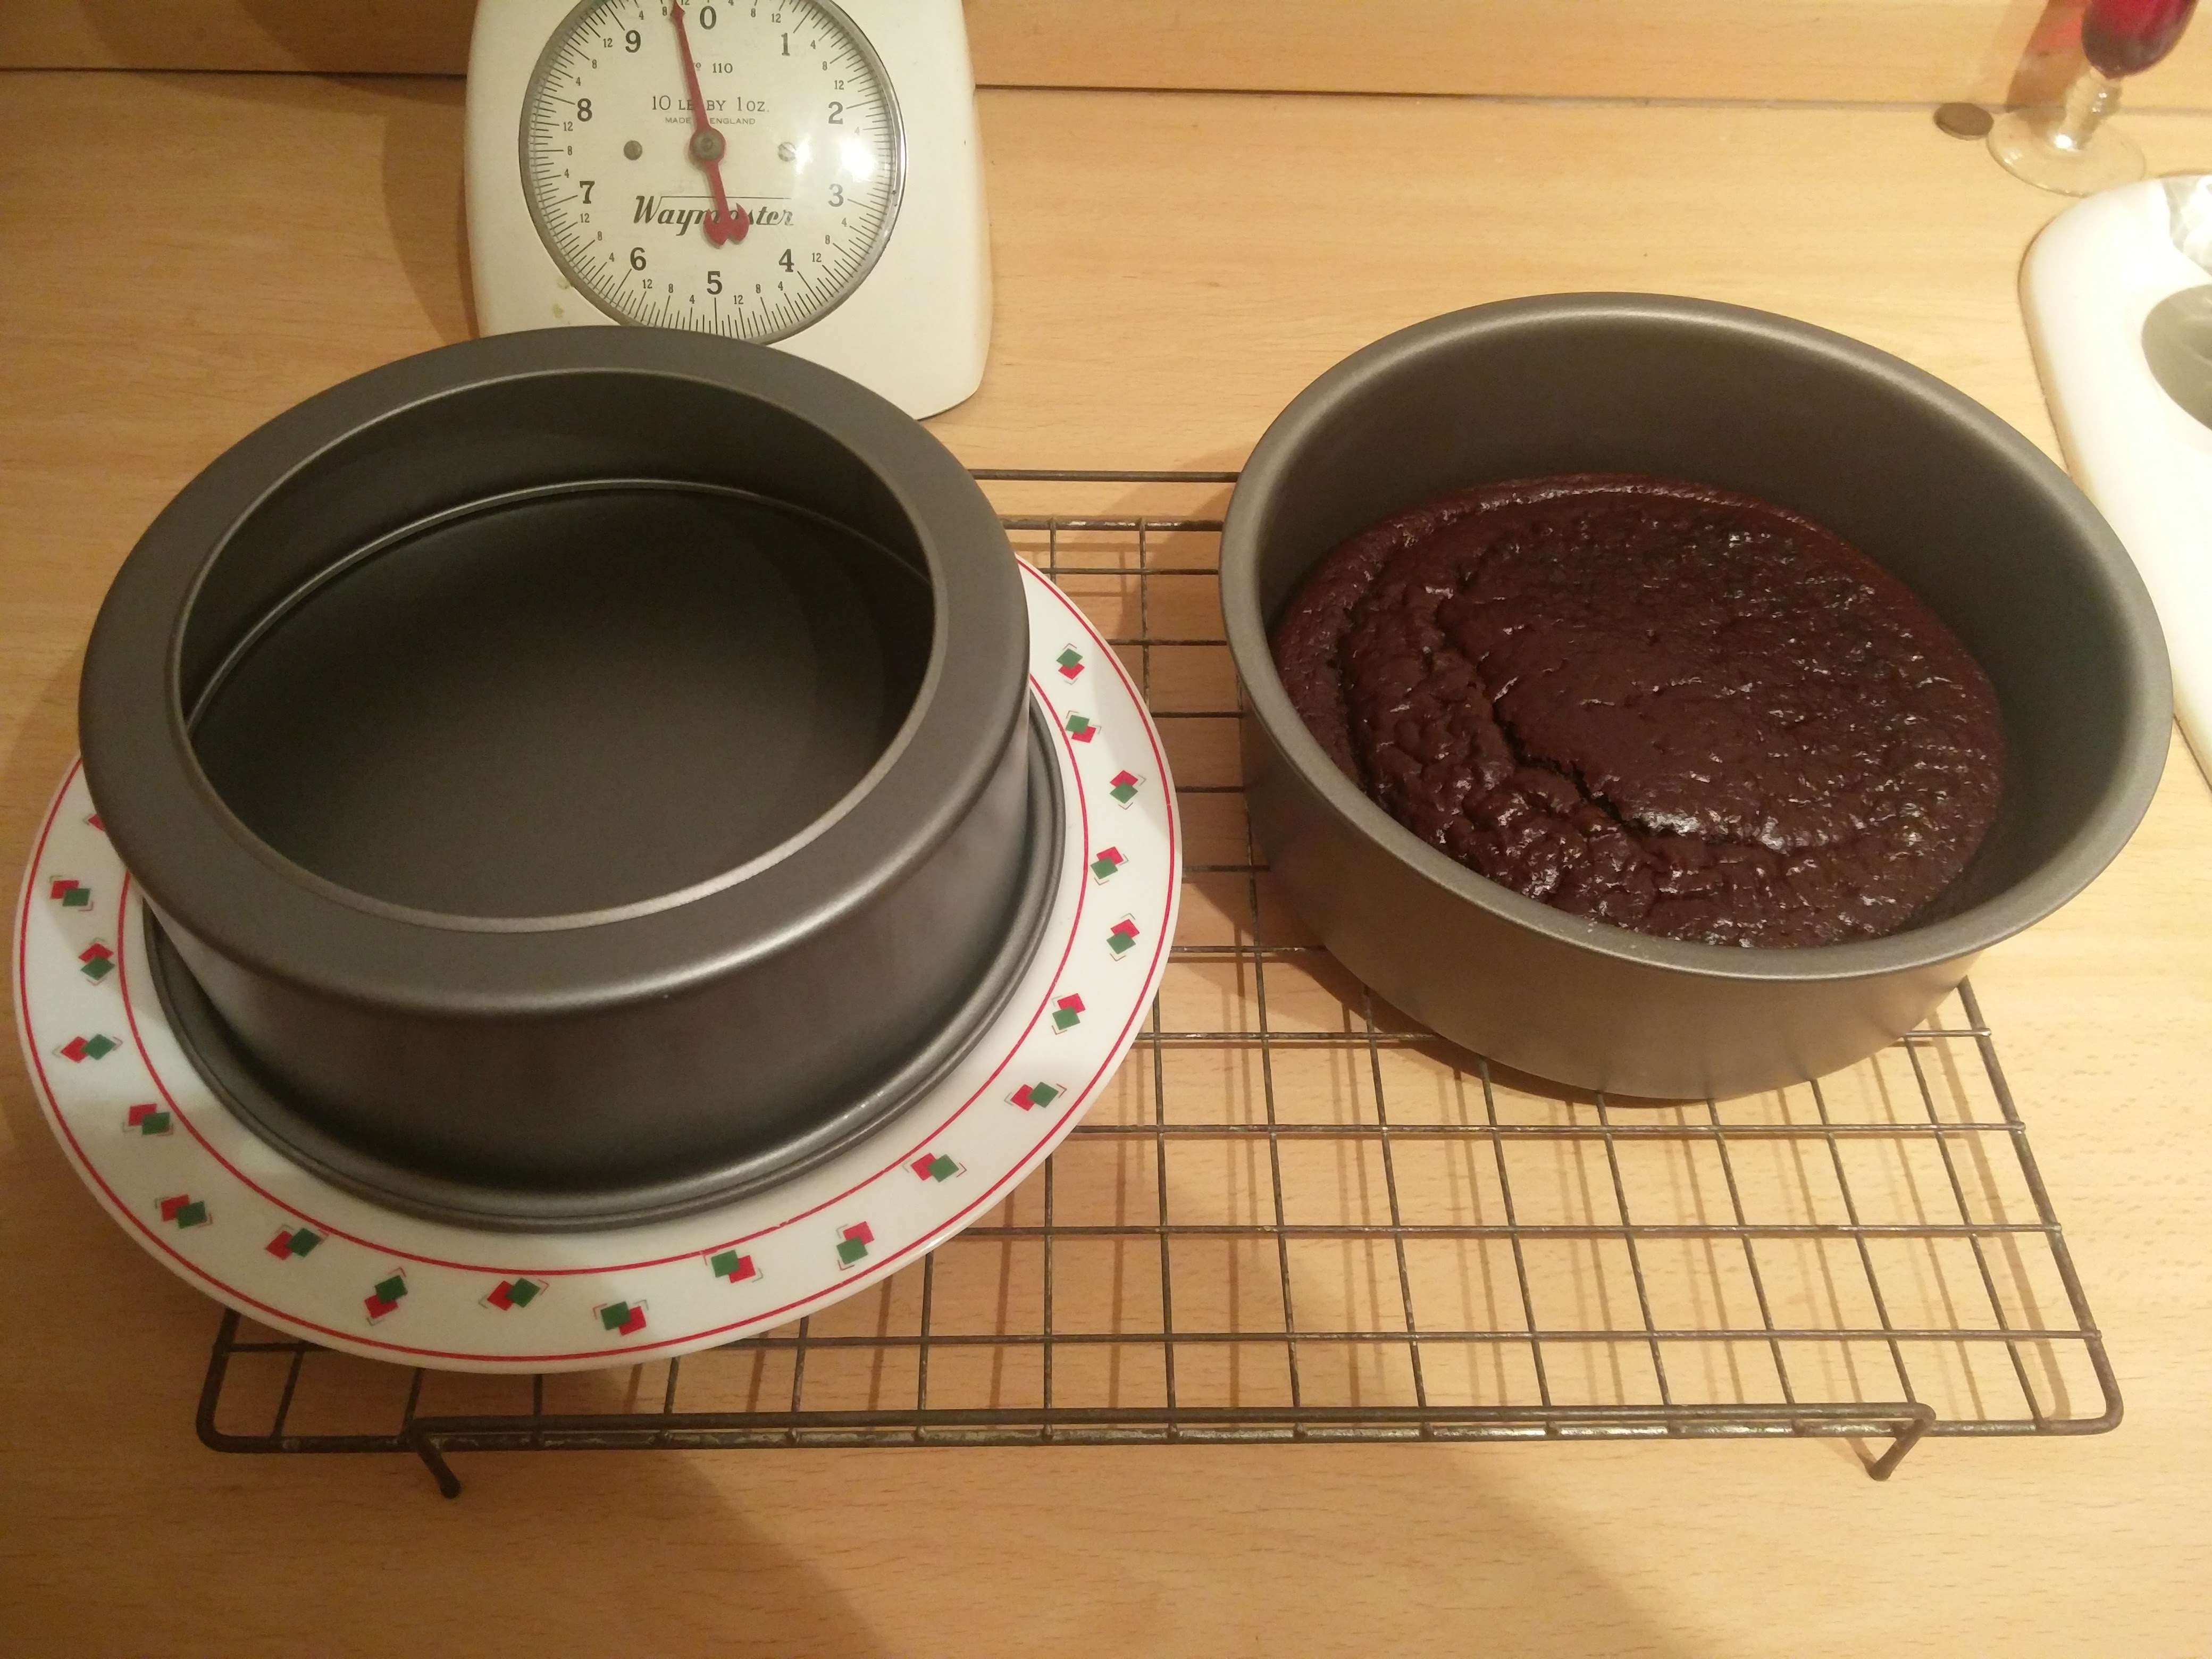
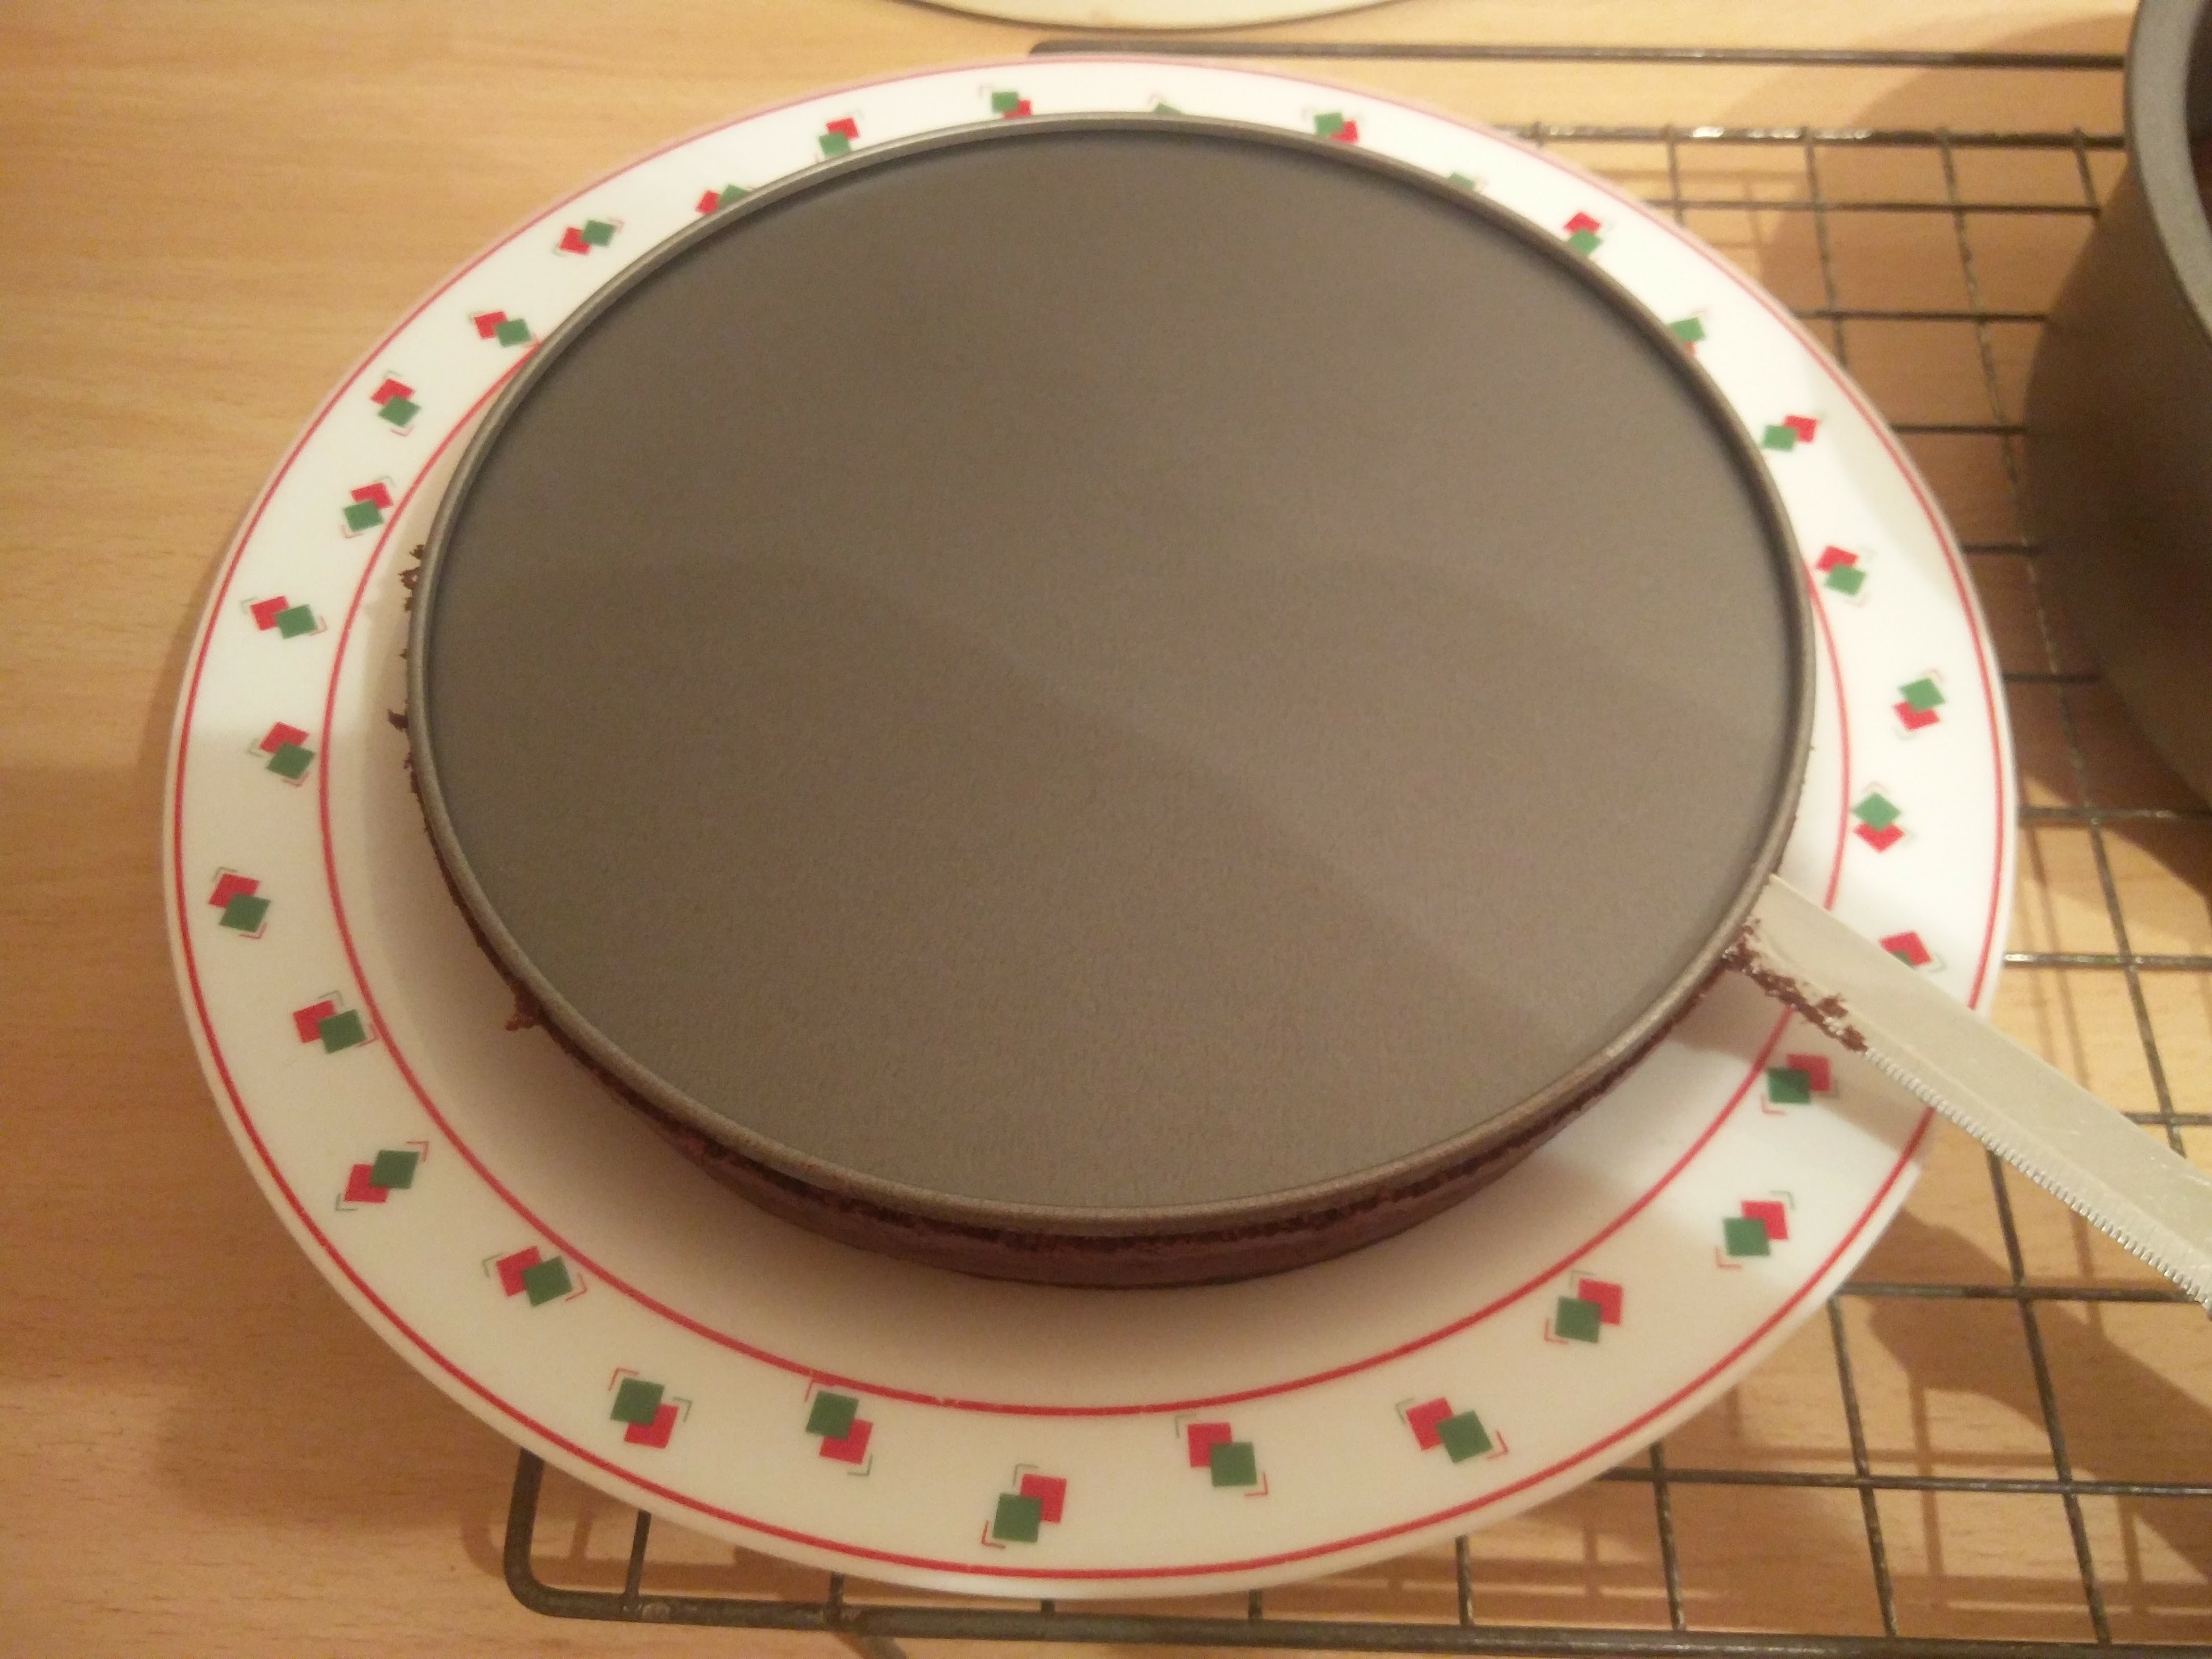
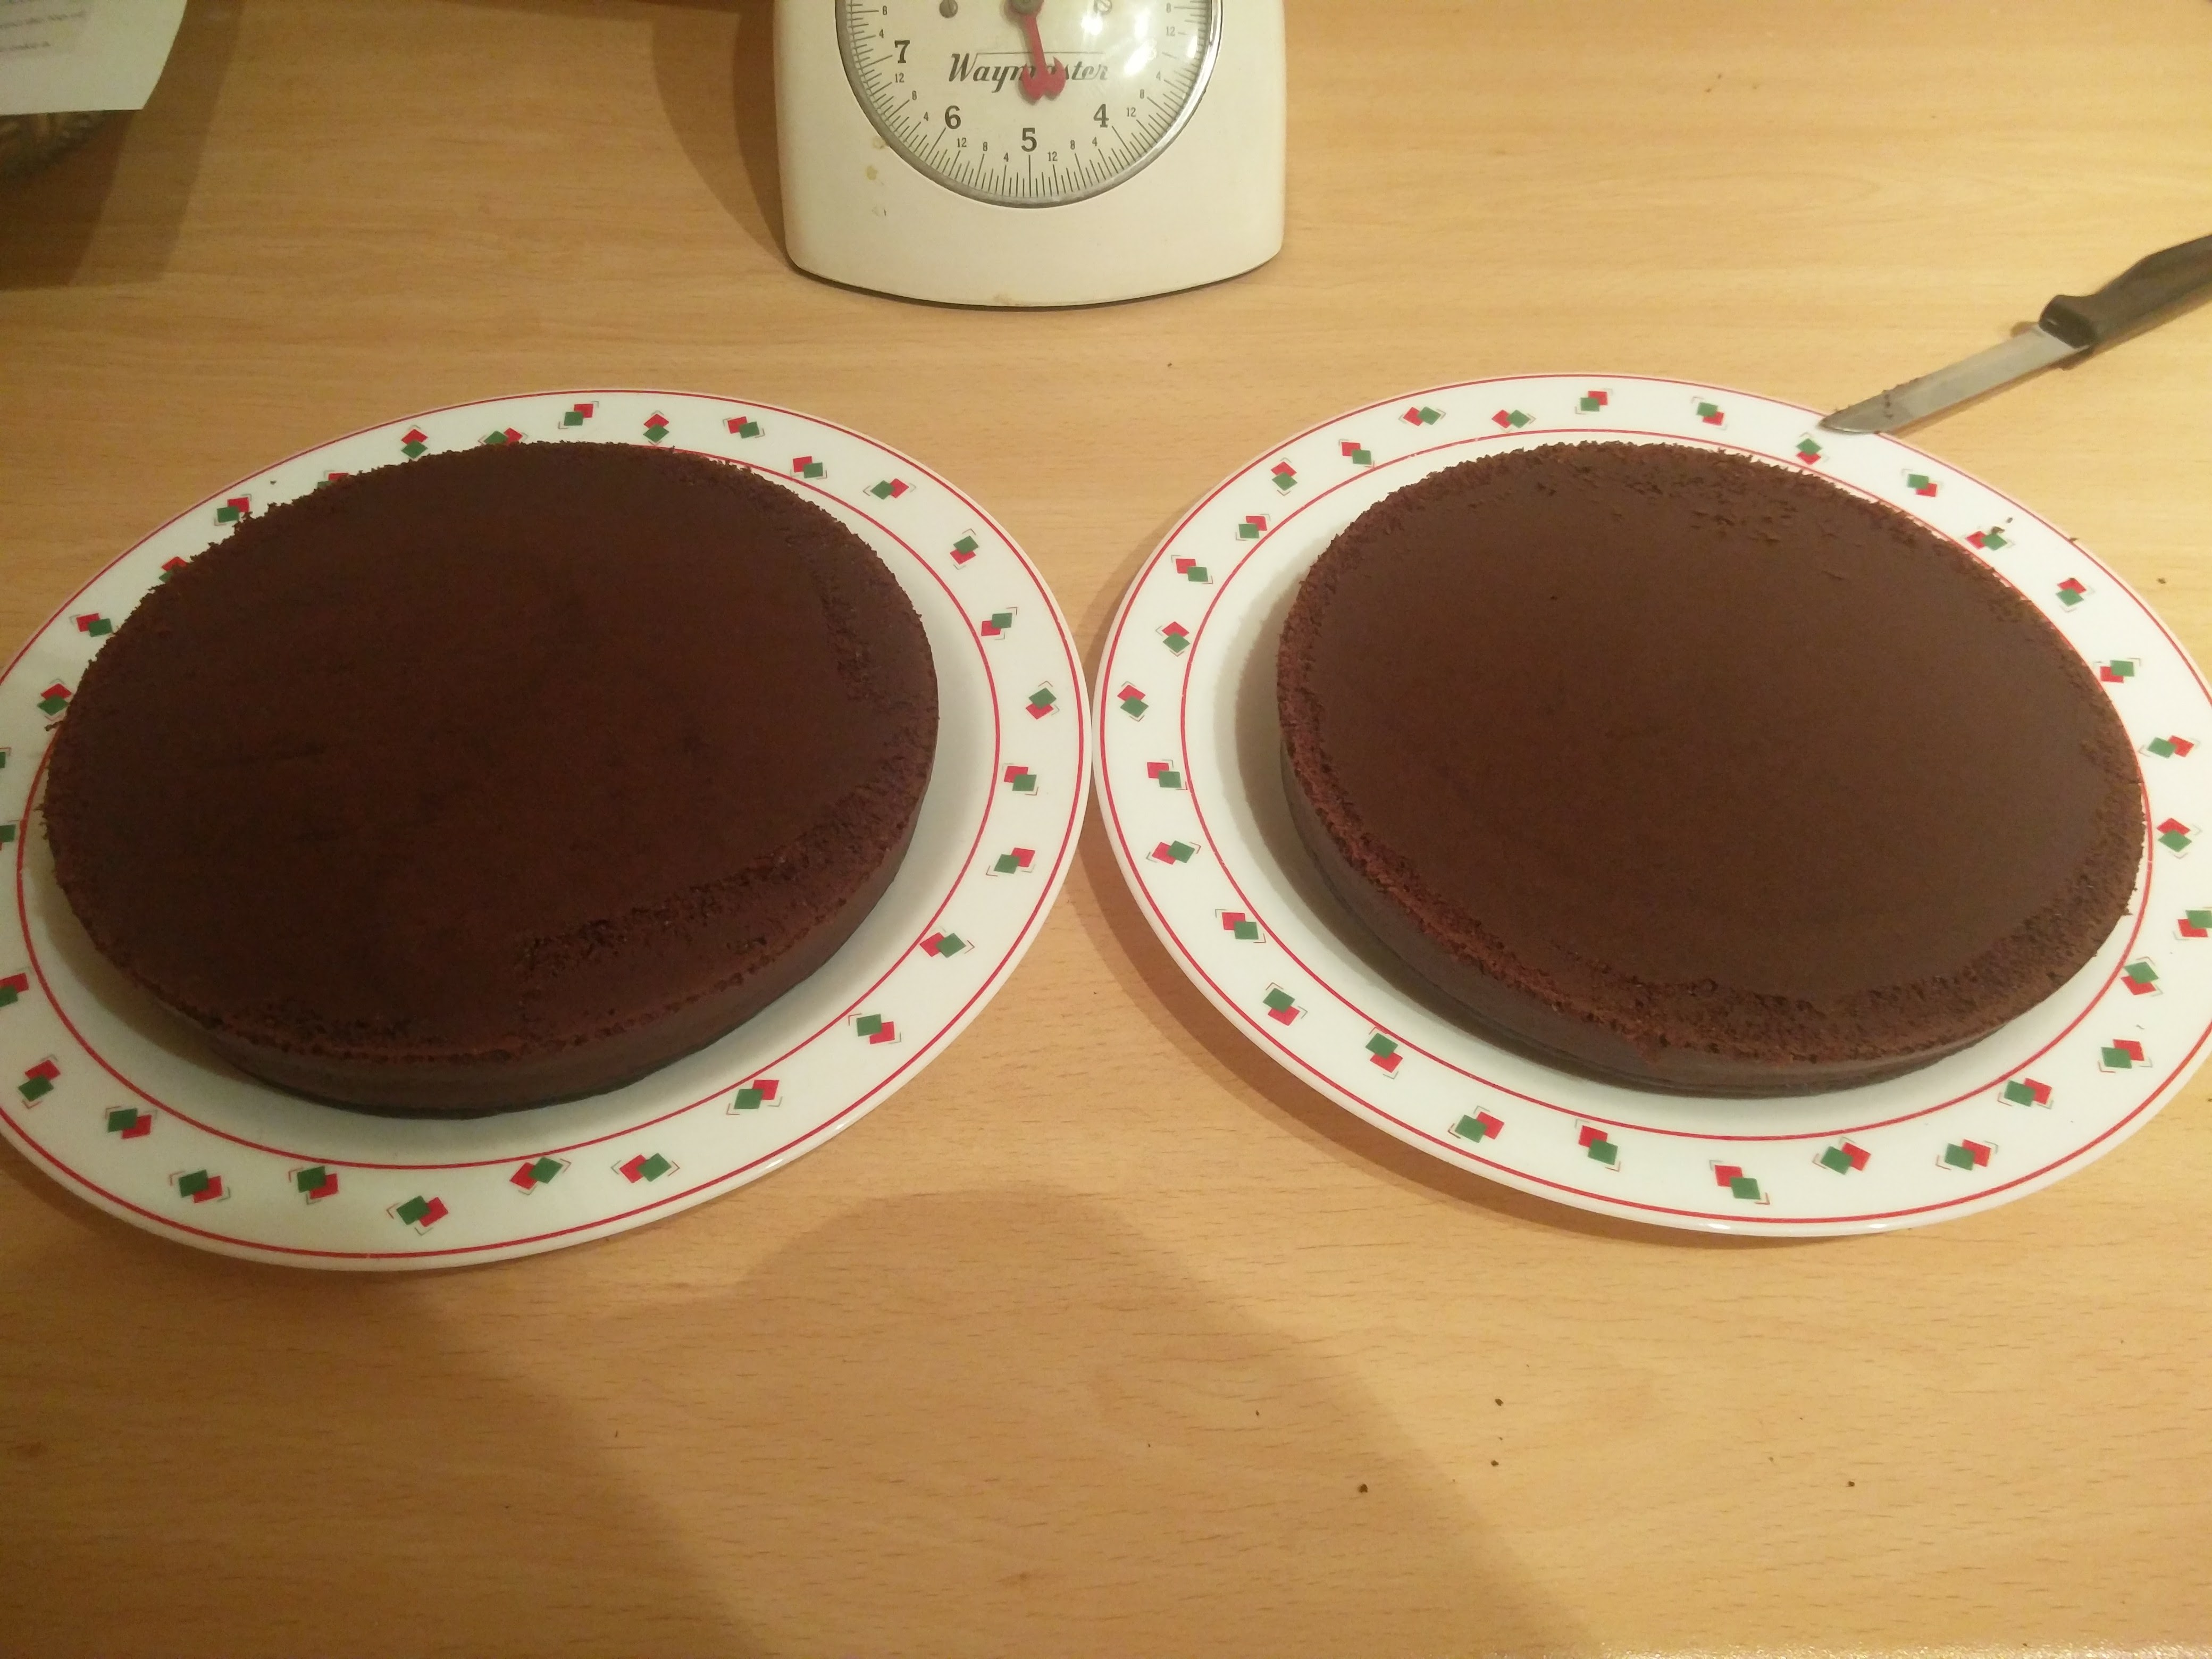
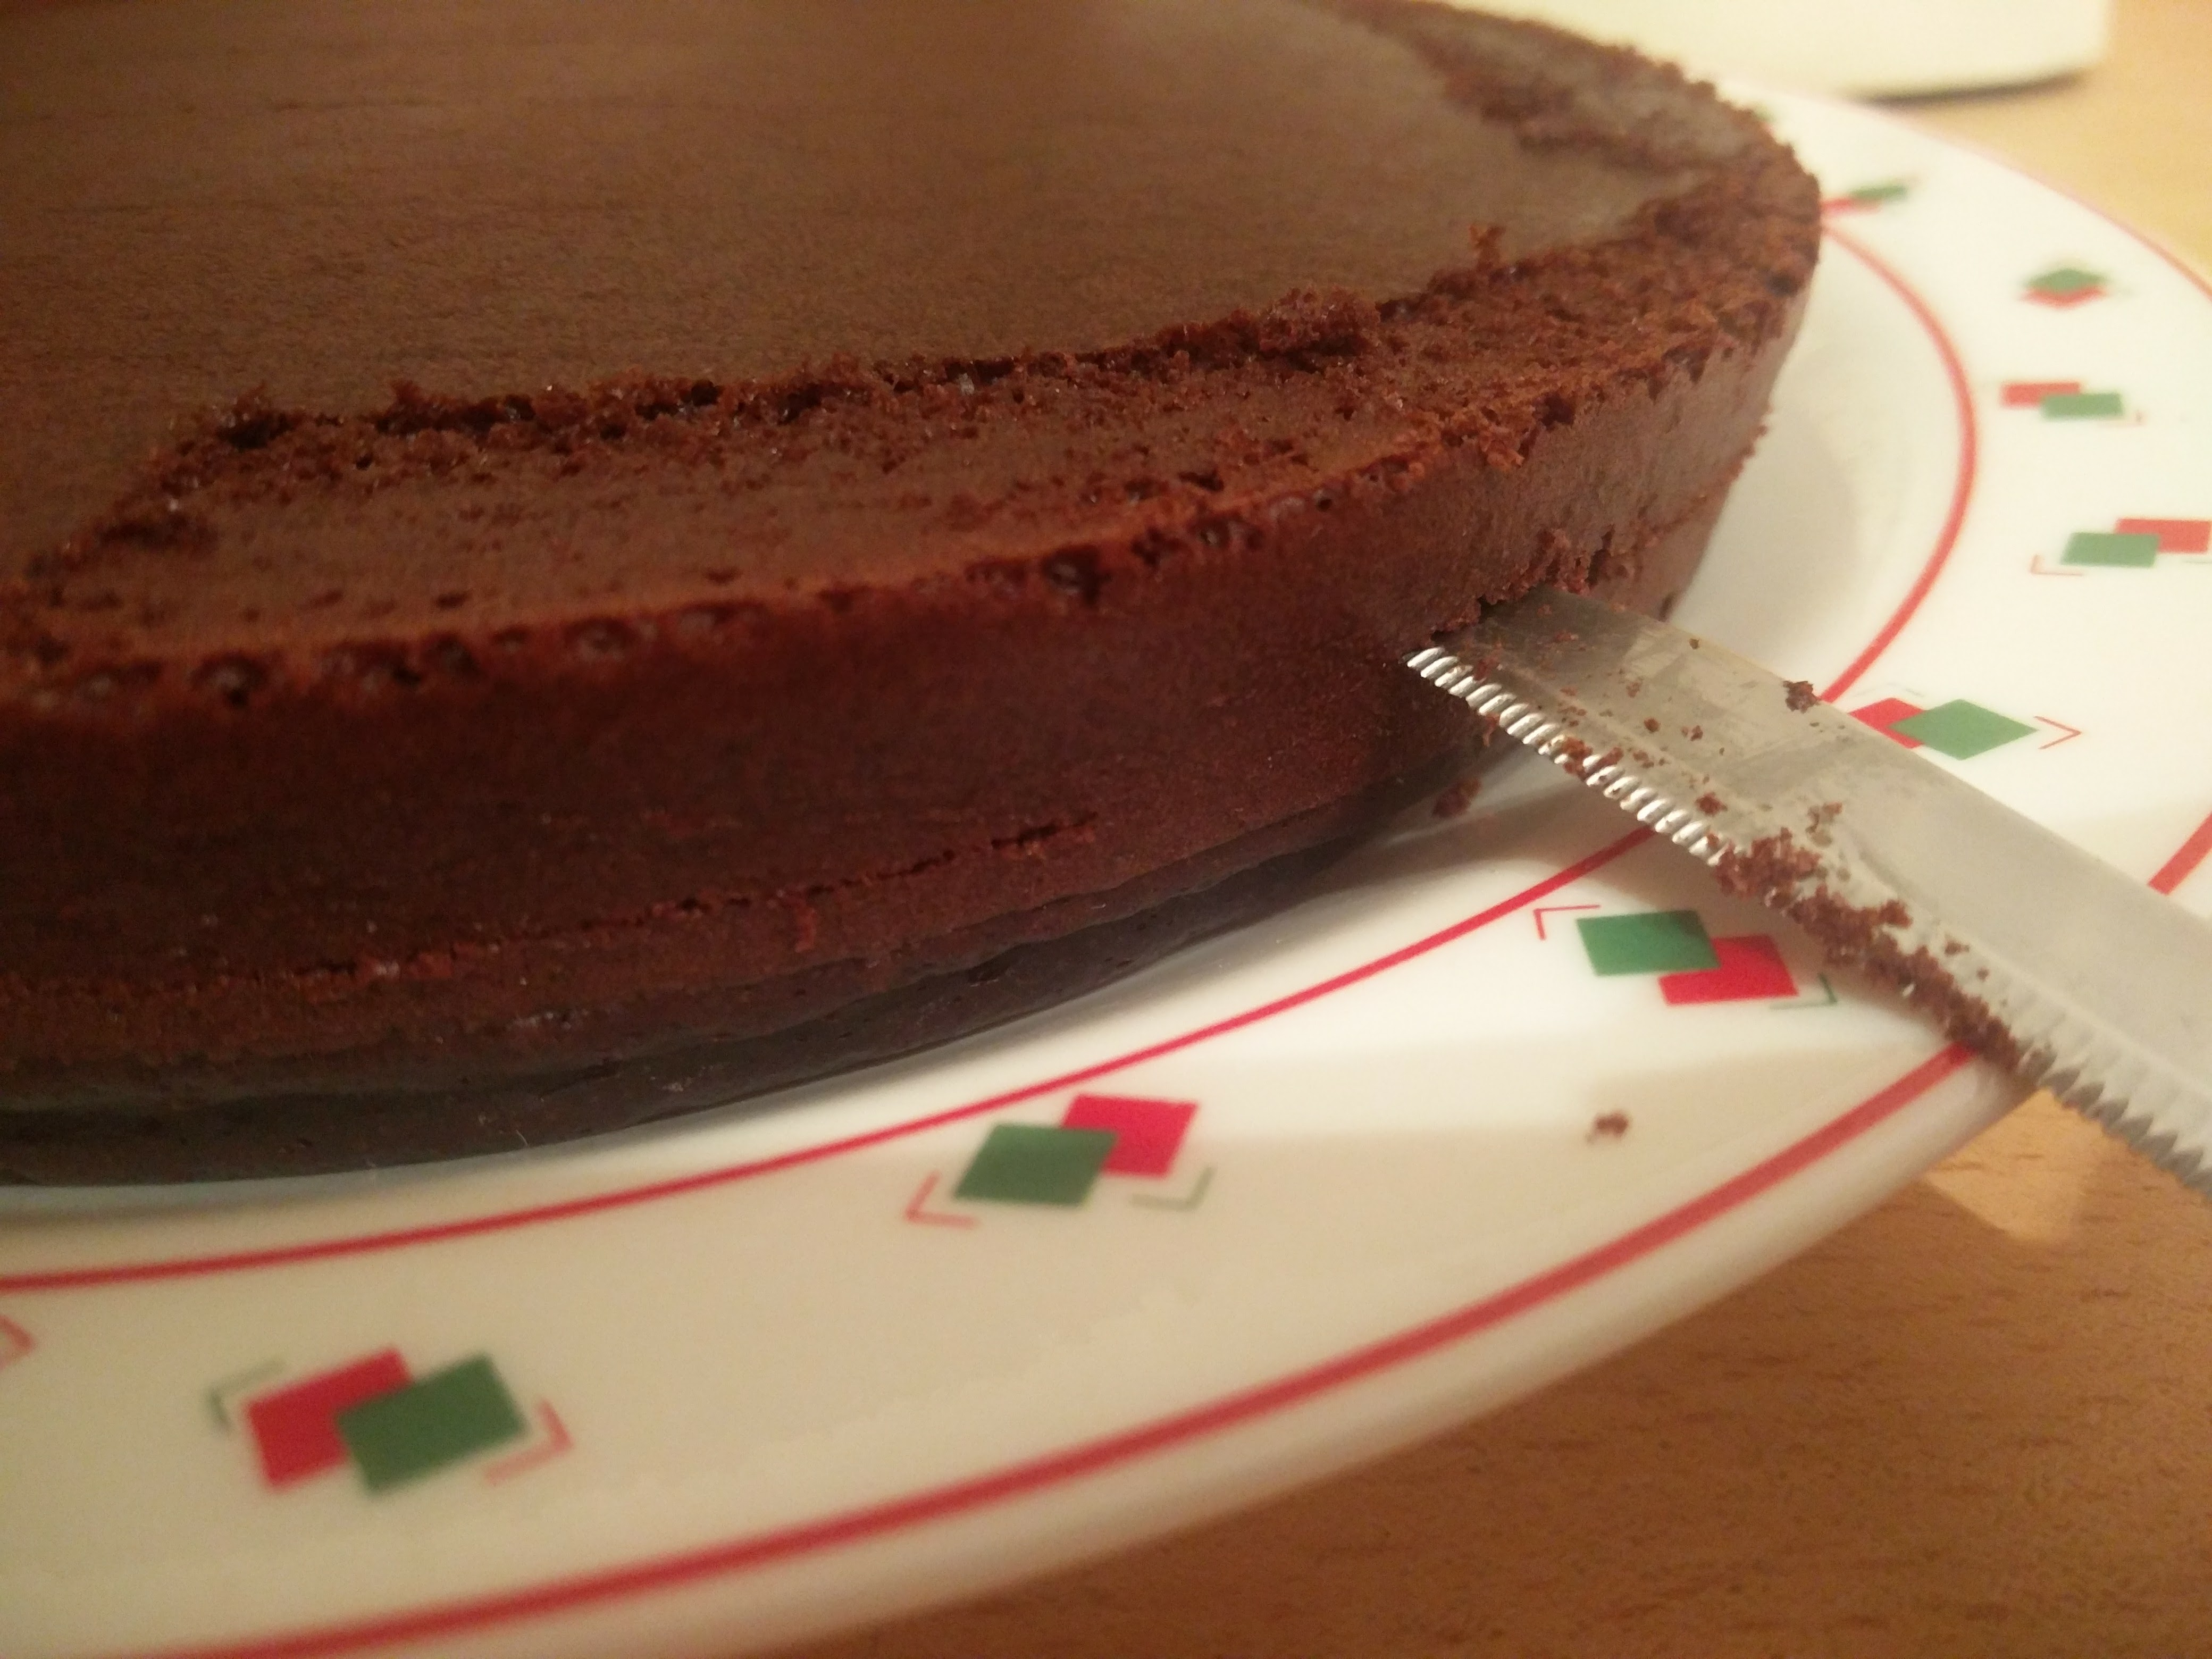
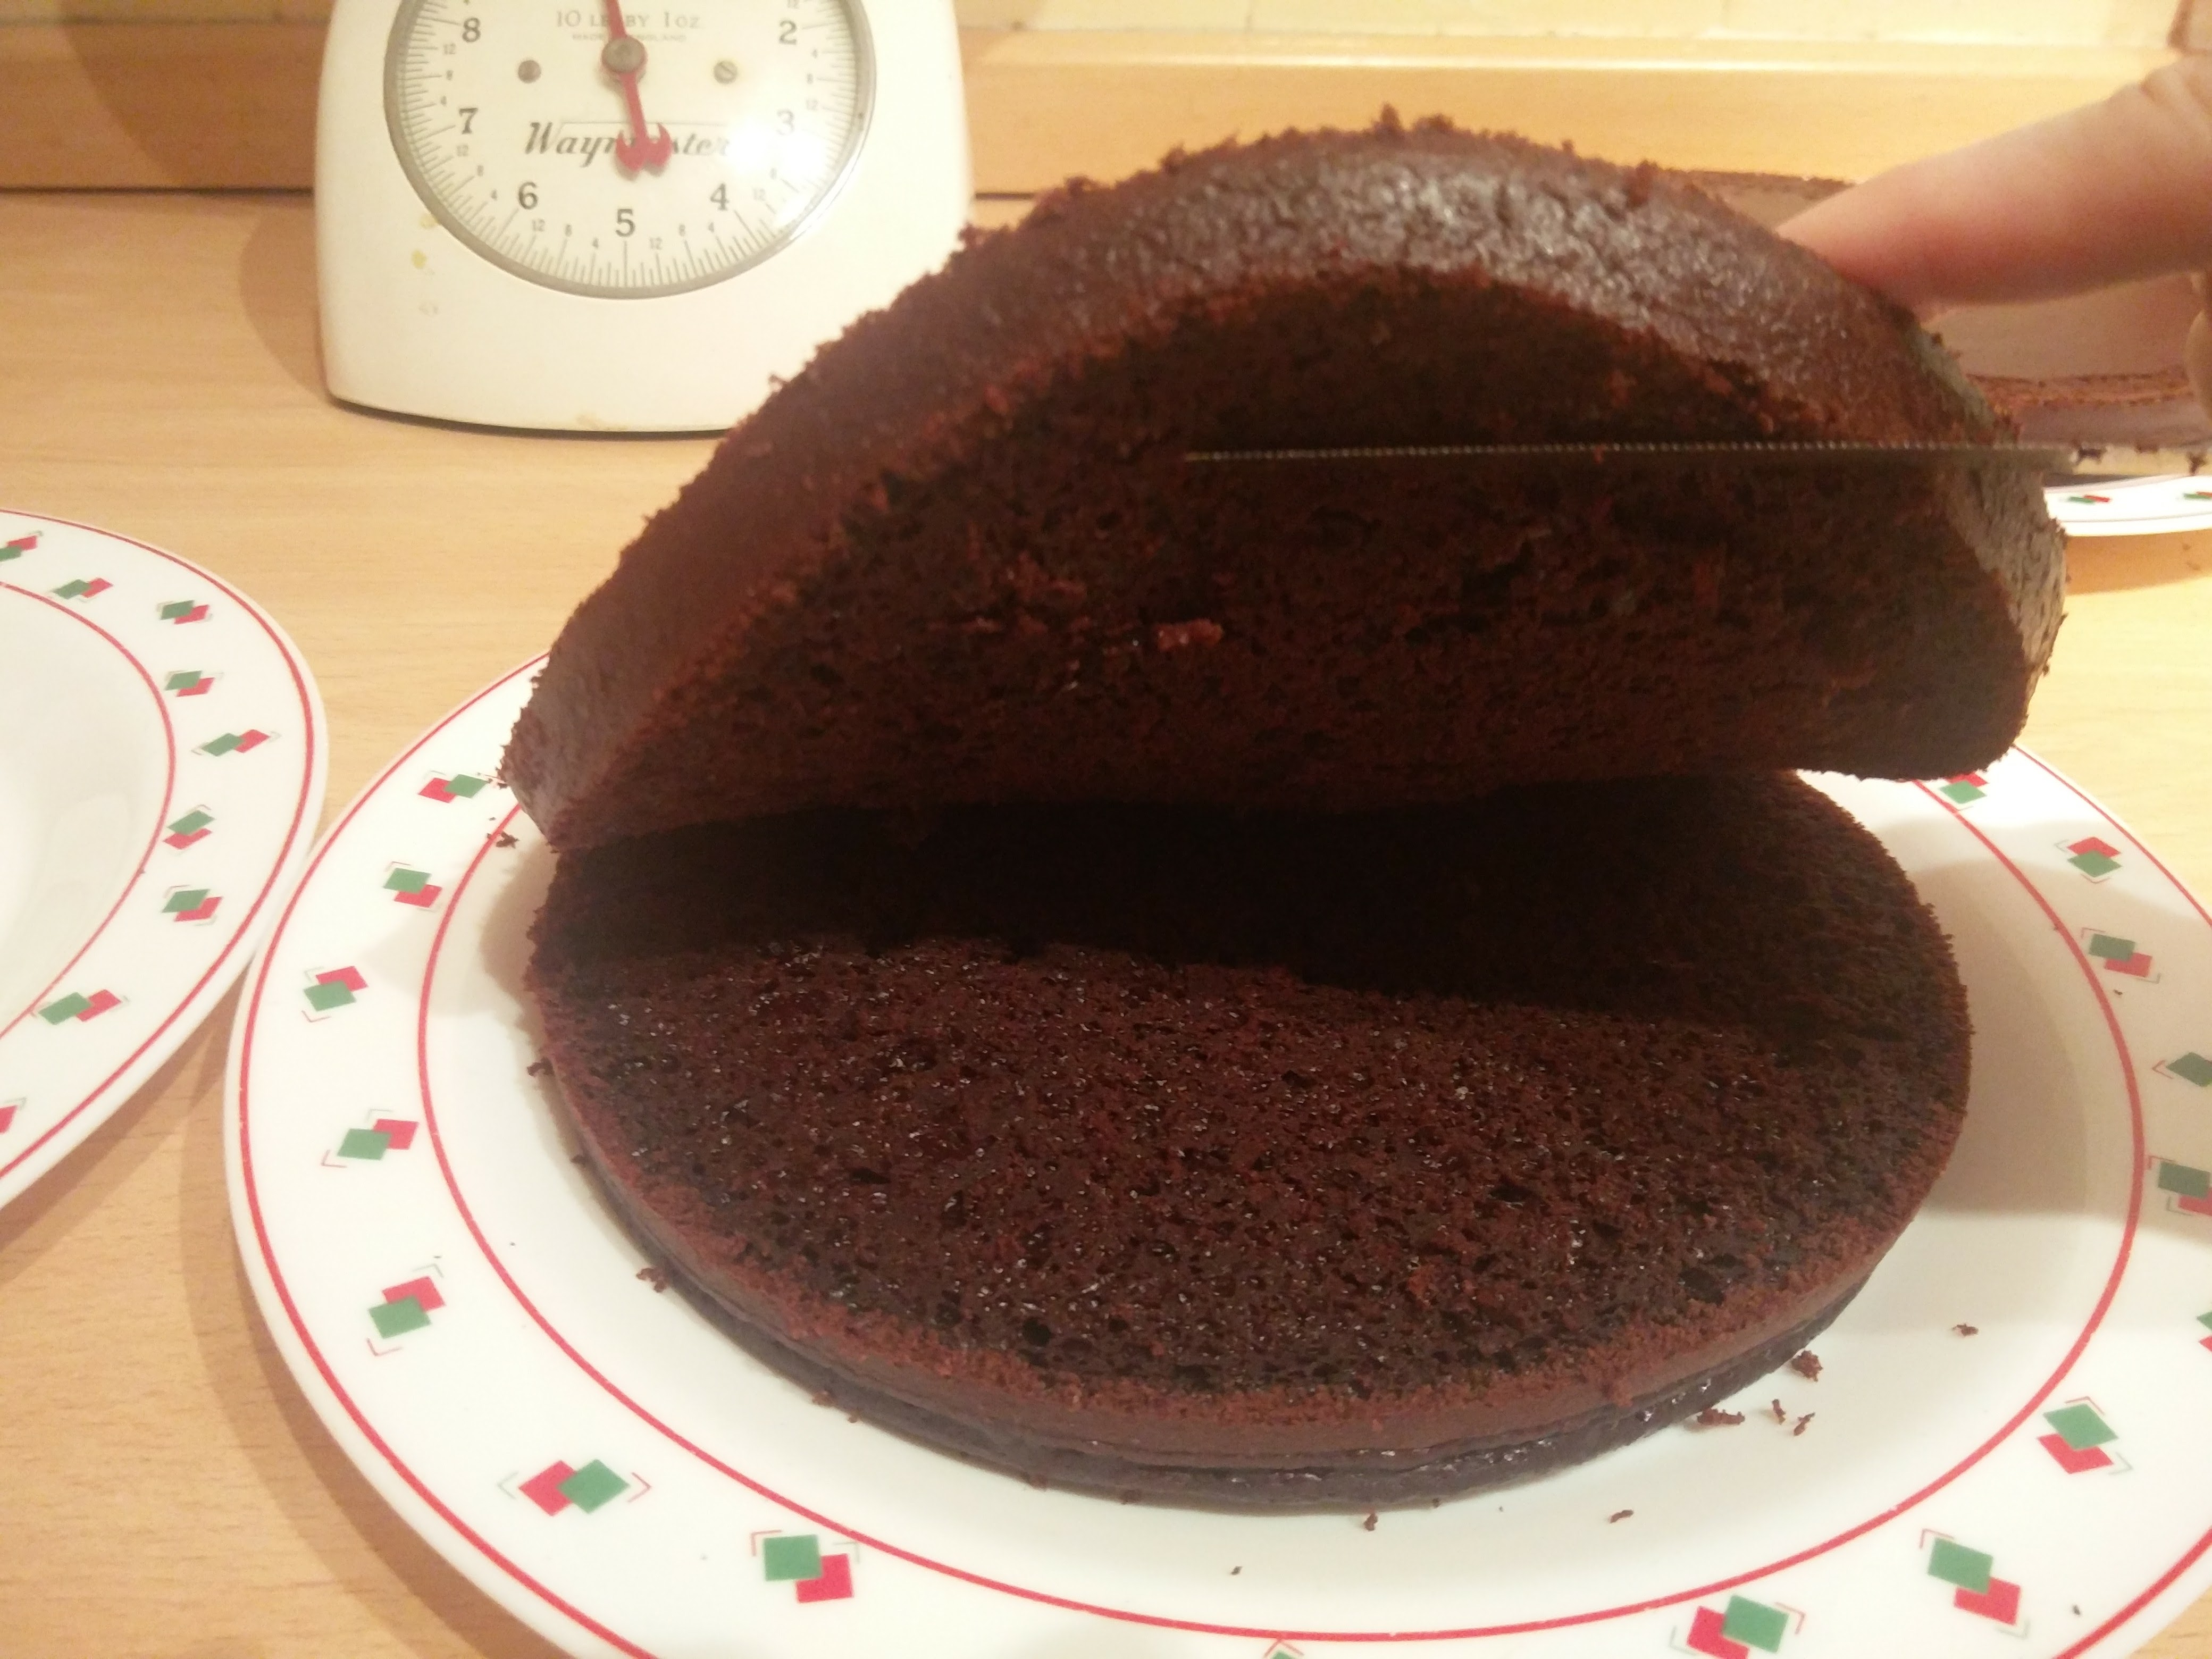
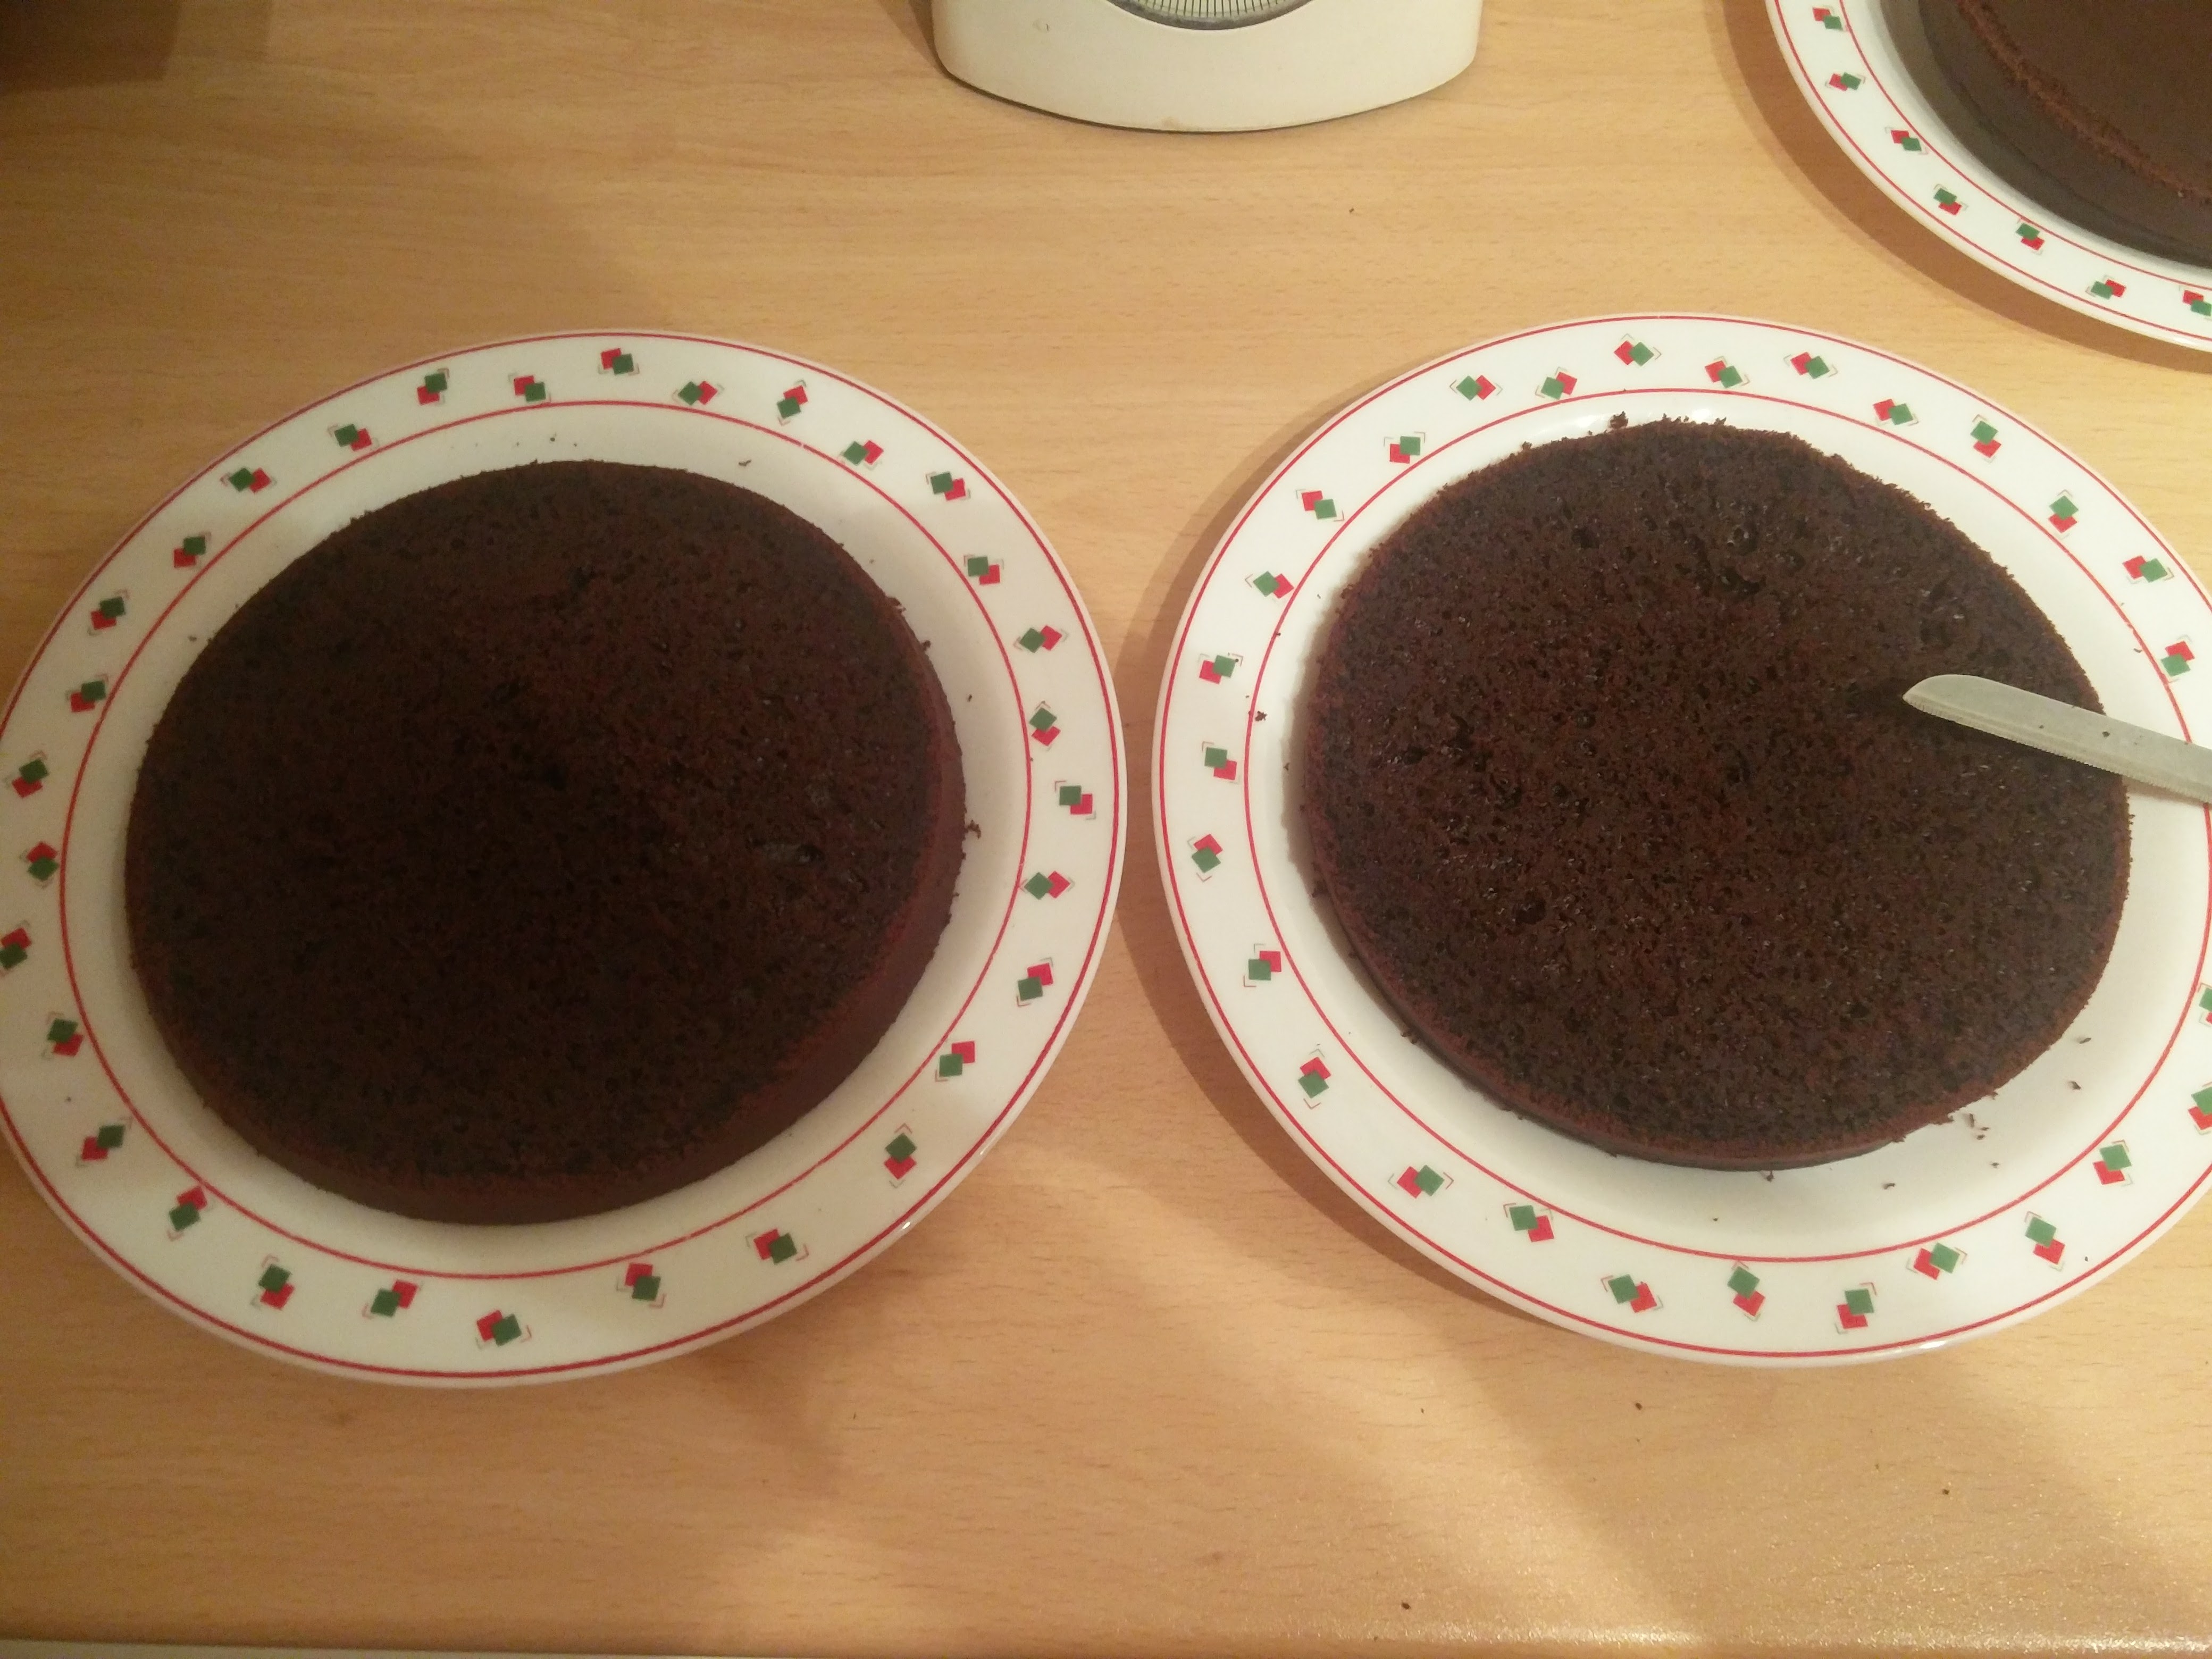
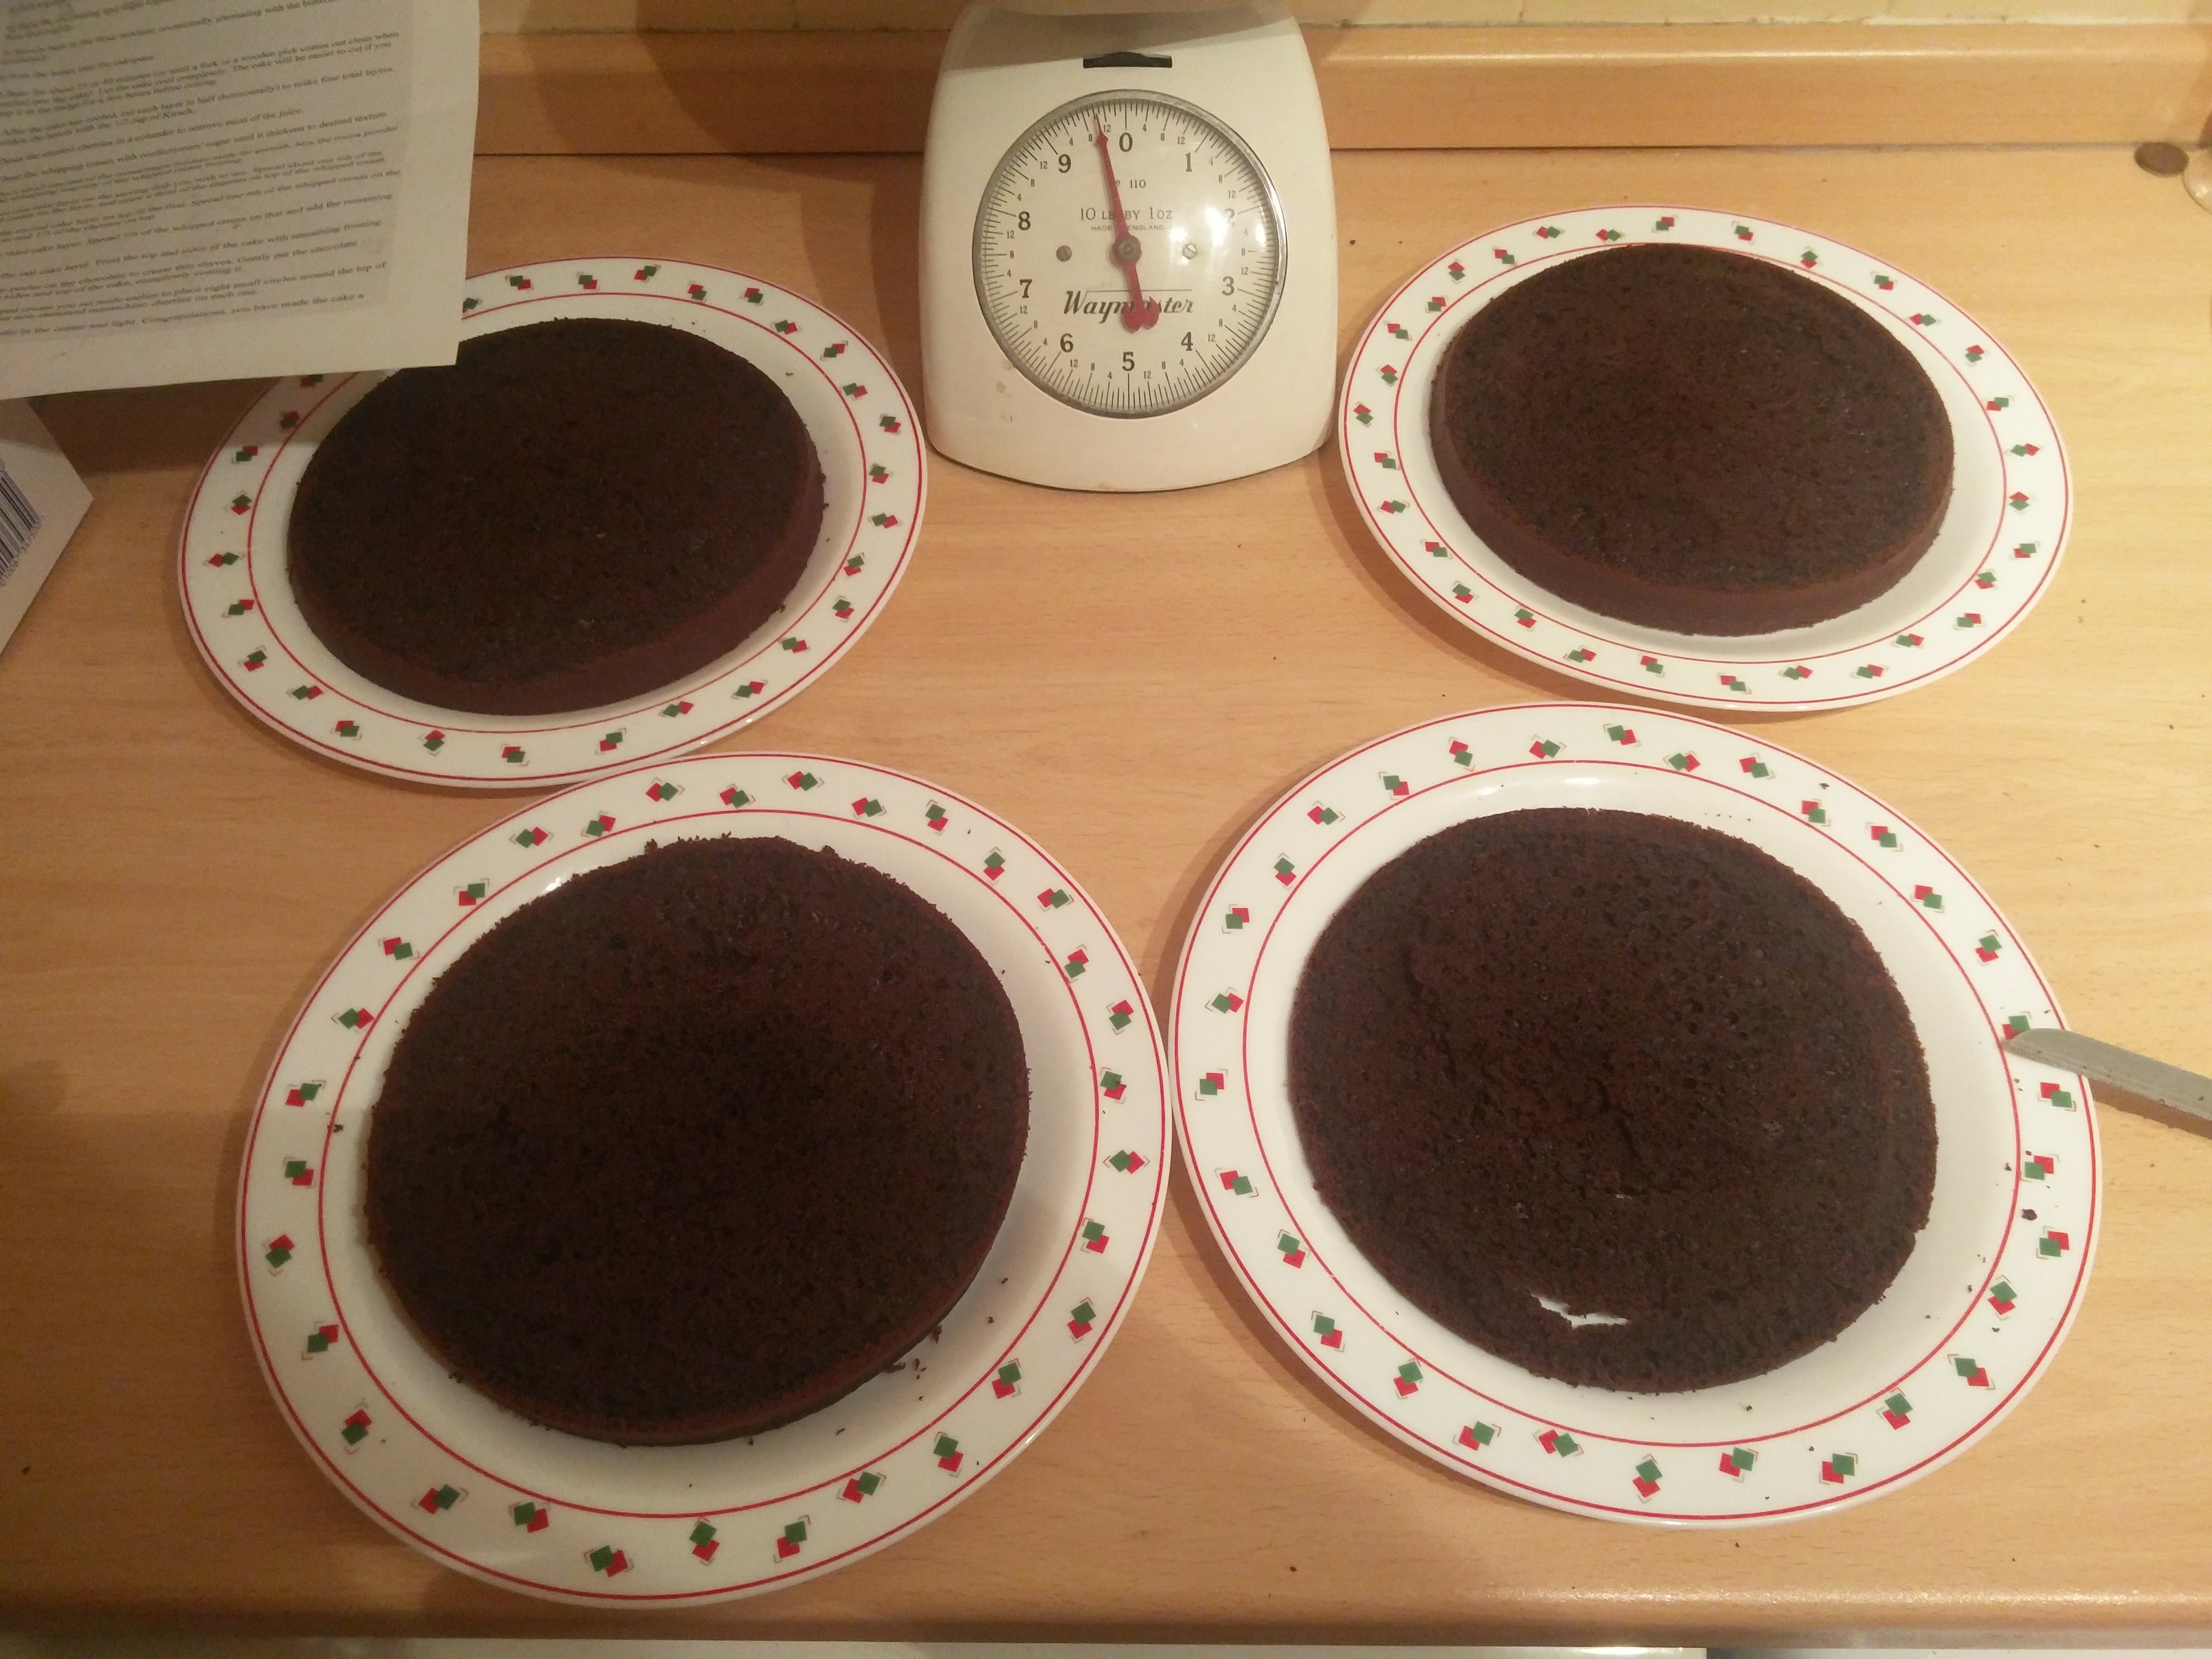
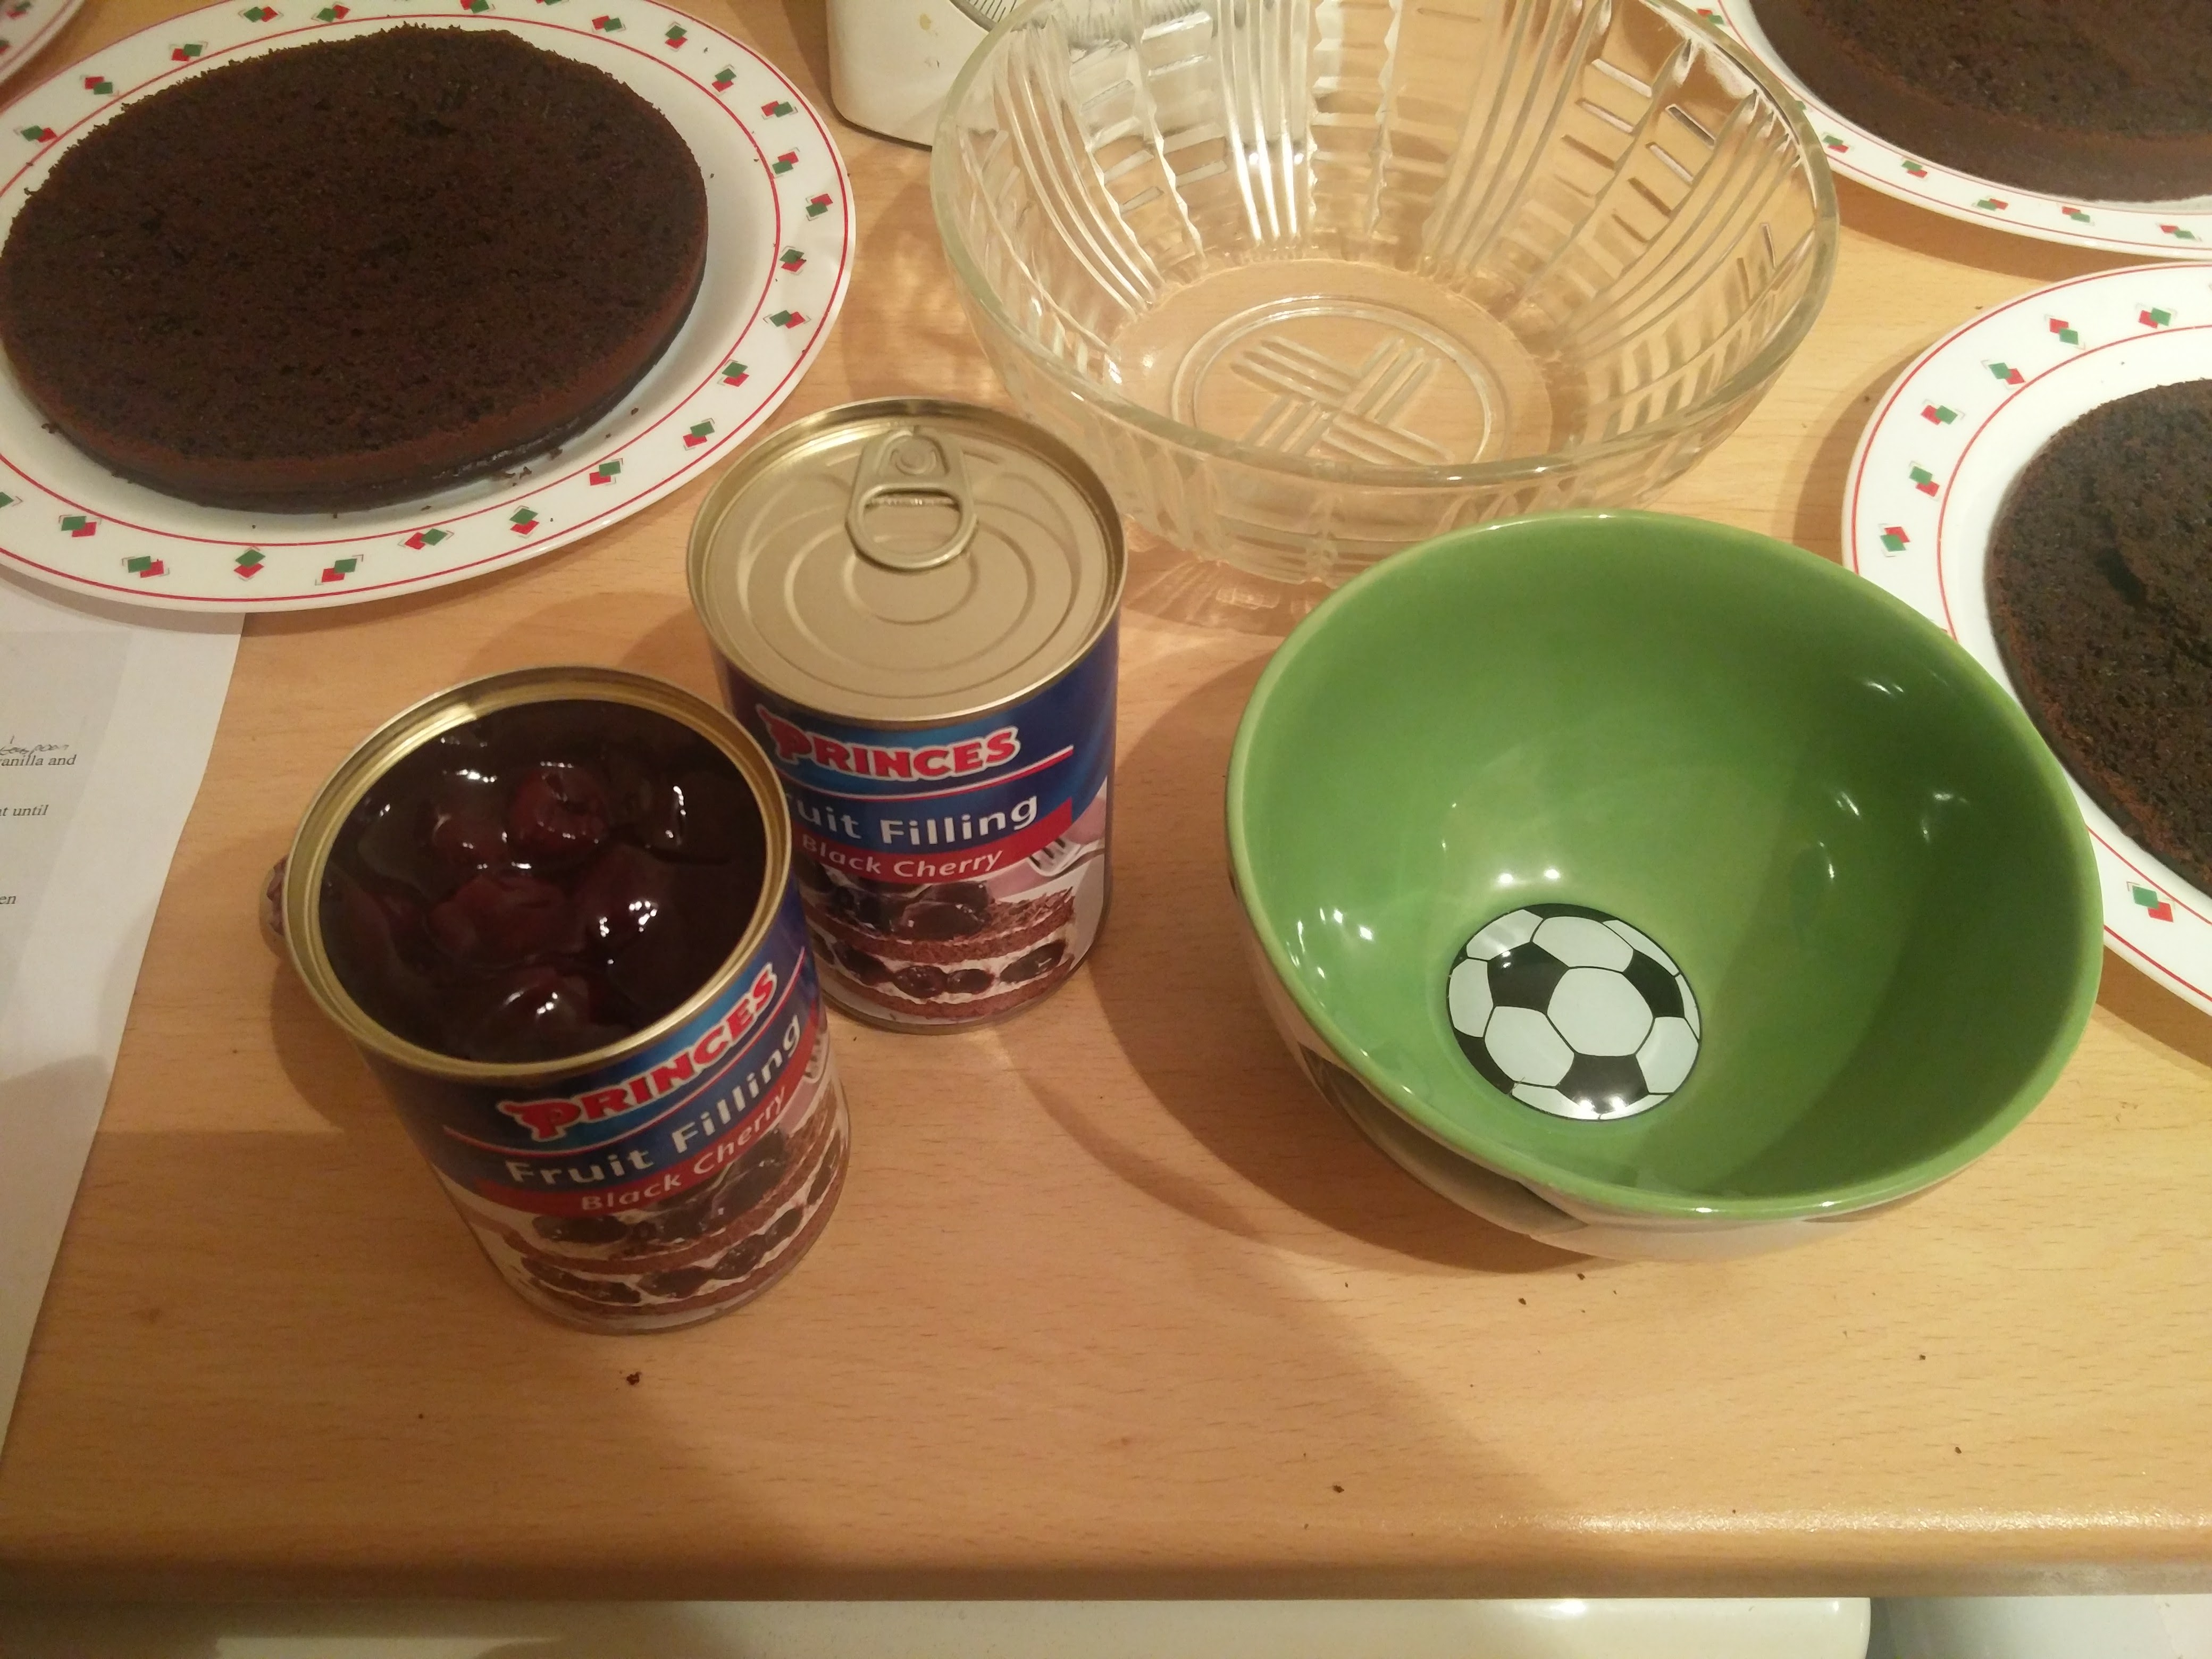
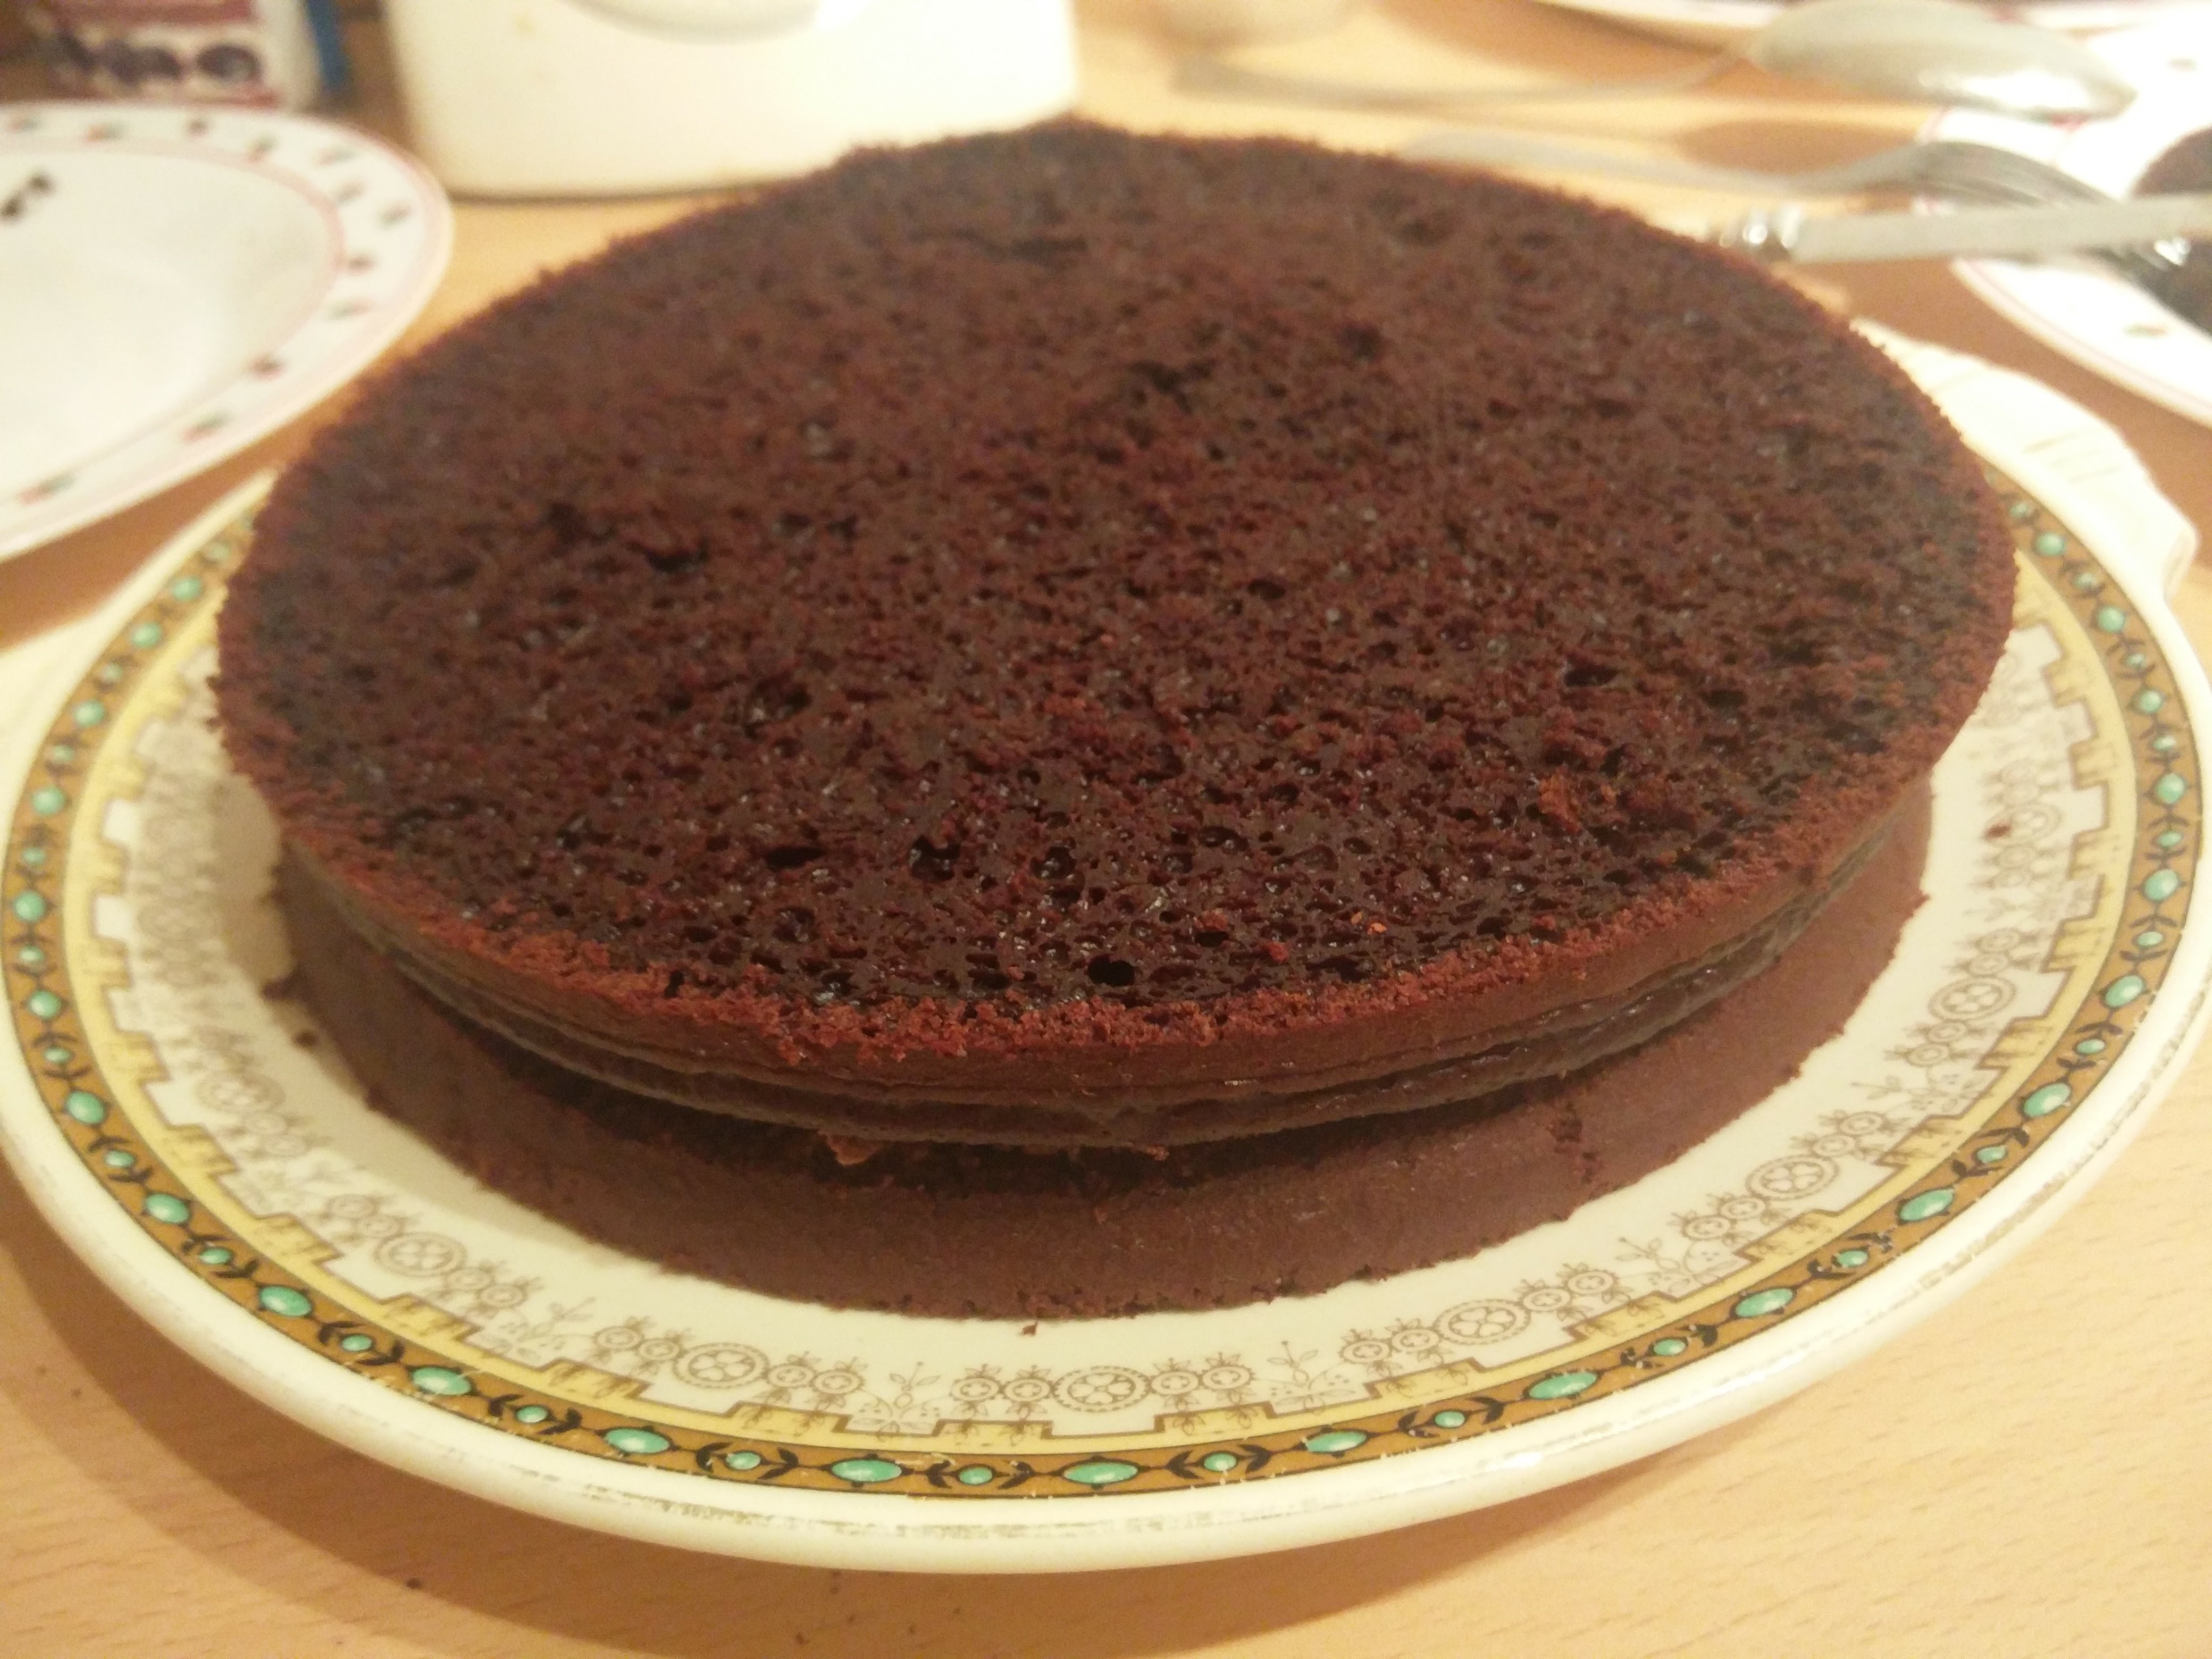
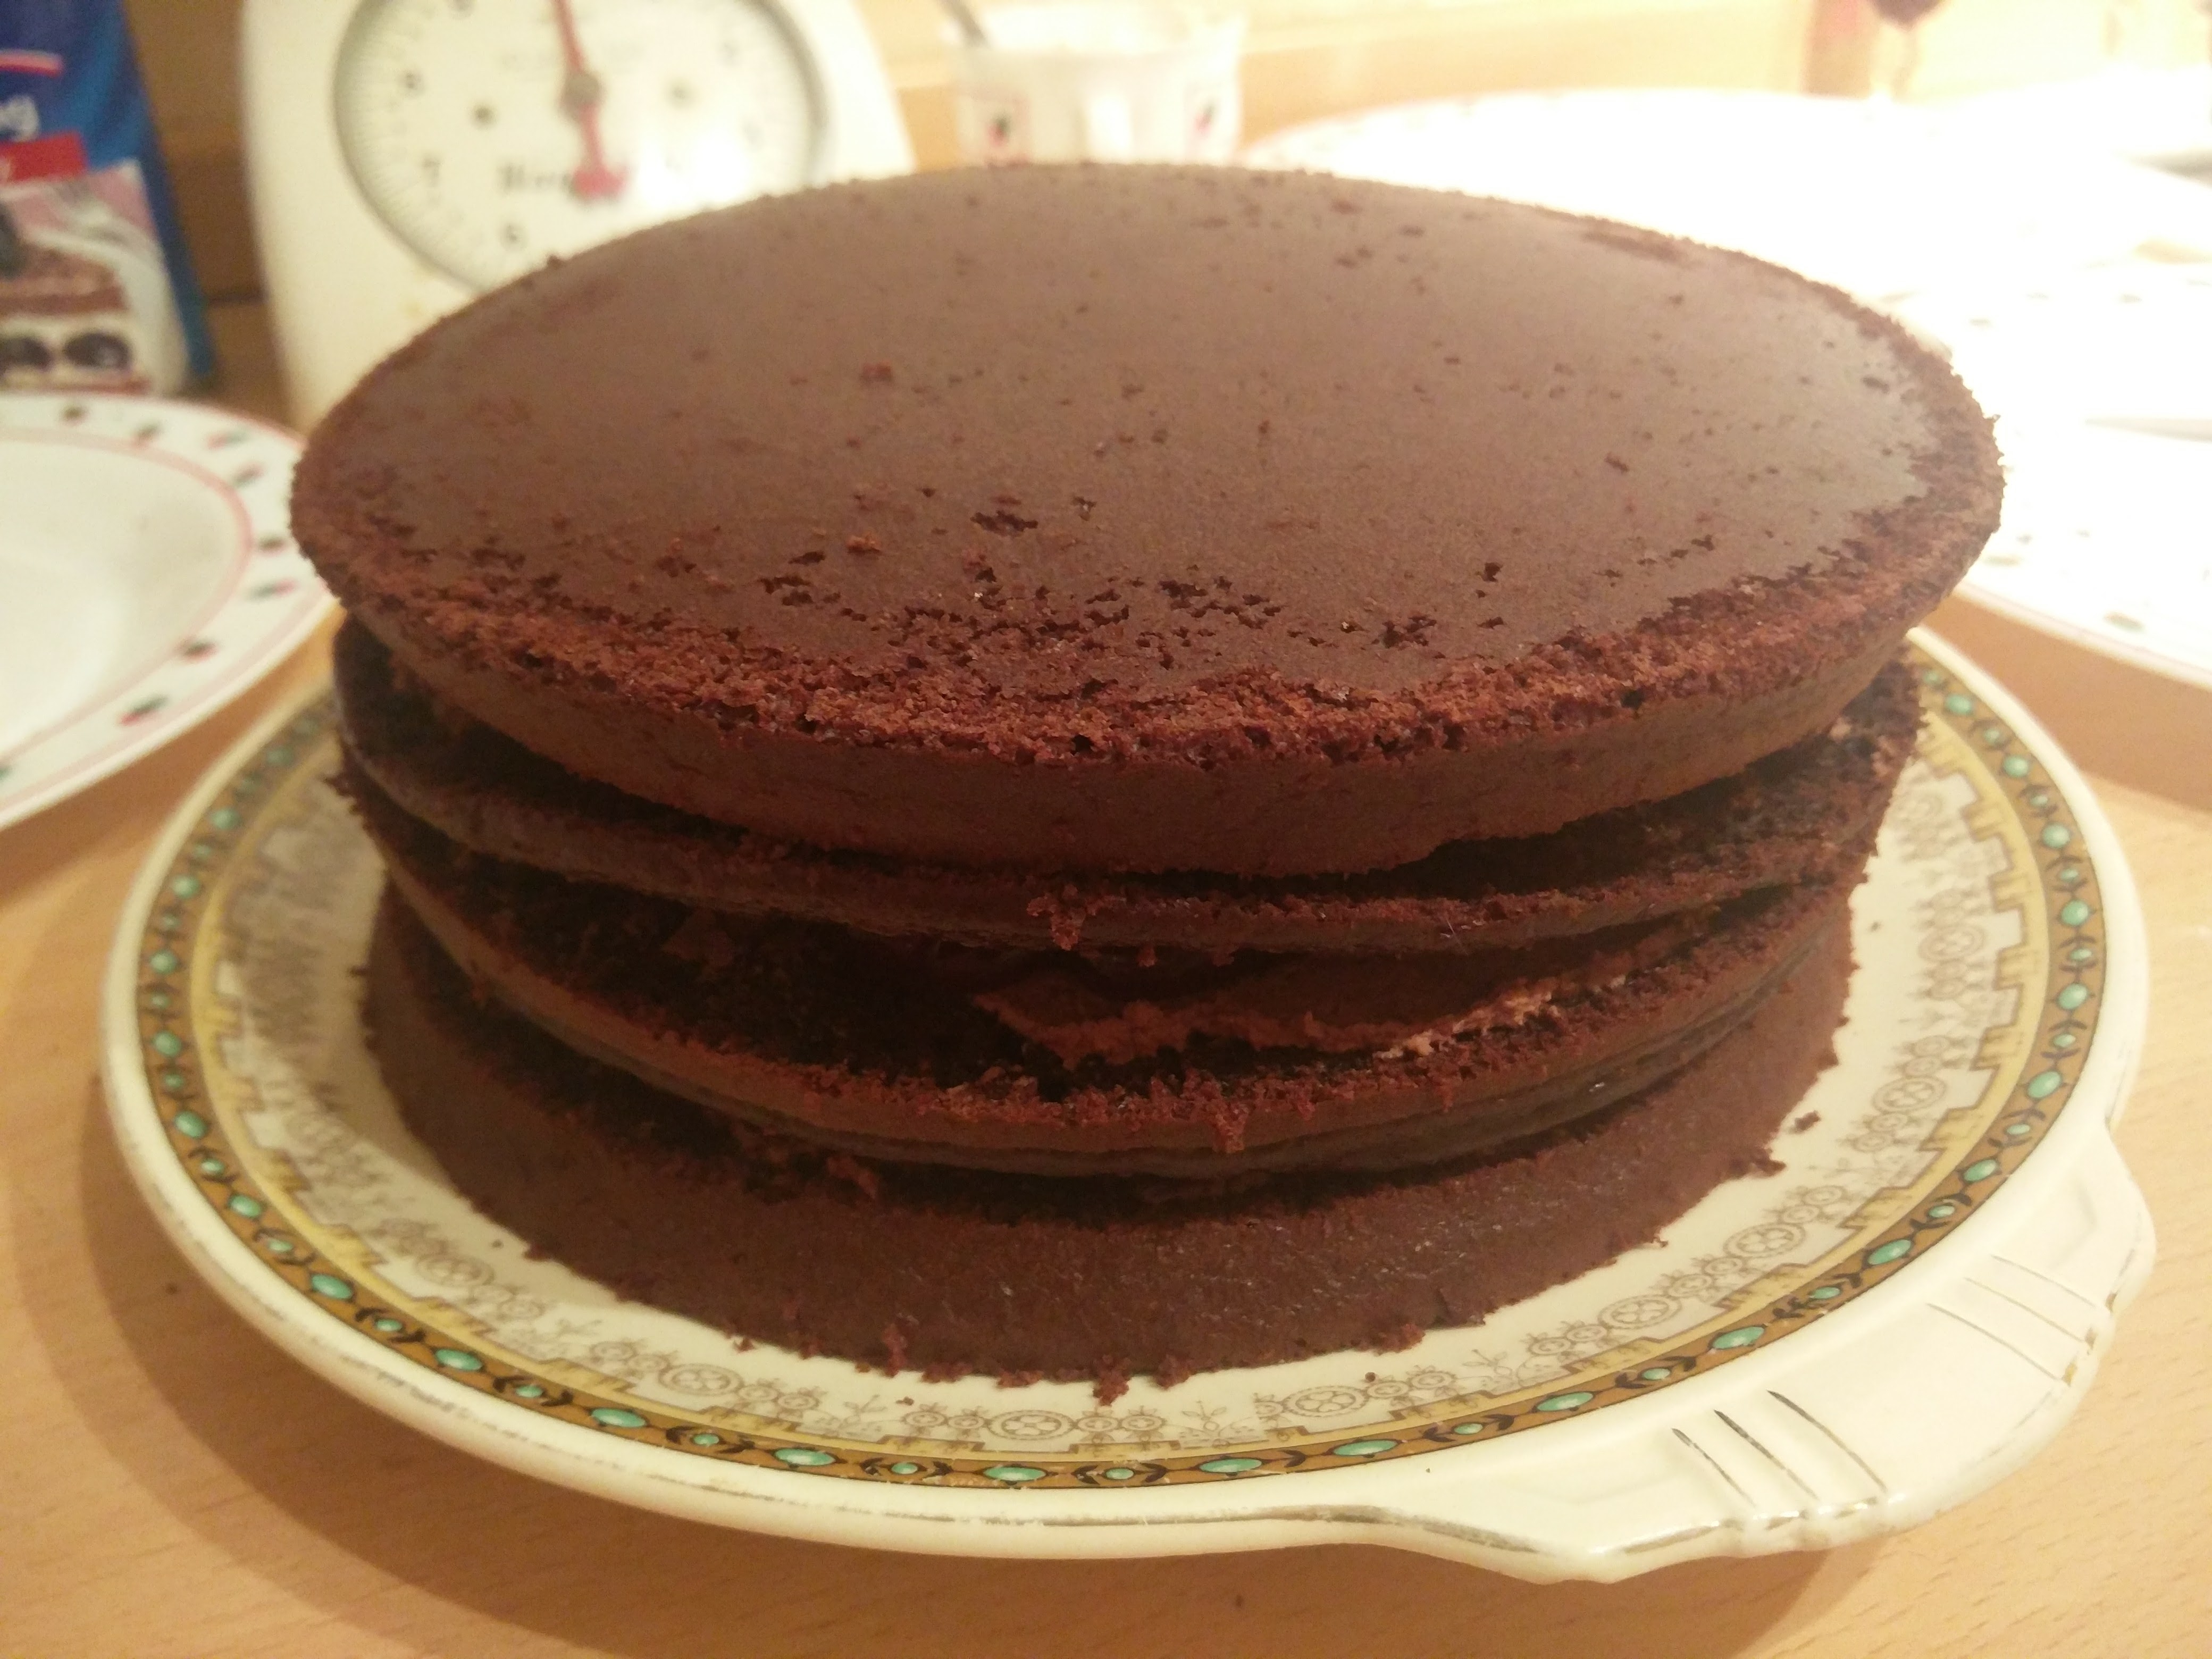
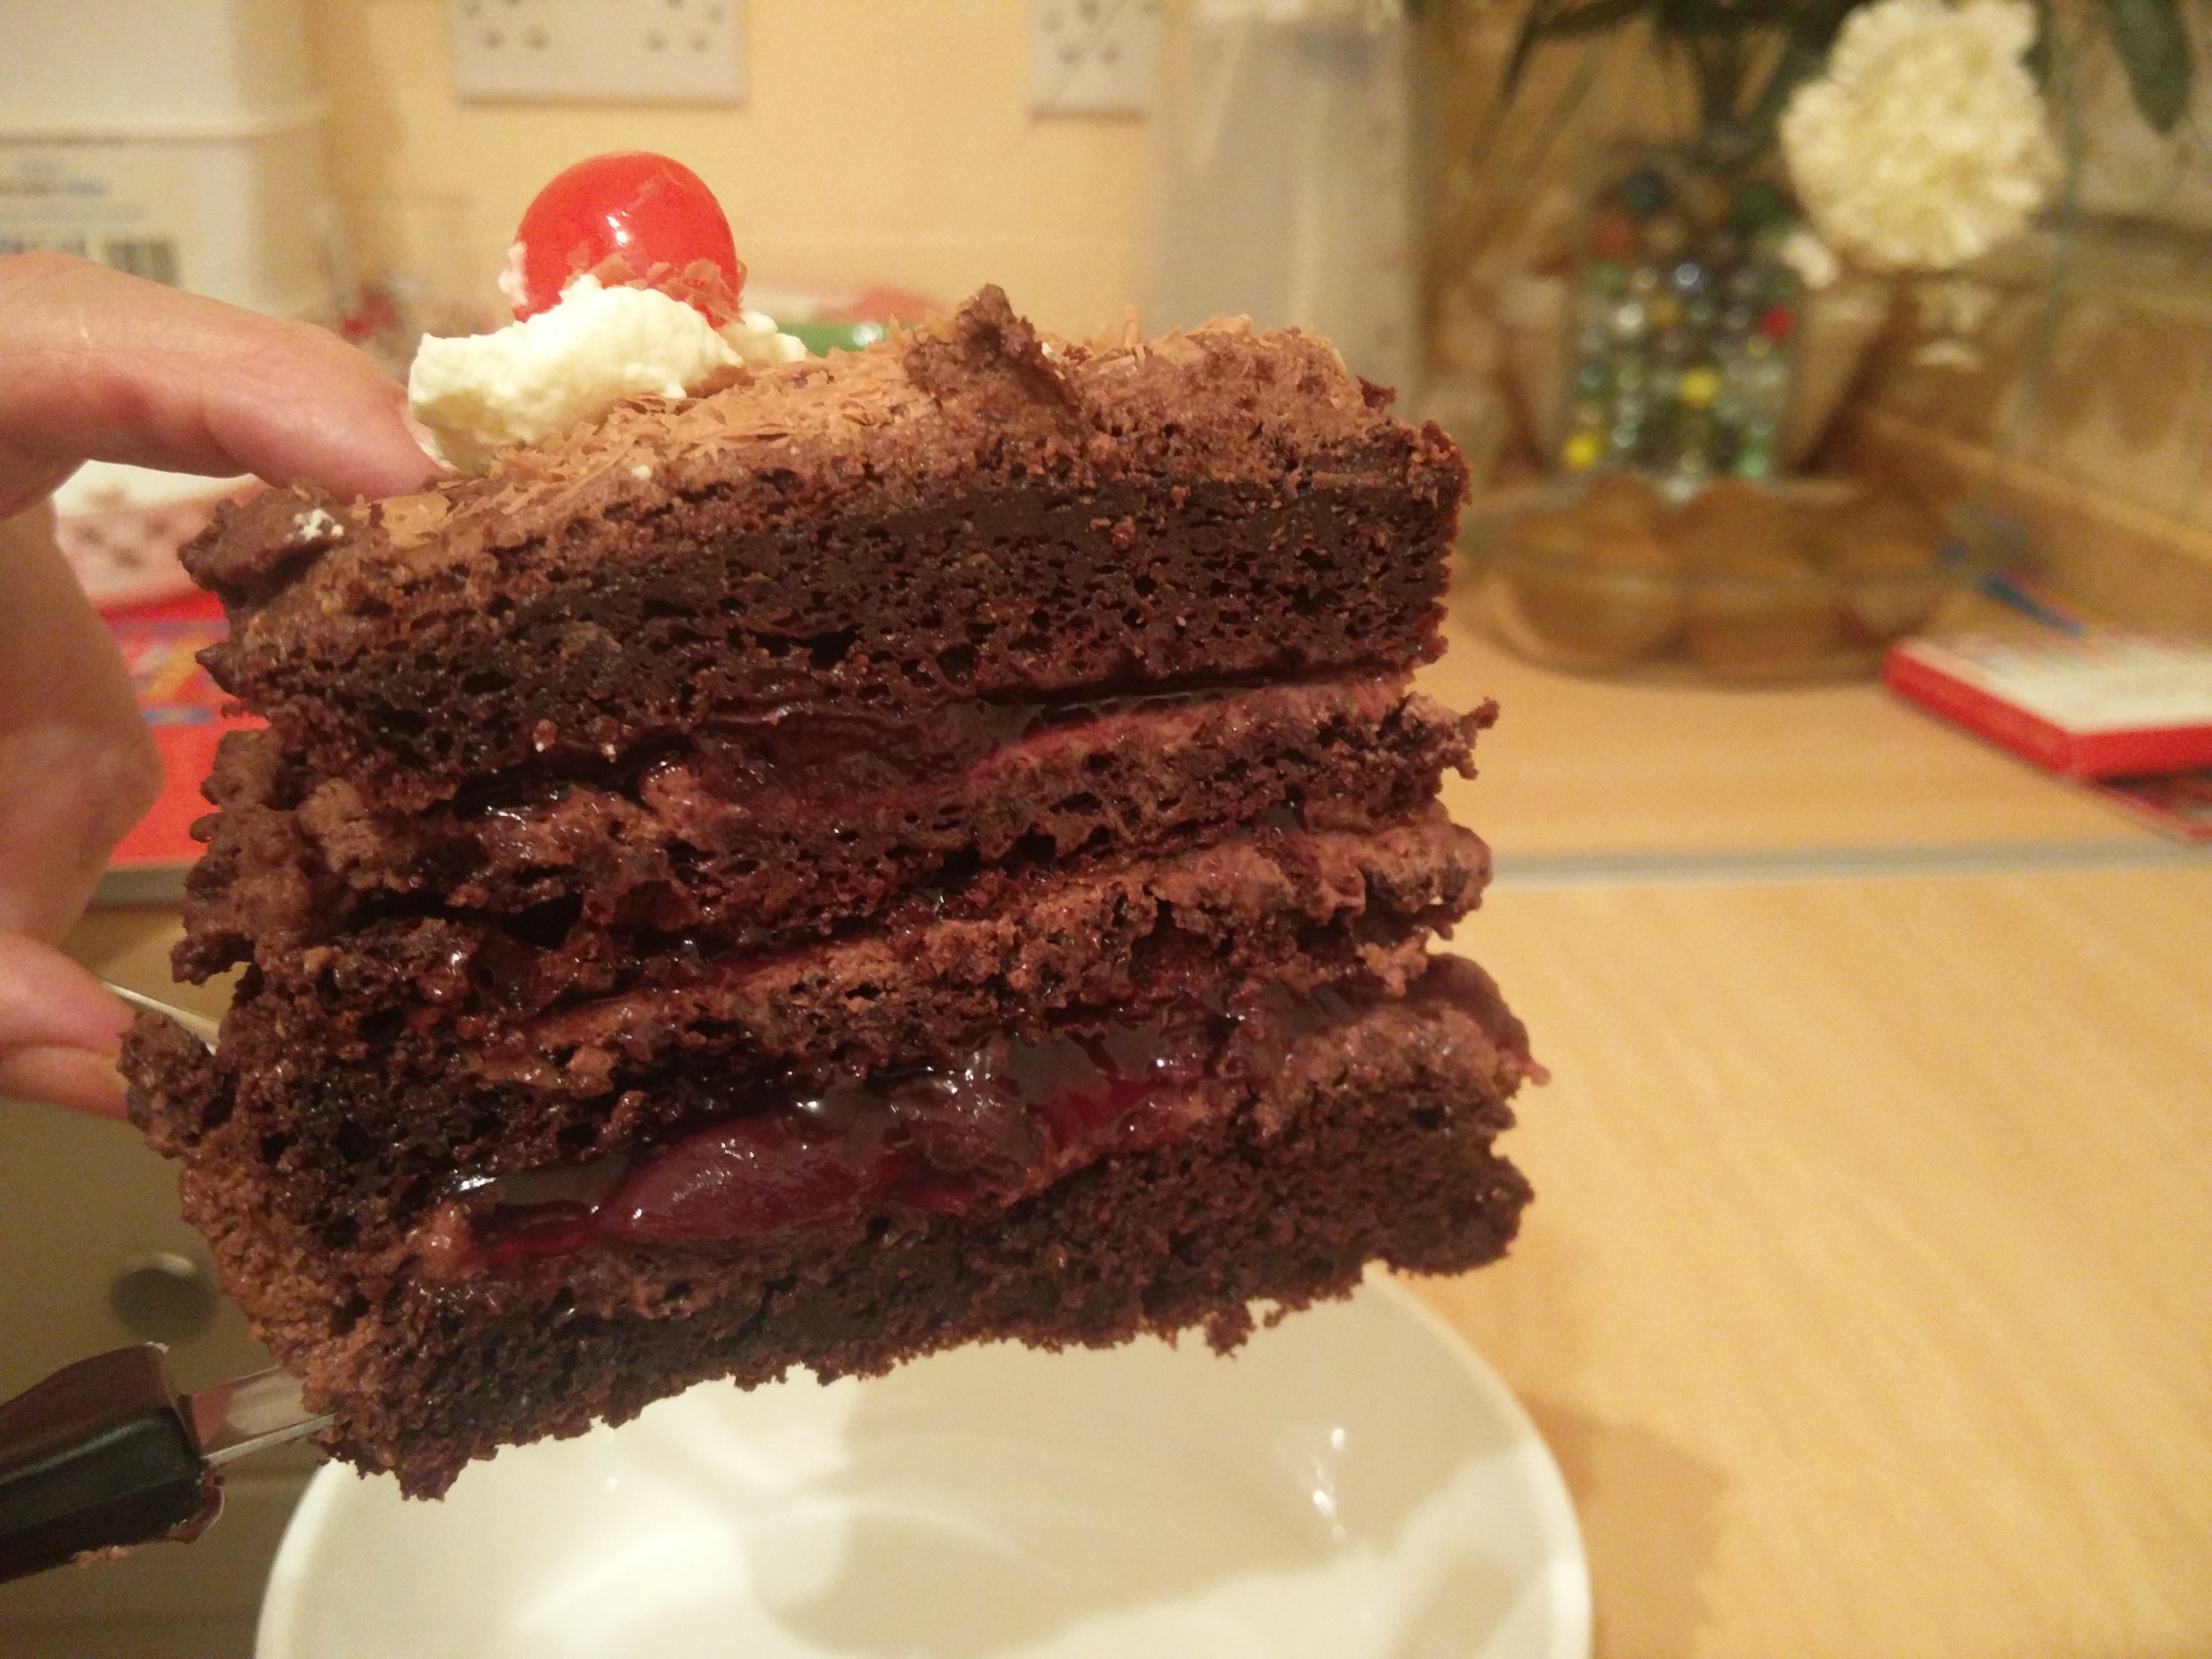
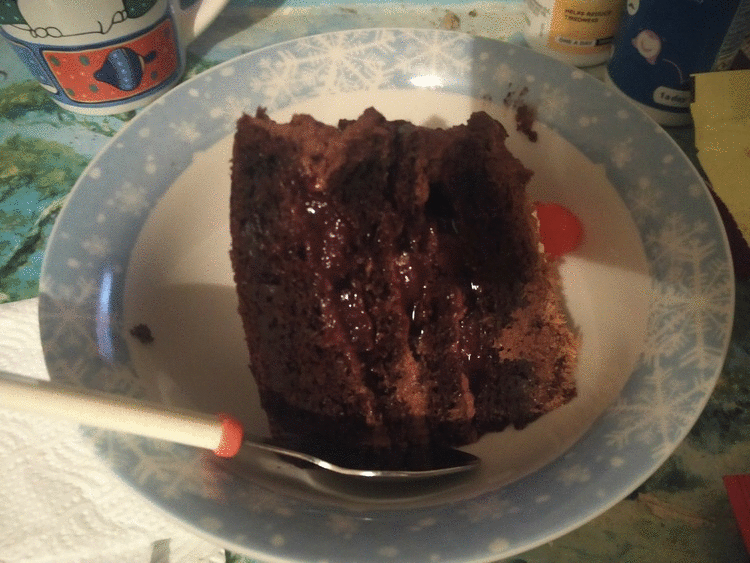
Unfortunately, there’s no rest for the wicked as I was up at 4am to finish off the decorating of the cake (thinking this would give me plenty of time!). The first thing to do was to cut each layer in half (horizontally) to make four total layers. Sprinkle the layers with the 1/2 cup of Kirsch.. I decided to skip the Kirsch section, as I was afraid it would make the cakes too soggy, but the cutting of them was simple enough once they’d popped out of the cake pans as I was able to follow the rim of the plate.

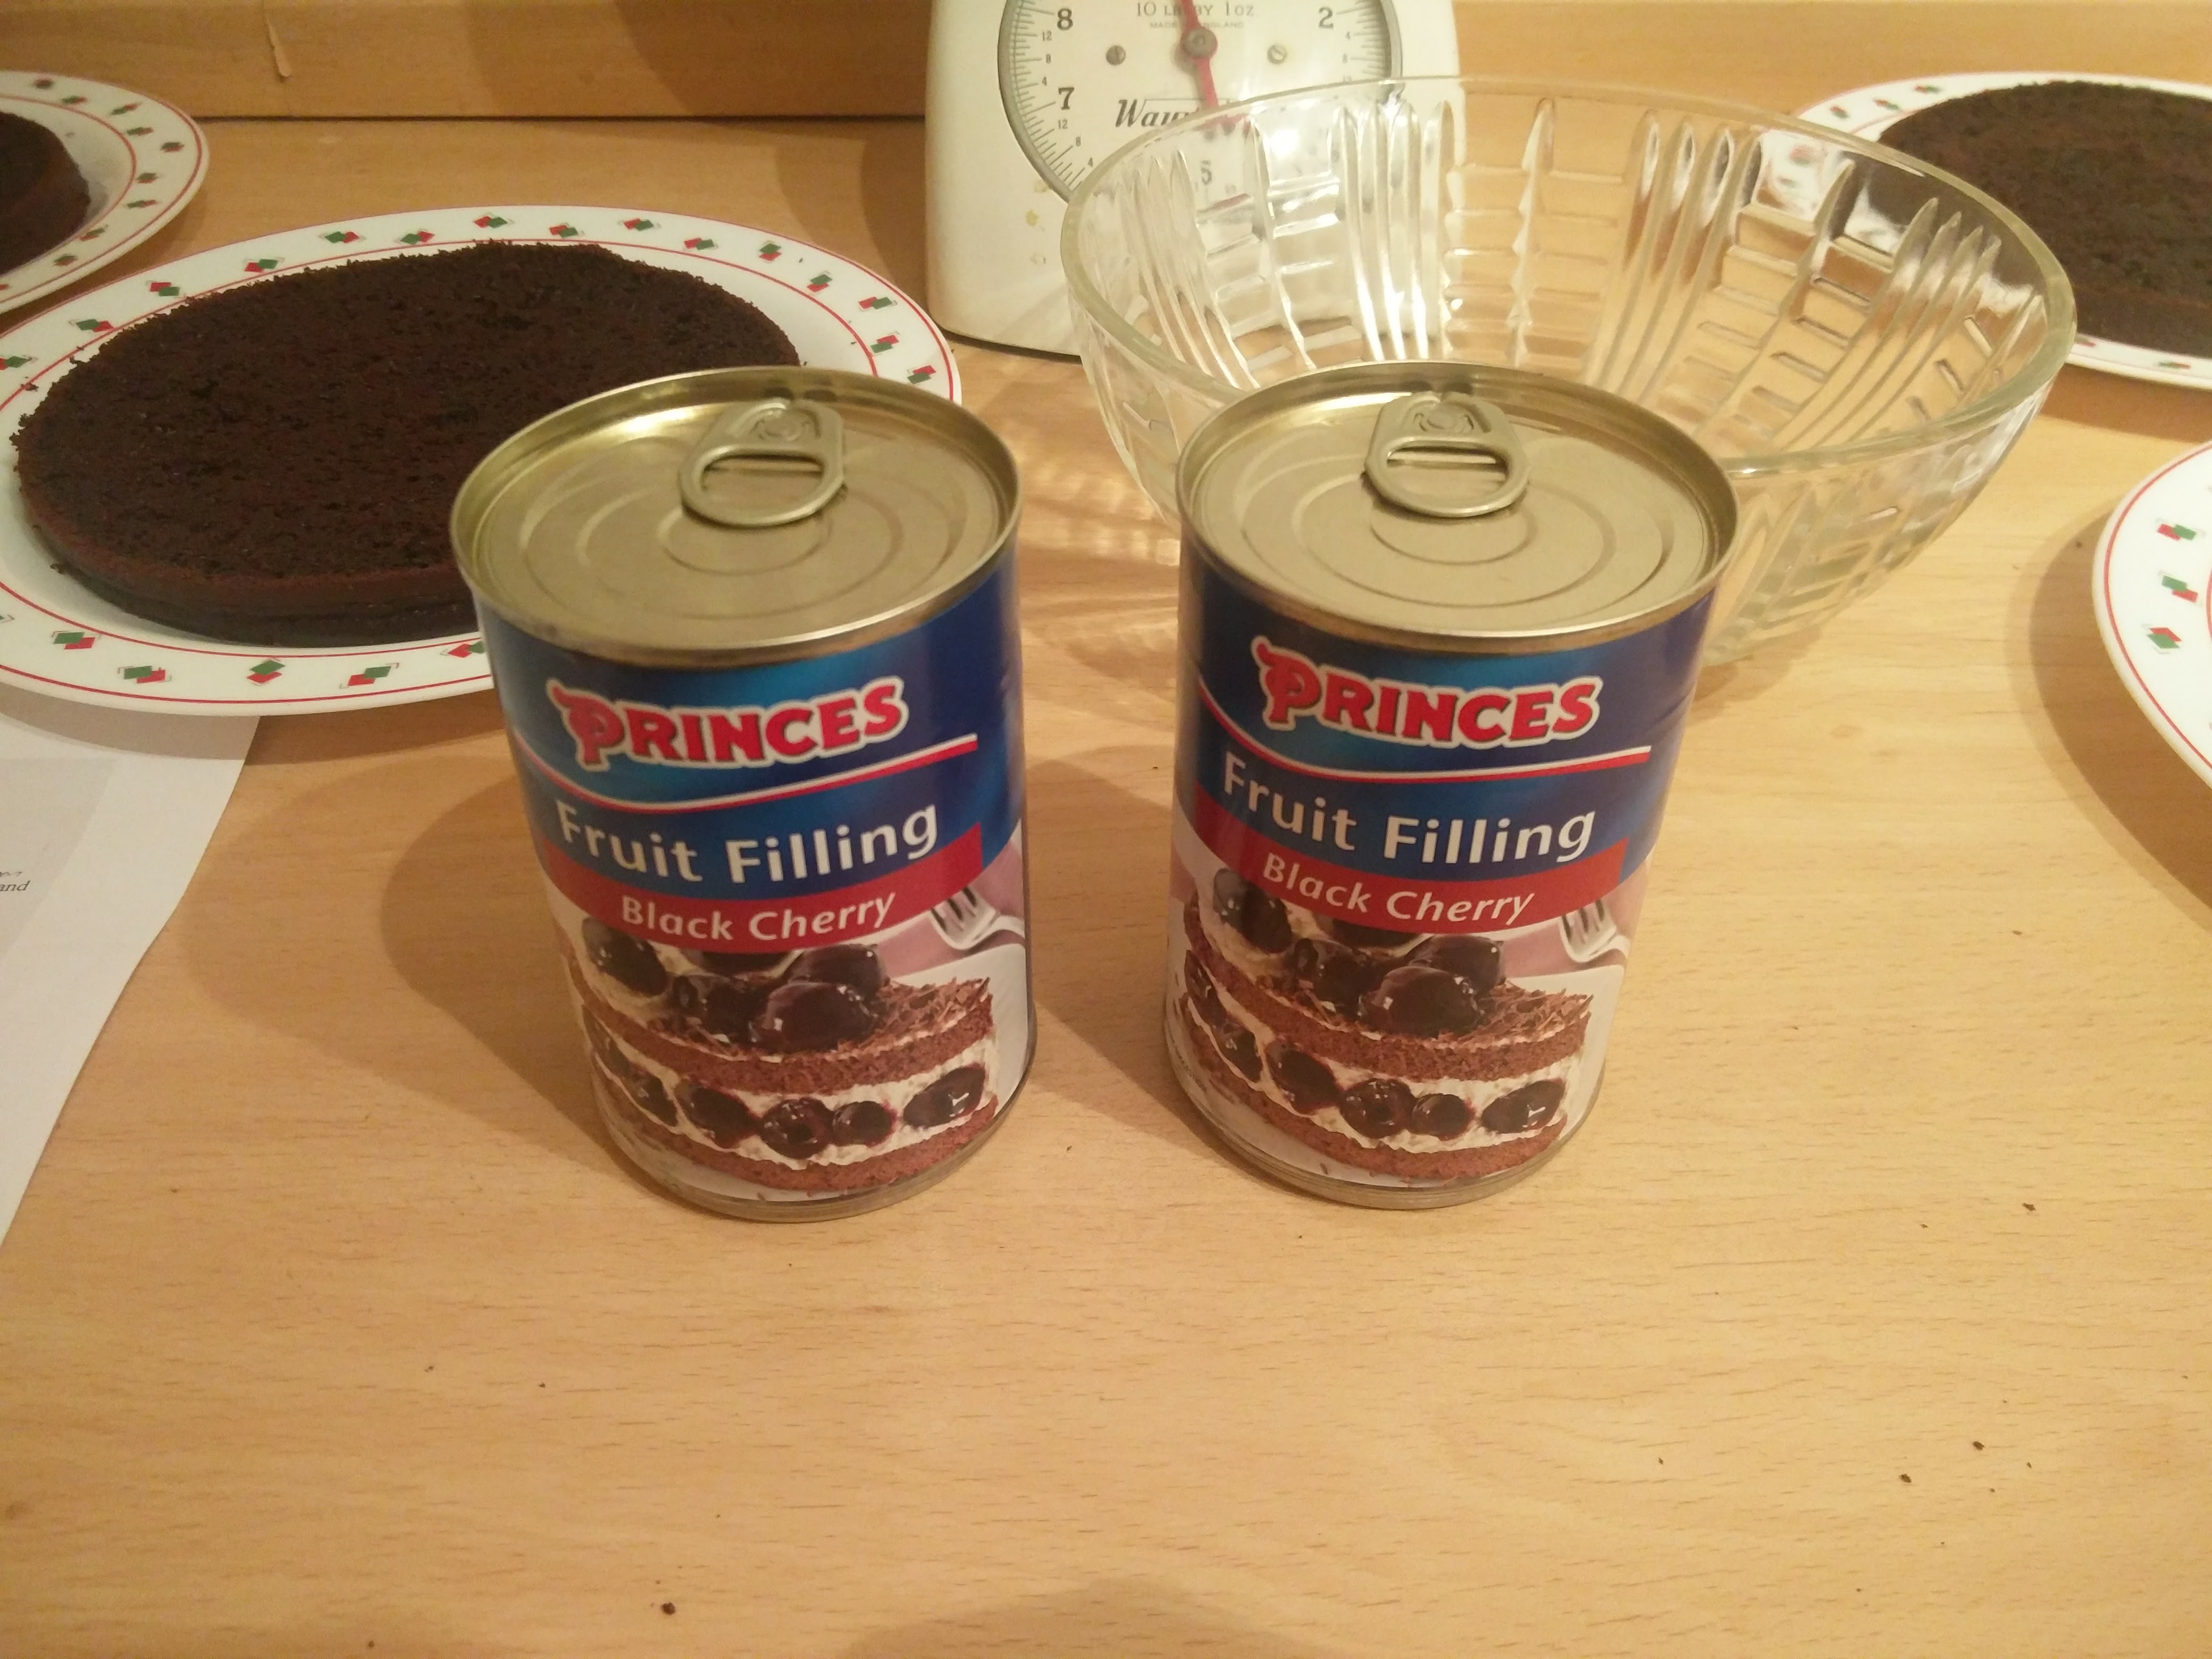
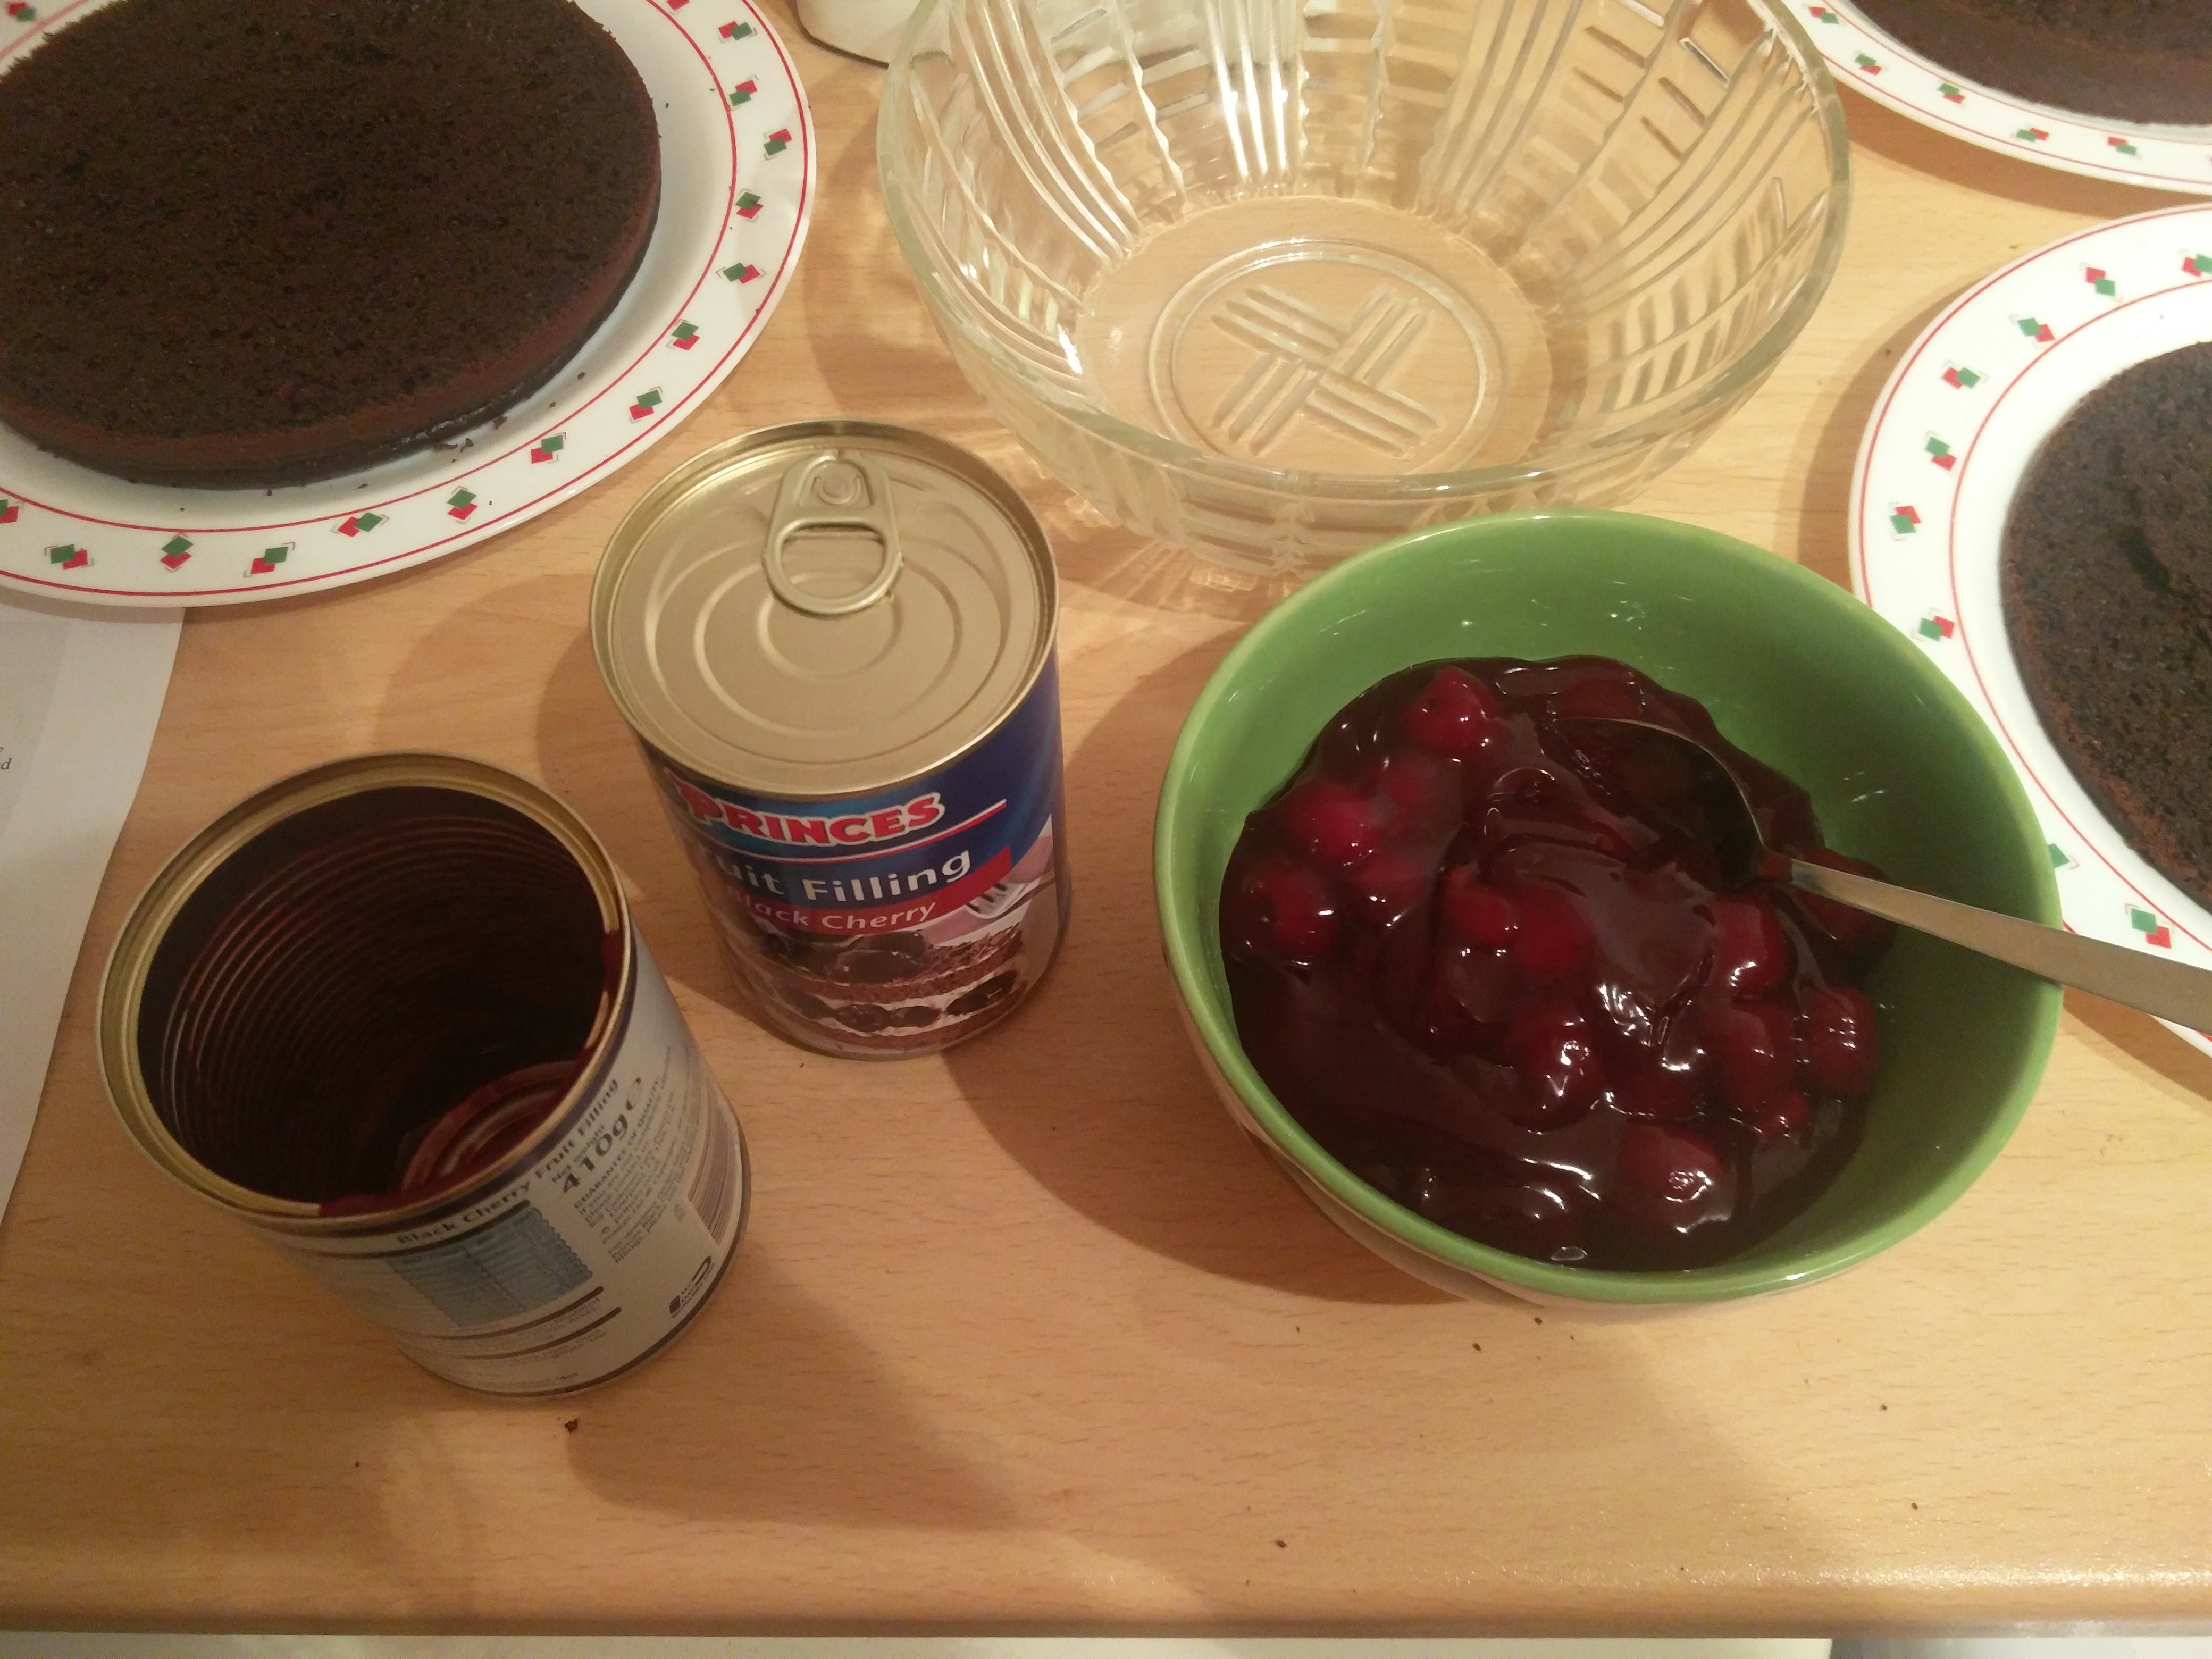
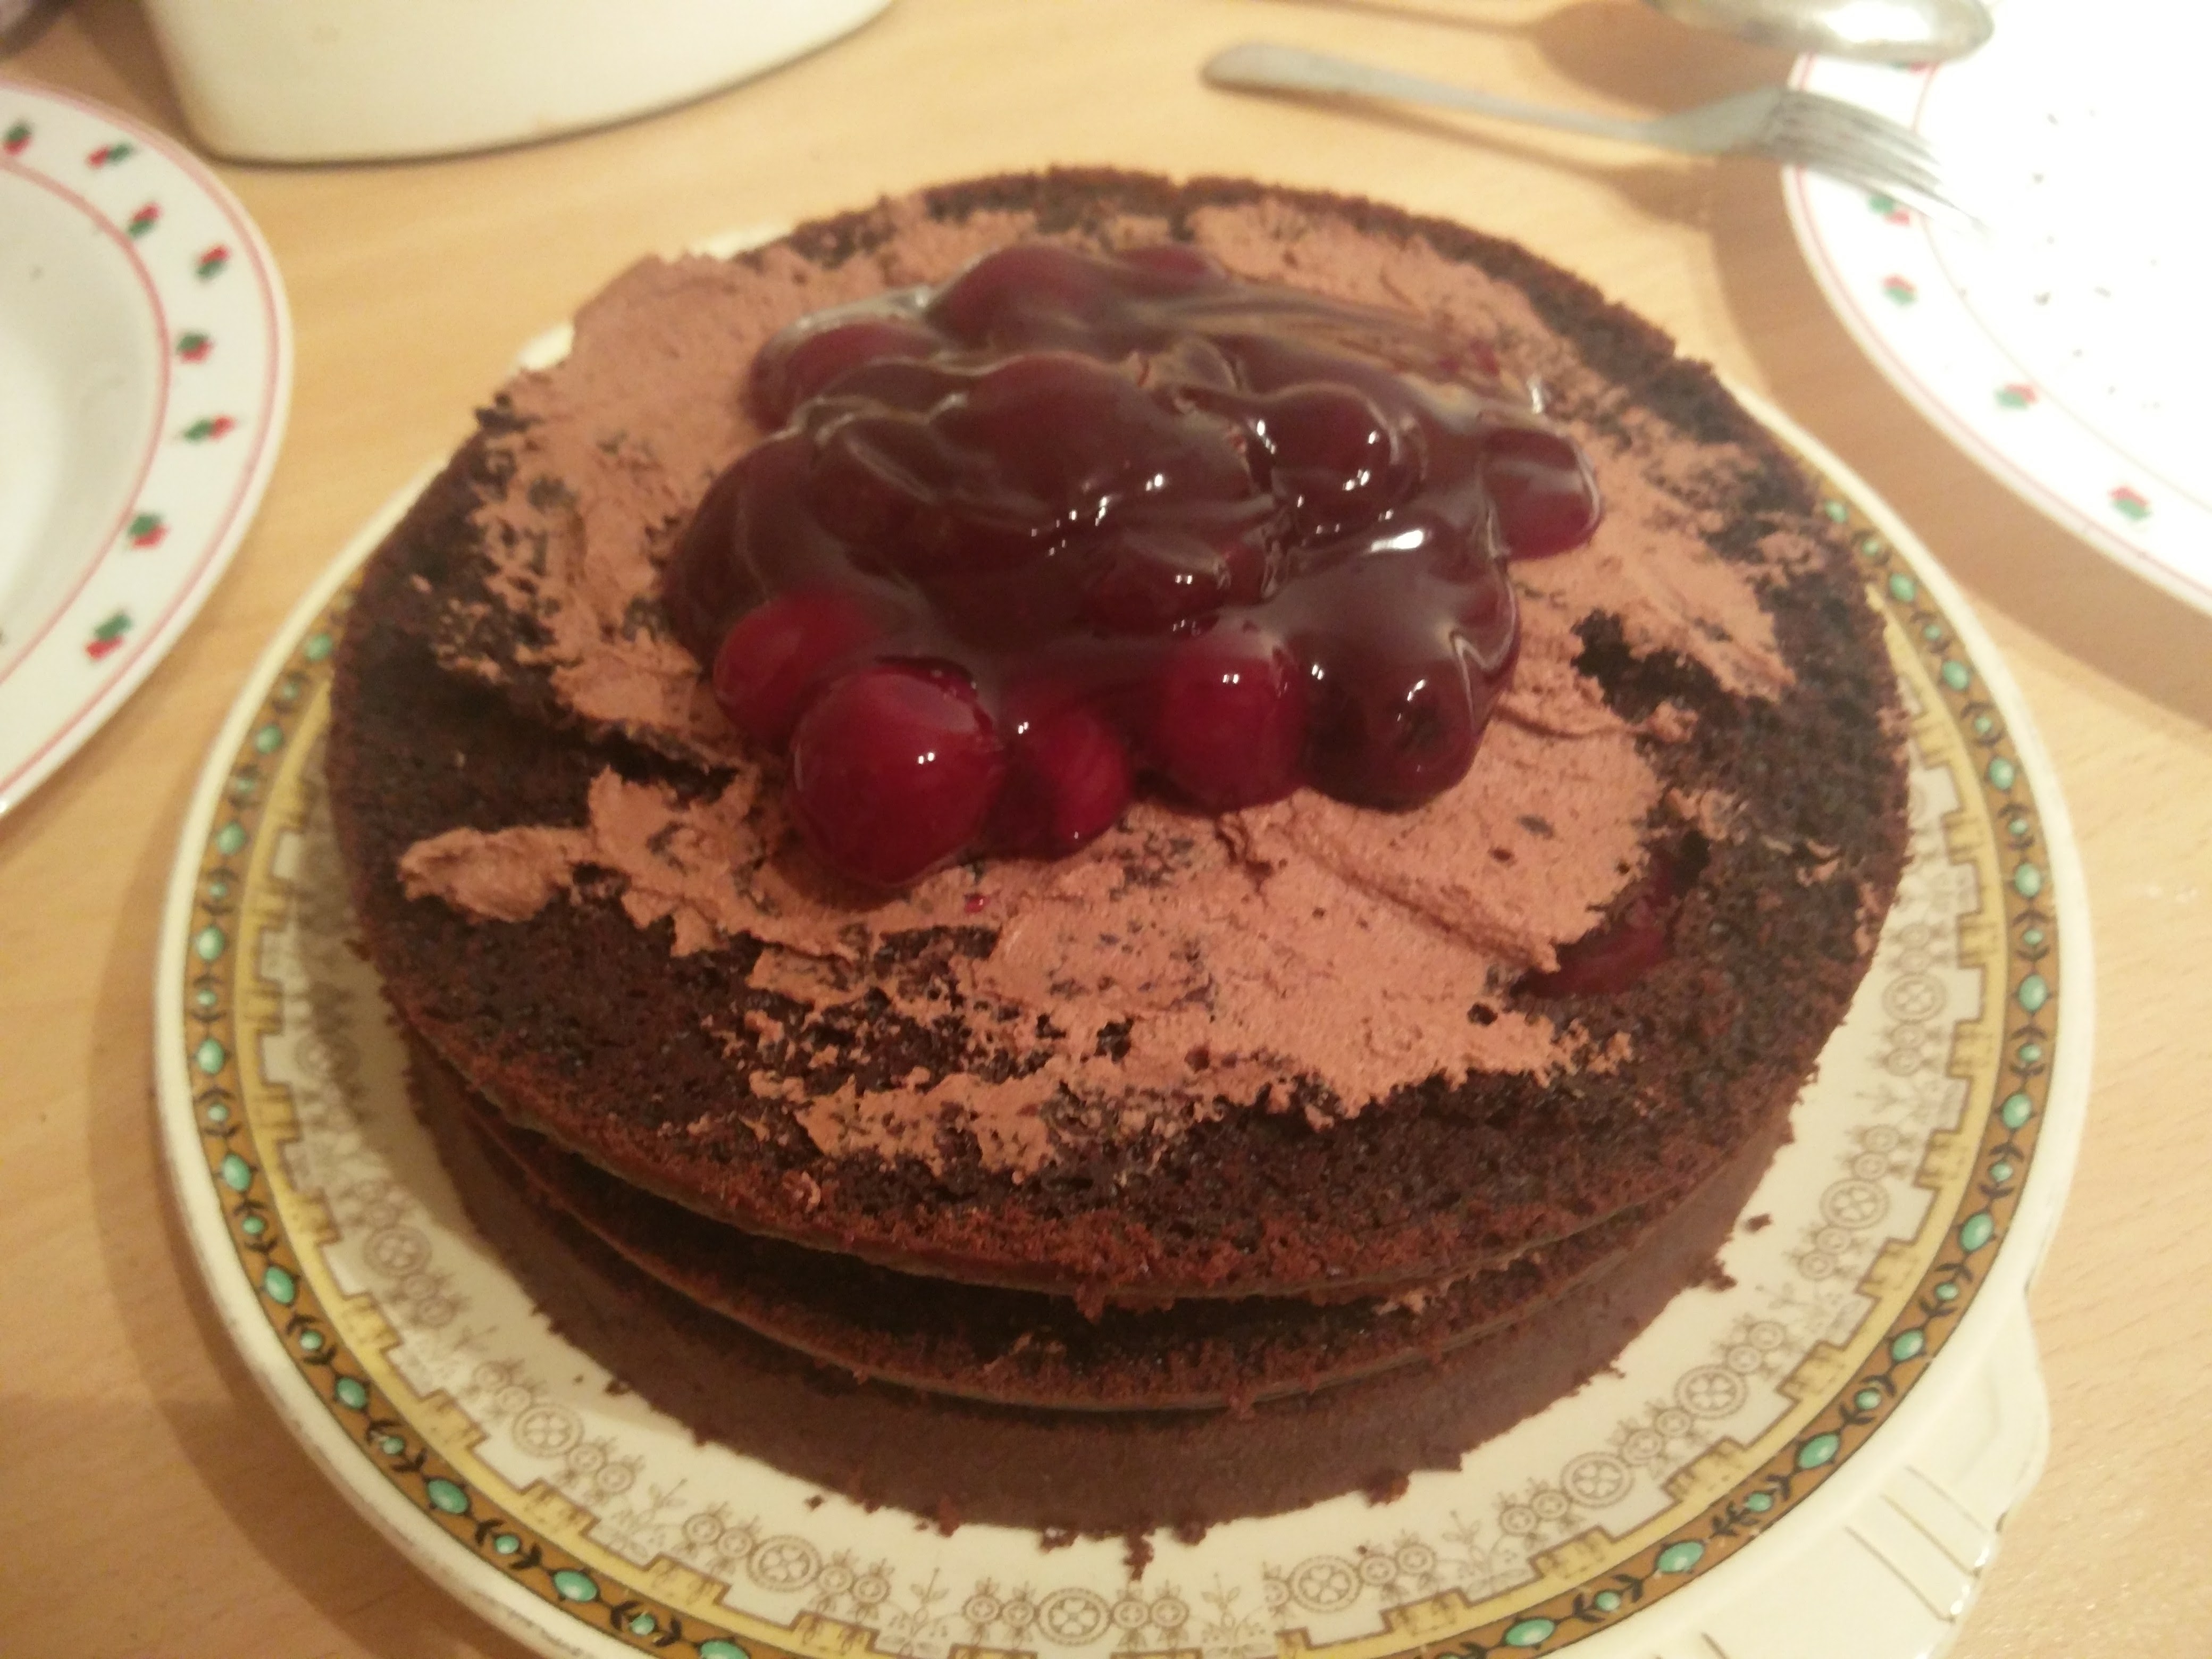
After spending a bit of time cutting the cake halves into quarters, I moved onto the next step of draining the canned cherries (2 cans) in a colander to remove most of the juice. I wasn’t using cherries in juice, so didn’t have to drain anything and just poured them into a bowl instead. Also, although I’d bought two cans I decided to use only one to prevent cherry overload.
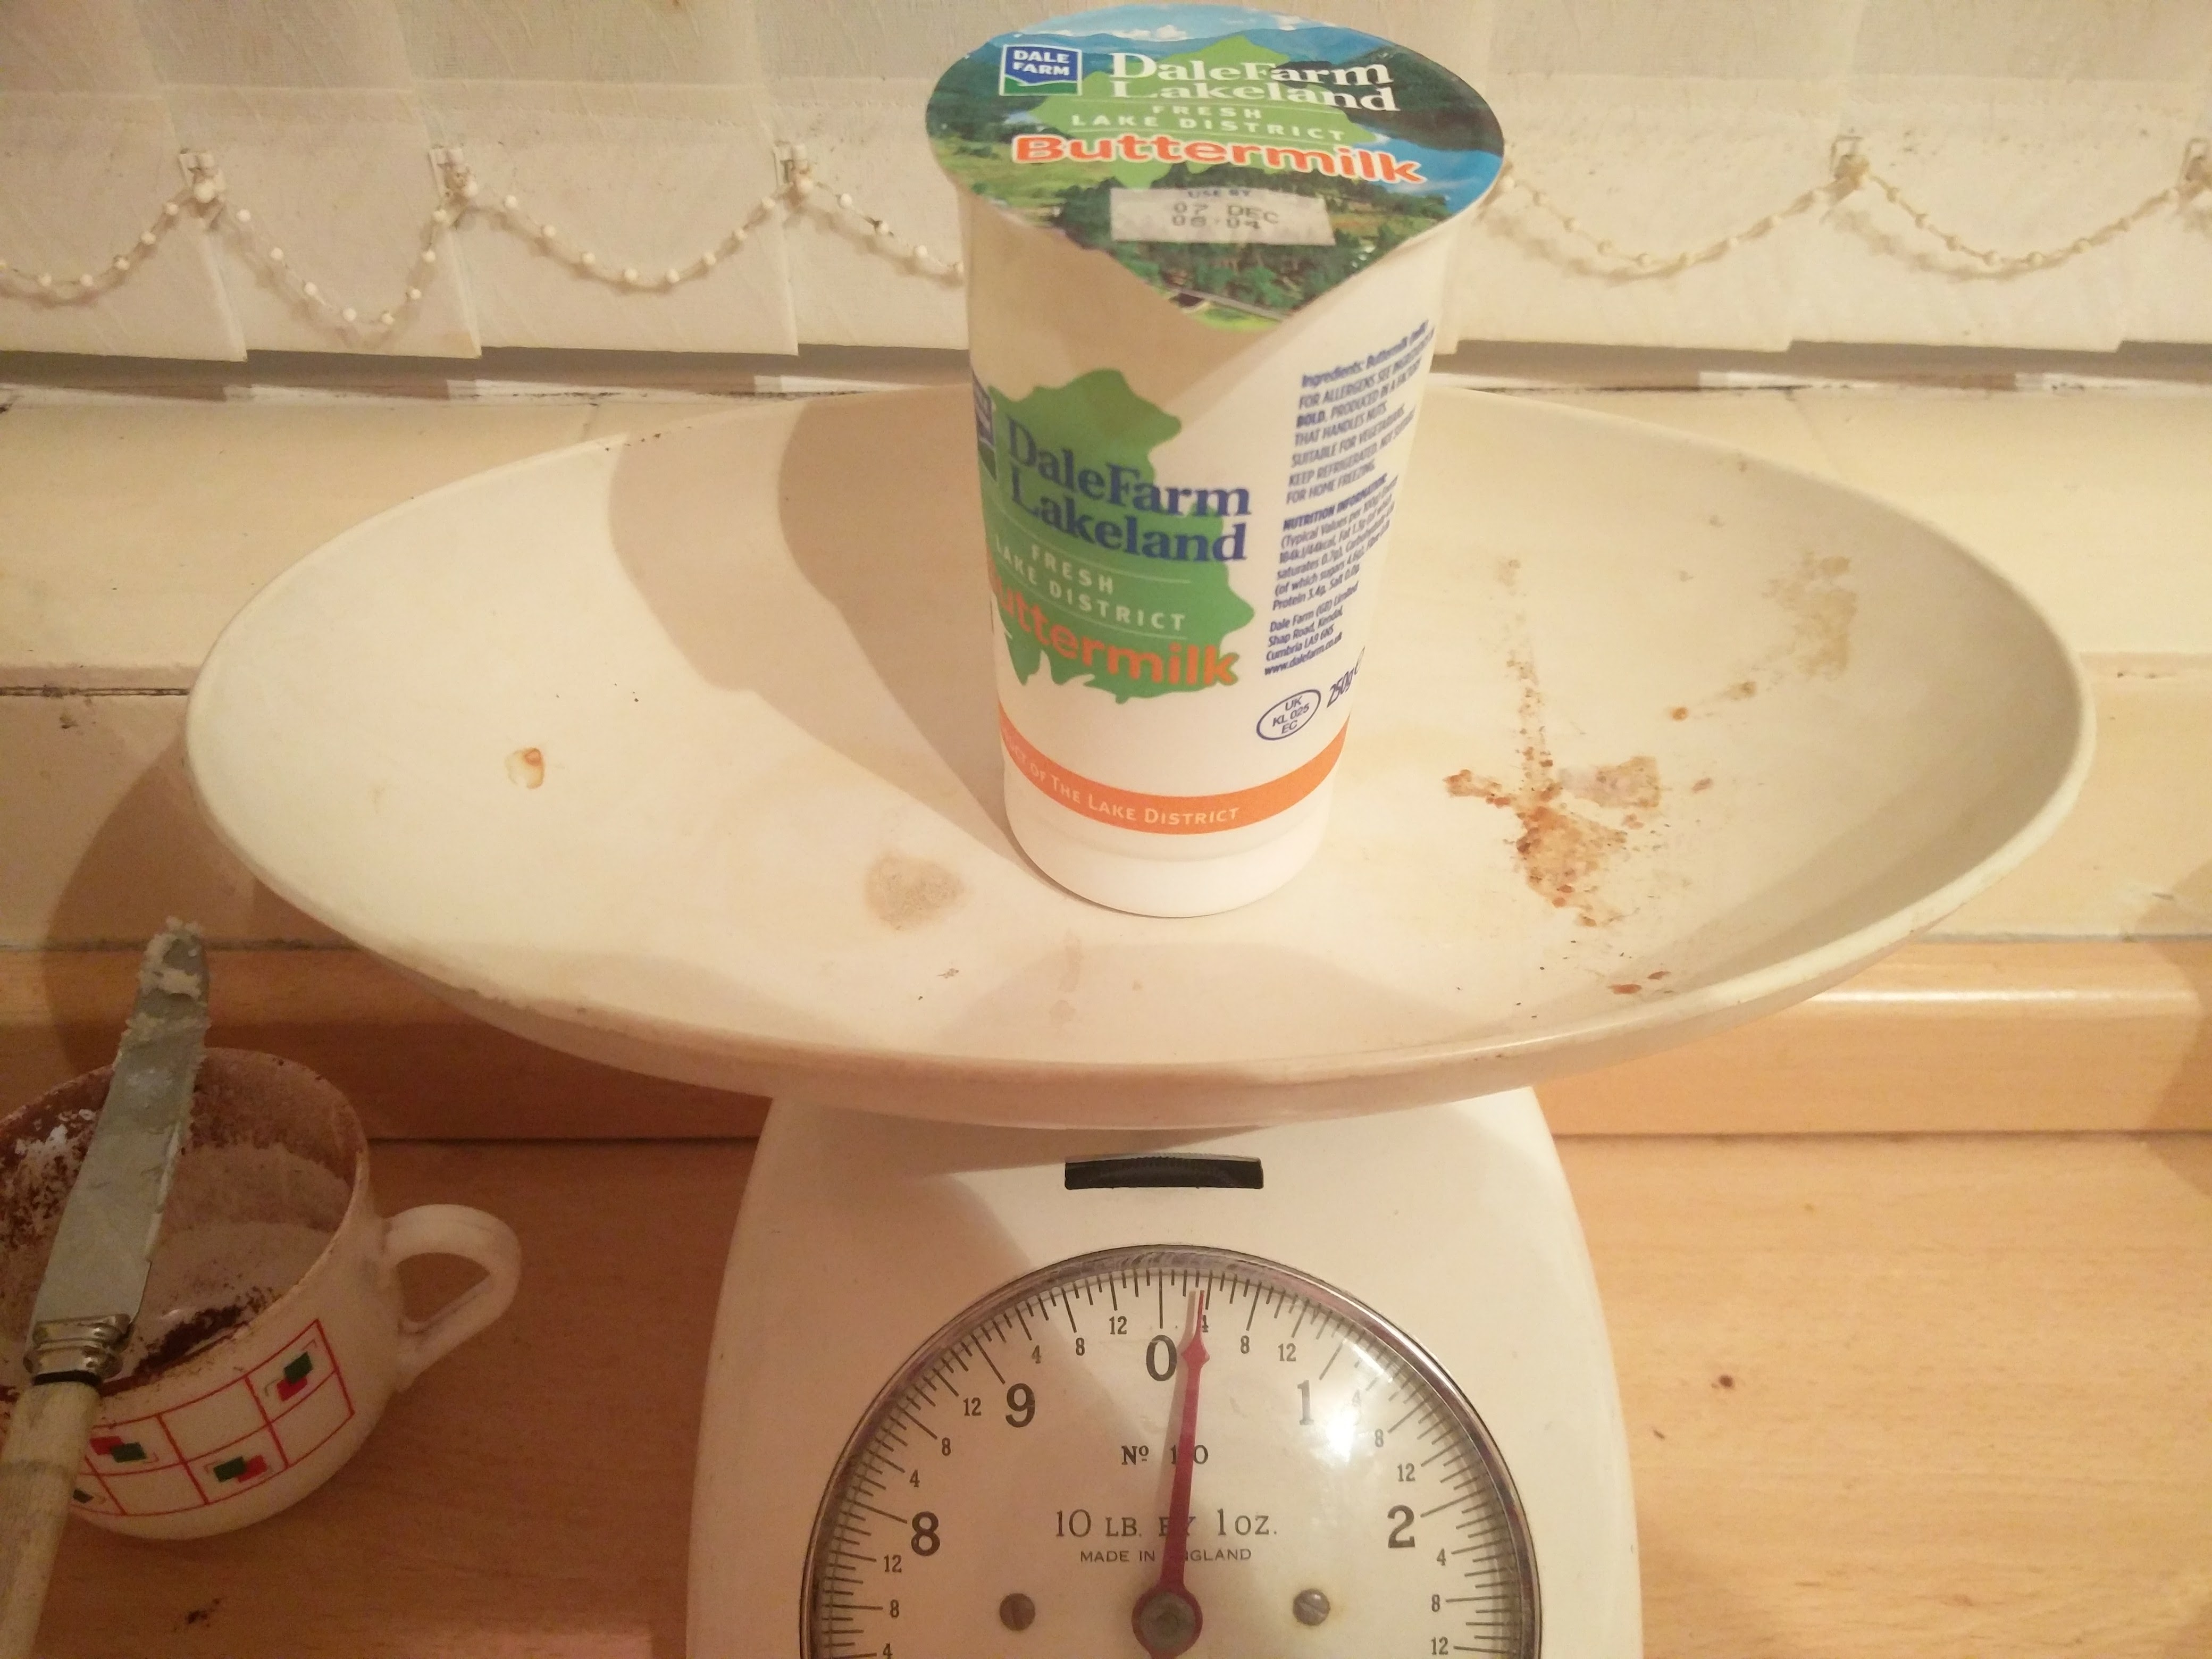
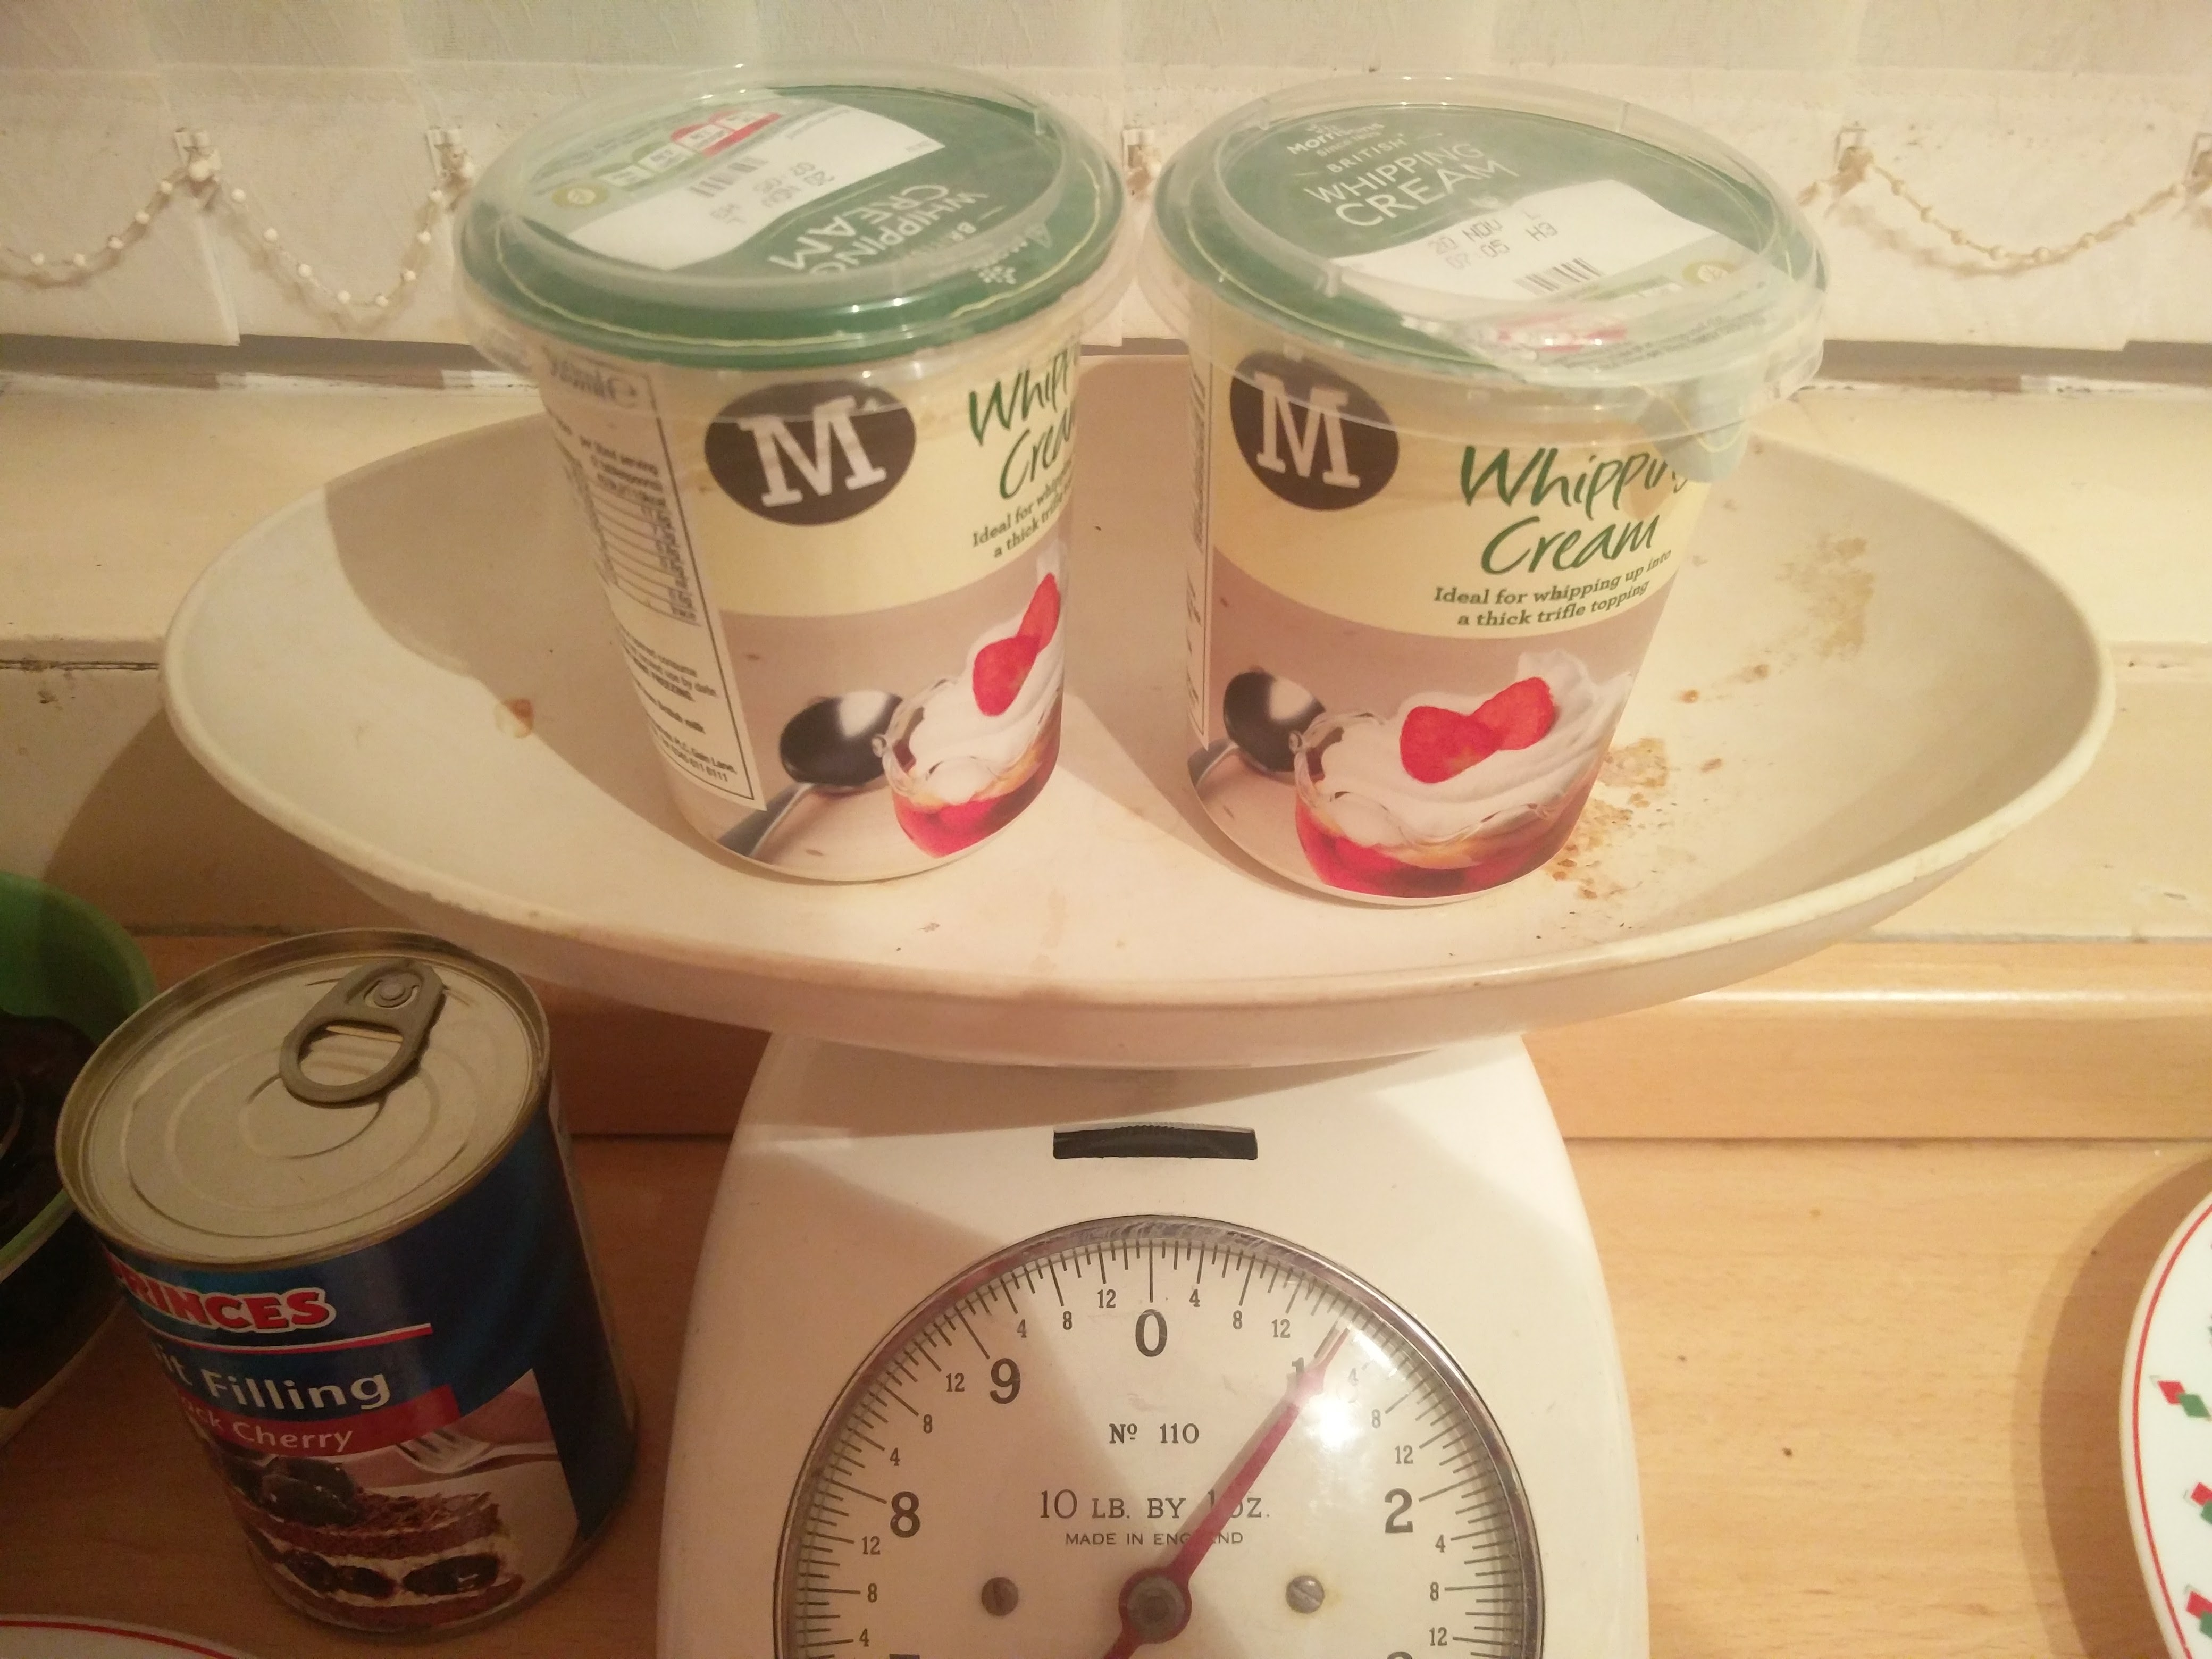
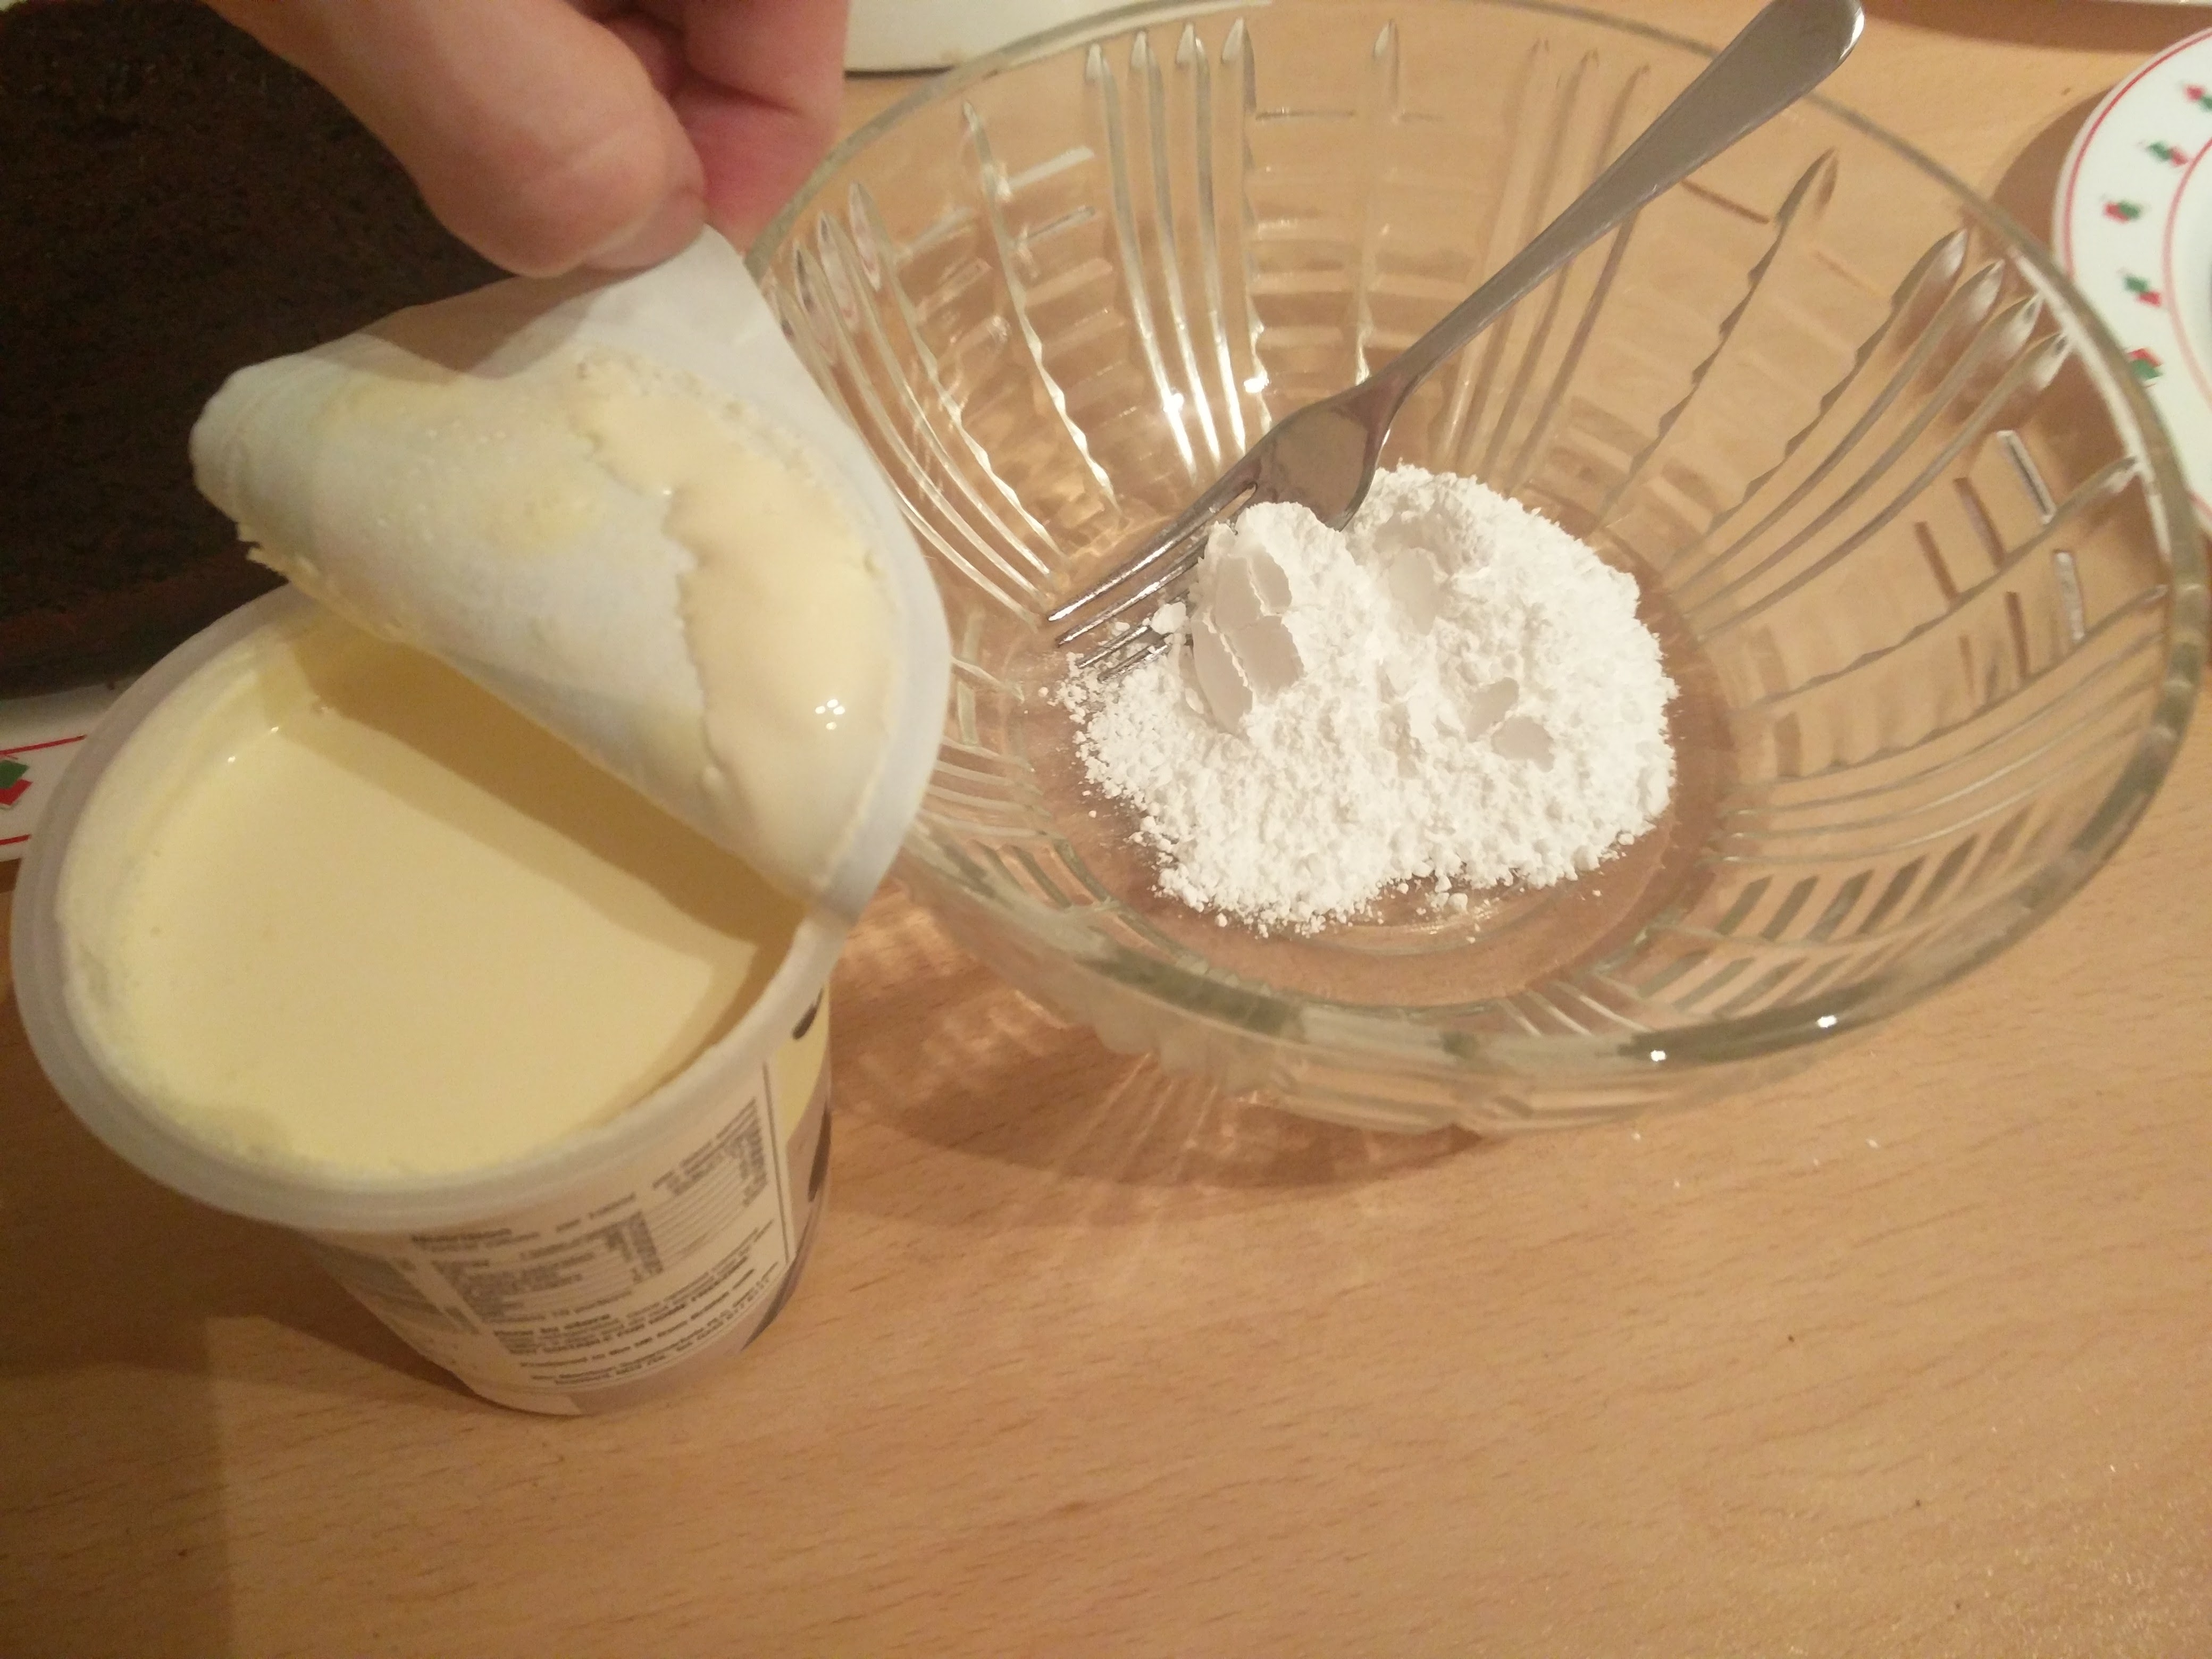
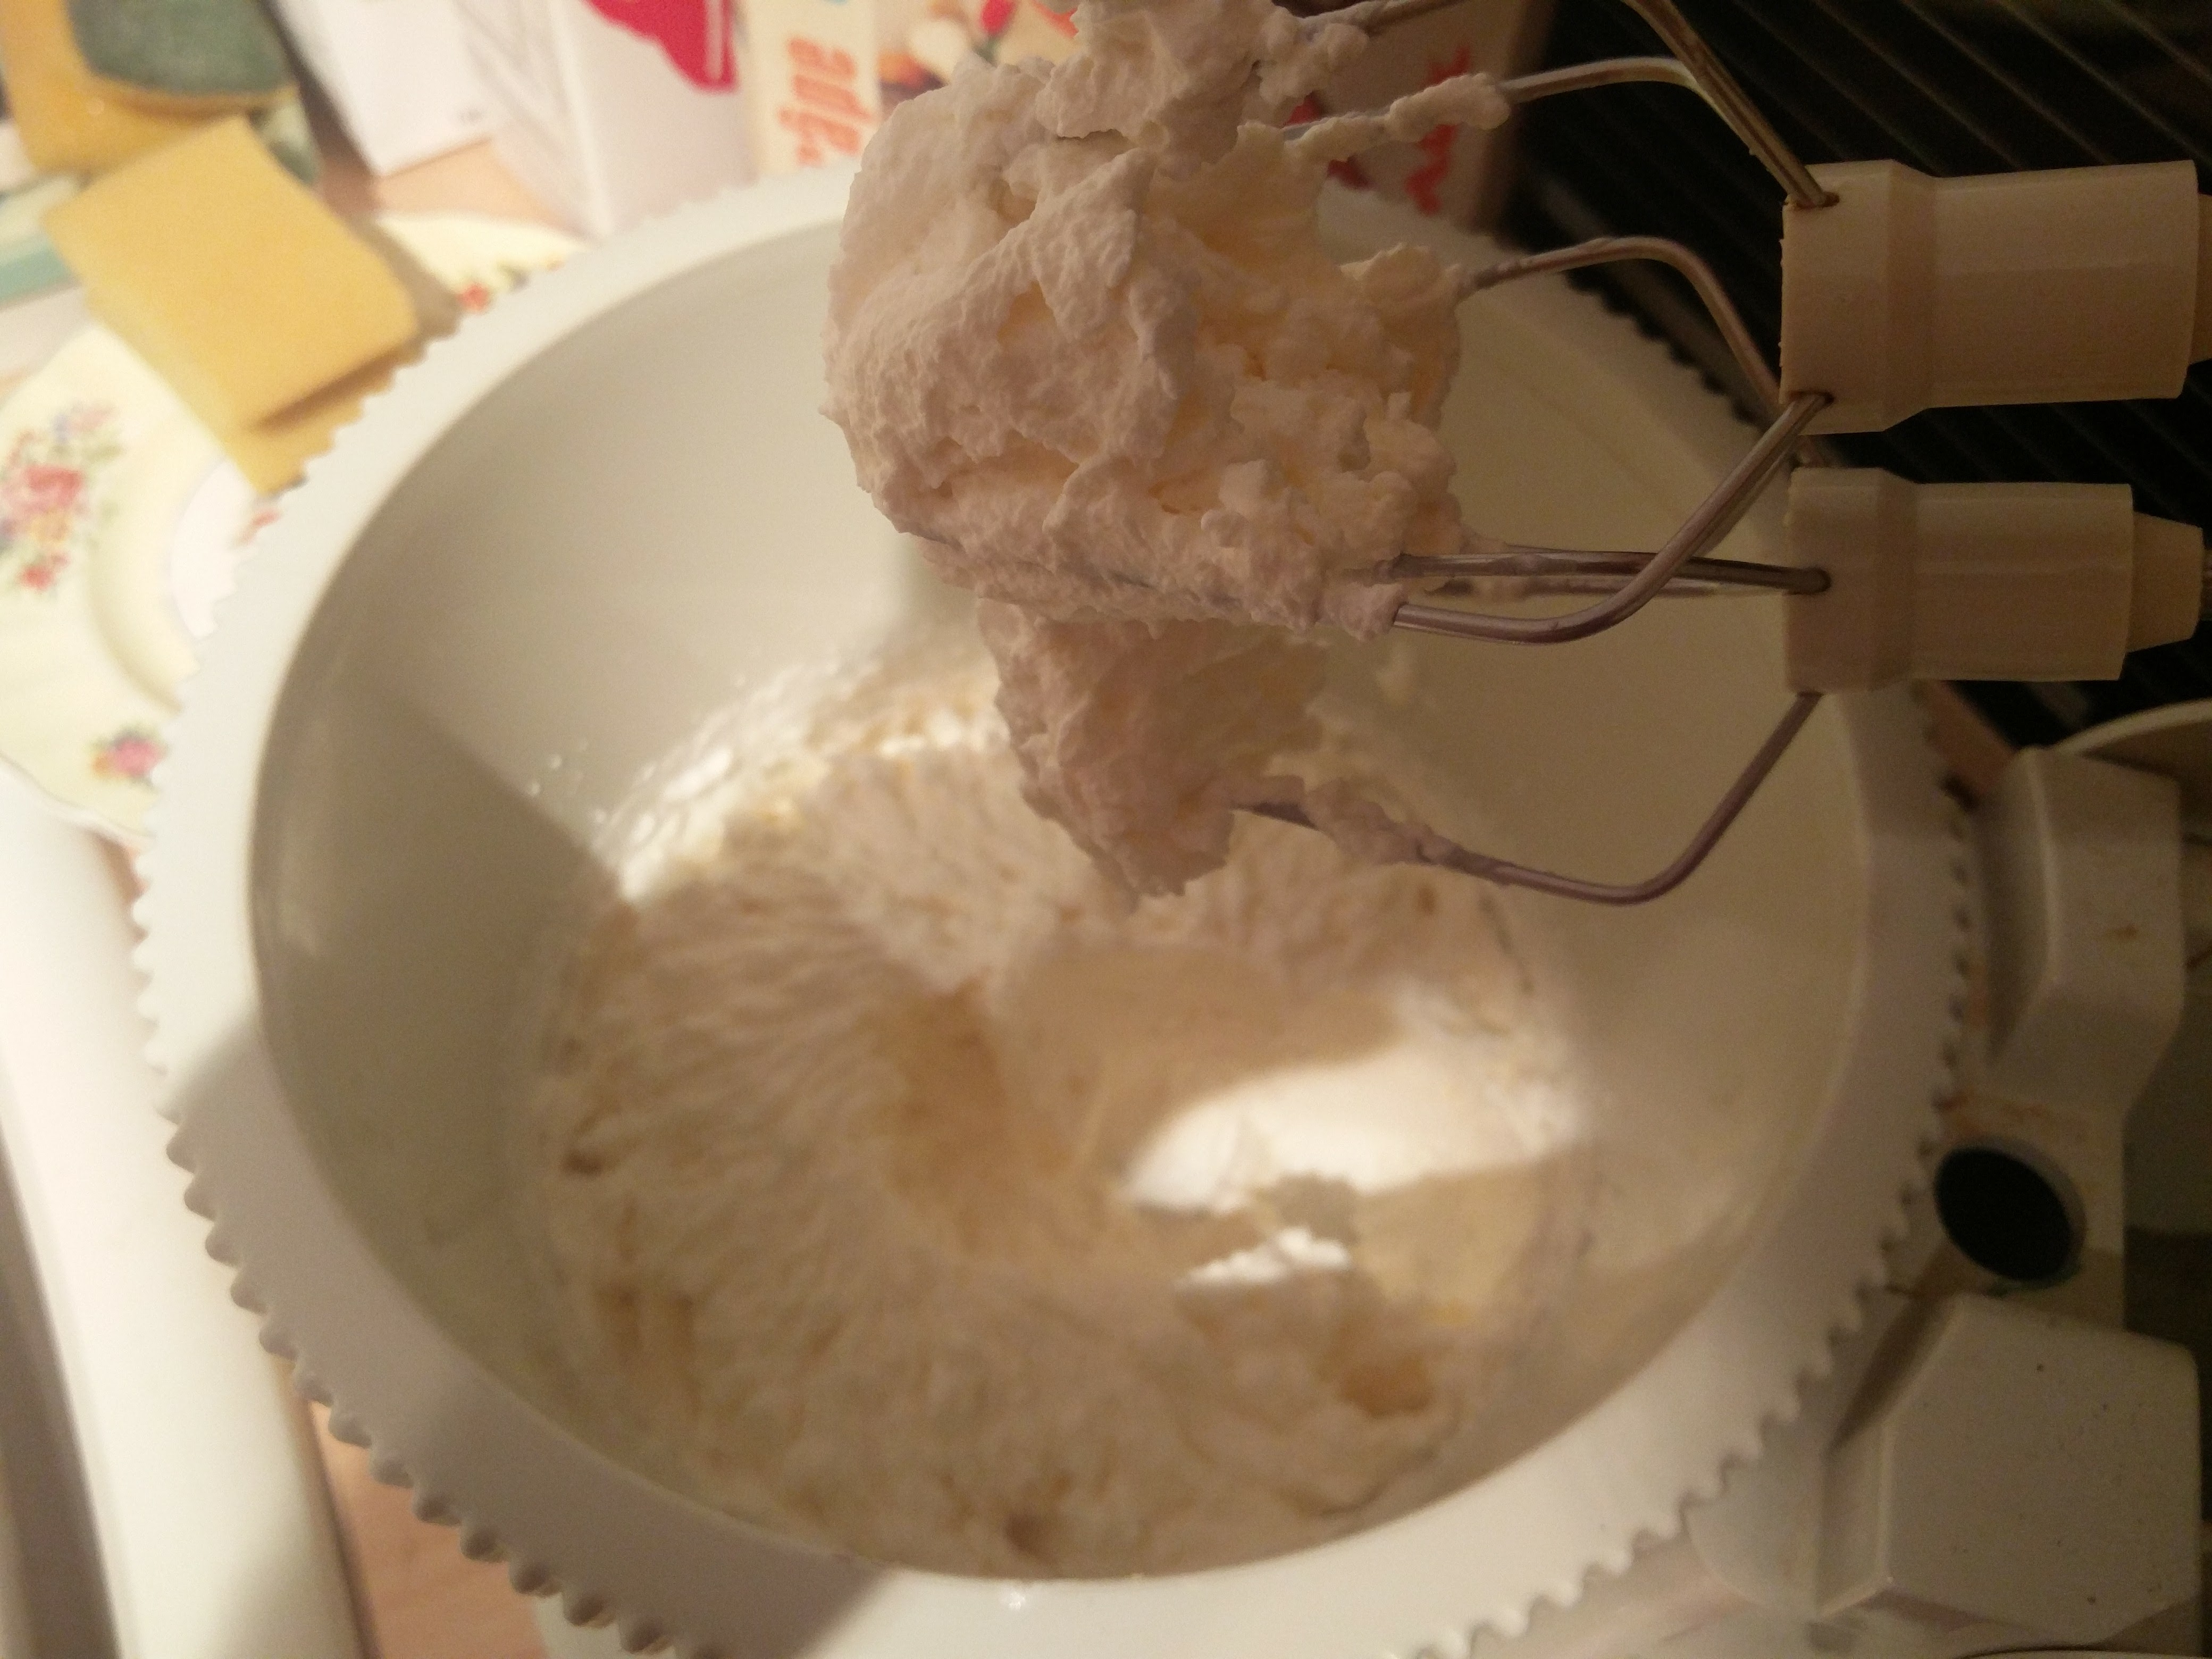
Finally getting past the halfway point of the recipe, I now needed to: Beat the whipping cream (3 cups) with confectioners’ sugar (1/4 cup) until it thickens to desired texture. I’ve only ever used the the squirty cream from cans, so wasn’t quite sure what to expect. Also, I’d bought two 300 ml cartons of it, due to trying to incorrectly converting between weights and volumes in the supermarket, but found that using only one of these cartons was plenty.
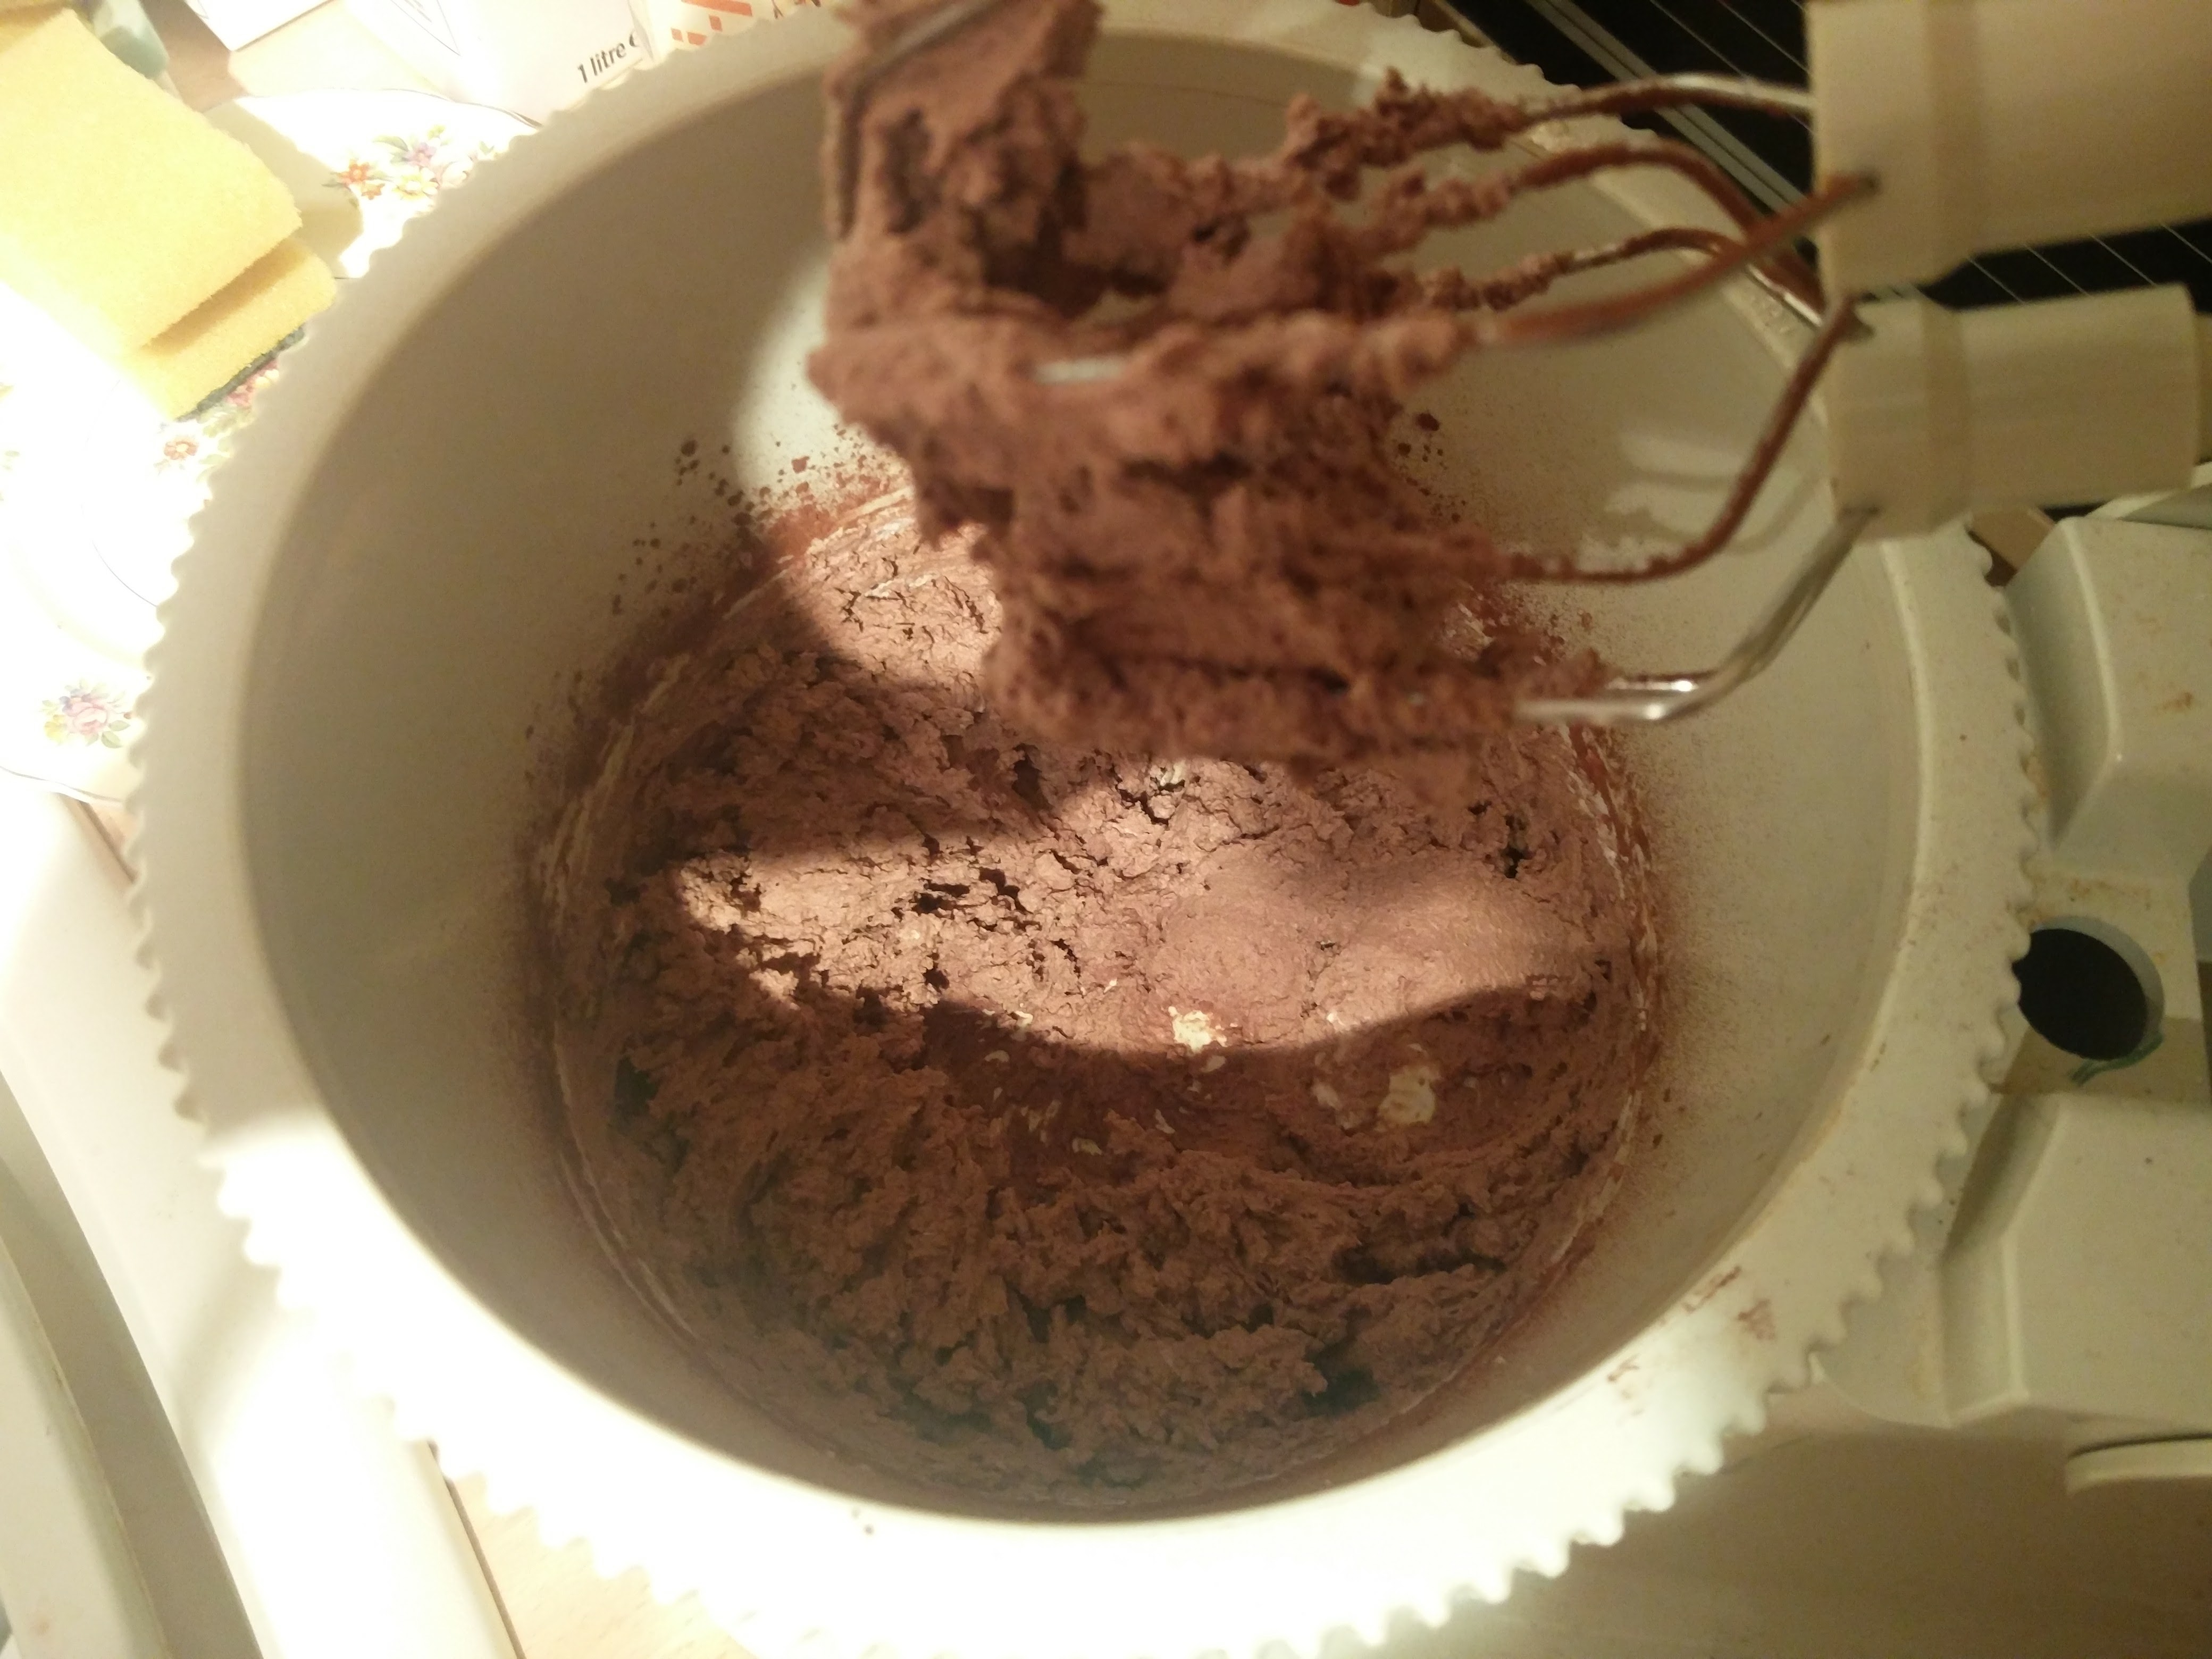
At first I was trying to whip it using a fork, but found this only let the sugar sink to the bottom of the bowl while the cream swirled around on the top. Then I moved onto using a whisk which did pretty much the same thing, but rubbing the handle between my hands (similar to trying to start a fire) caused it to start bubbling slightly. Feeling that I would actually start a fire before whipping up the cream, I fired up the electric mixer from the night before and let it do the job instead. Watching the cream whipping is something to behold, as it’s a liquid for a large amount of time, then all of a sudden it turns into a fluffy solid. Who knew!


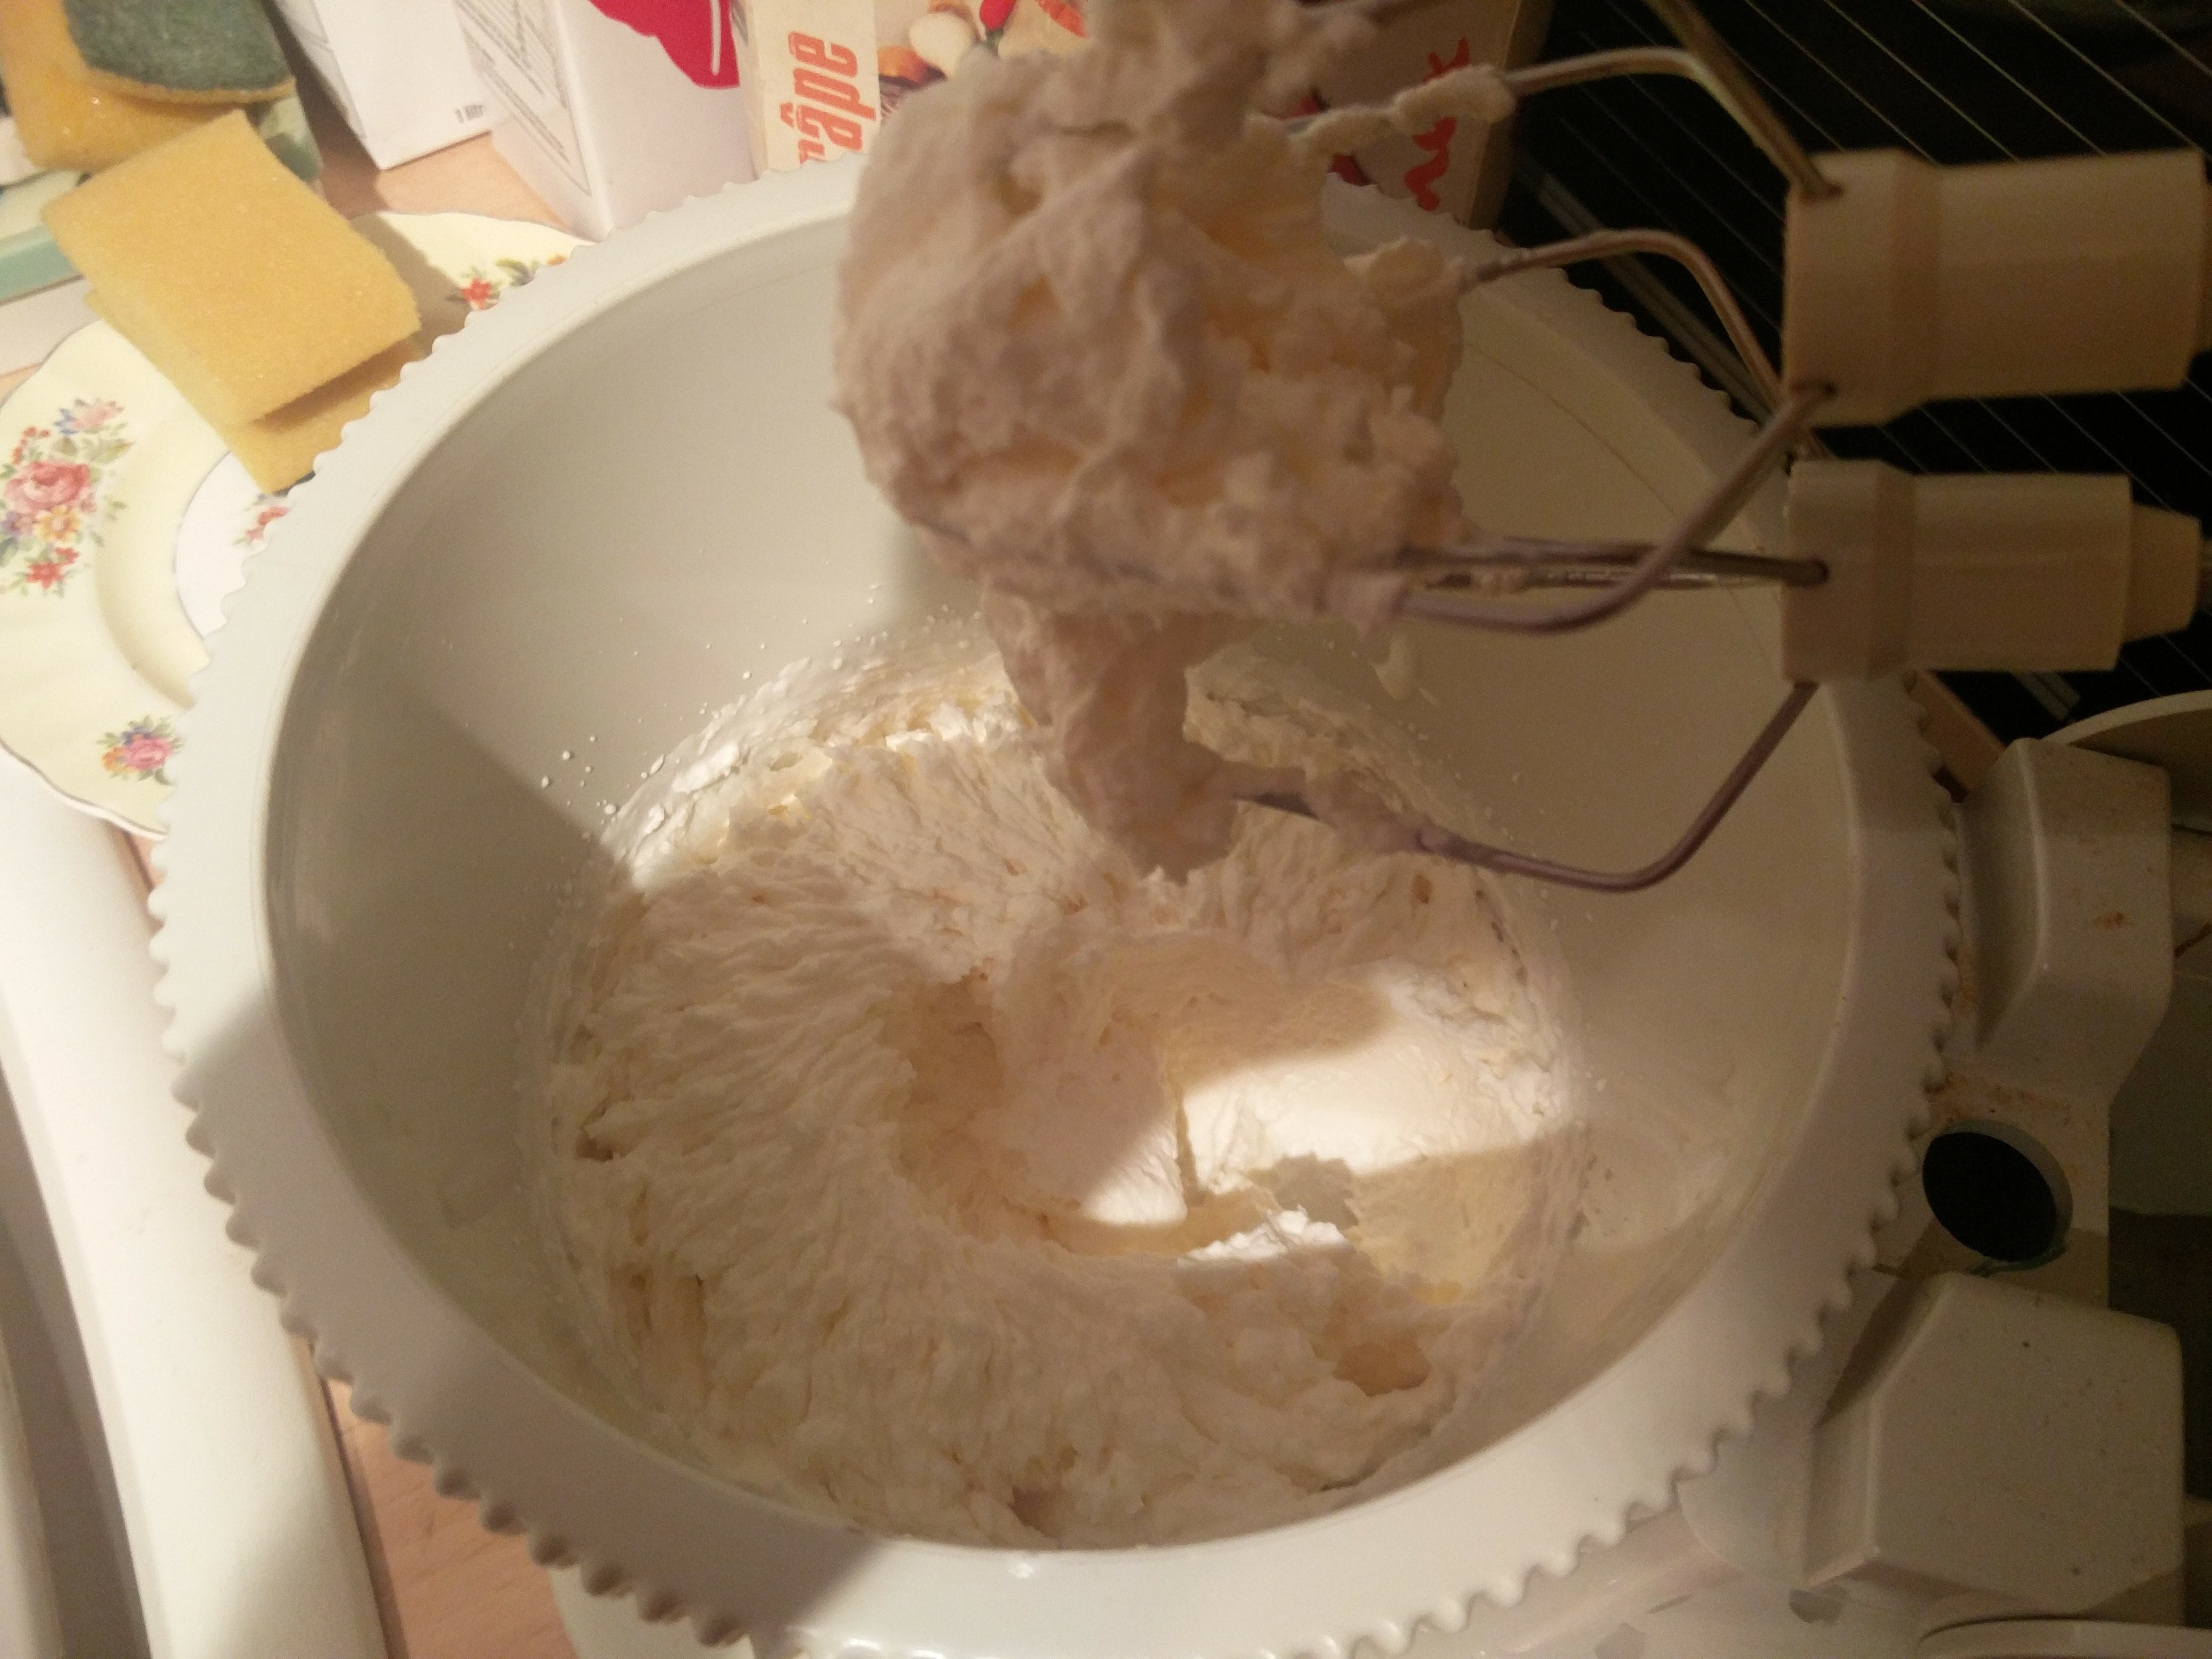
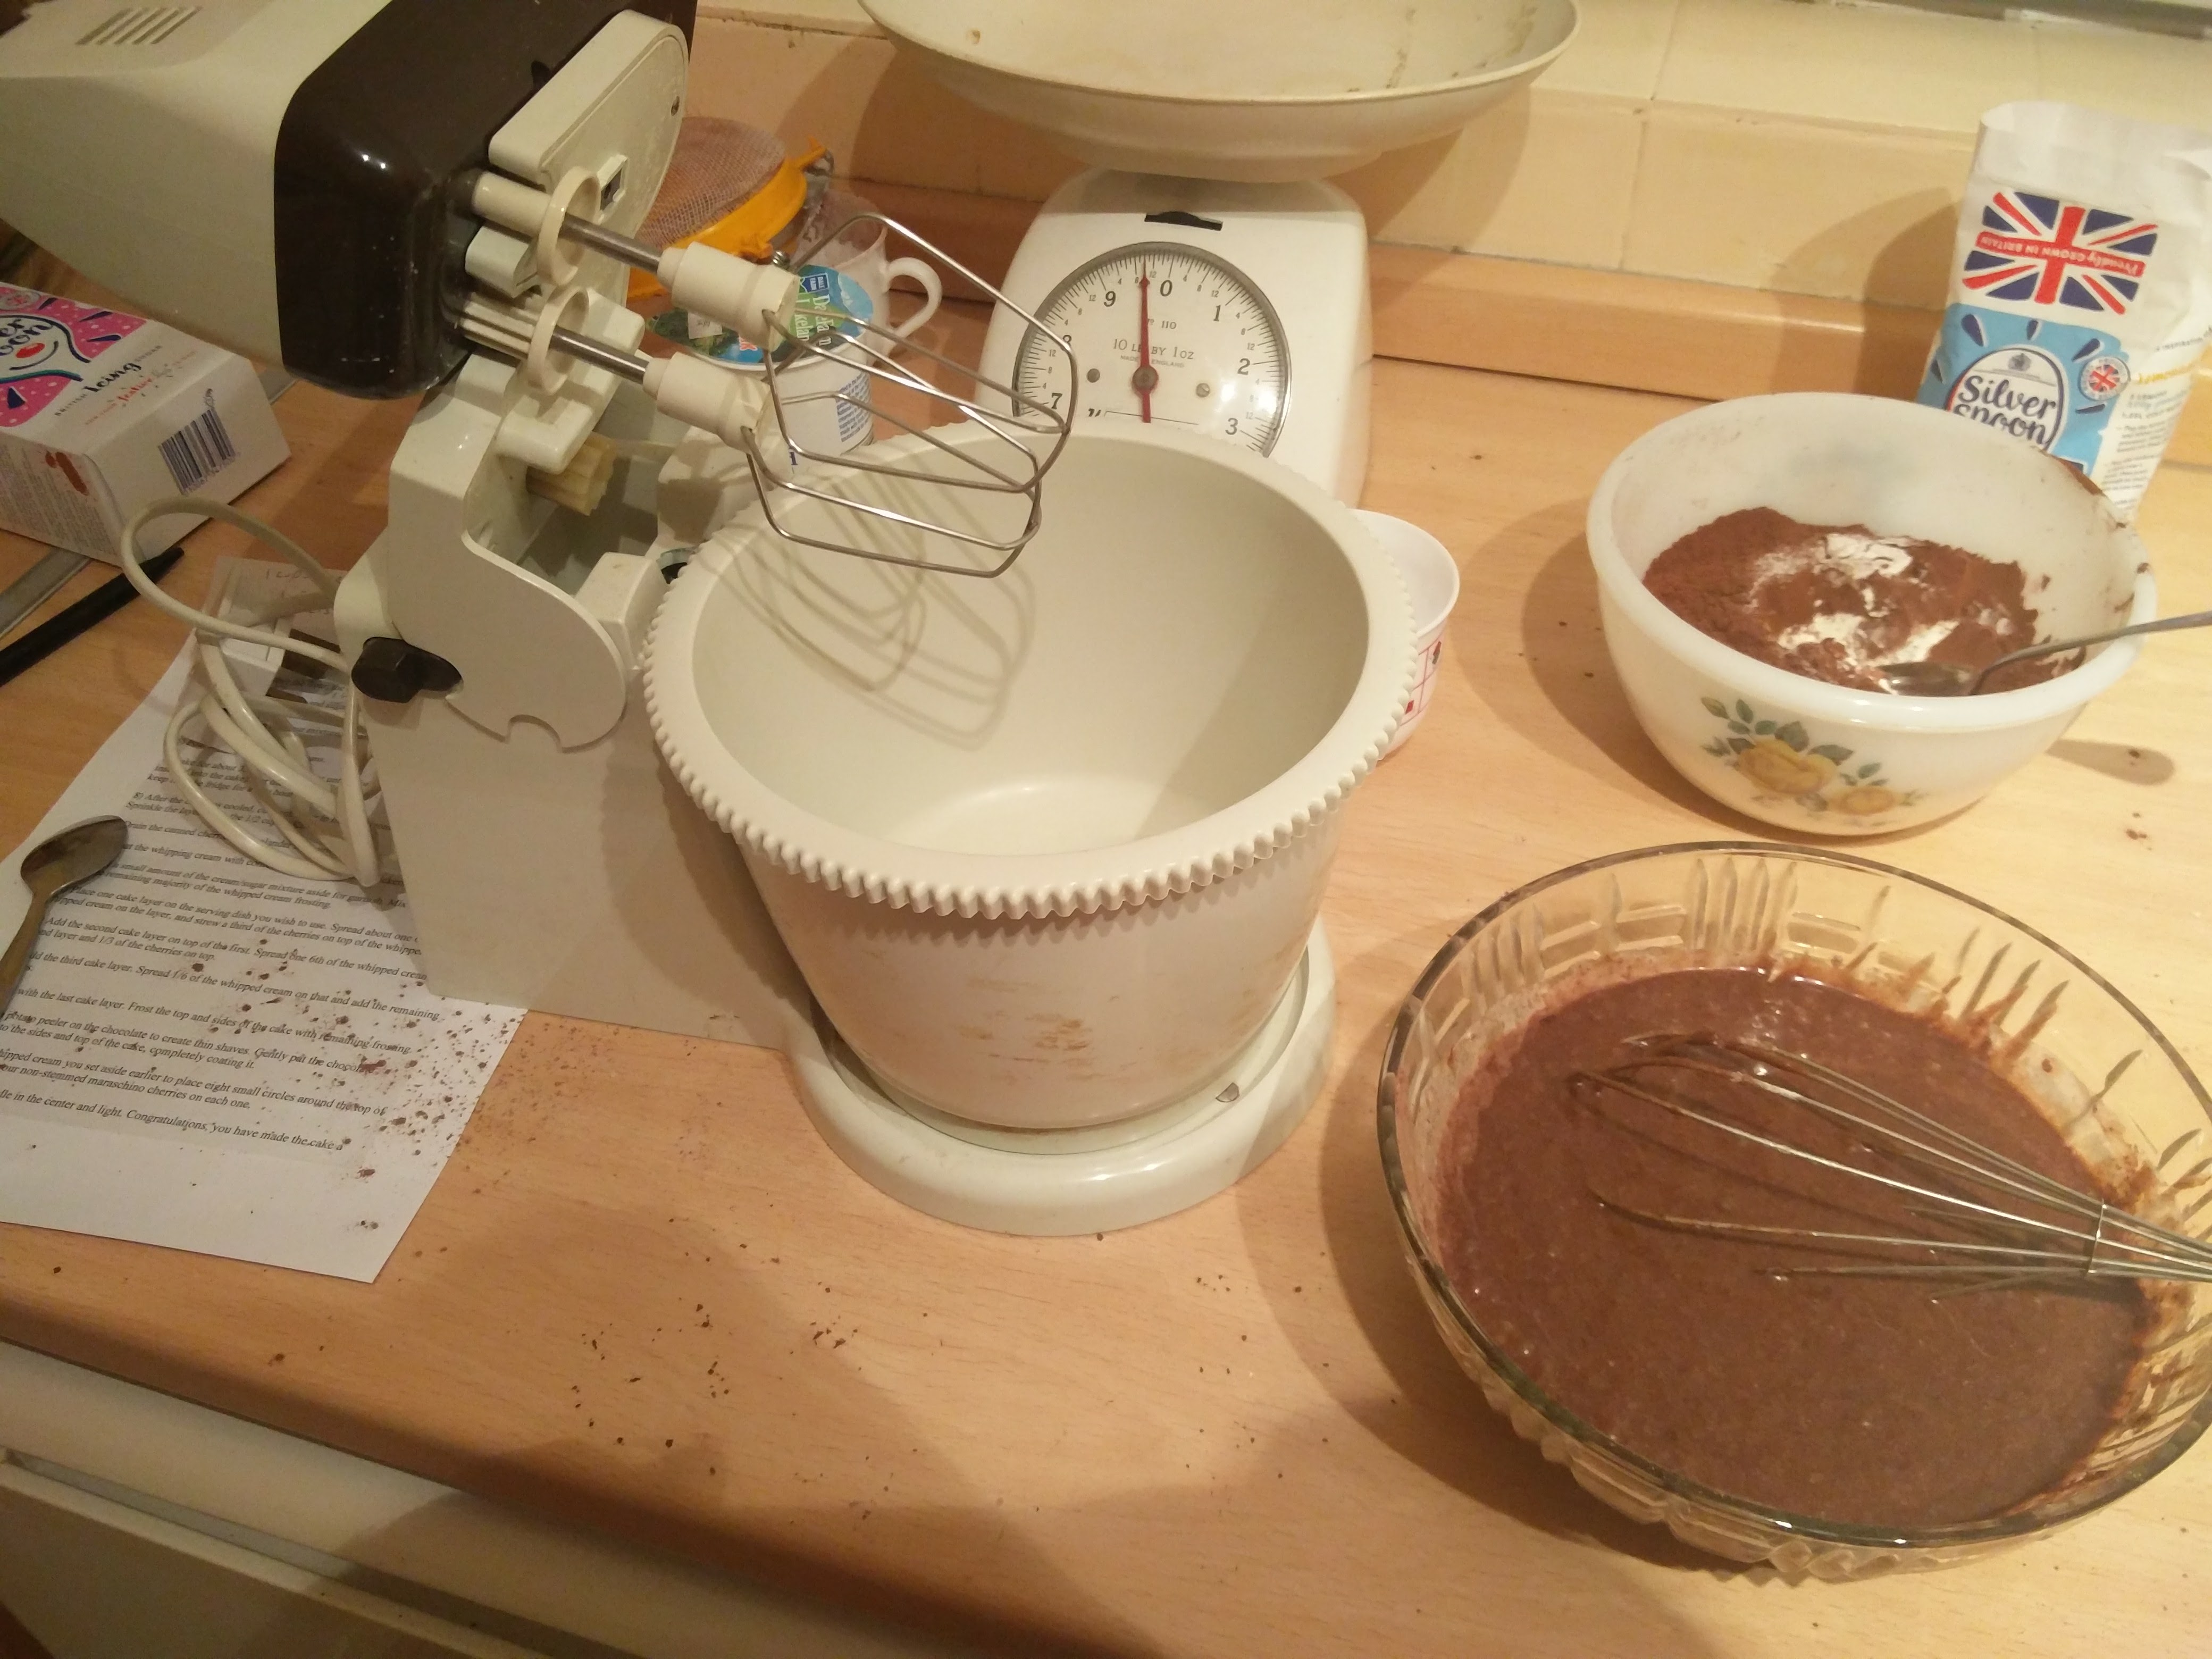
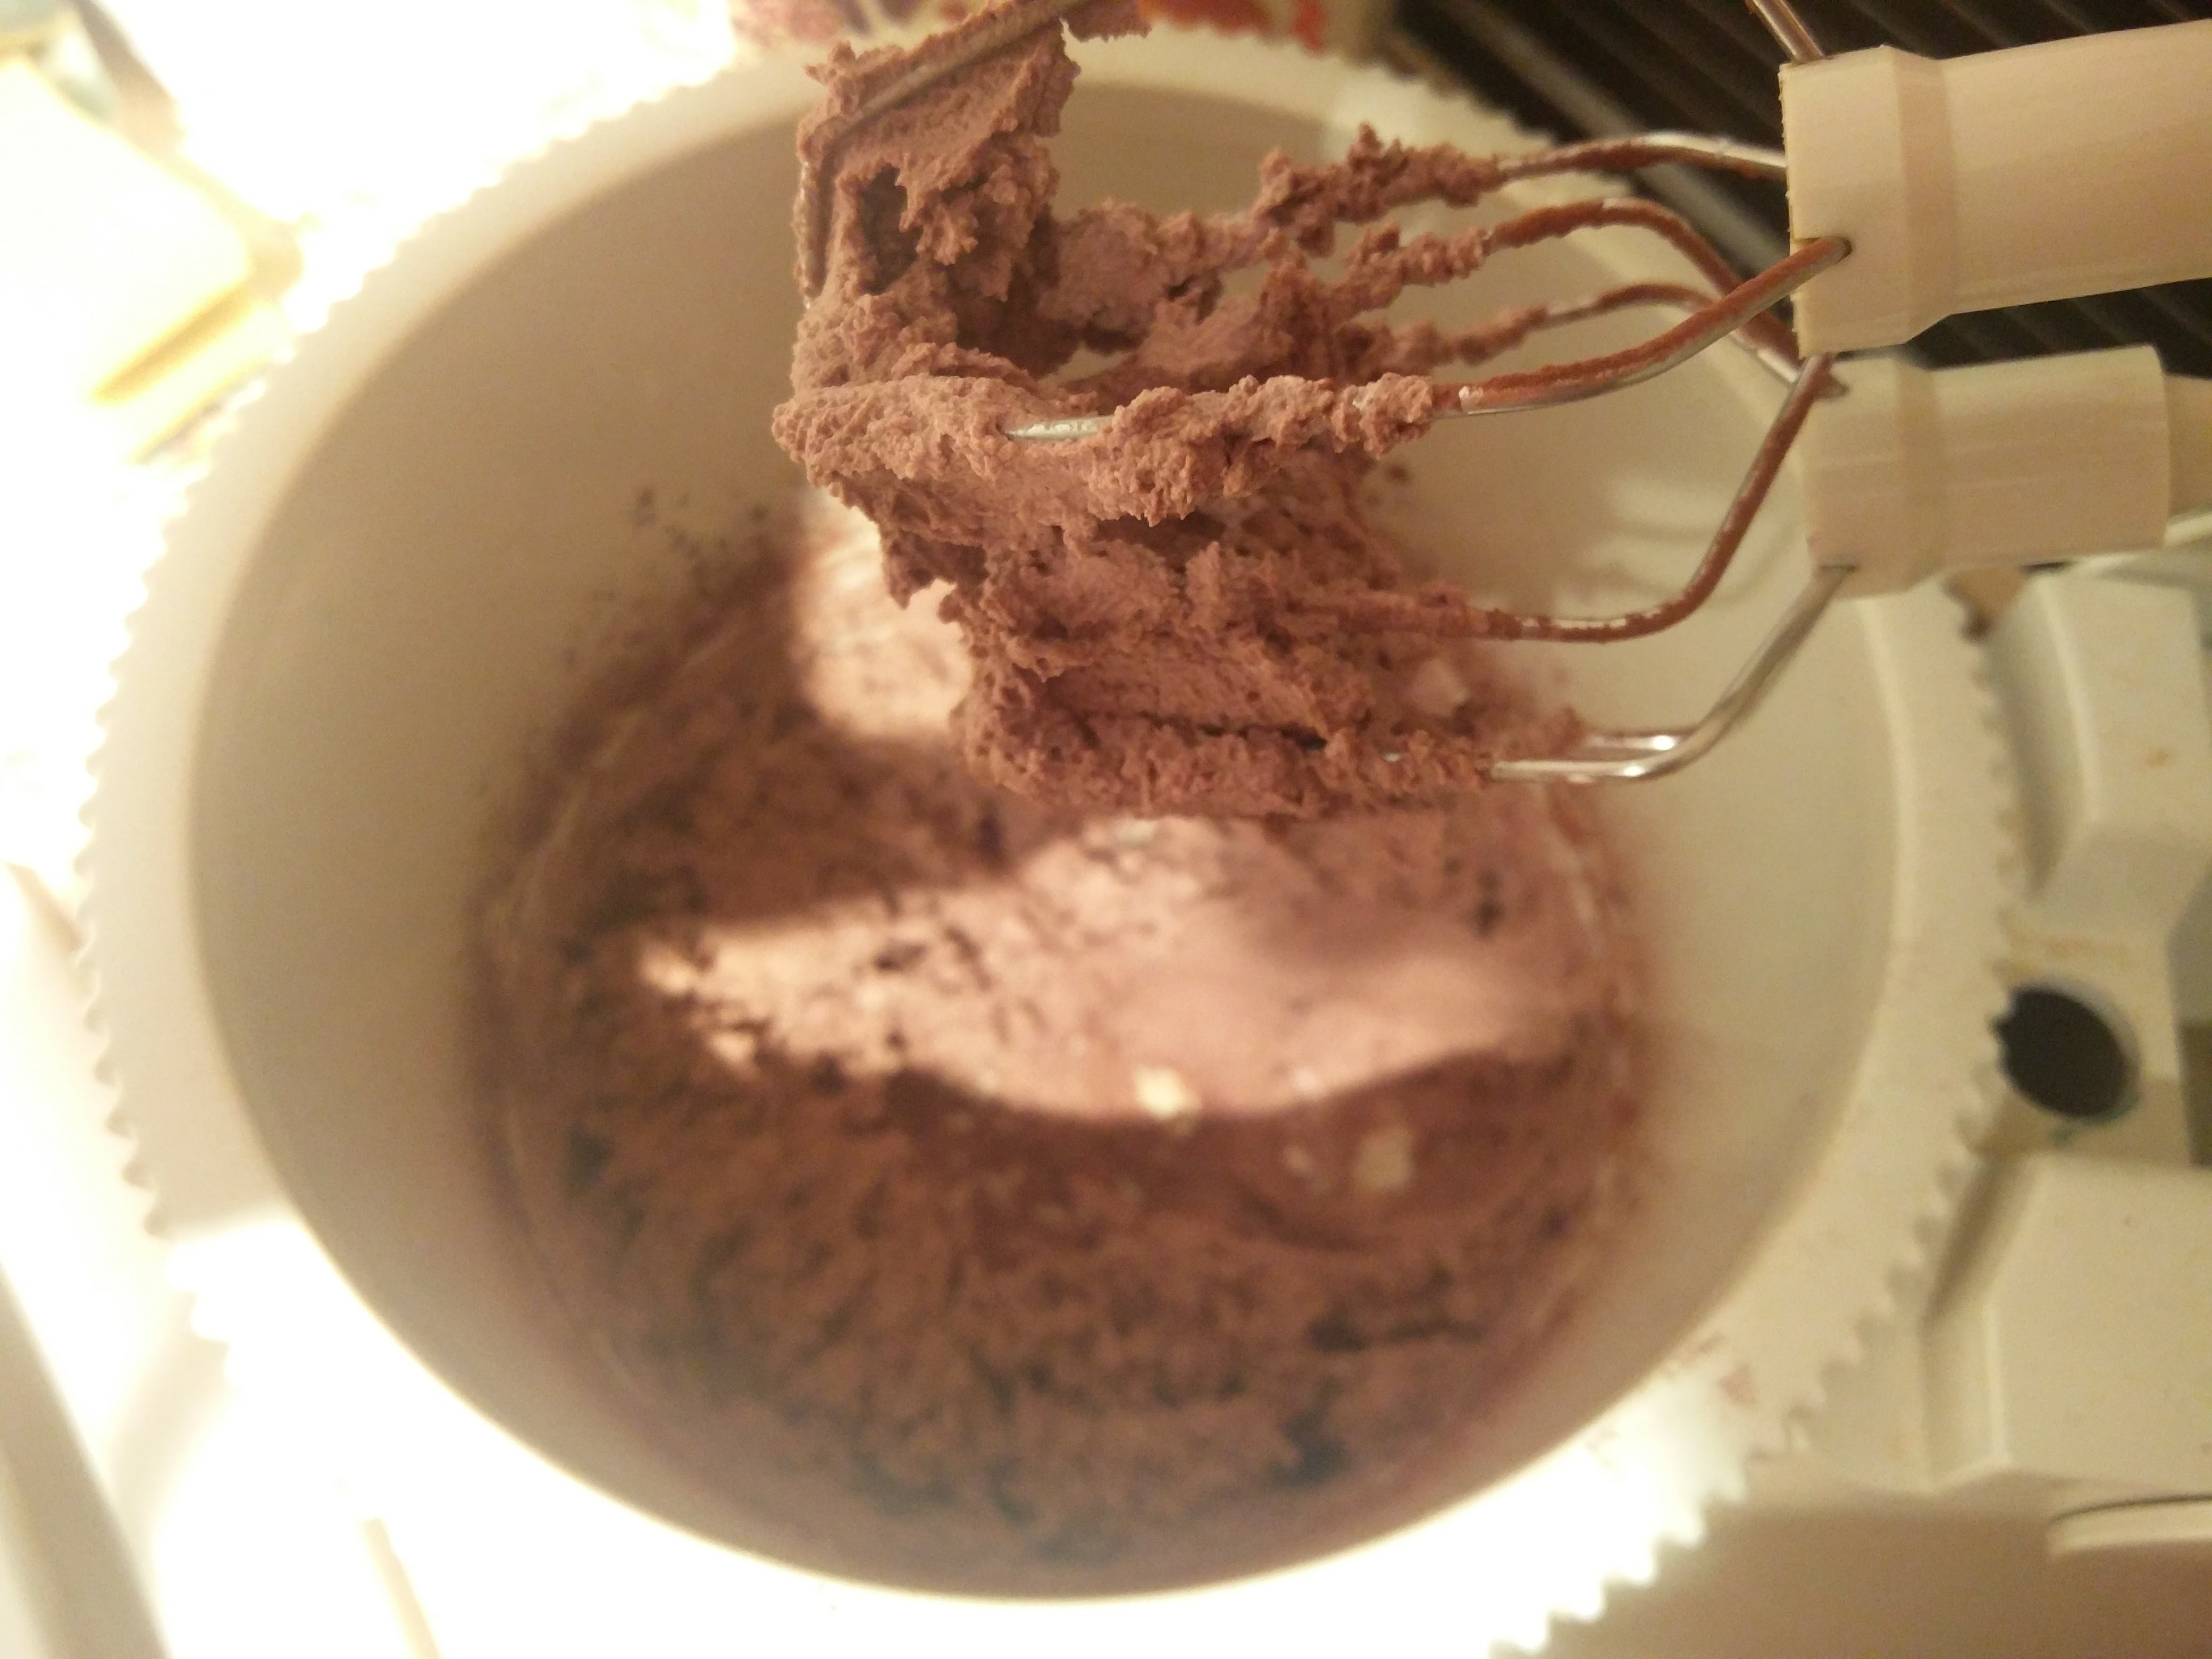
Once the cream had been whipped I then needed to: Put a small amount of the cream/sugar mixture aside for garnish. Mix the cocoa powder (3 tablespoons) into the remaining majority of the whipped cream frosting. However, at first I thought I spent too long getting this ready and taking photos, as the cocoa powder didn’t seem to mix, but whisking it for a few minutes seemed to do the trick.


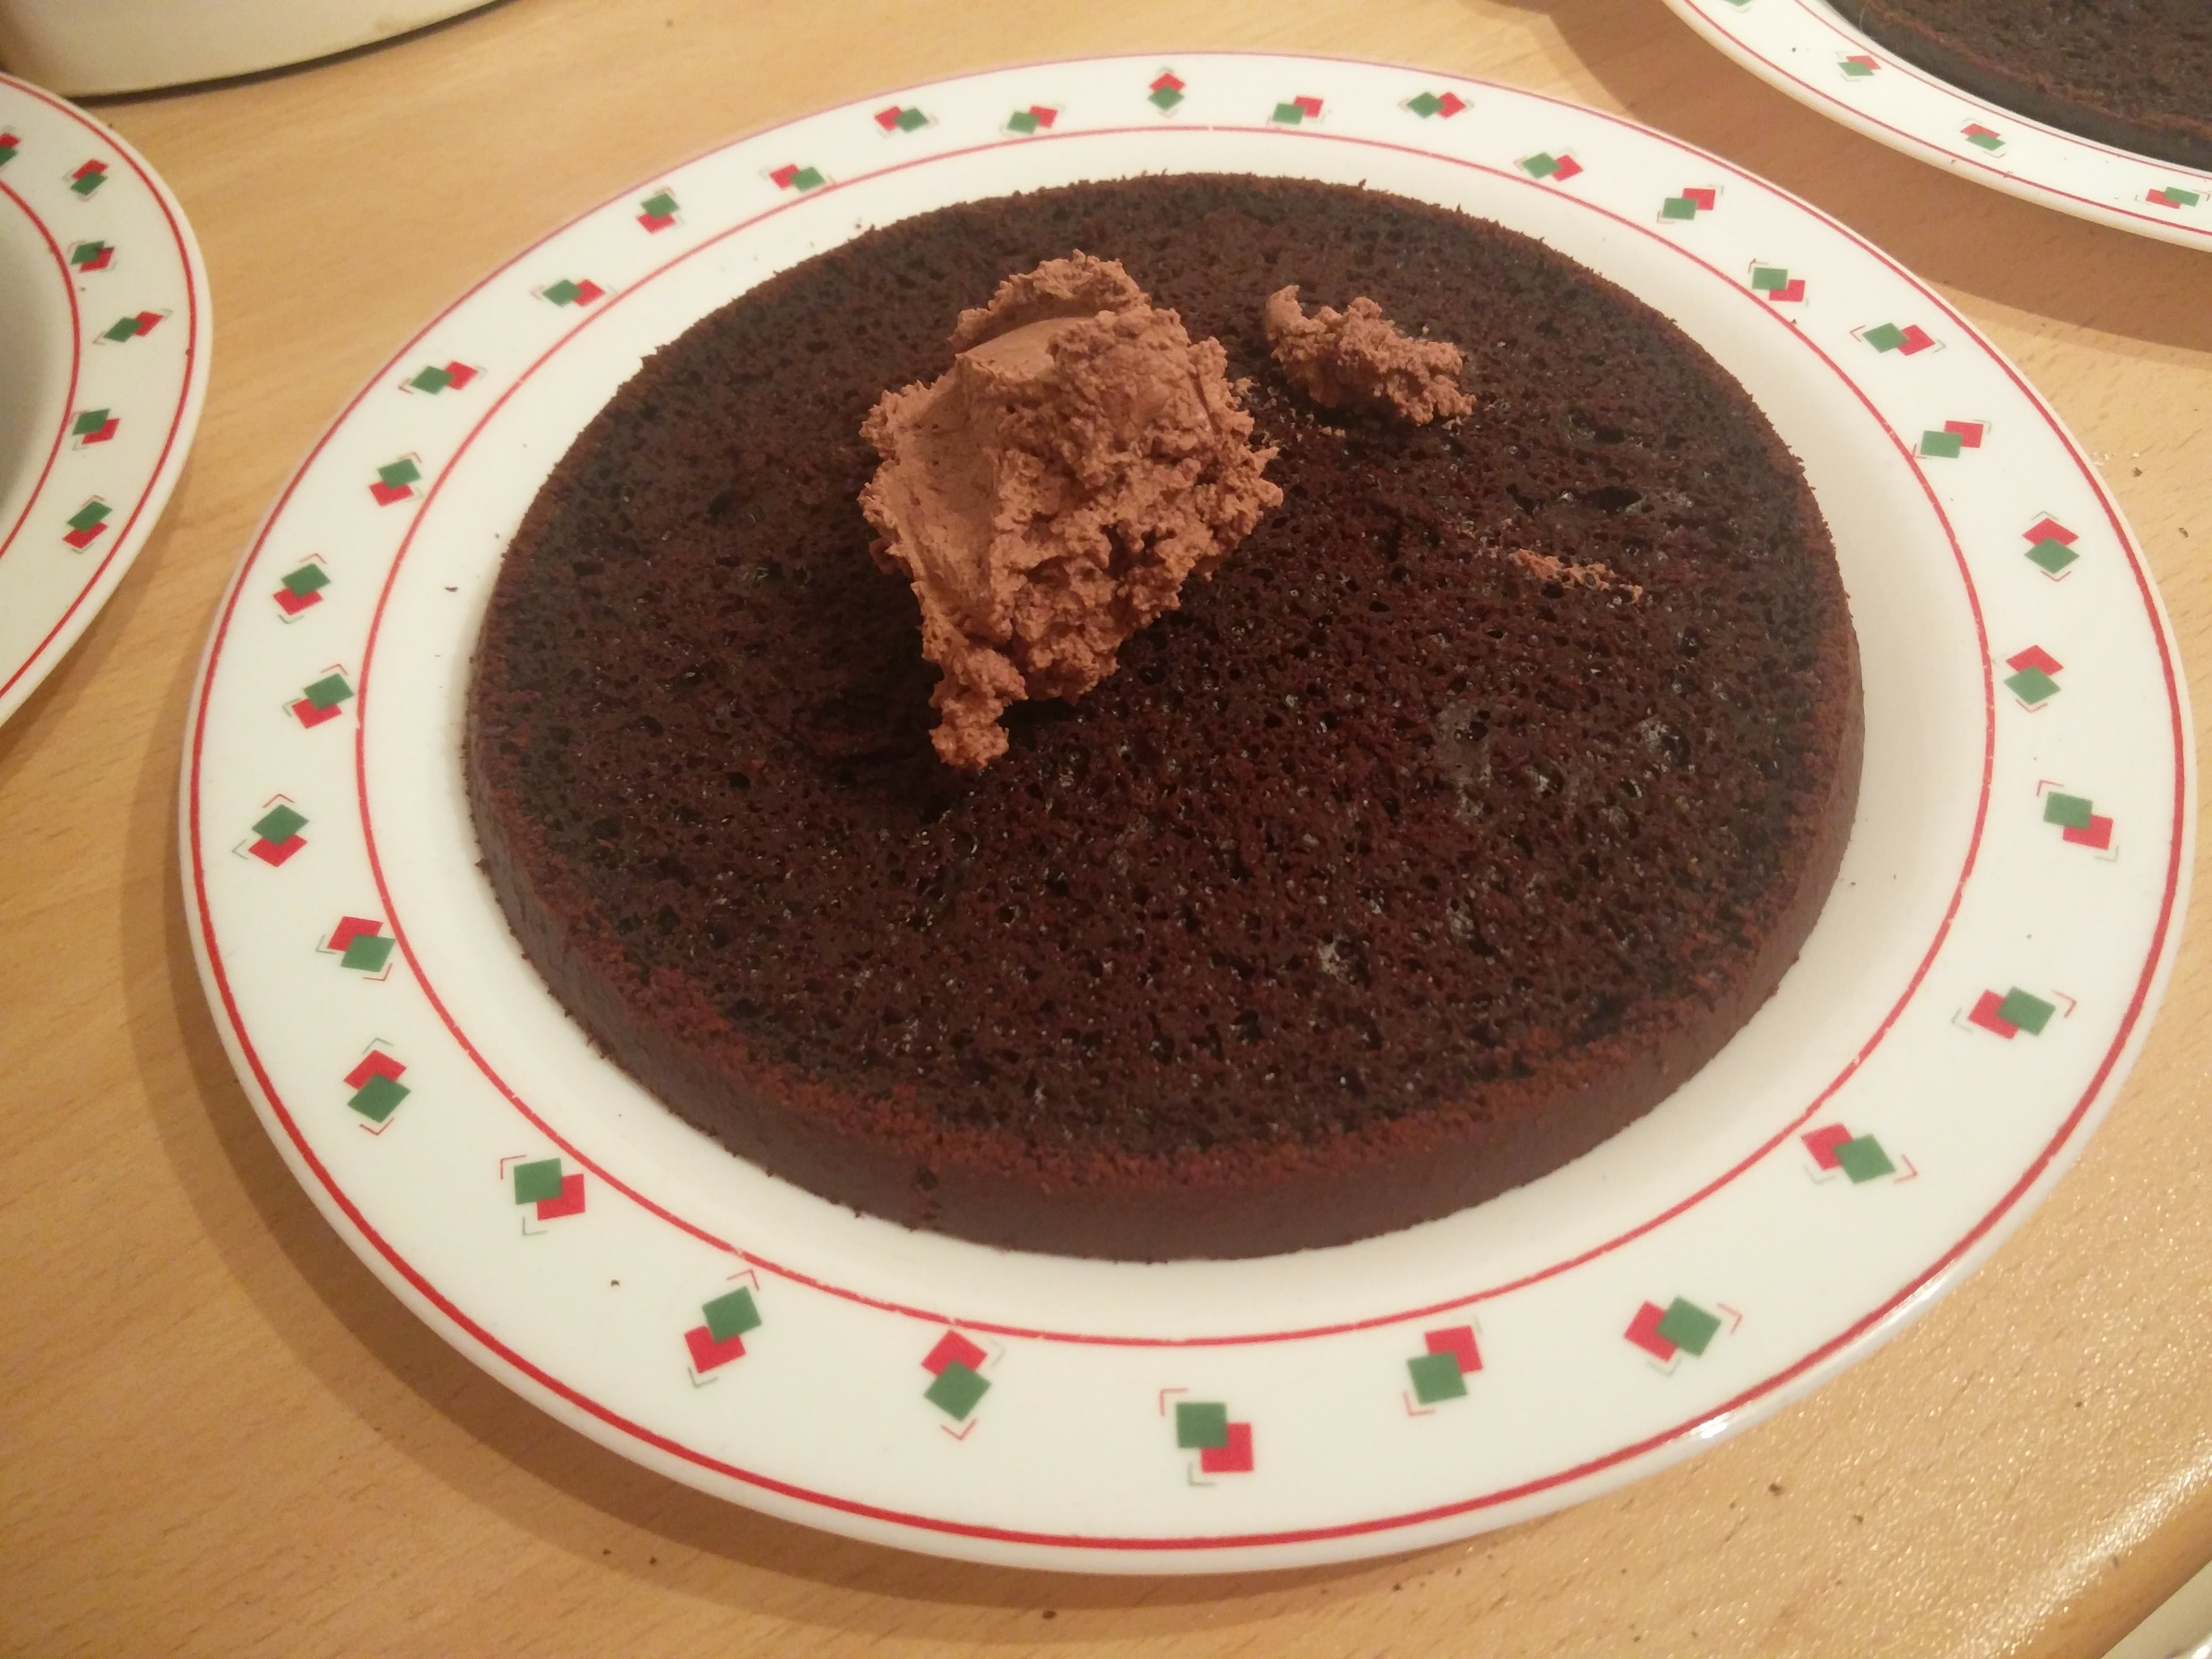
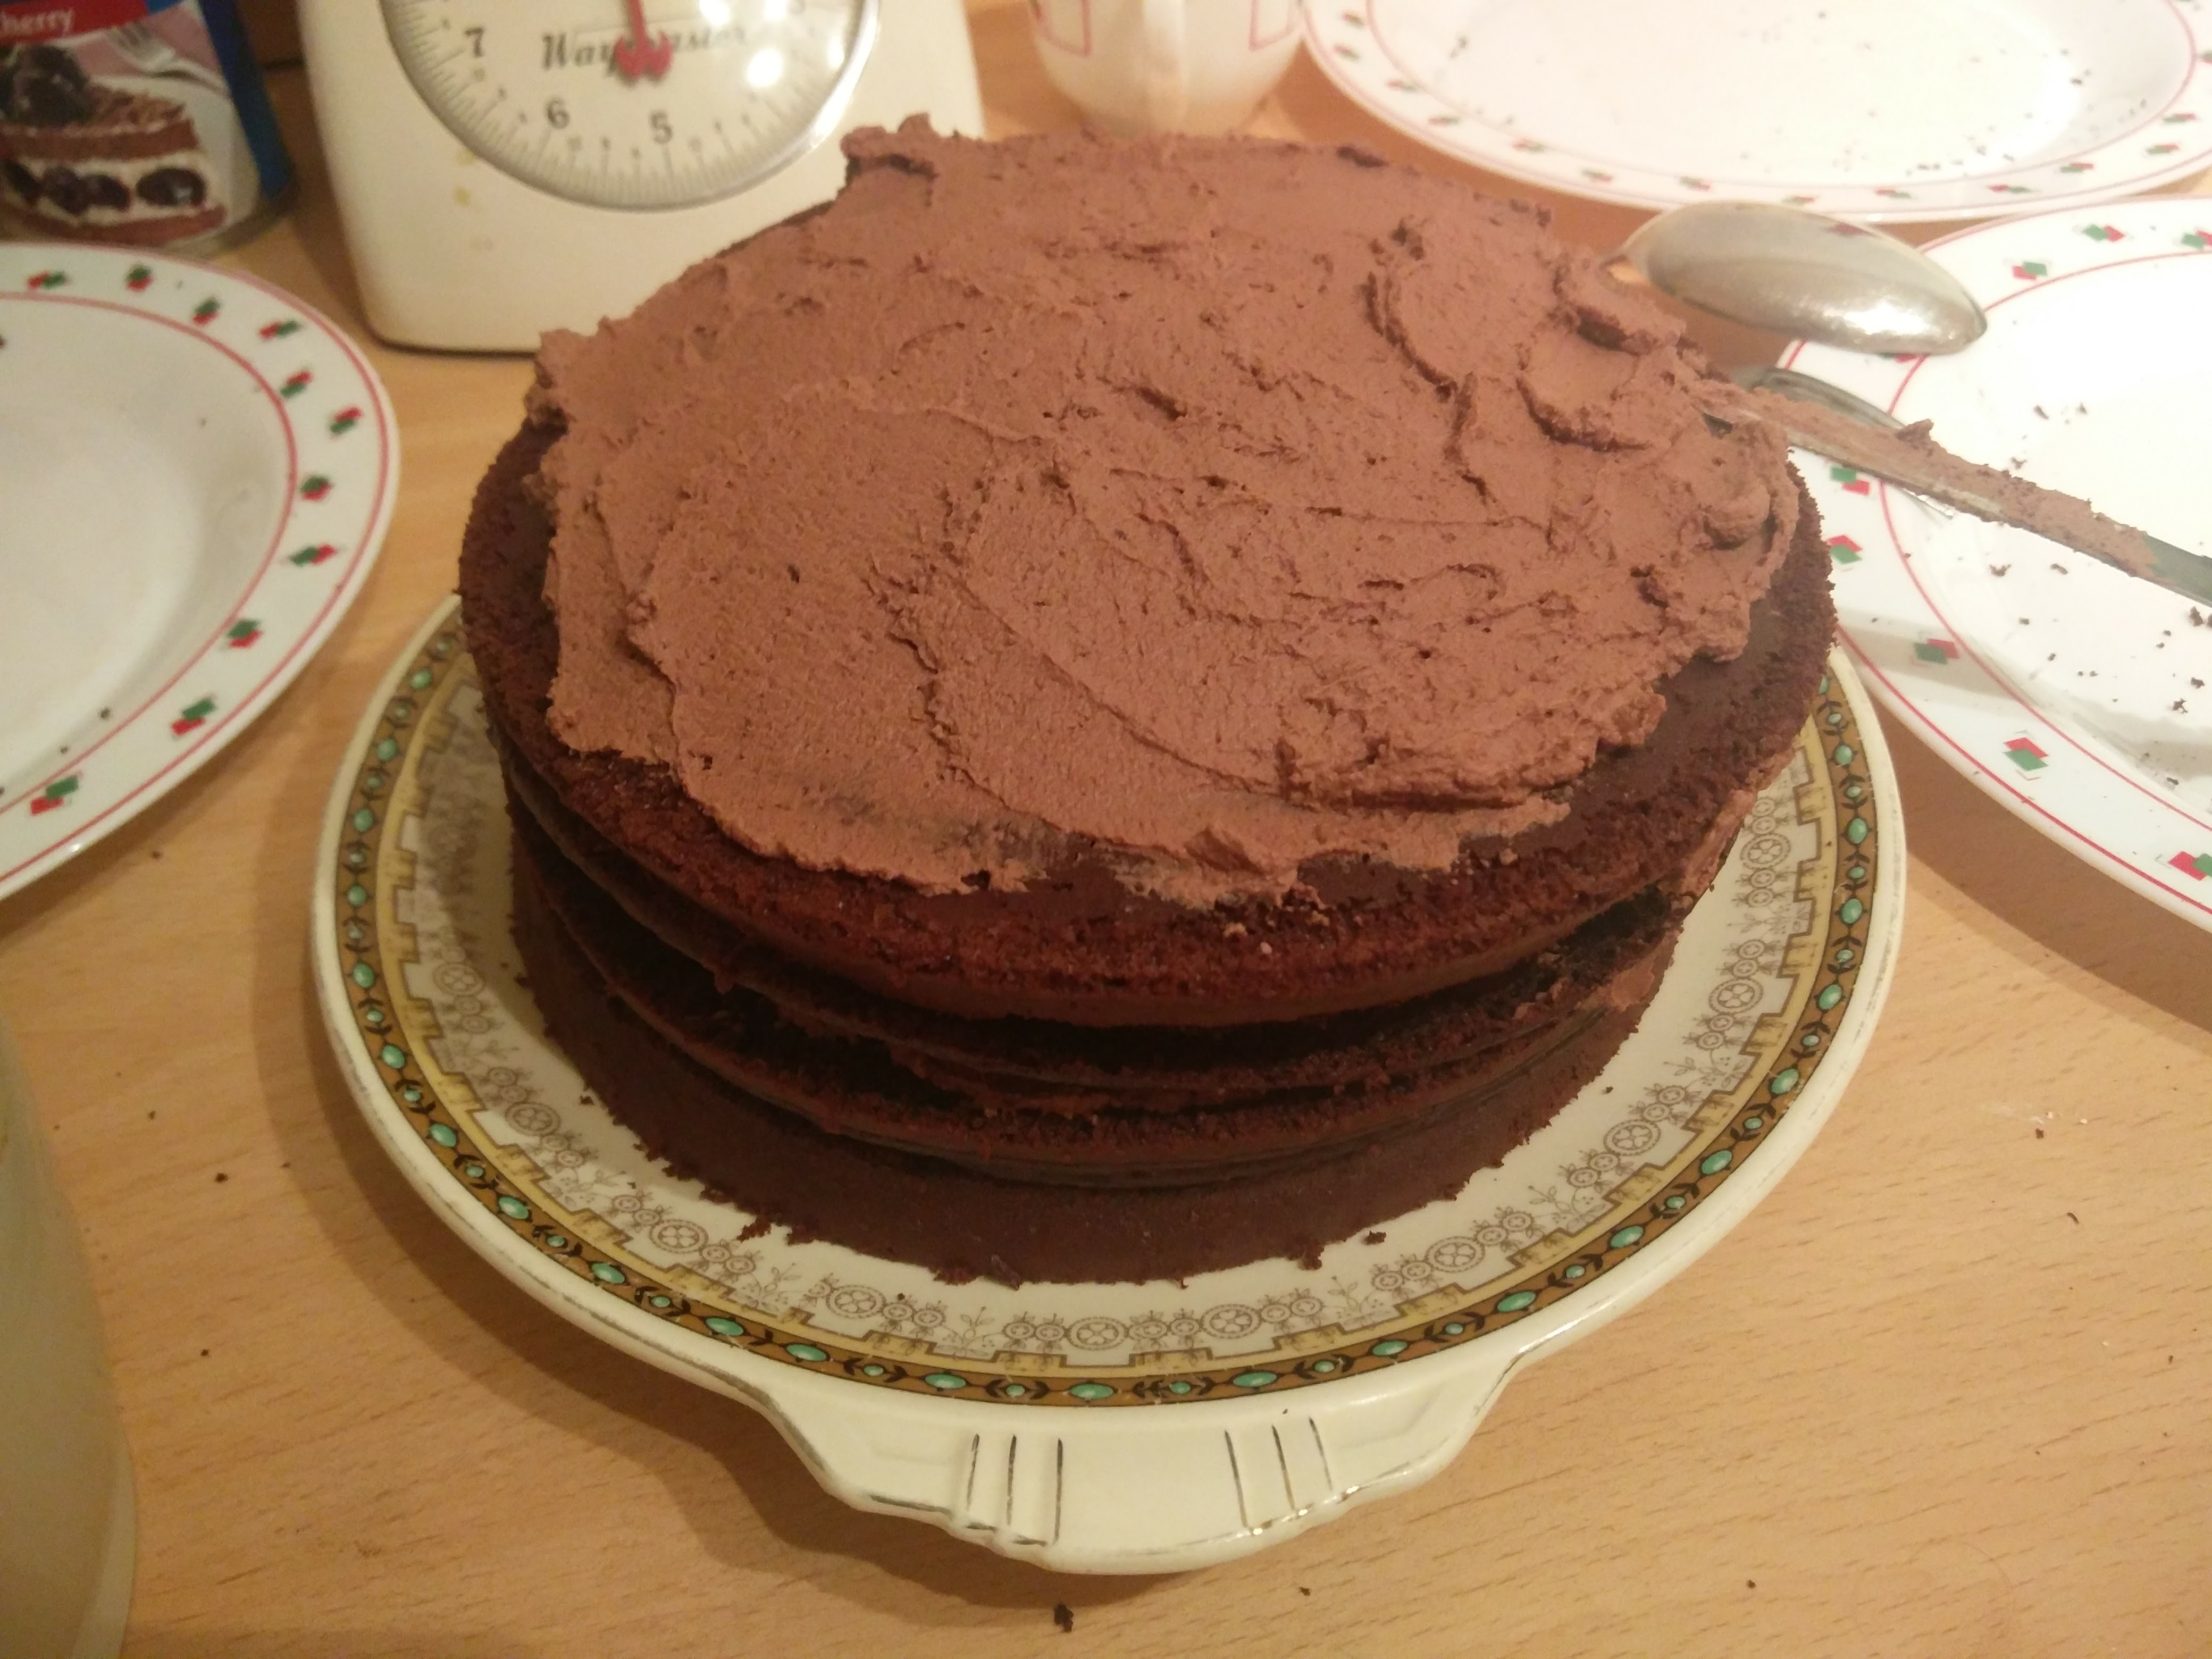
It was finally time to being building the cake! It was also half 5, so I had around an hour before I needed to get ready for work. According to the recipe, place one cake layer on the serving dish you wish to use. Spread about one 6th of the whipped cream on the layer, and strew a third of the cherries on top of the whipped cream. Seemed simple enough, and as I’d come this far, it was time to give it a go. For the eagle eyed ones of you, you may notice that I’d swapped the cake onto a slightly more fancier plate to present it on.
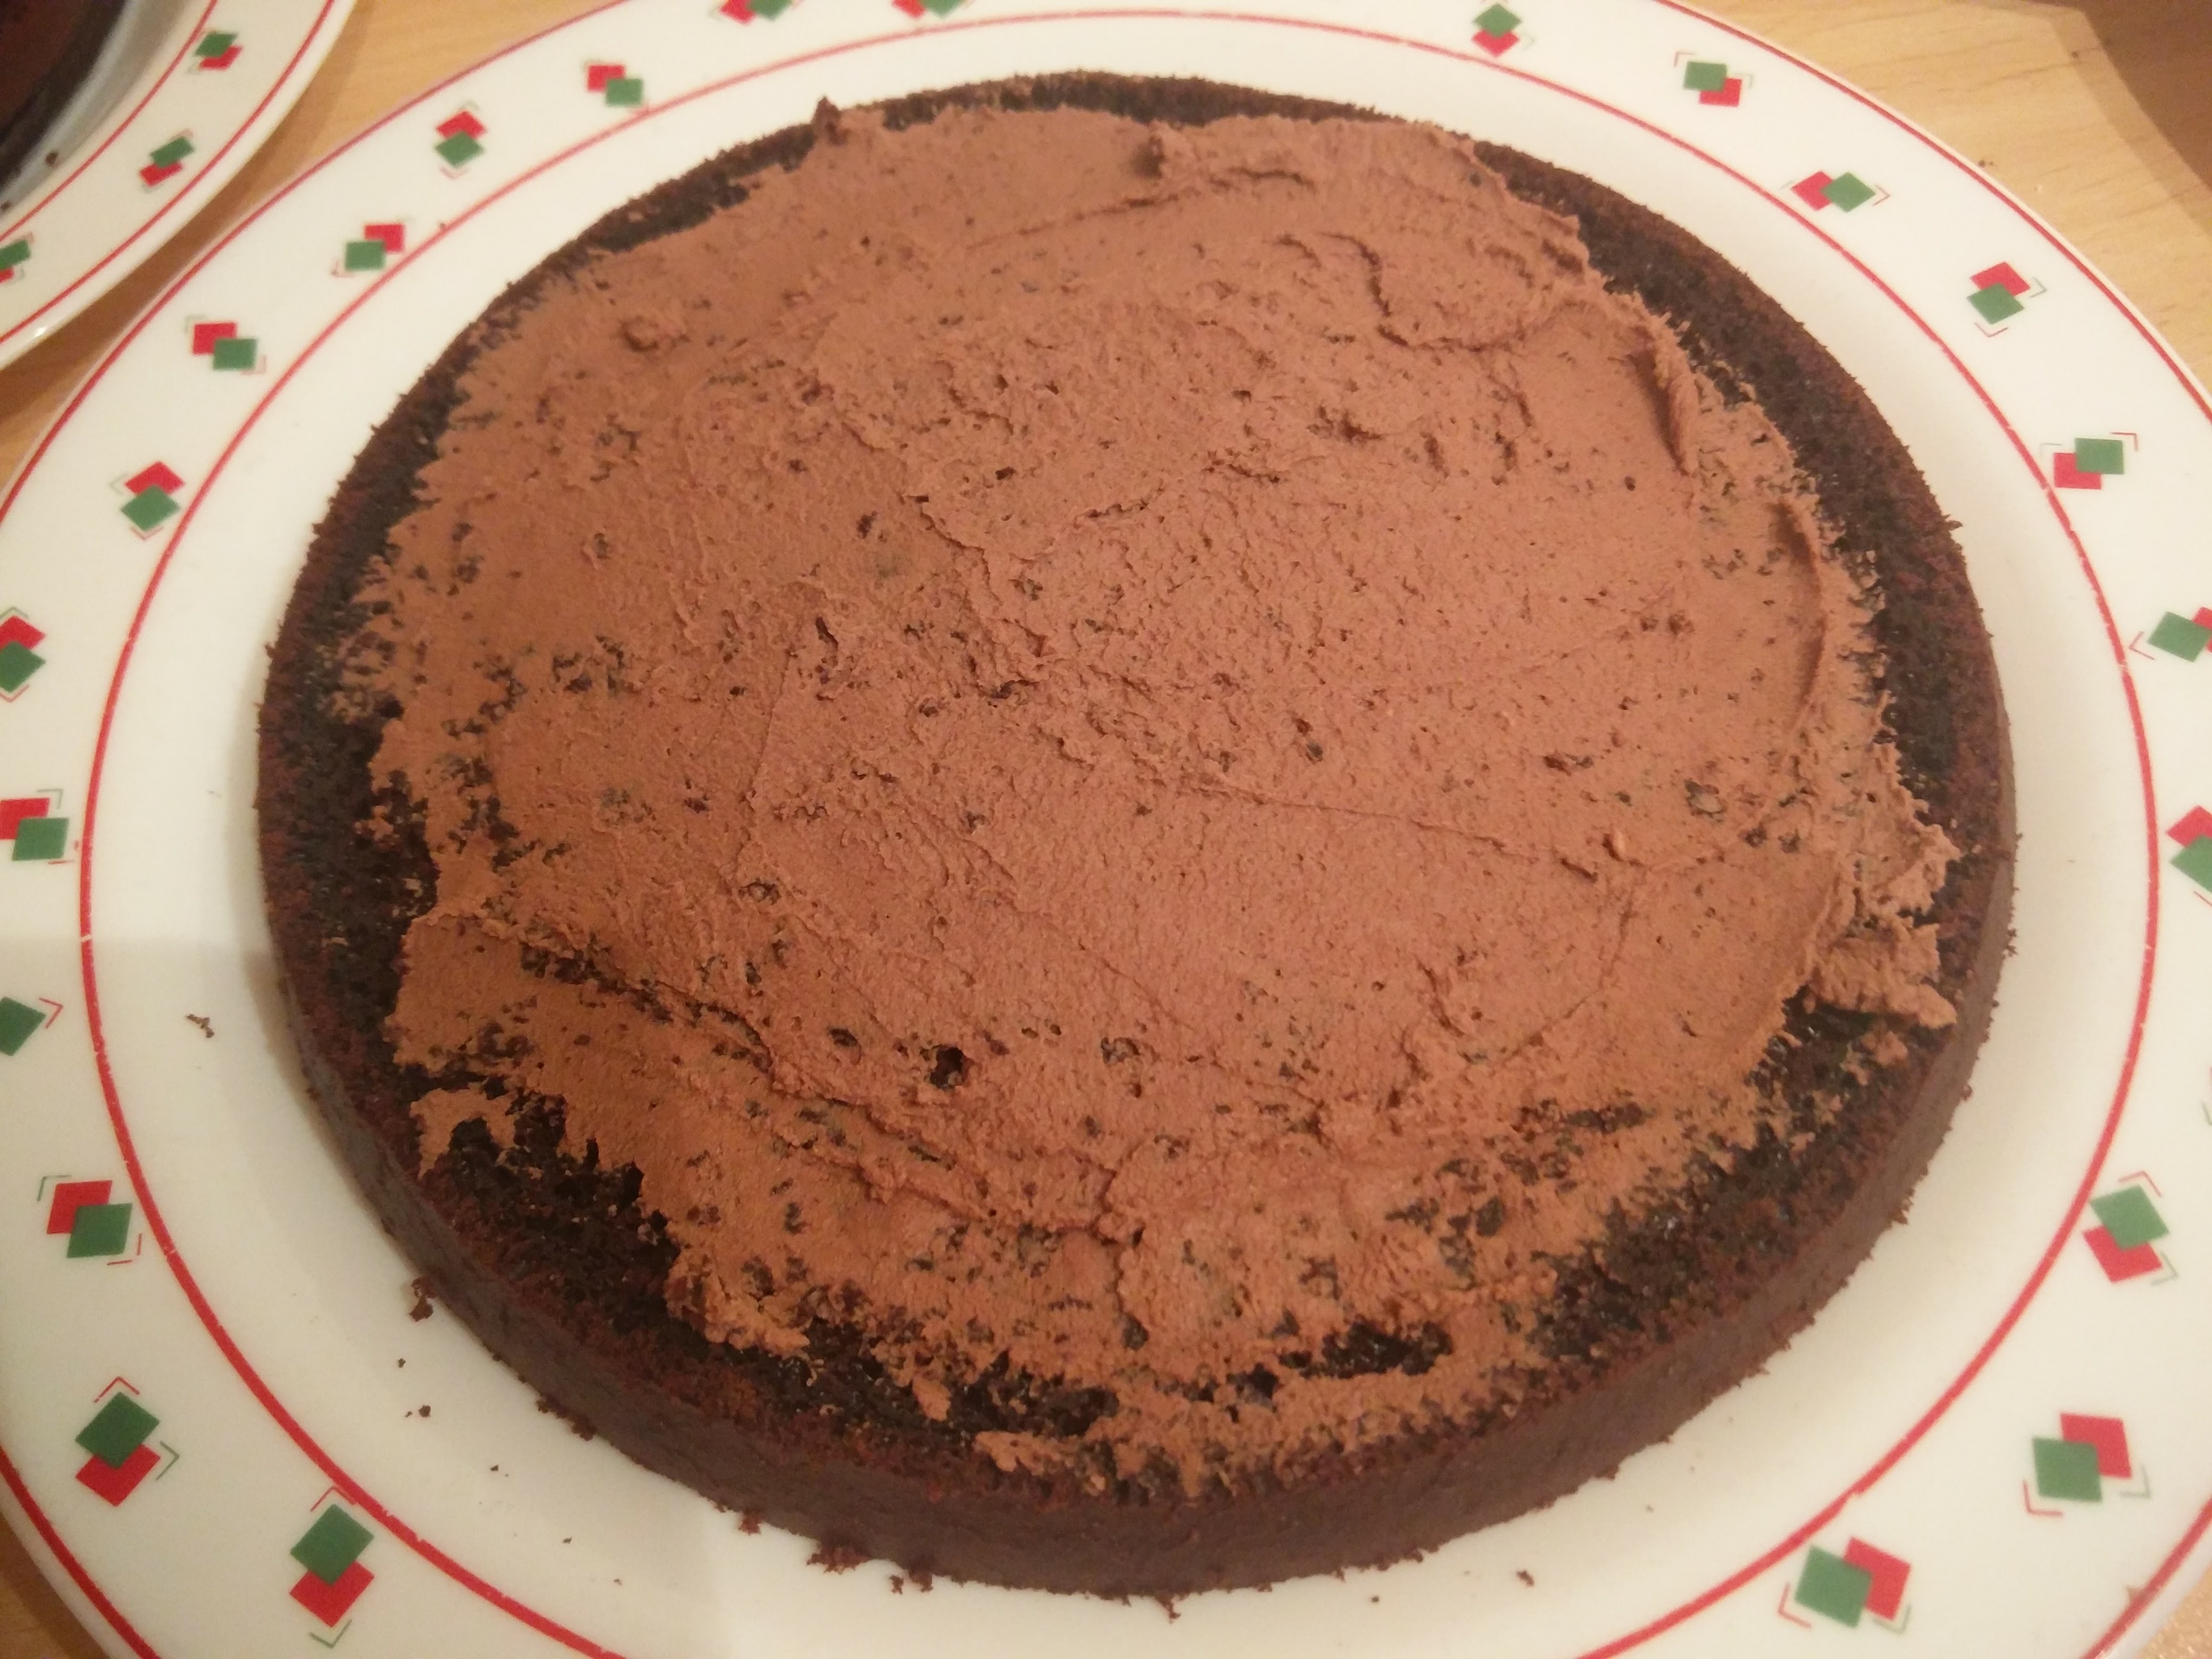
The next two steps of the recipe called for pretty much the same steps as the one above; namely to spread 1/6 the whipping cream and cherries on each cake slice after stacking it on top of the previous layer.

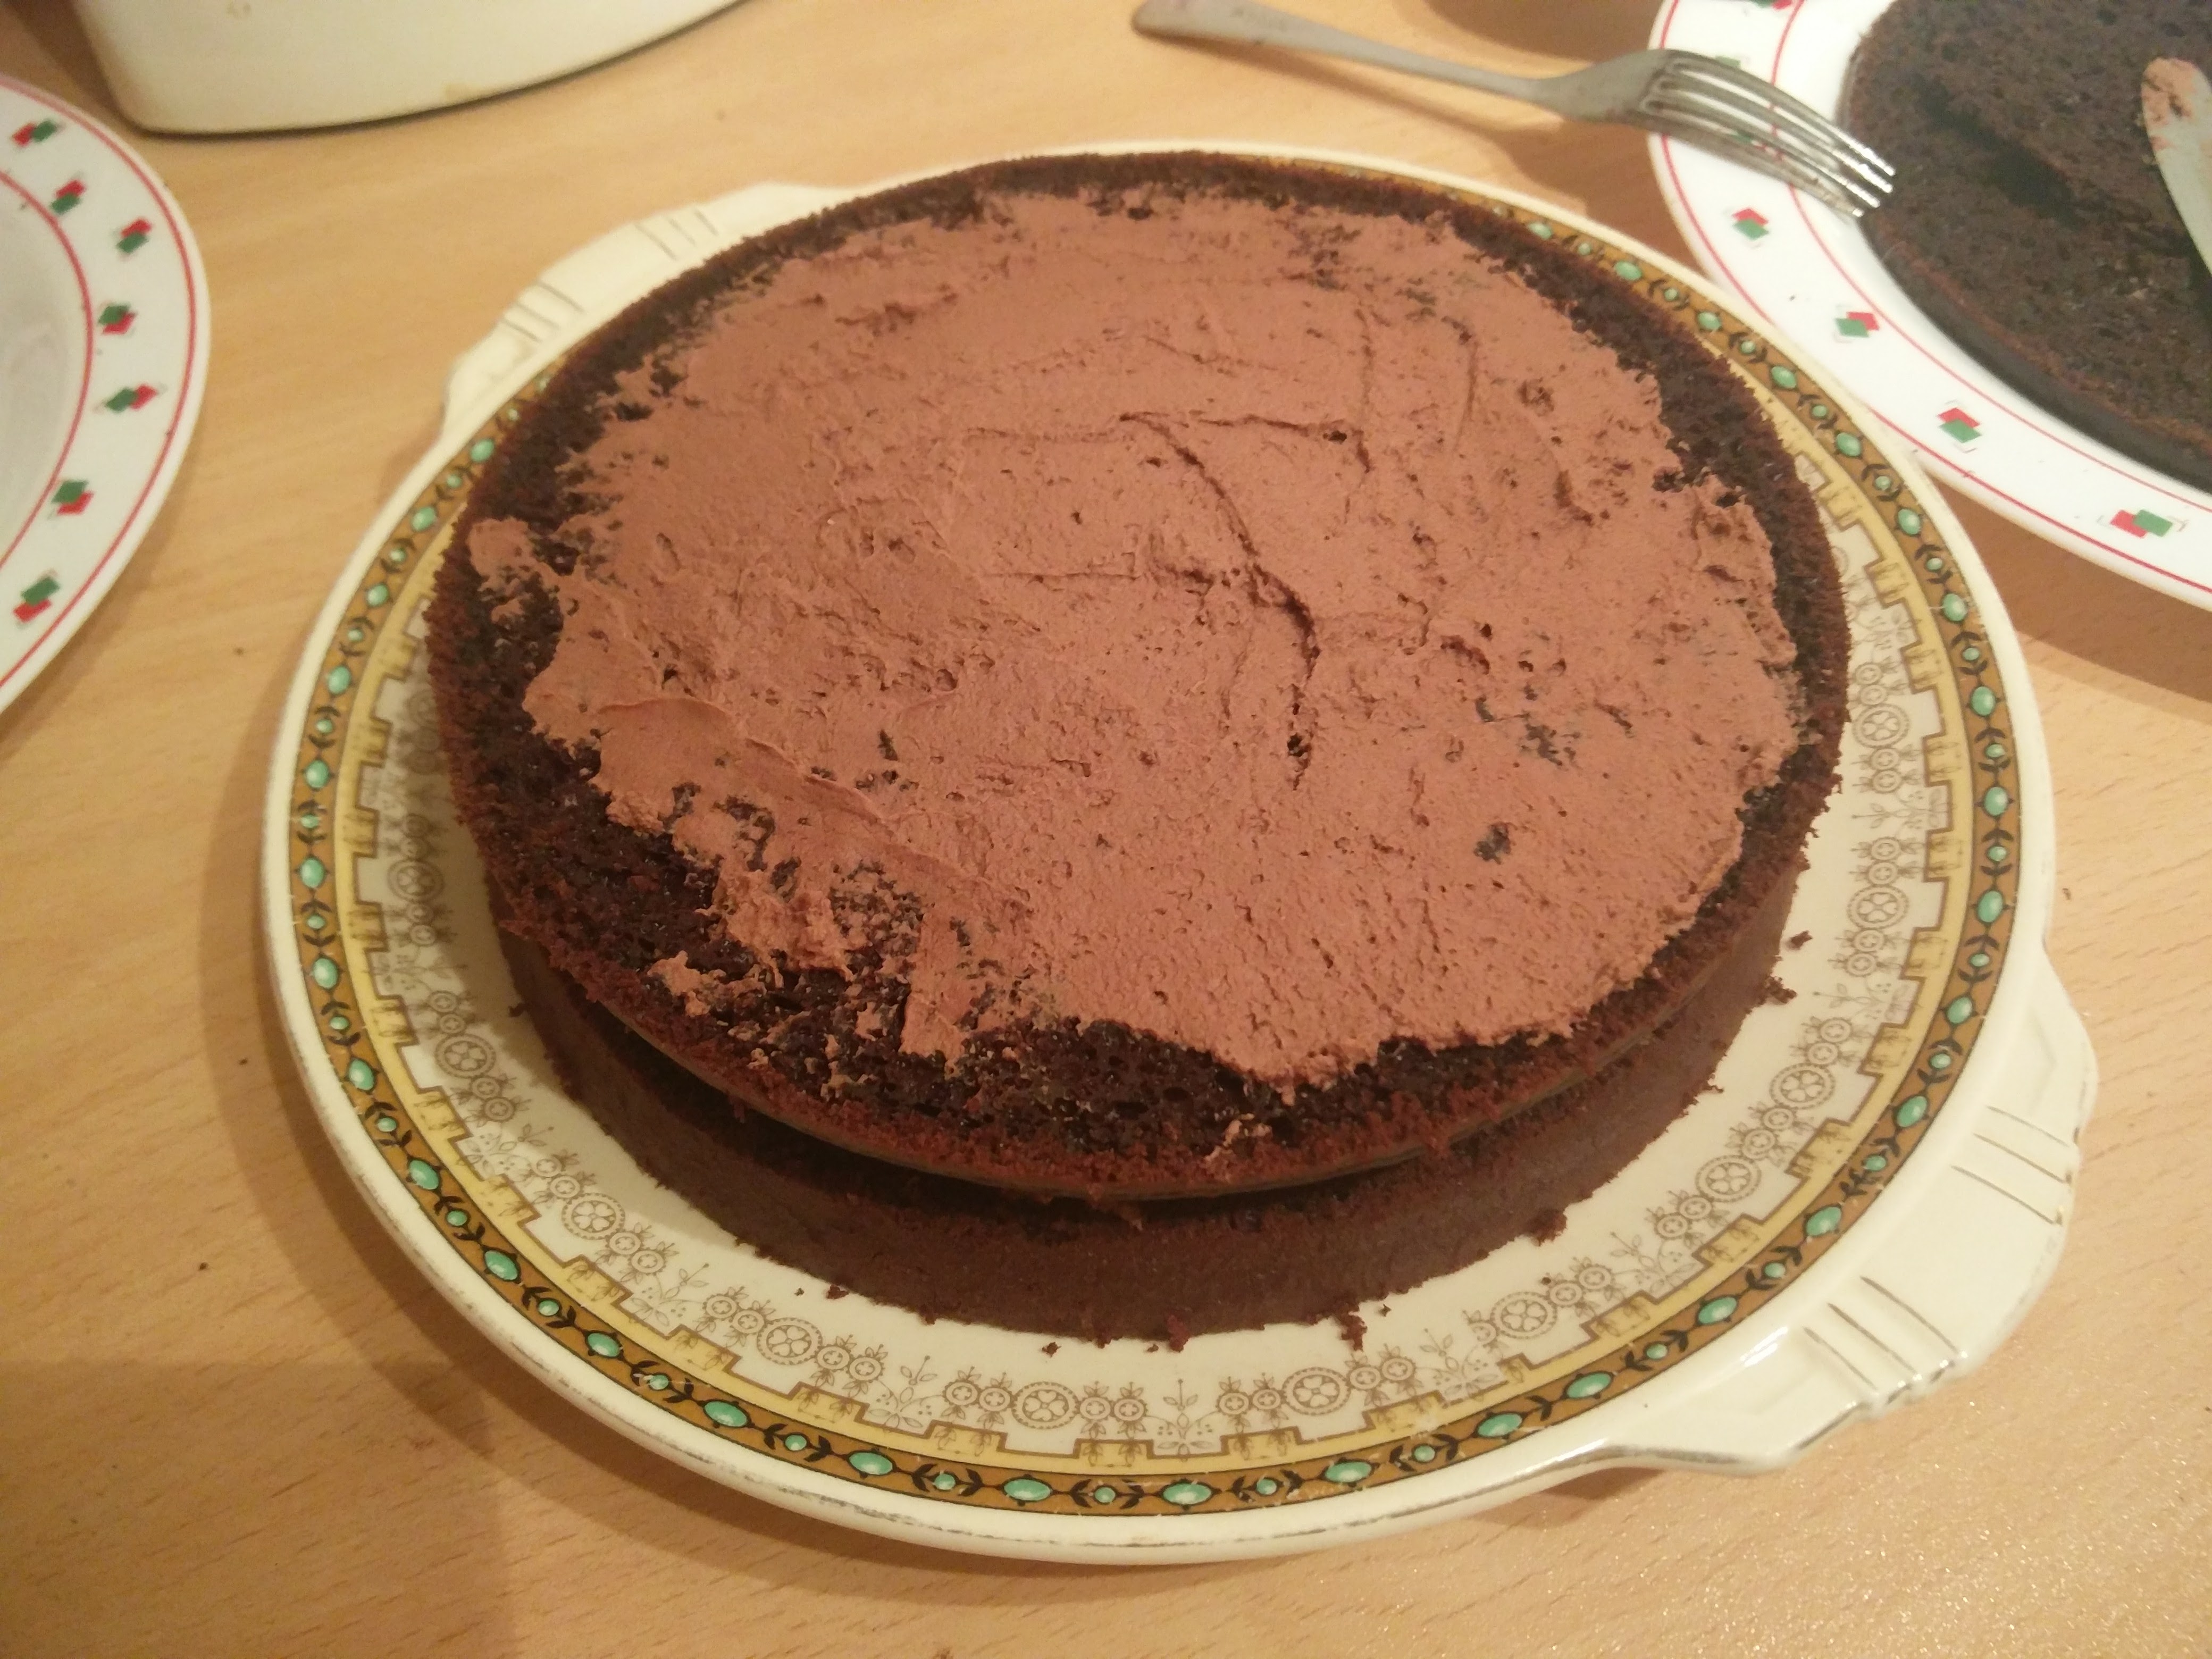

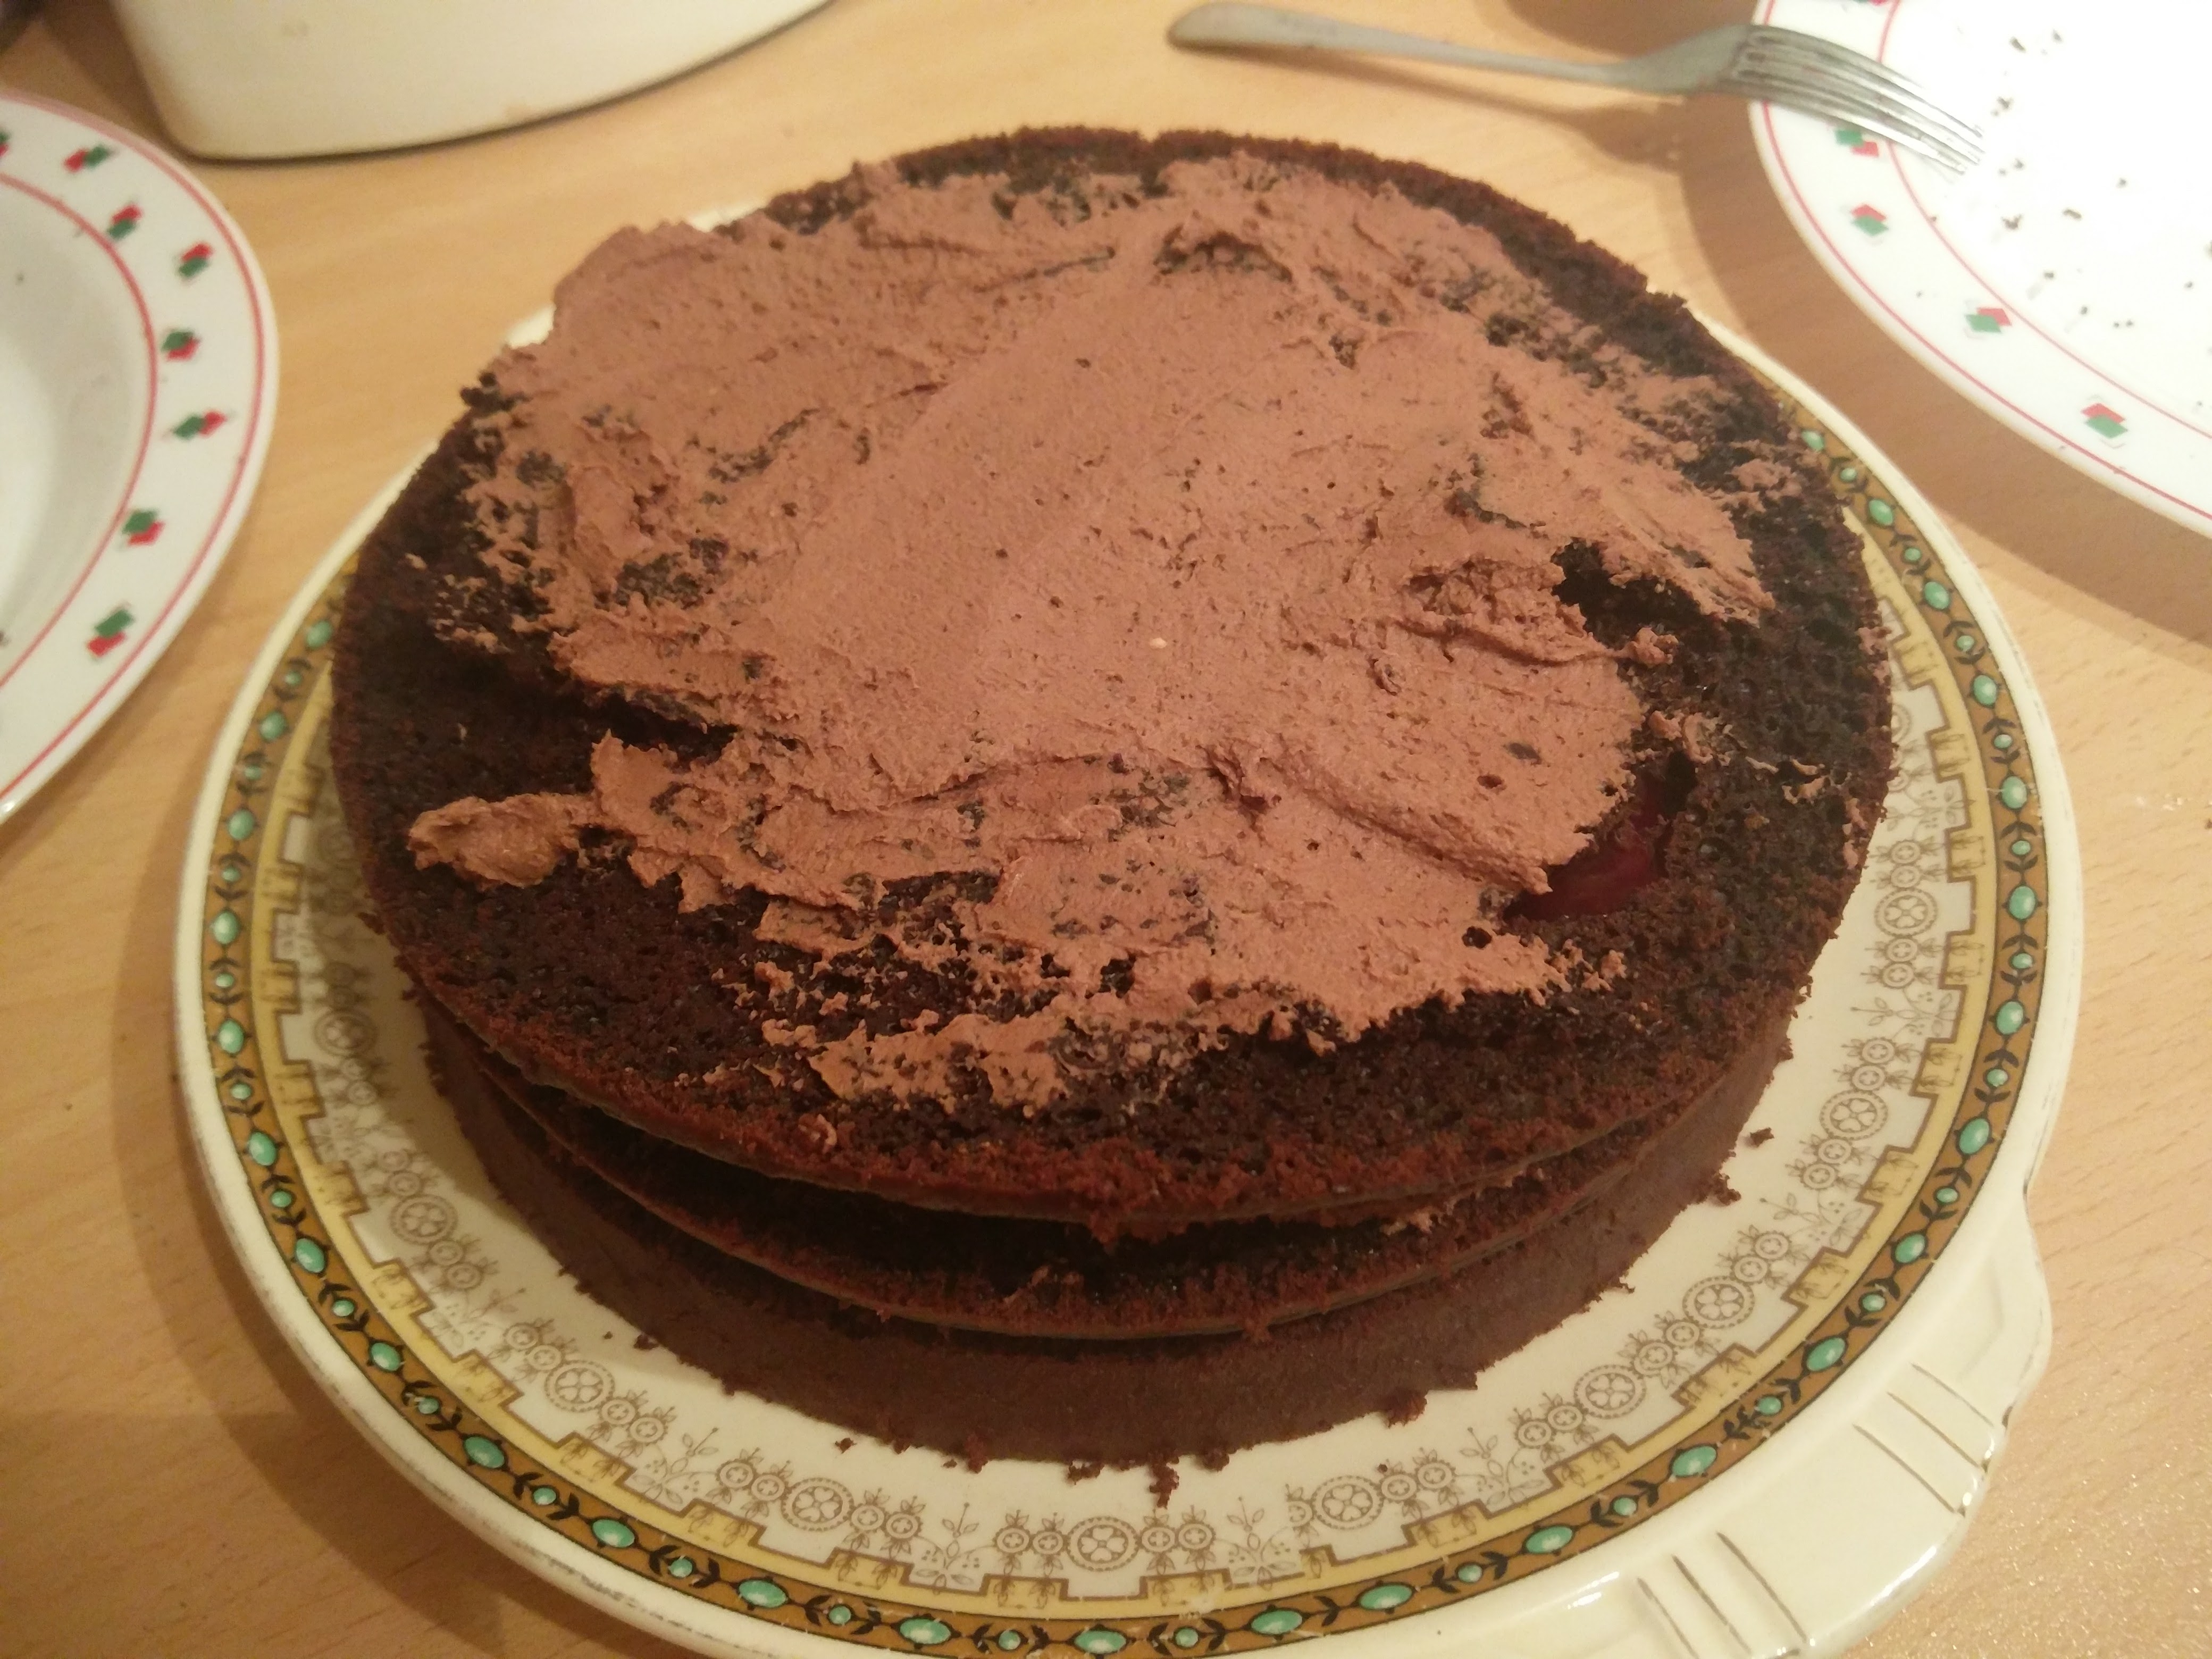
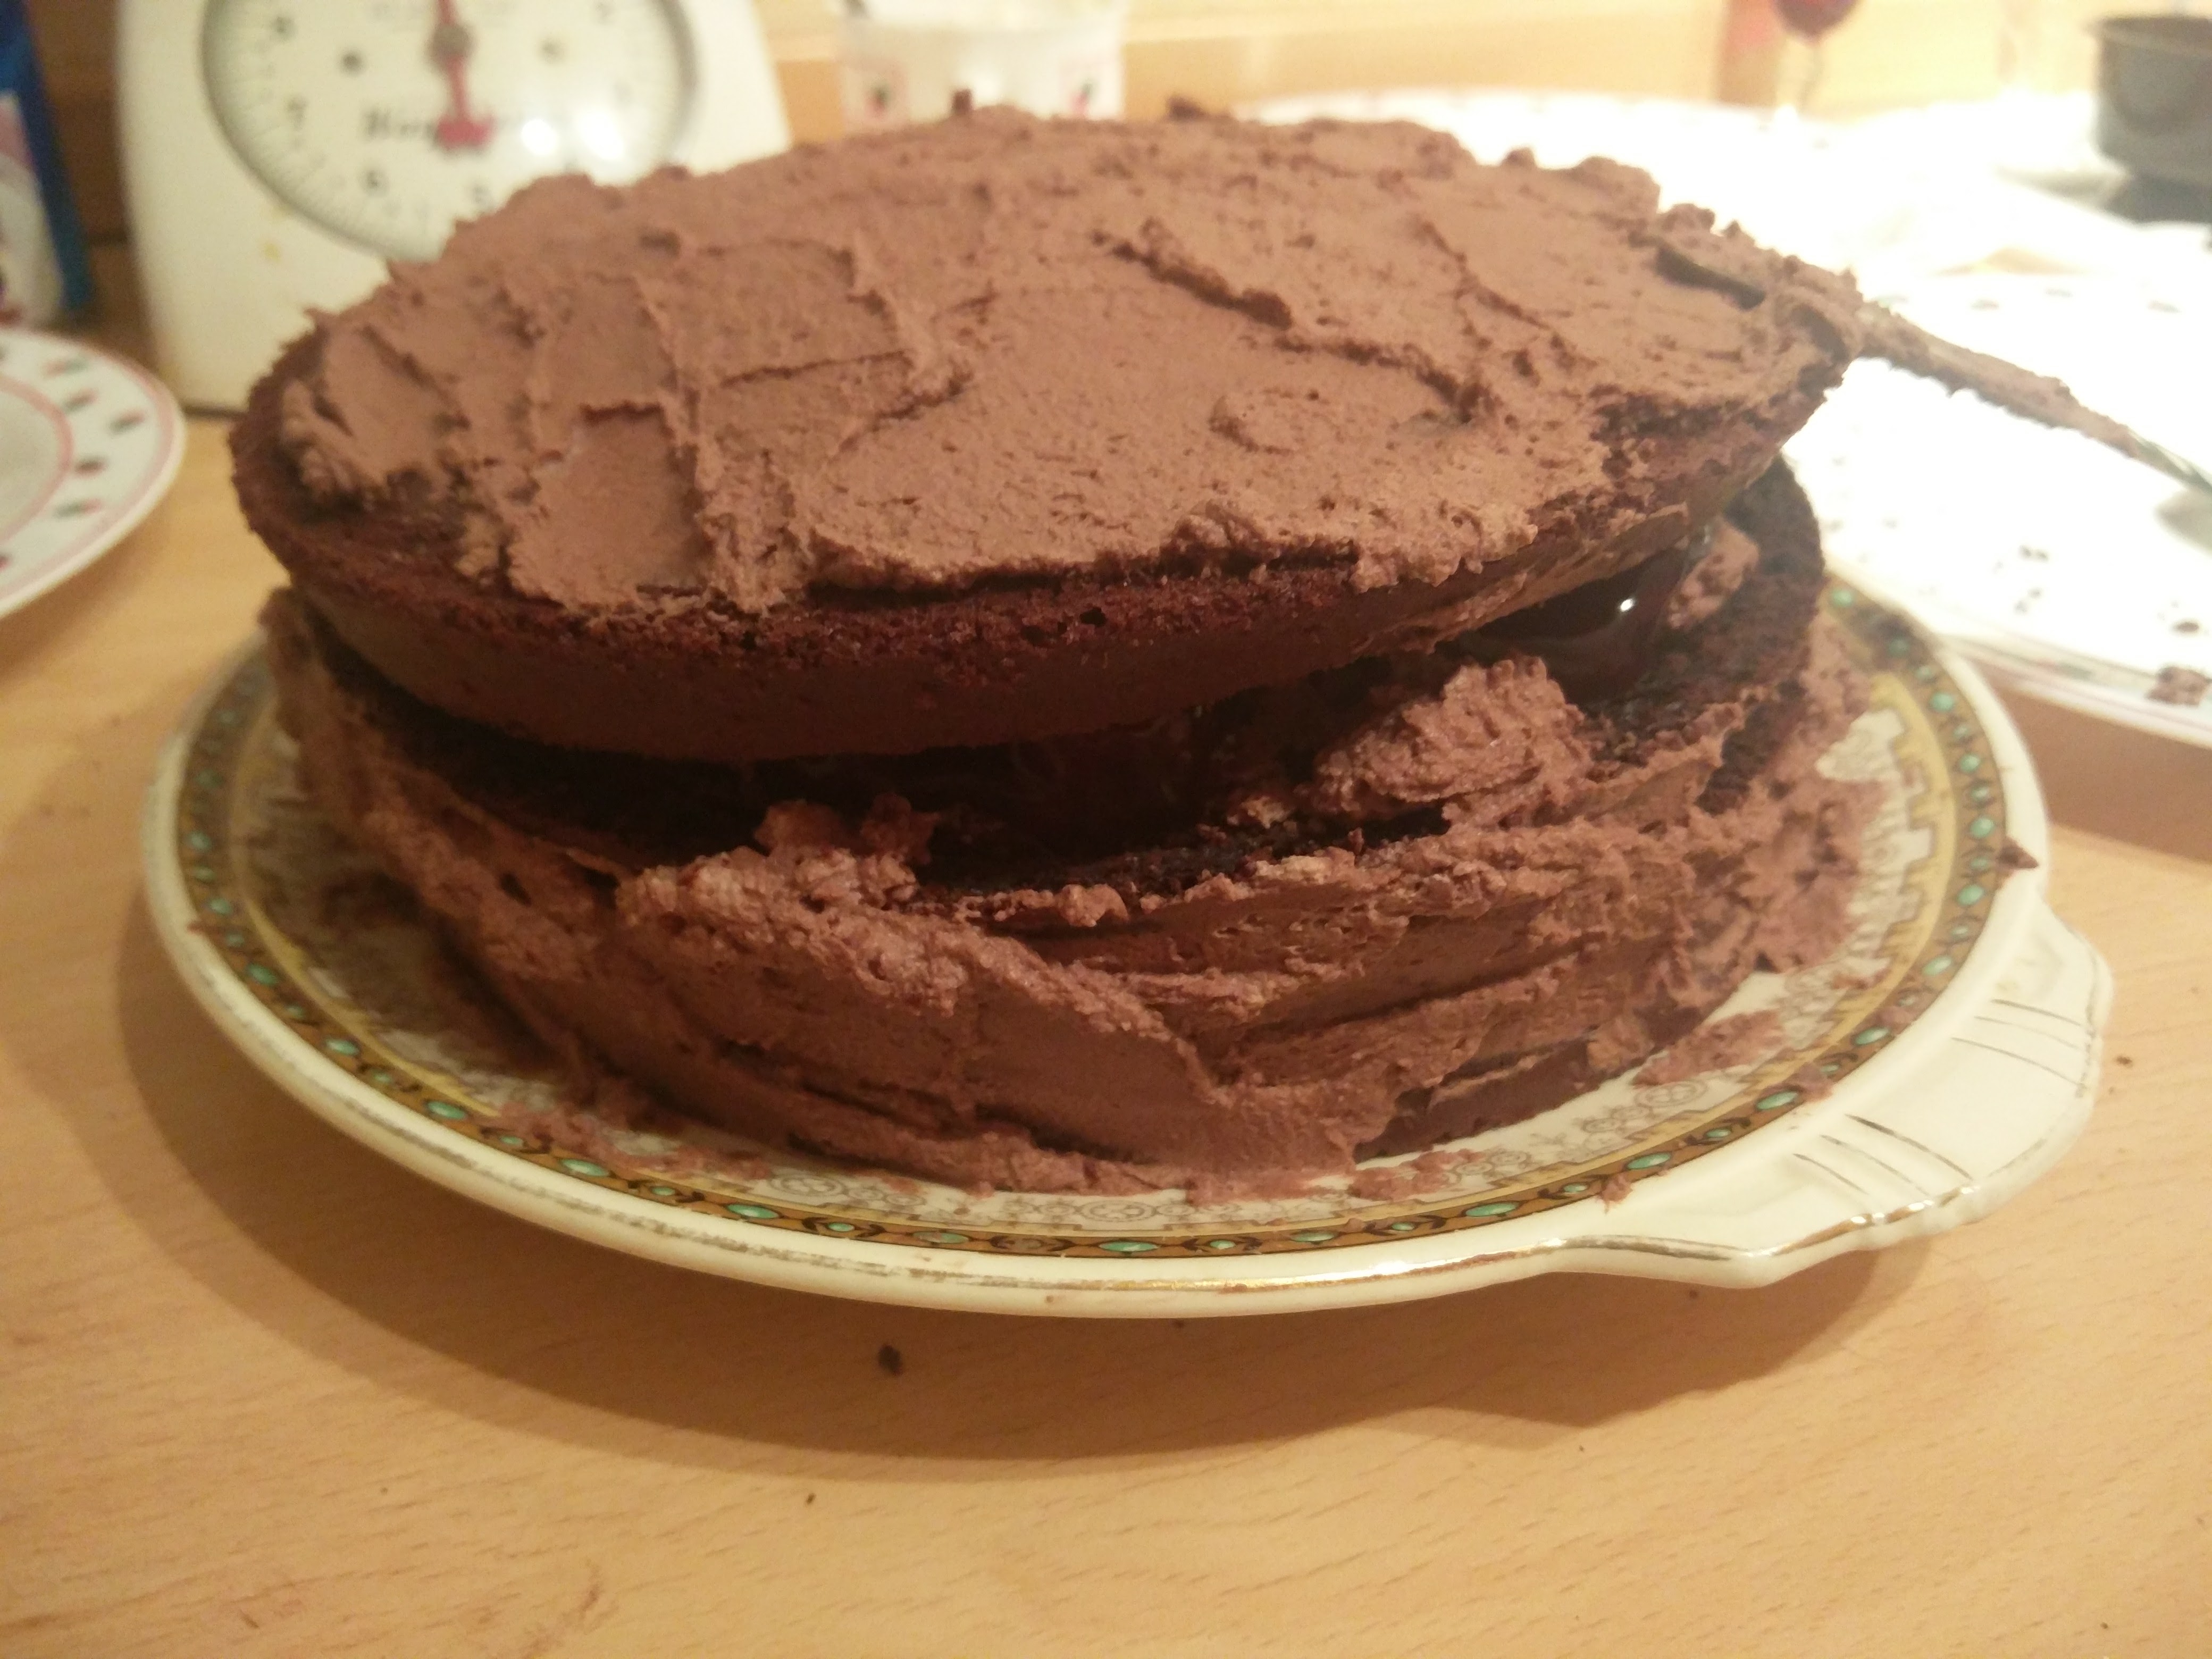
Eventually, the top layer of the cake could go on and the rest of the whipping cream was to be used to frost the top and sides of the cake. This was mostly easy to do, but not getting the whipping cream onto the plate but to cover the bottom of the cake was a bit tricky.


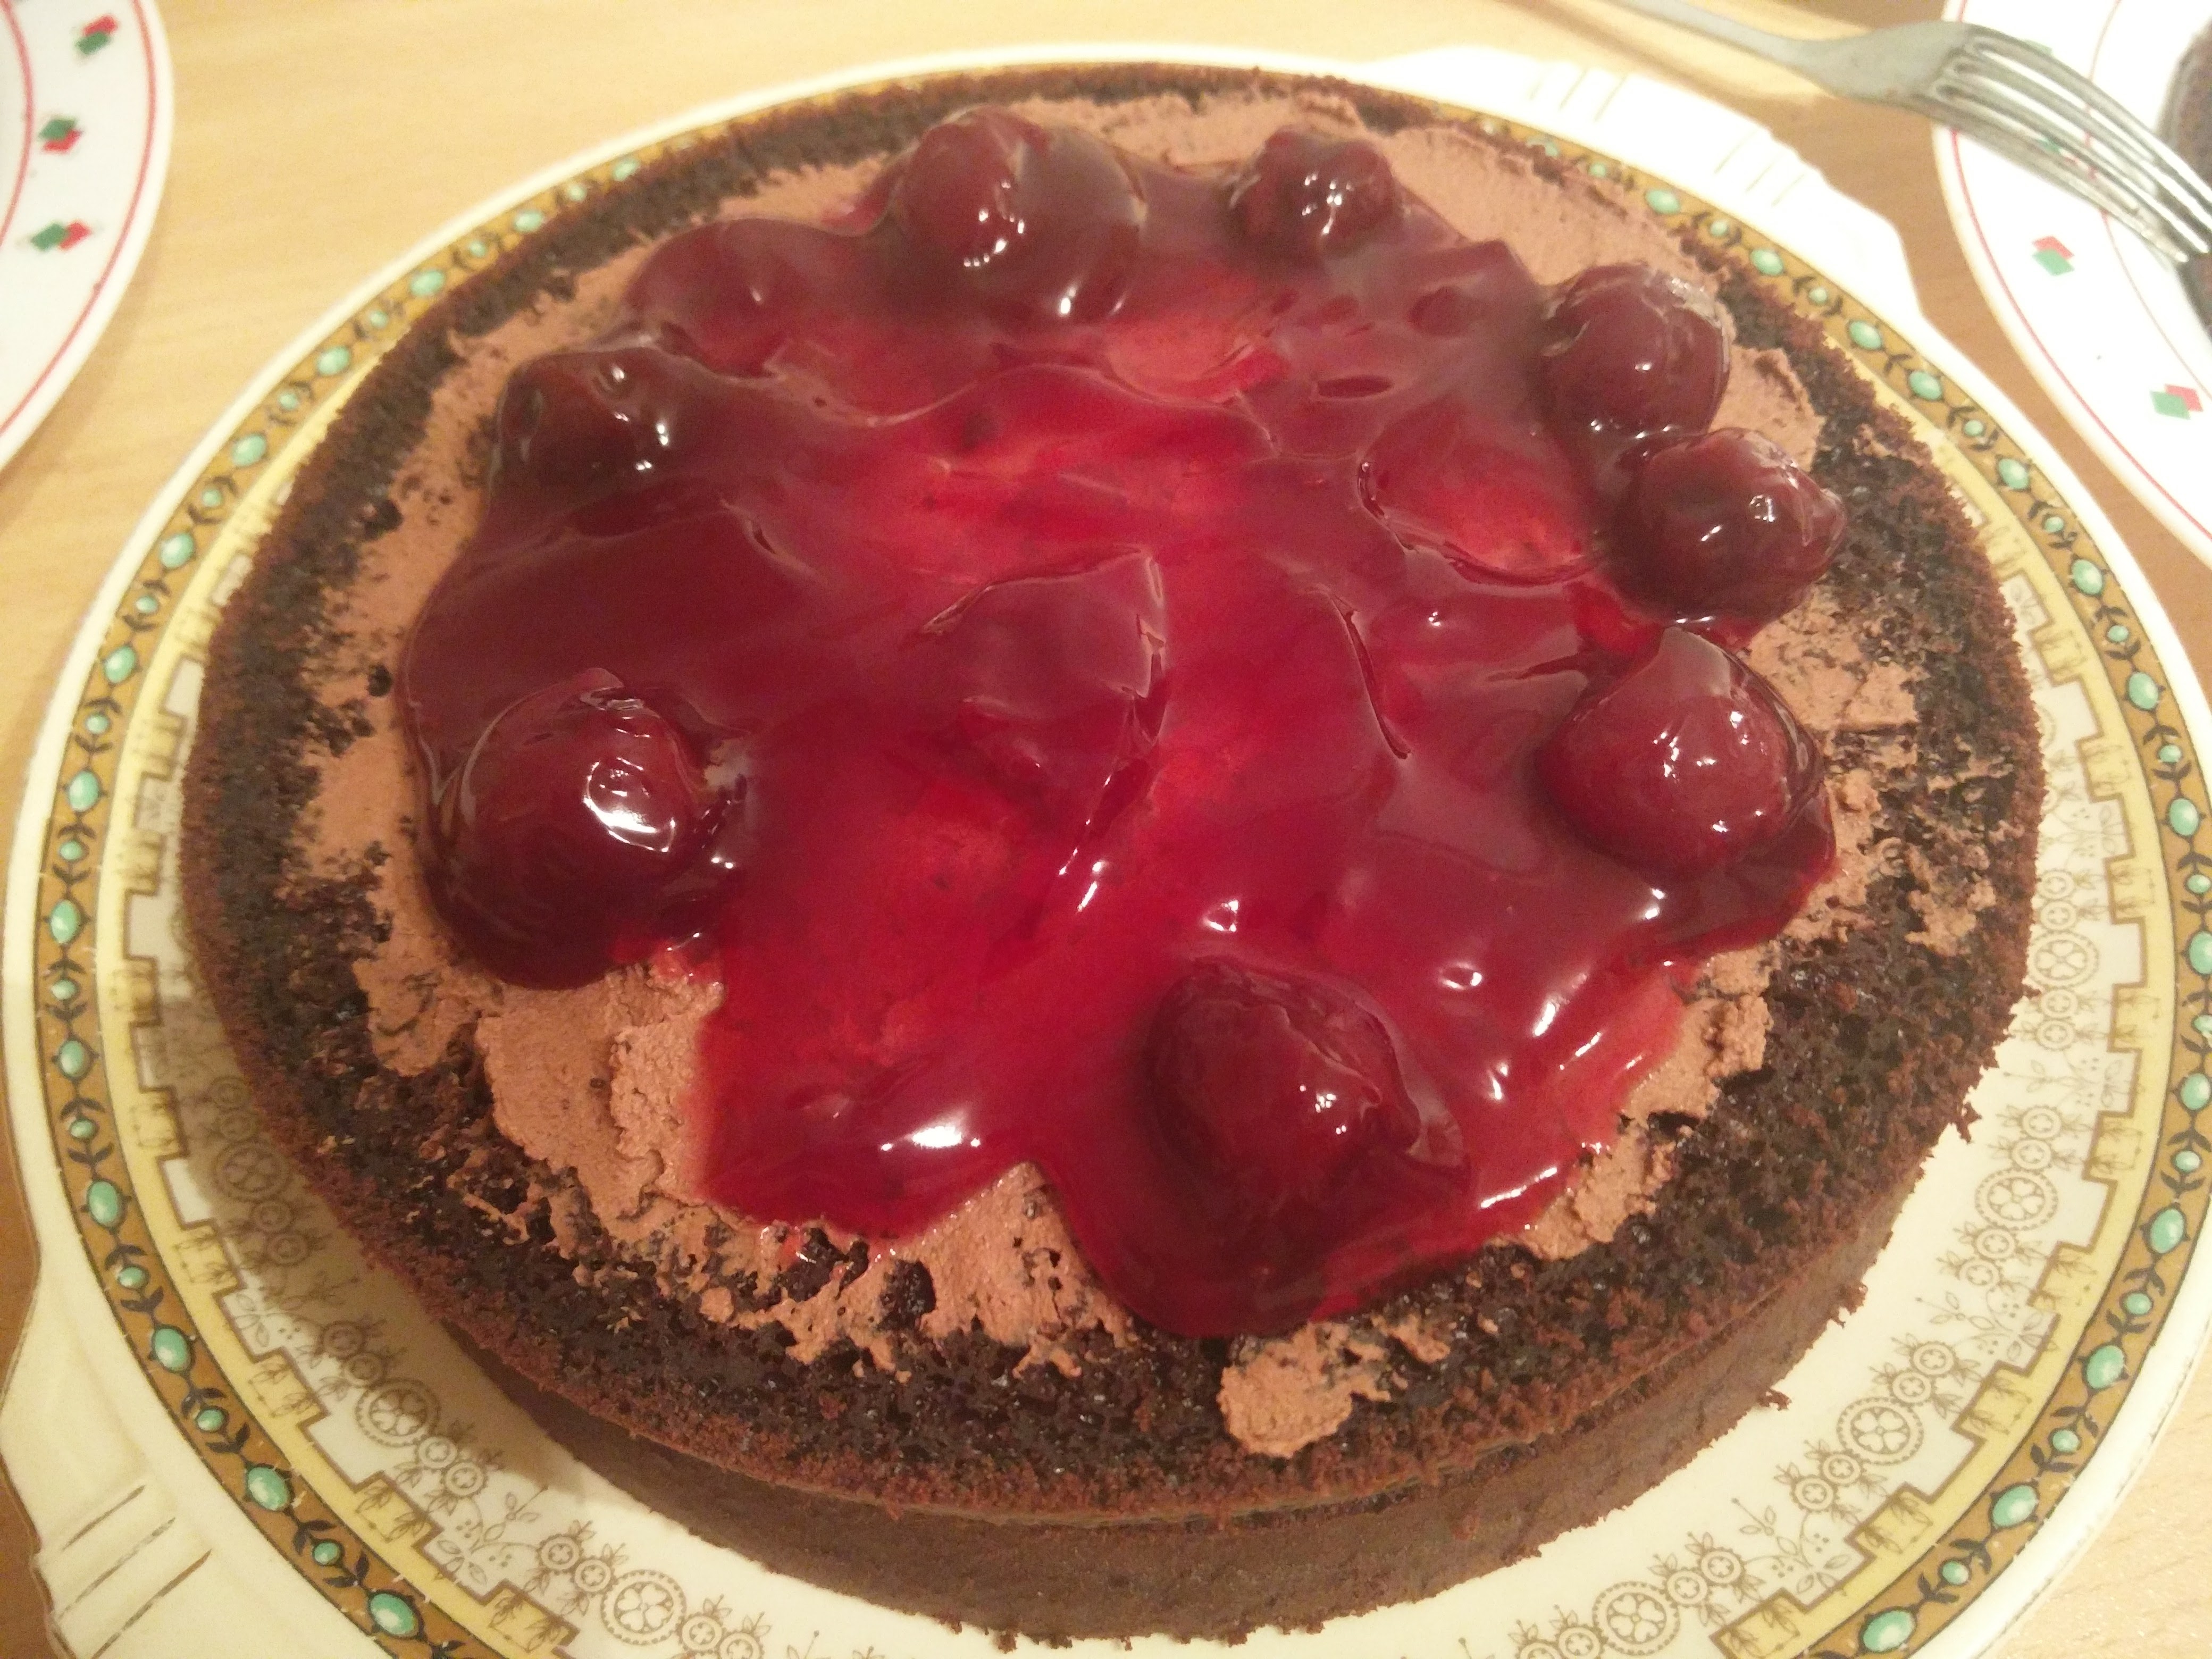
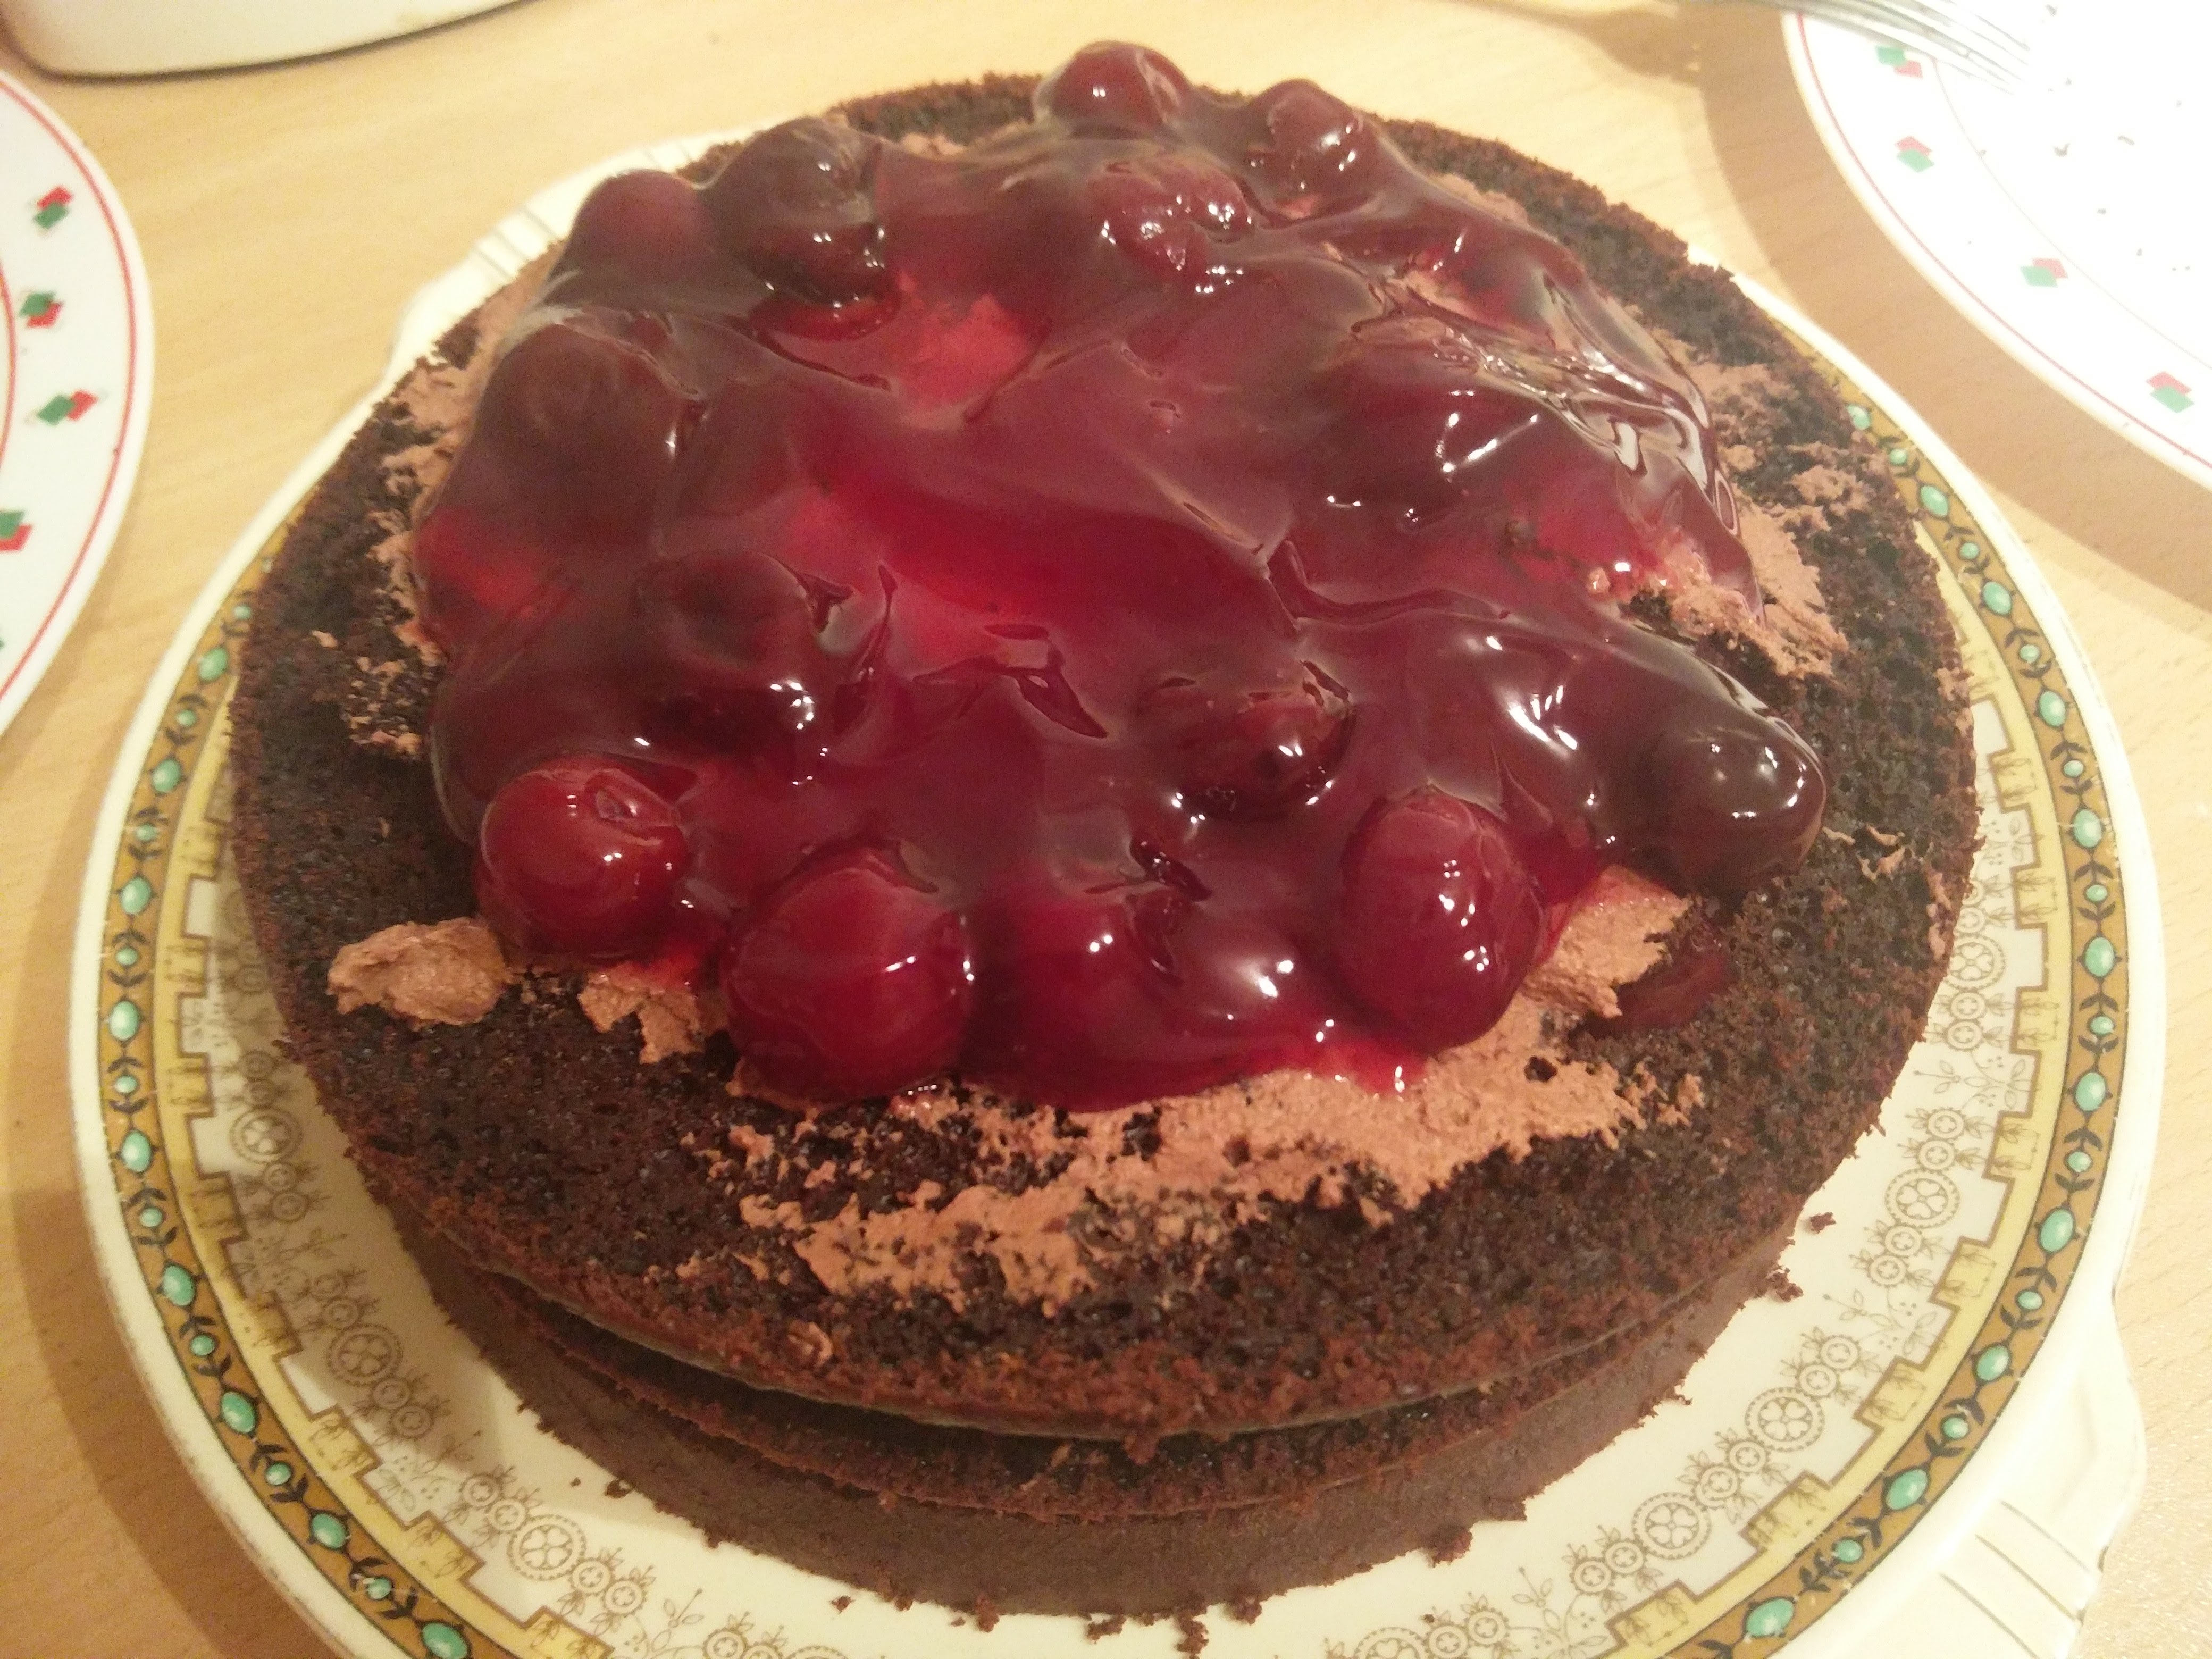
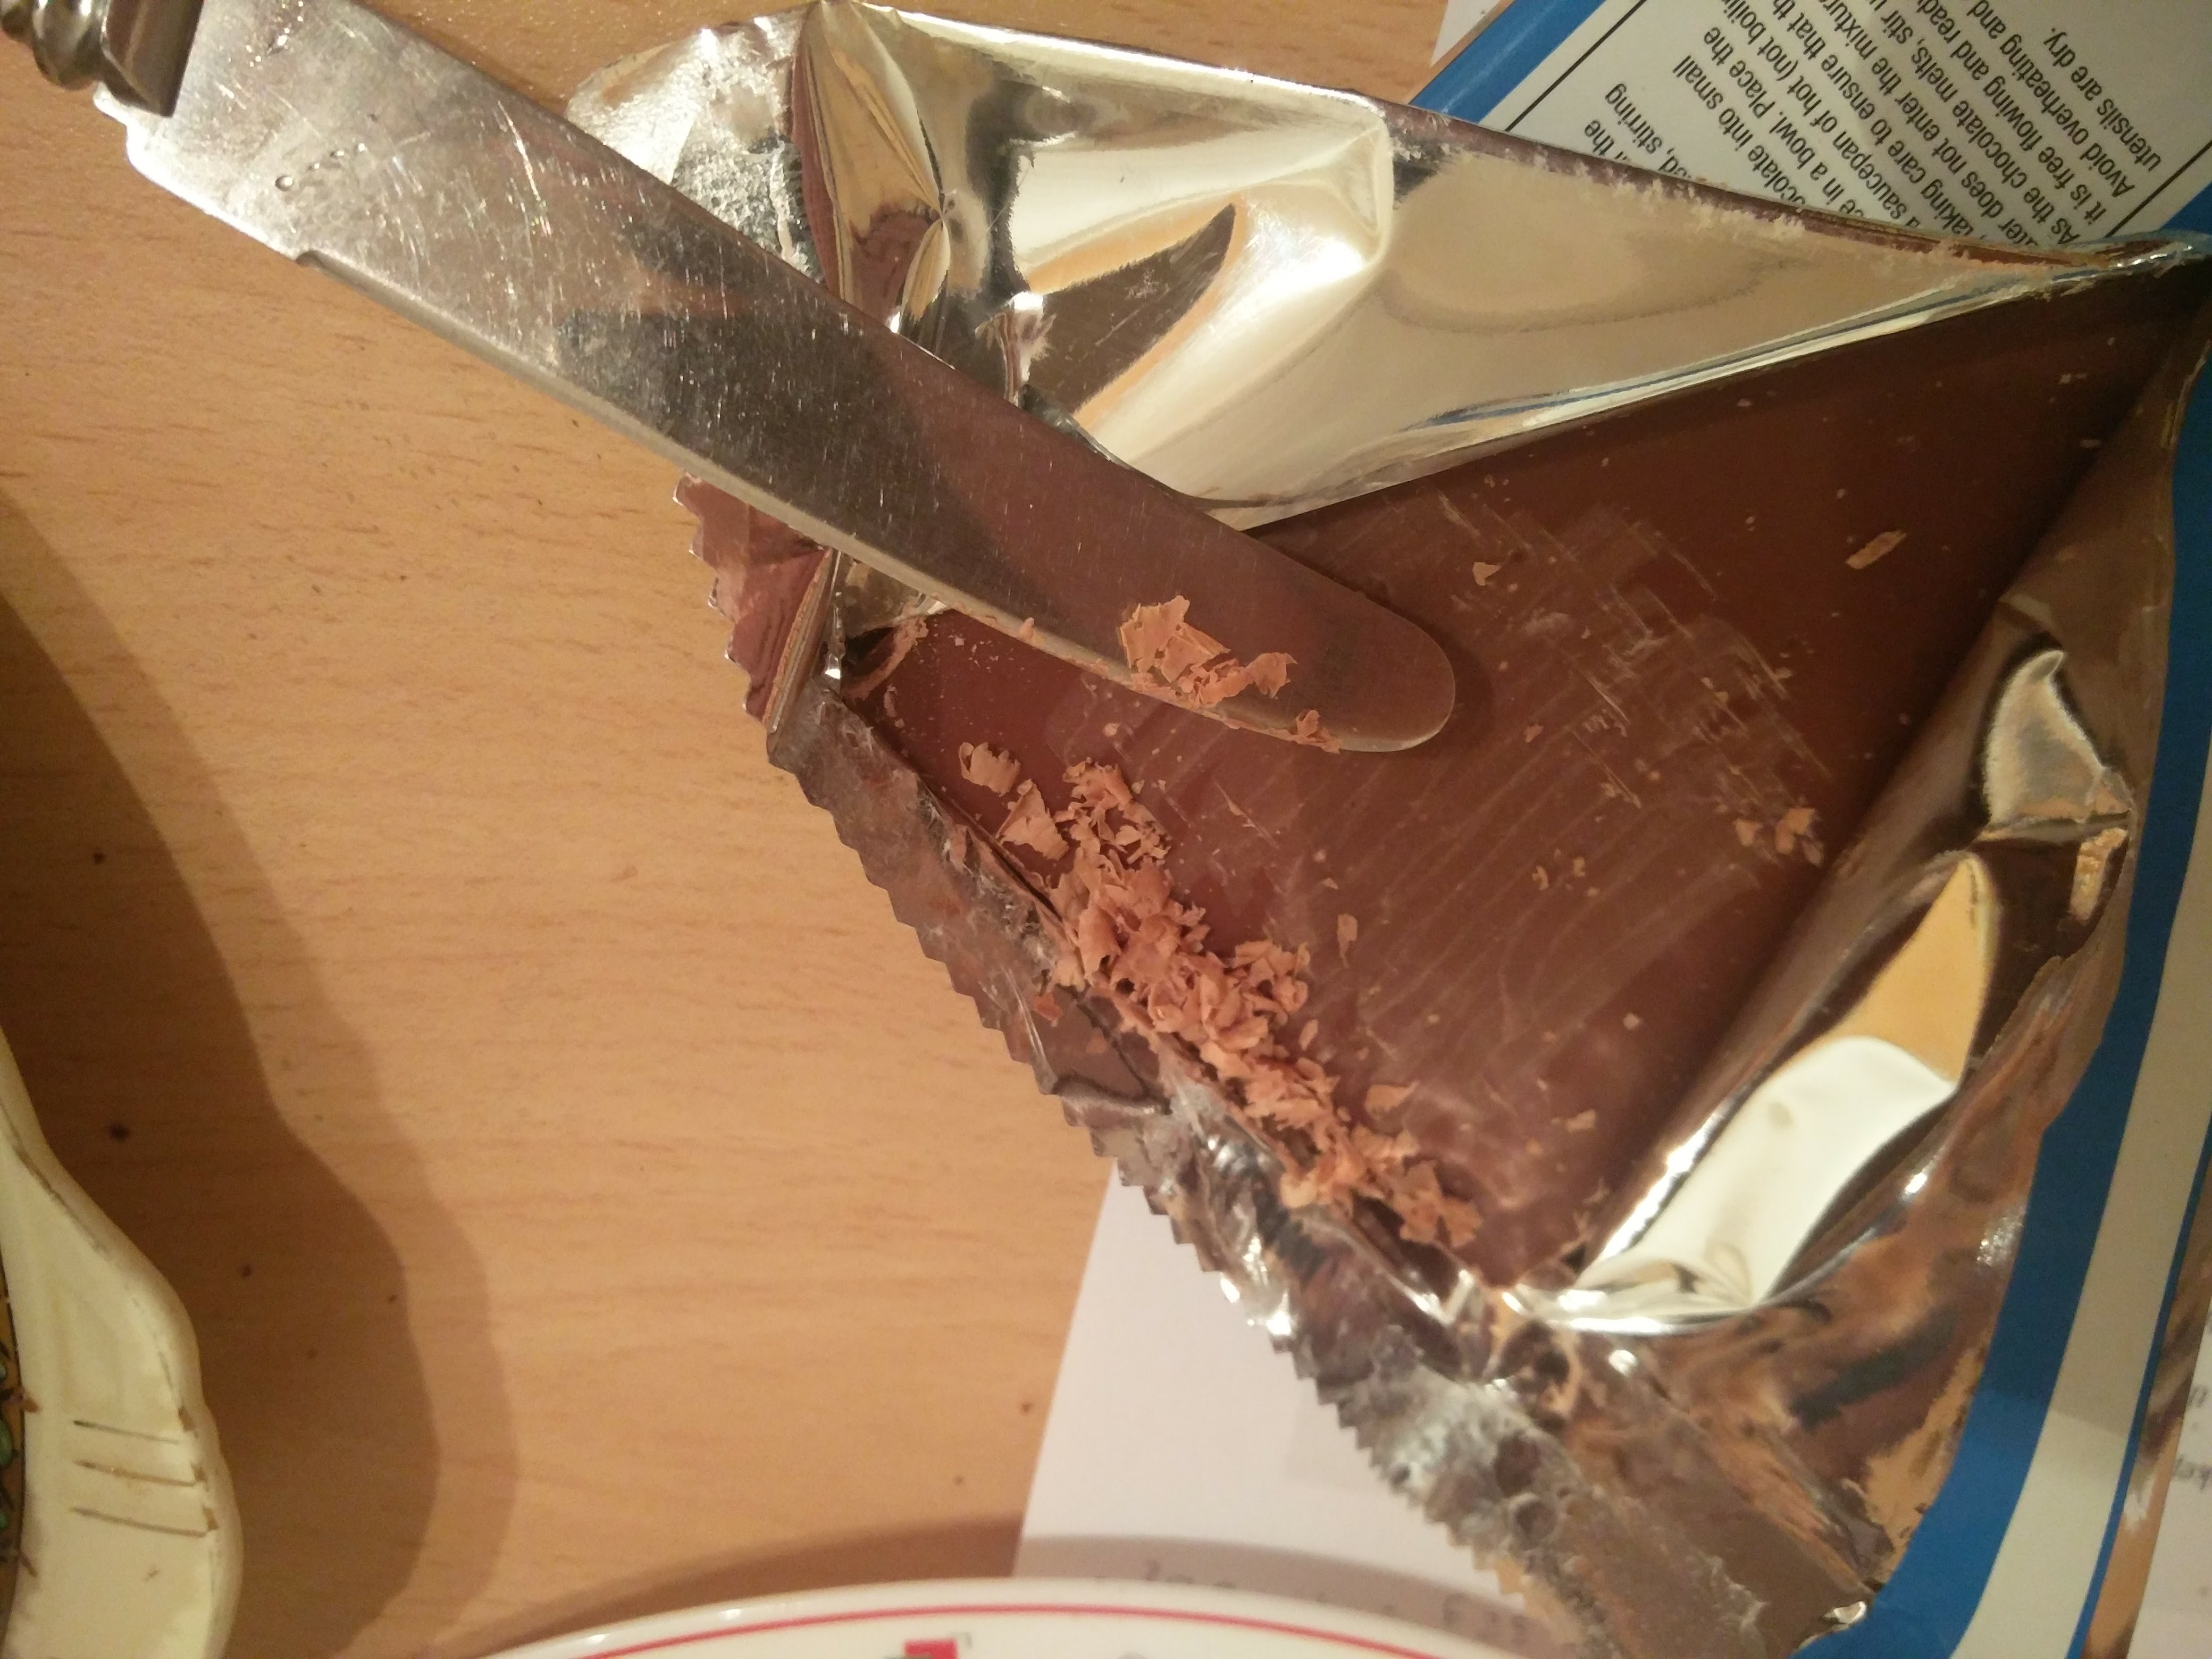
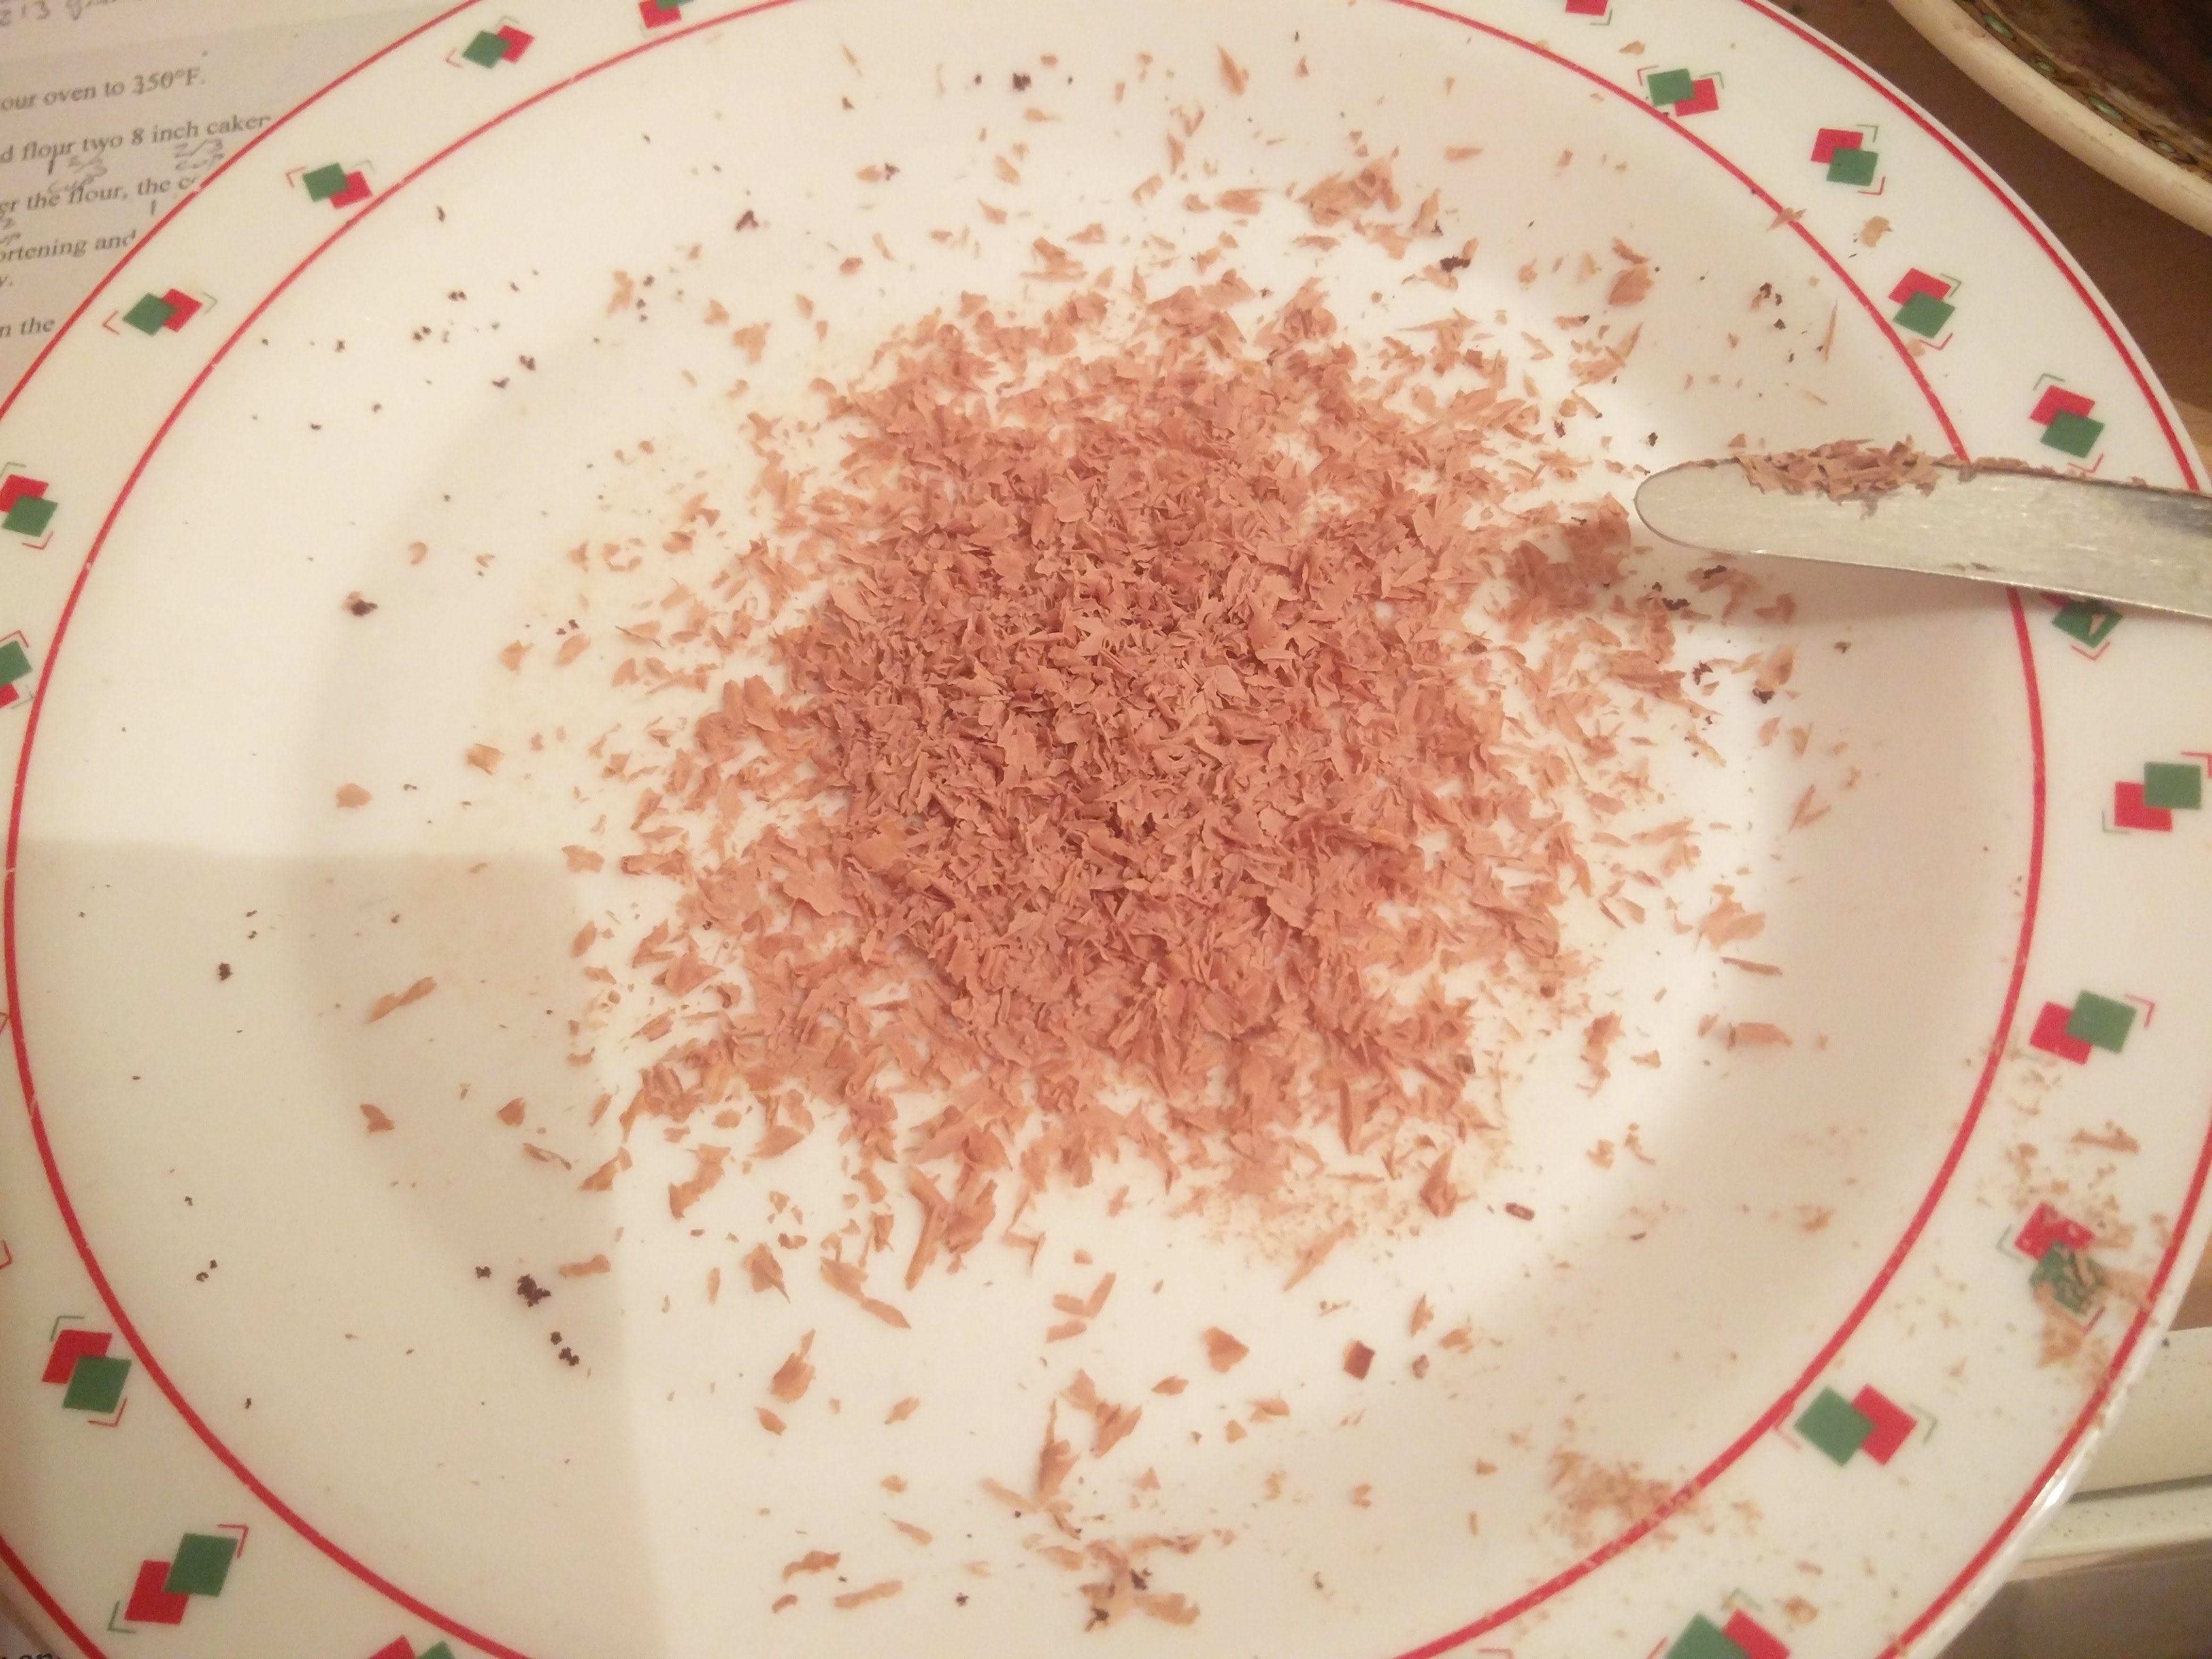
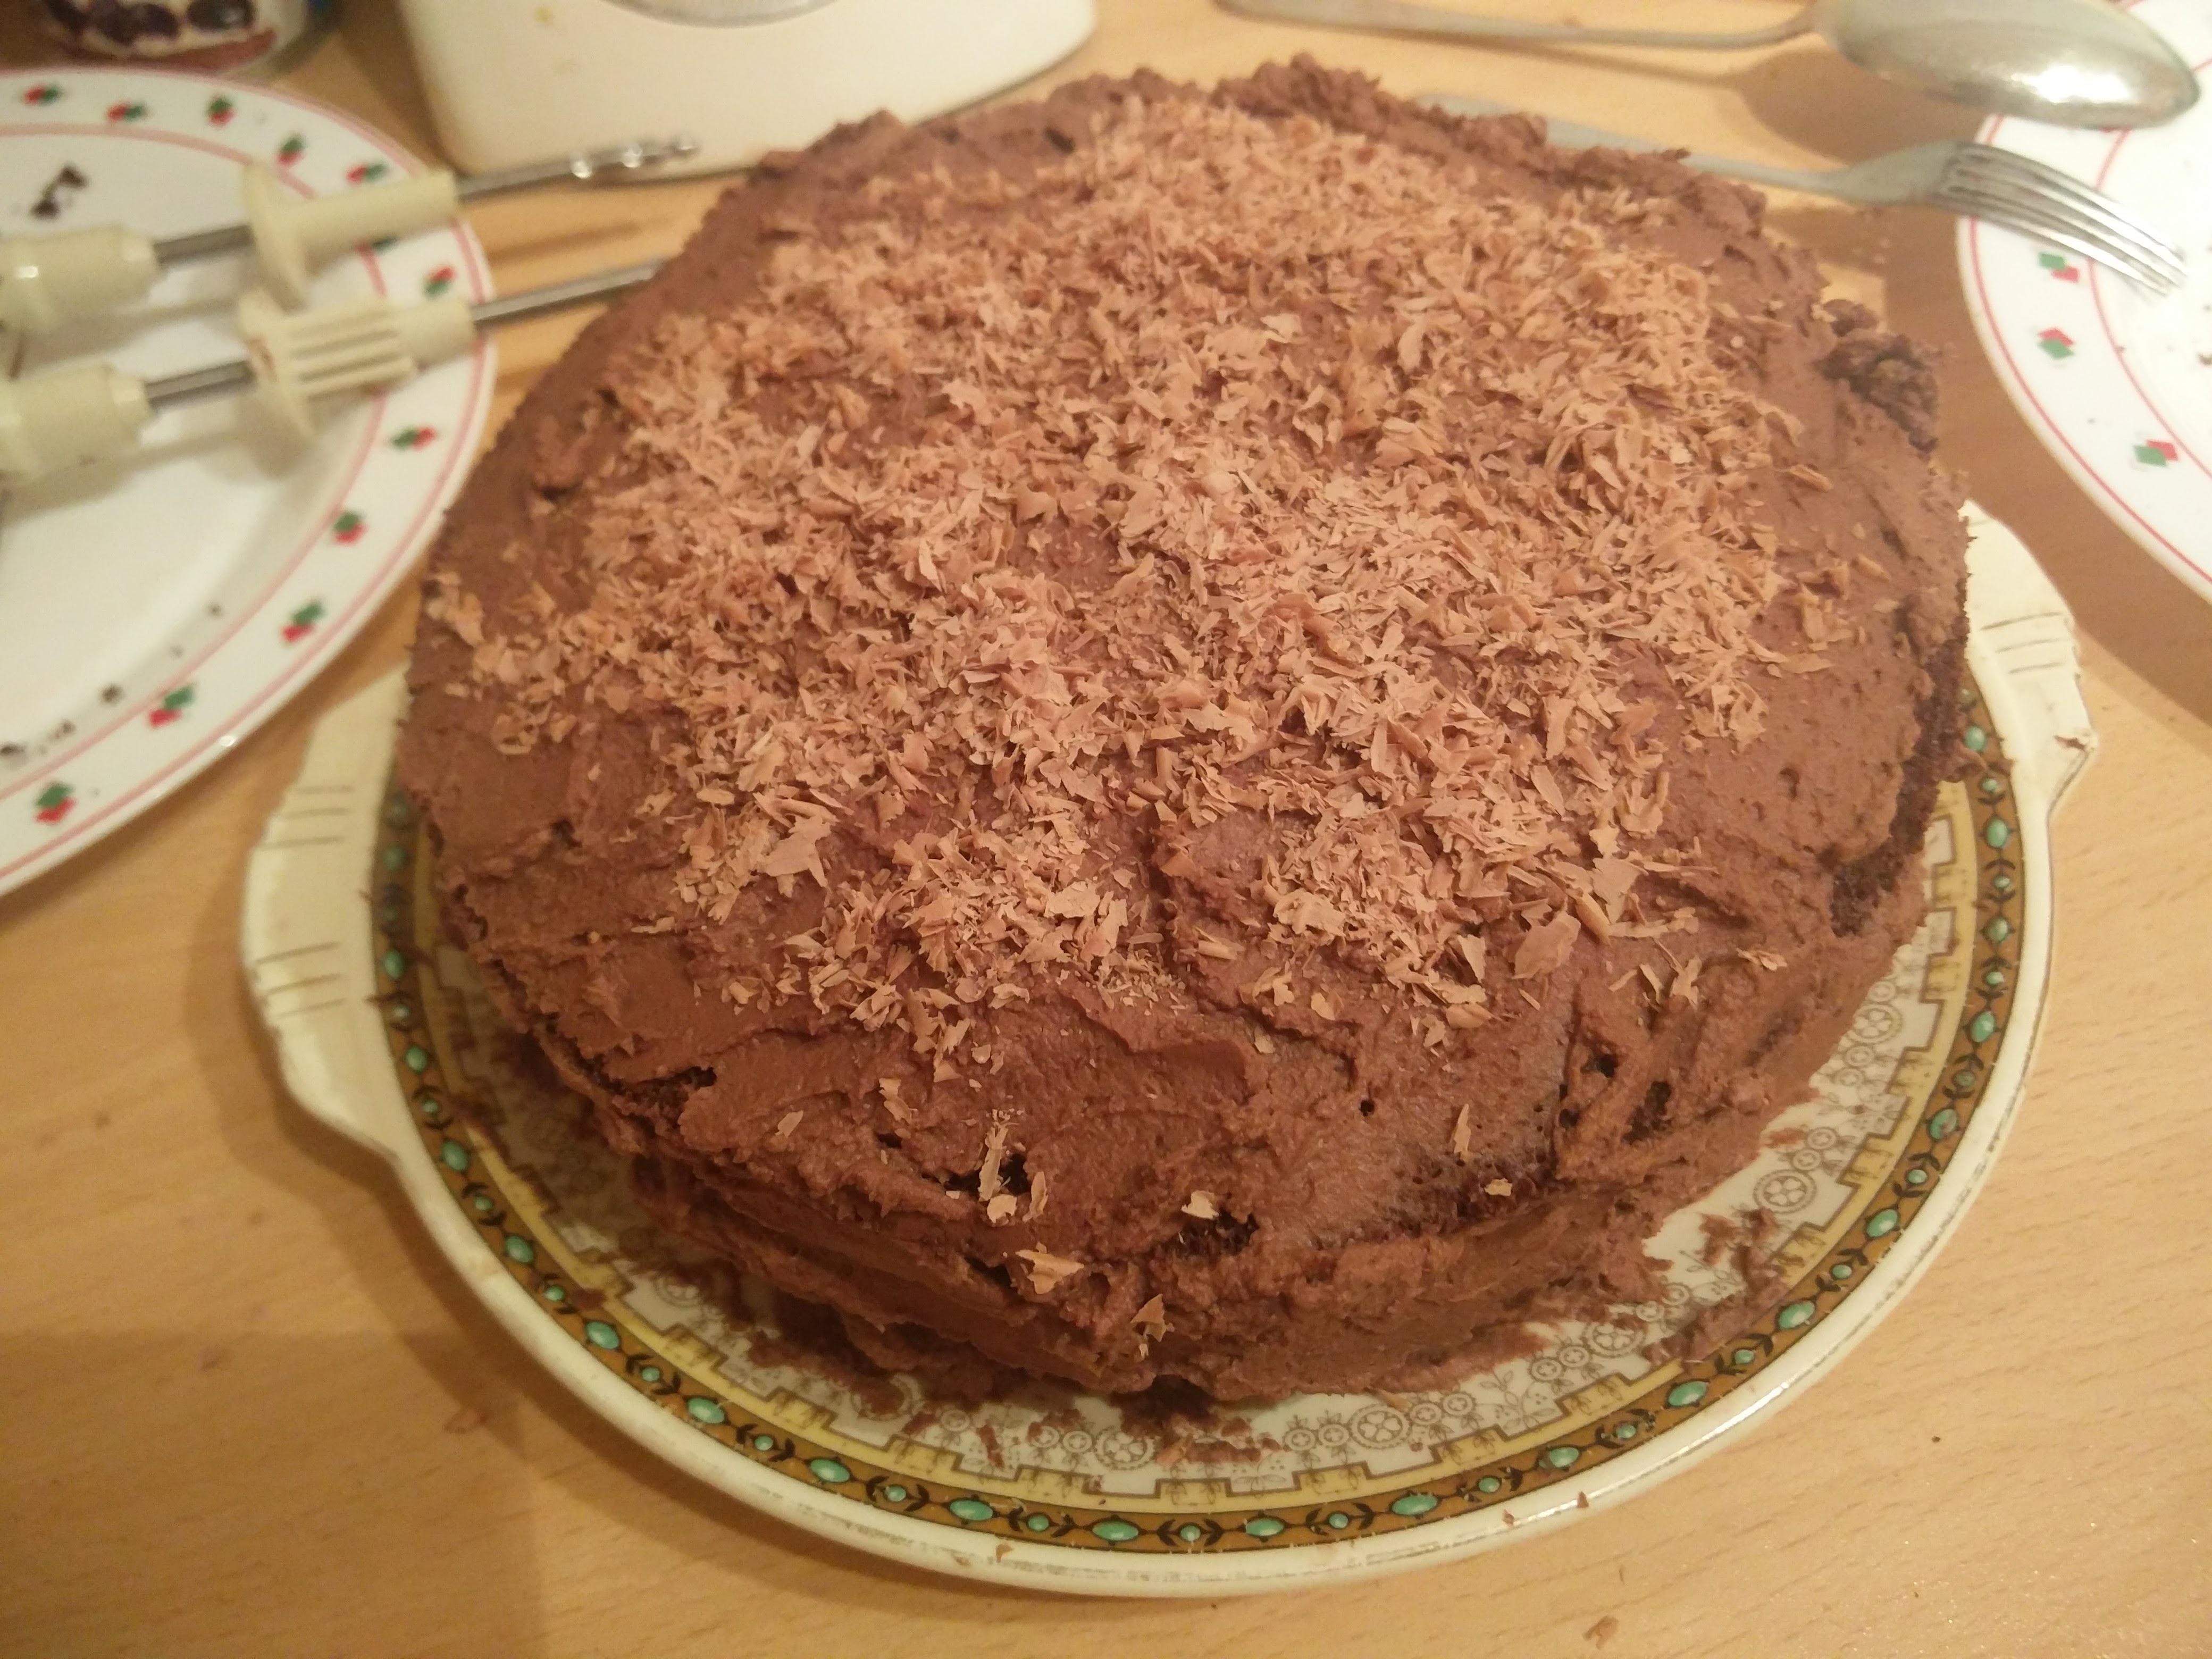
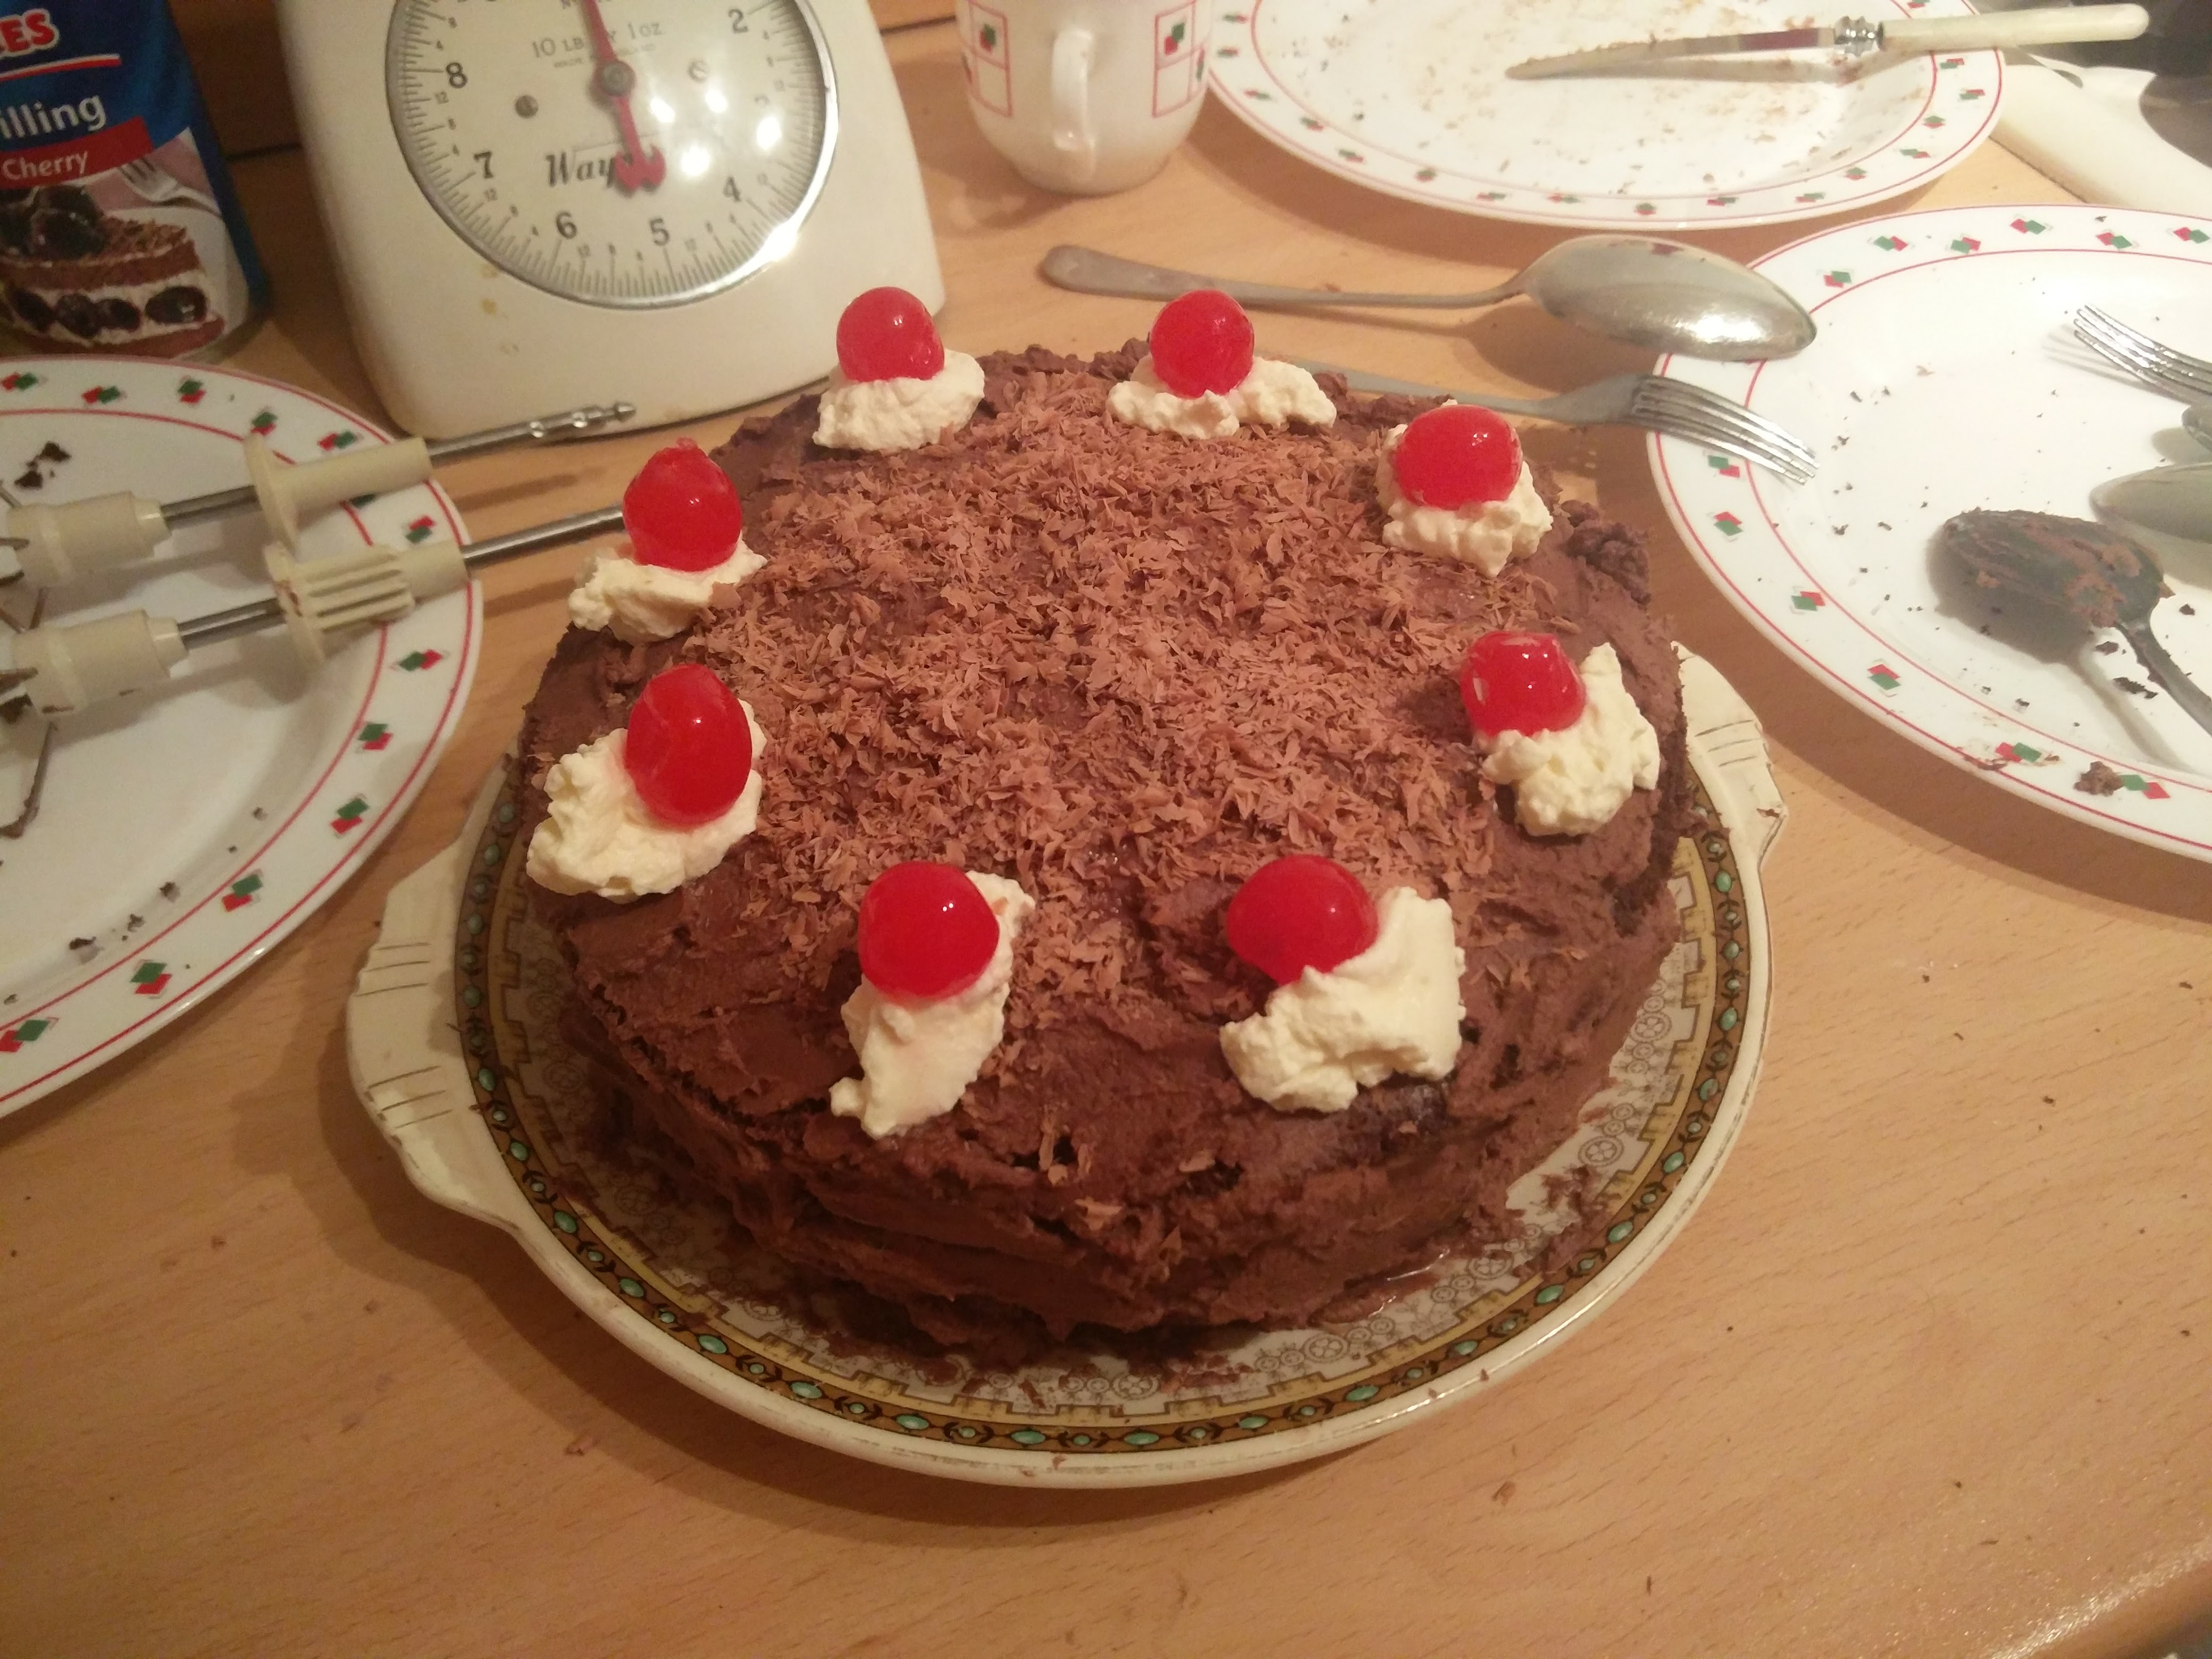
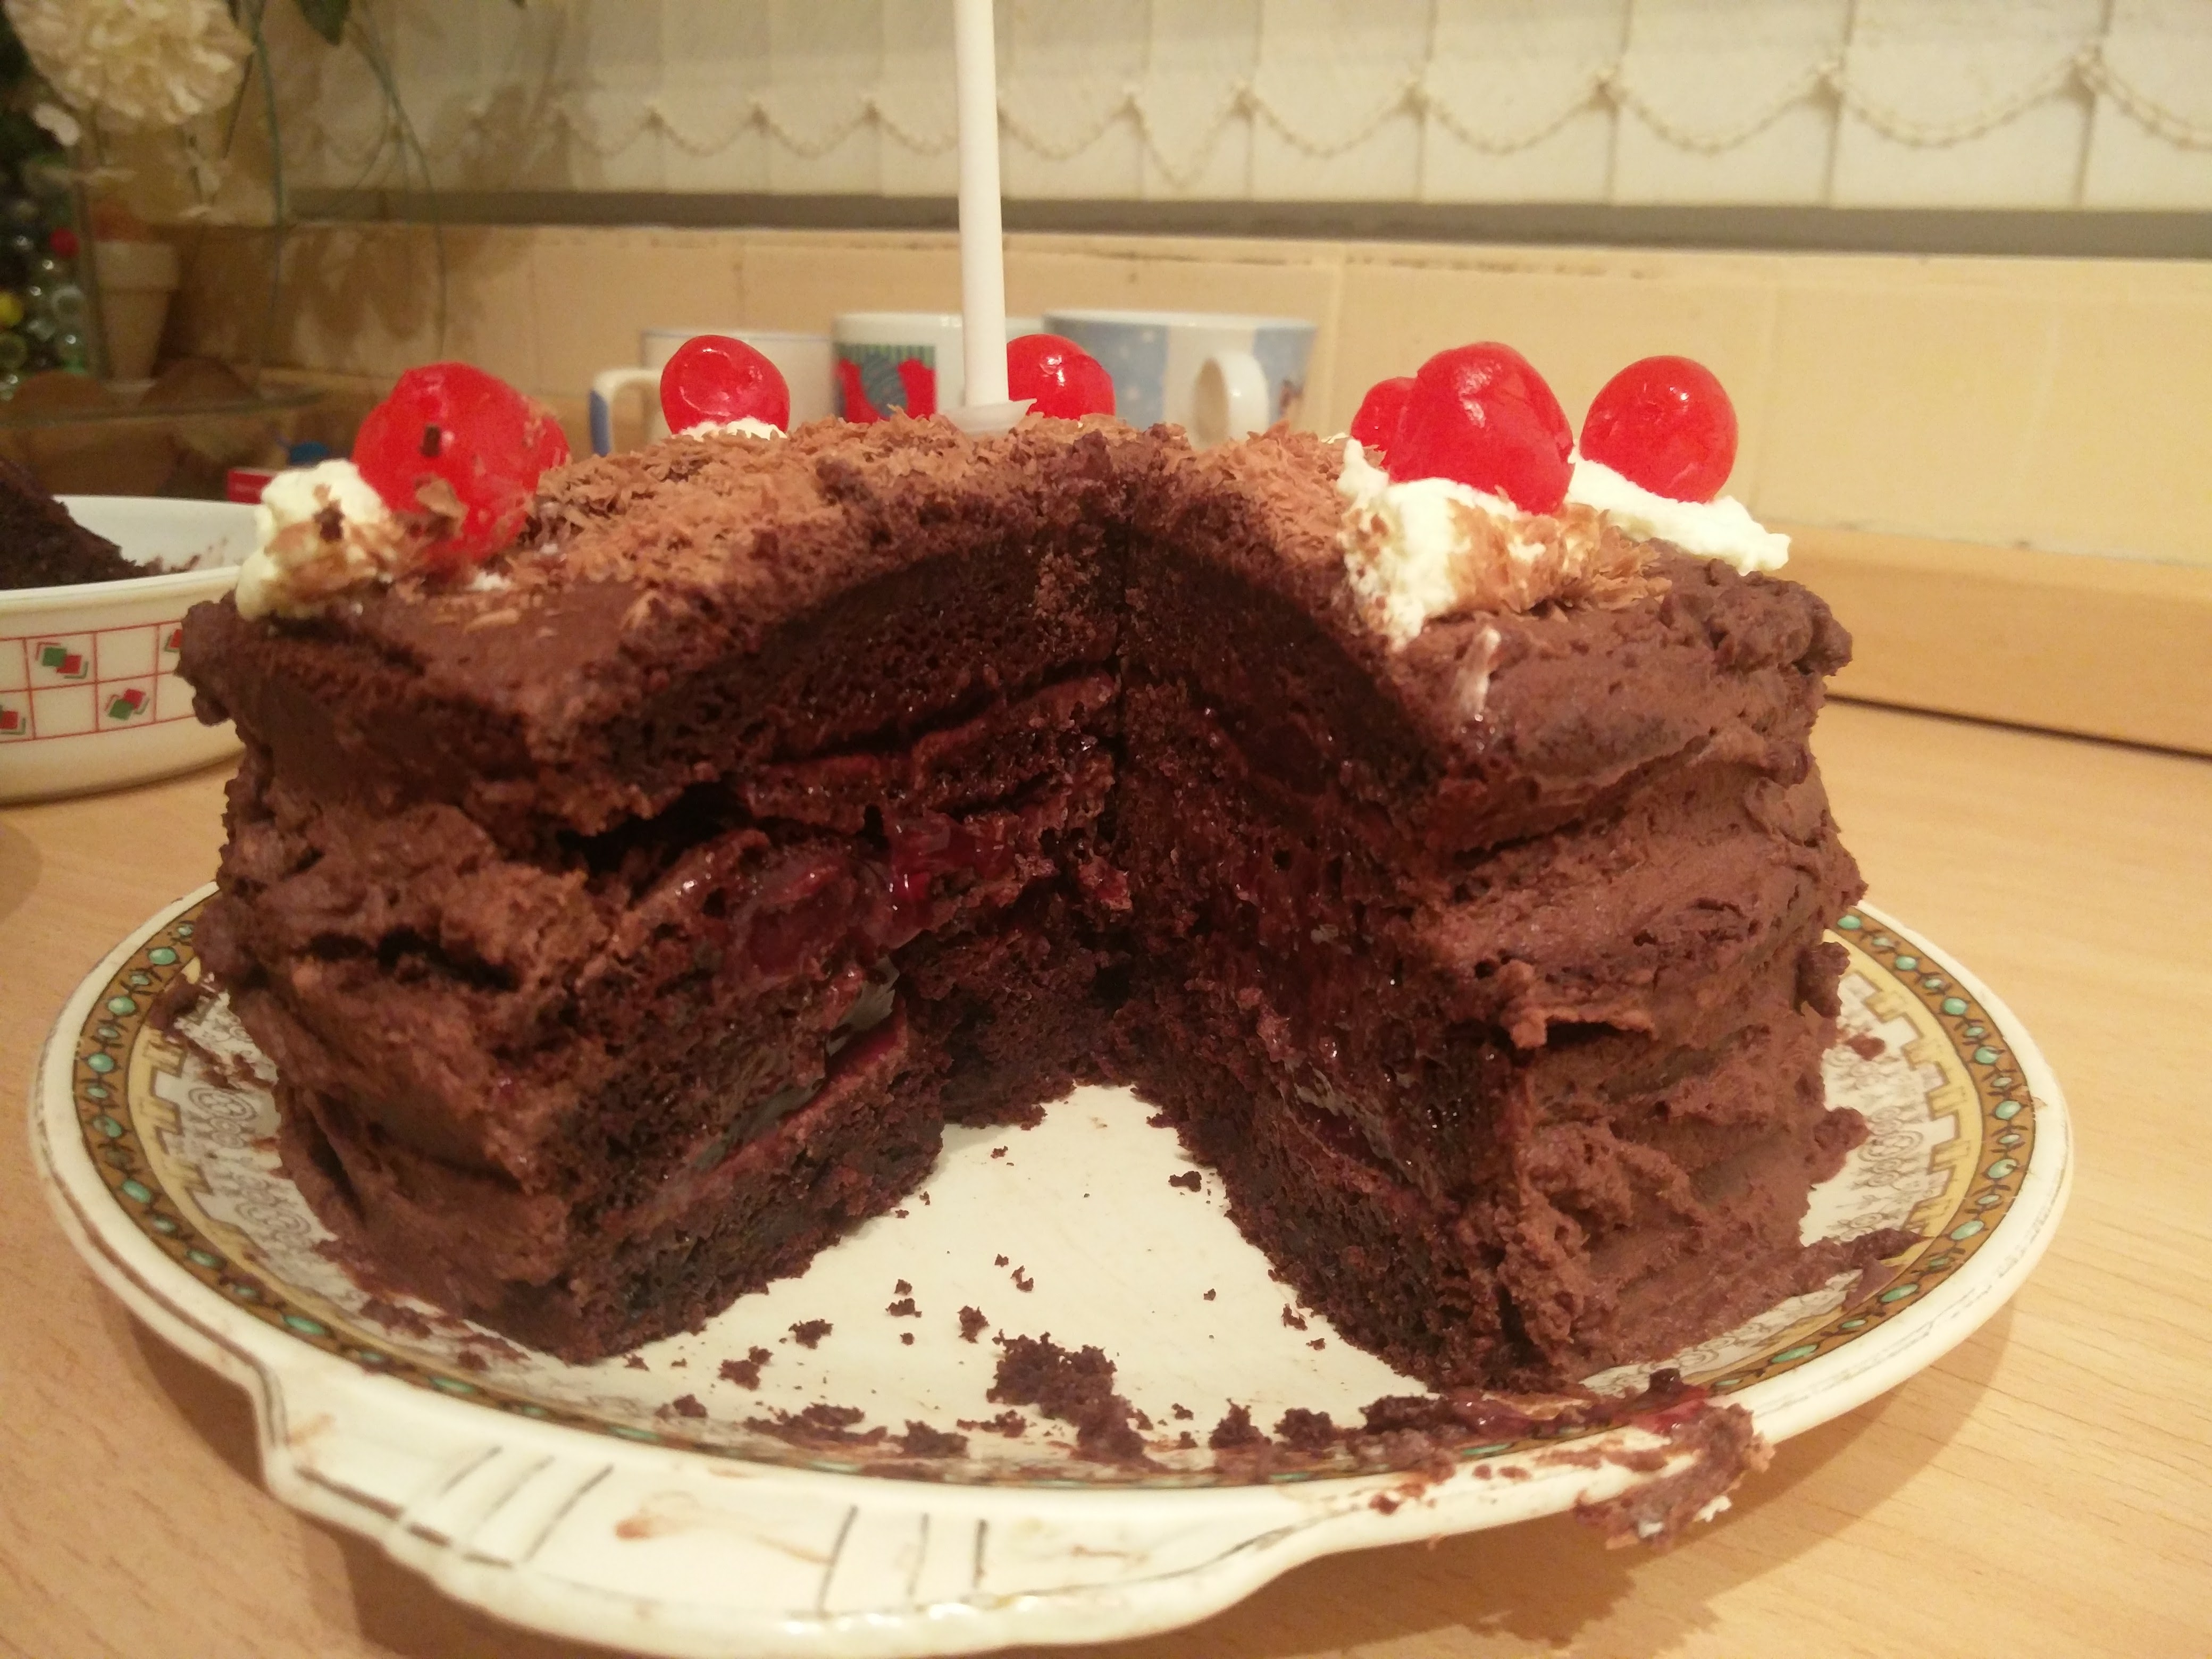
Once all of the frosting was put onto the cake, it required a little bit of decoration on it, created using a potato peeler on the chocolate to create thin shaves and by gently patting the chocolate shaves on to the sides and top of the cake, completely coating it. I wasn’t able to find a potato peeler anywhere, but remembered seeing on a cooking programme sometime ago that using a knife and scraping against a chocolate bar has a similar effect. Unfortunately, this meant it took a while to scrape off enough chocolate to cover the cake so only the top was able to be covered (that, and sticking the shavings onto the side of the cake was nearly impossible!).

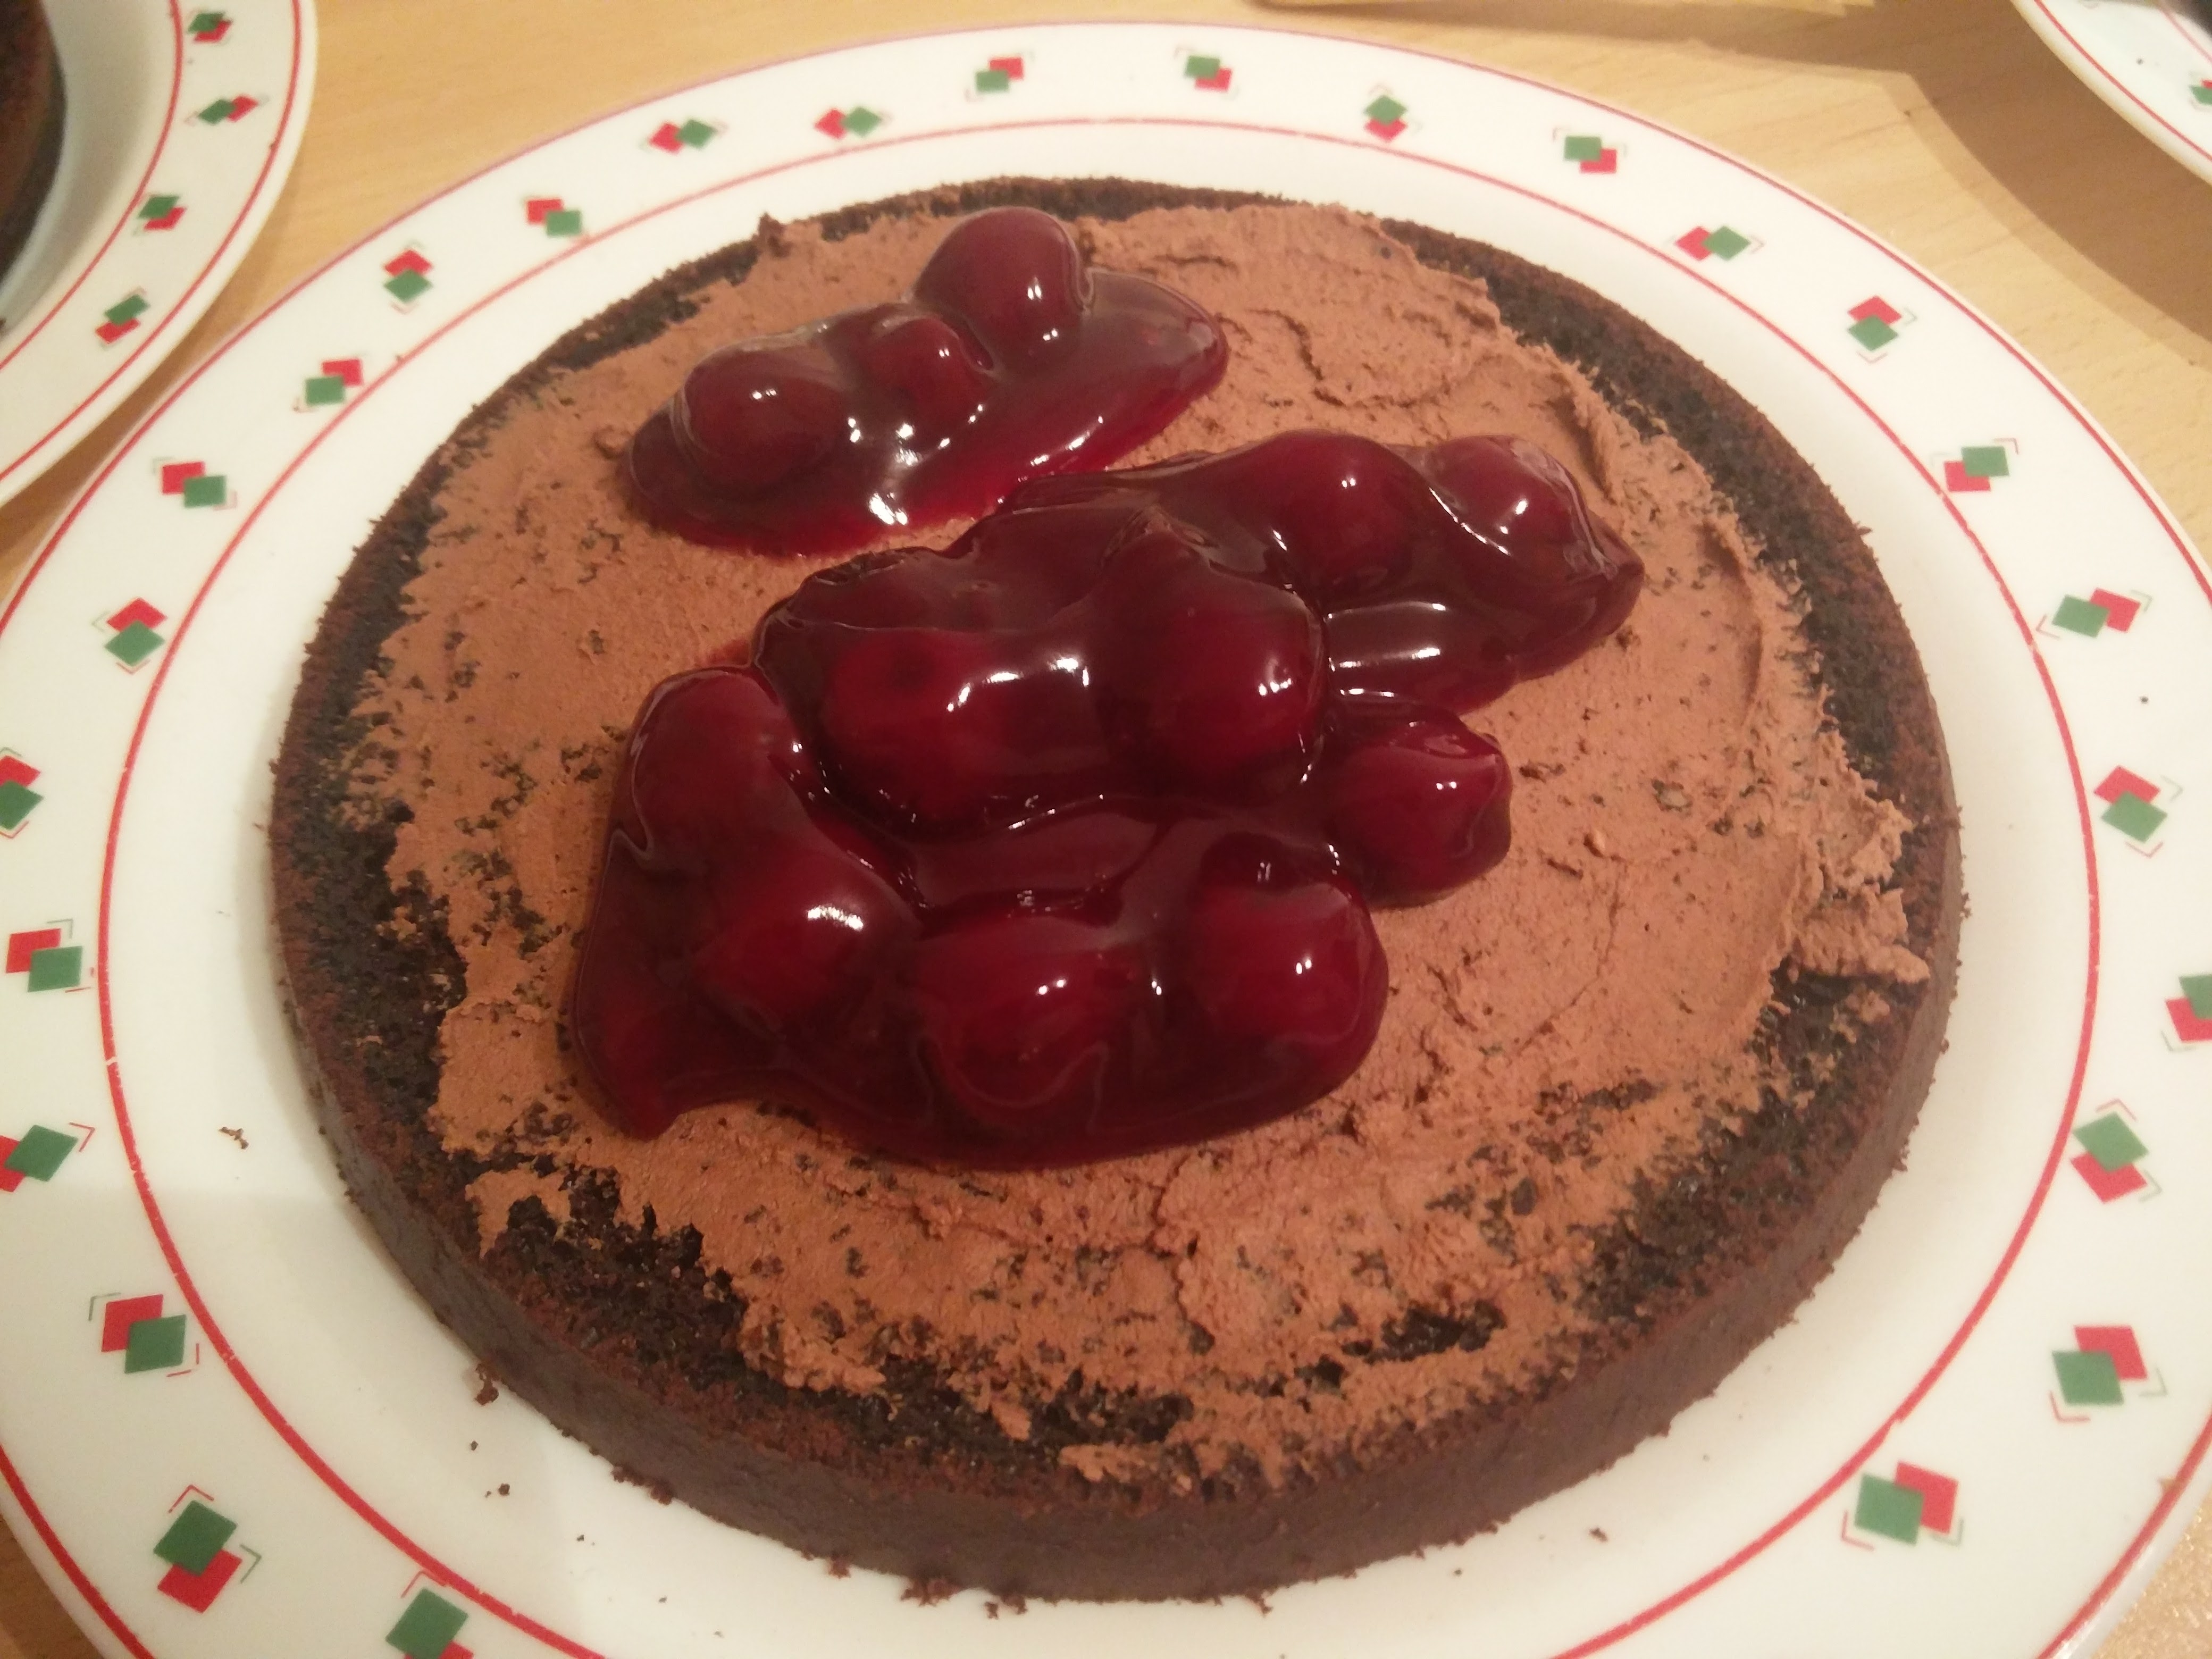
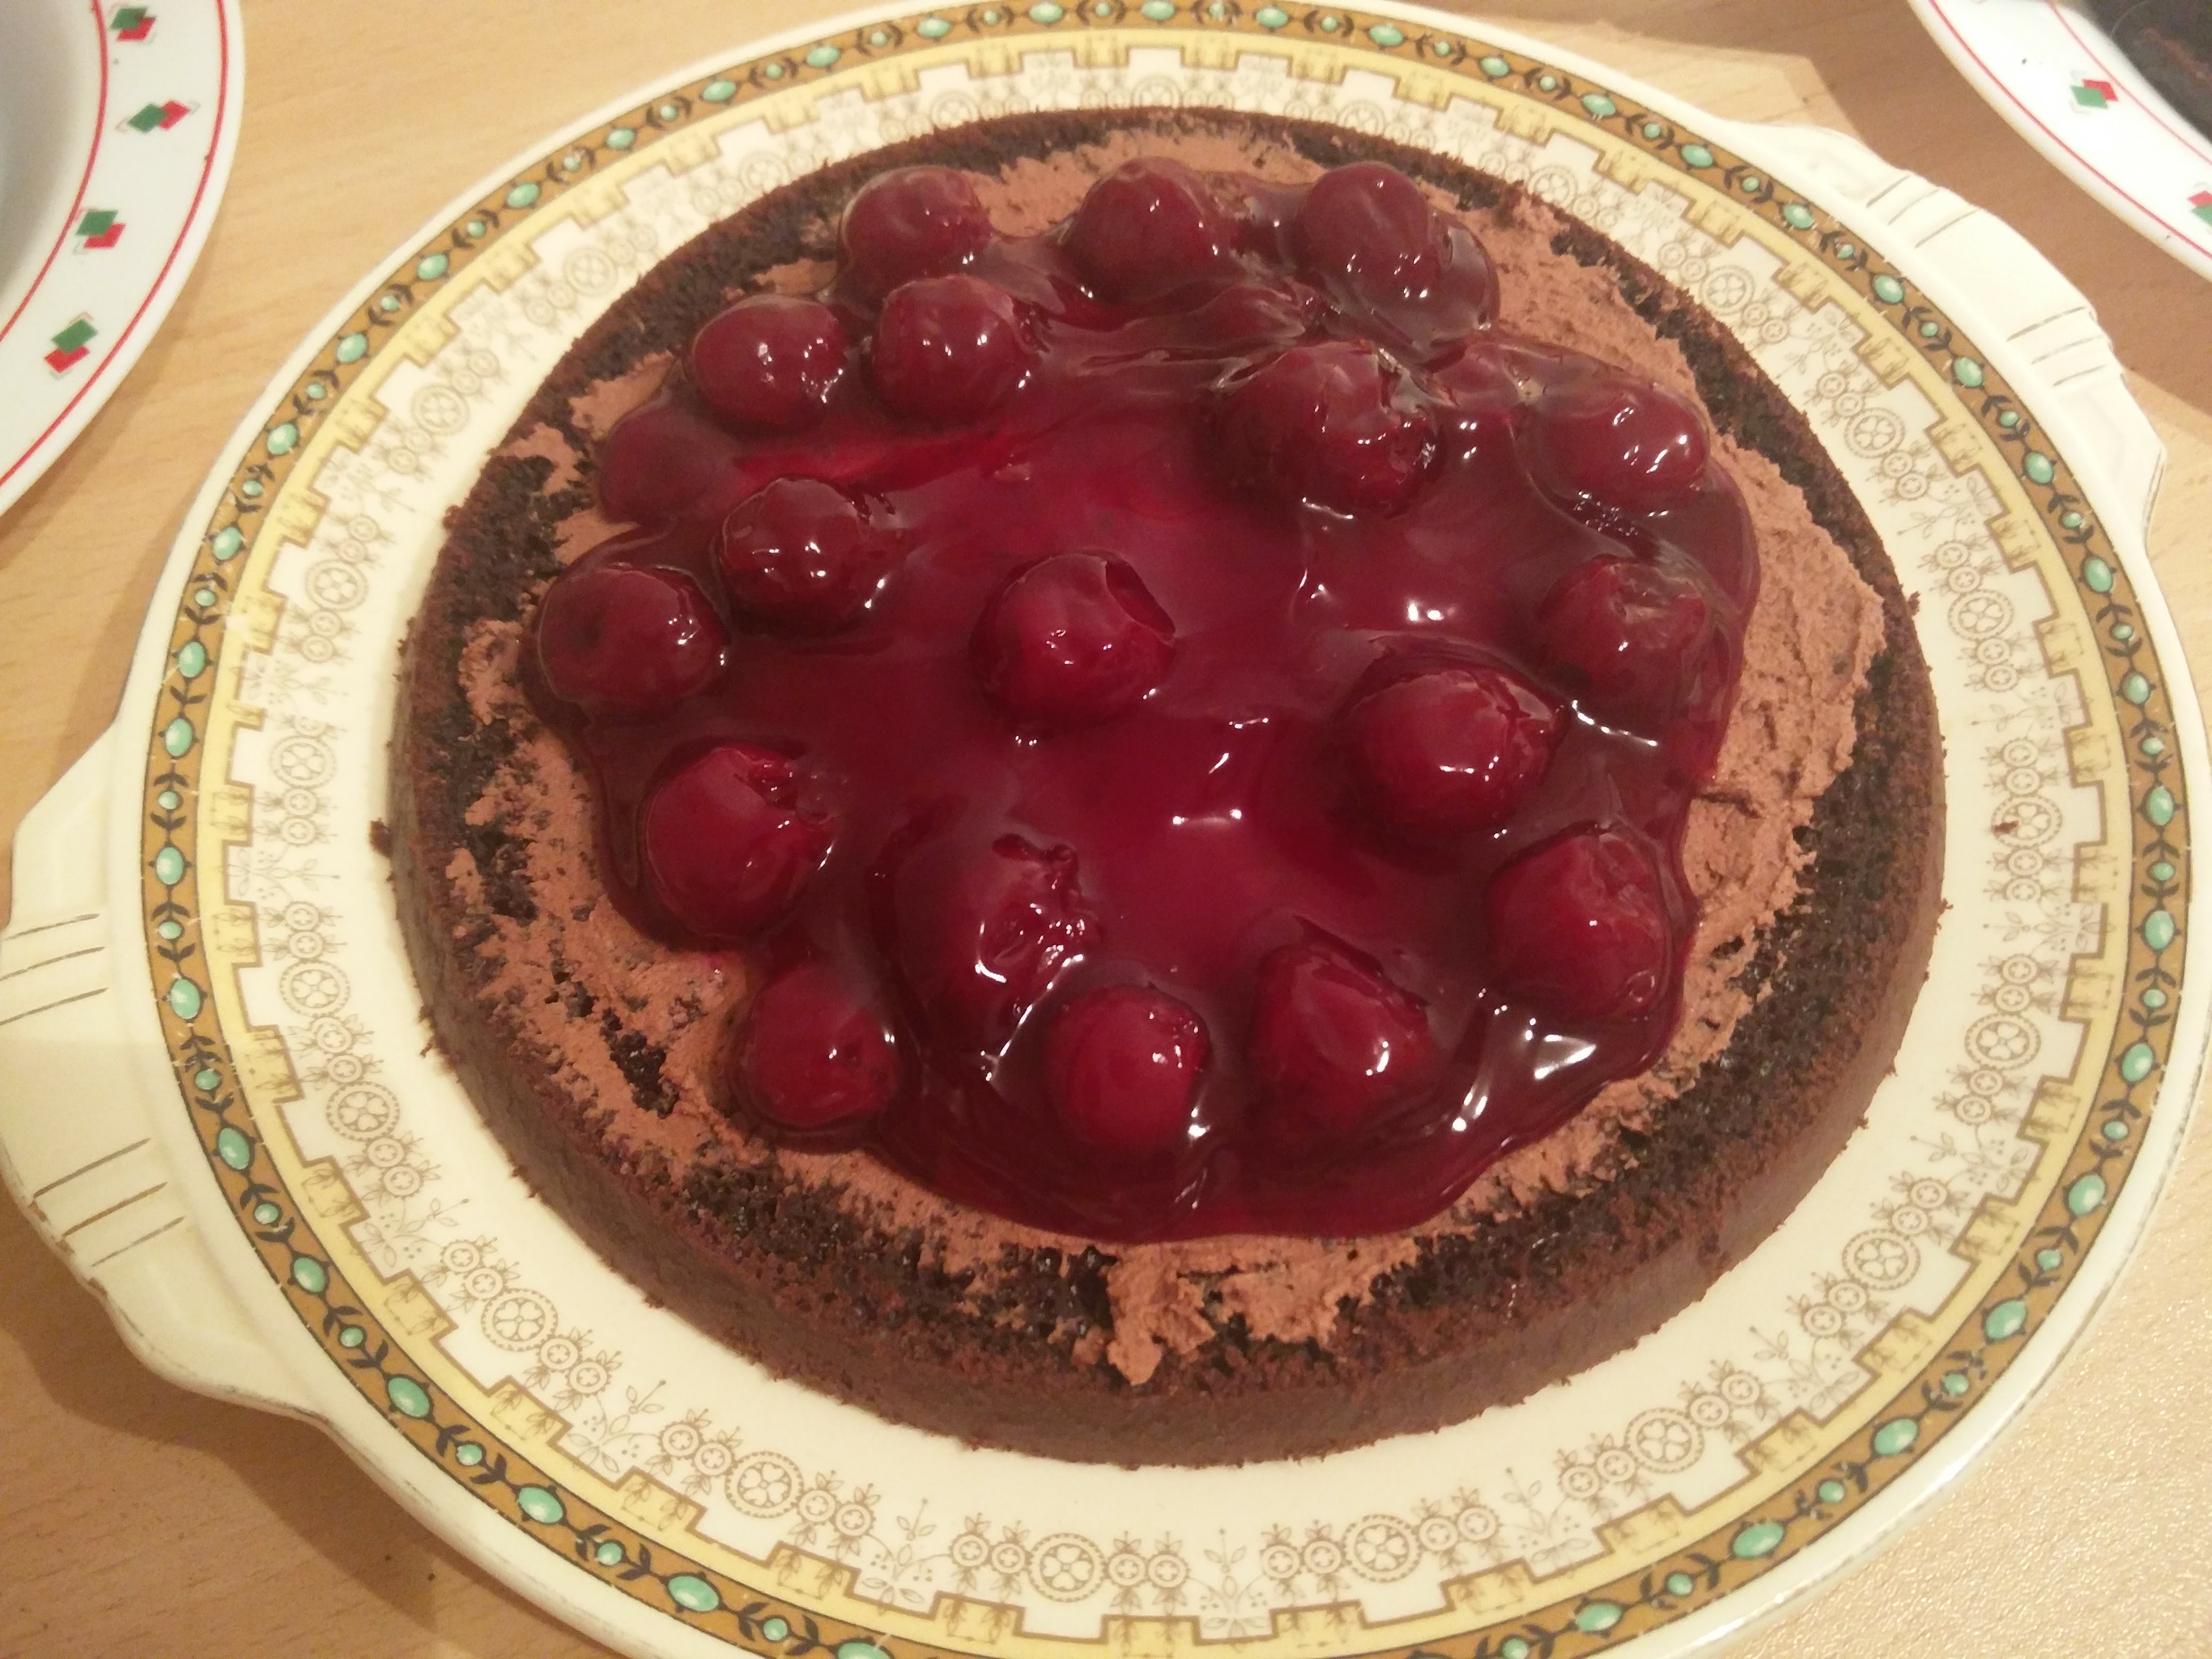
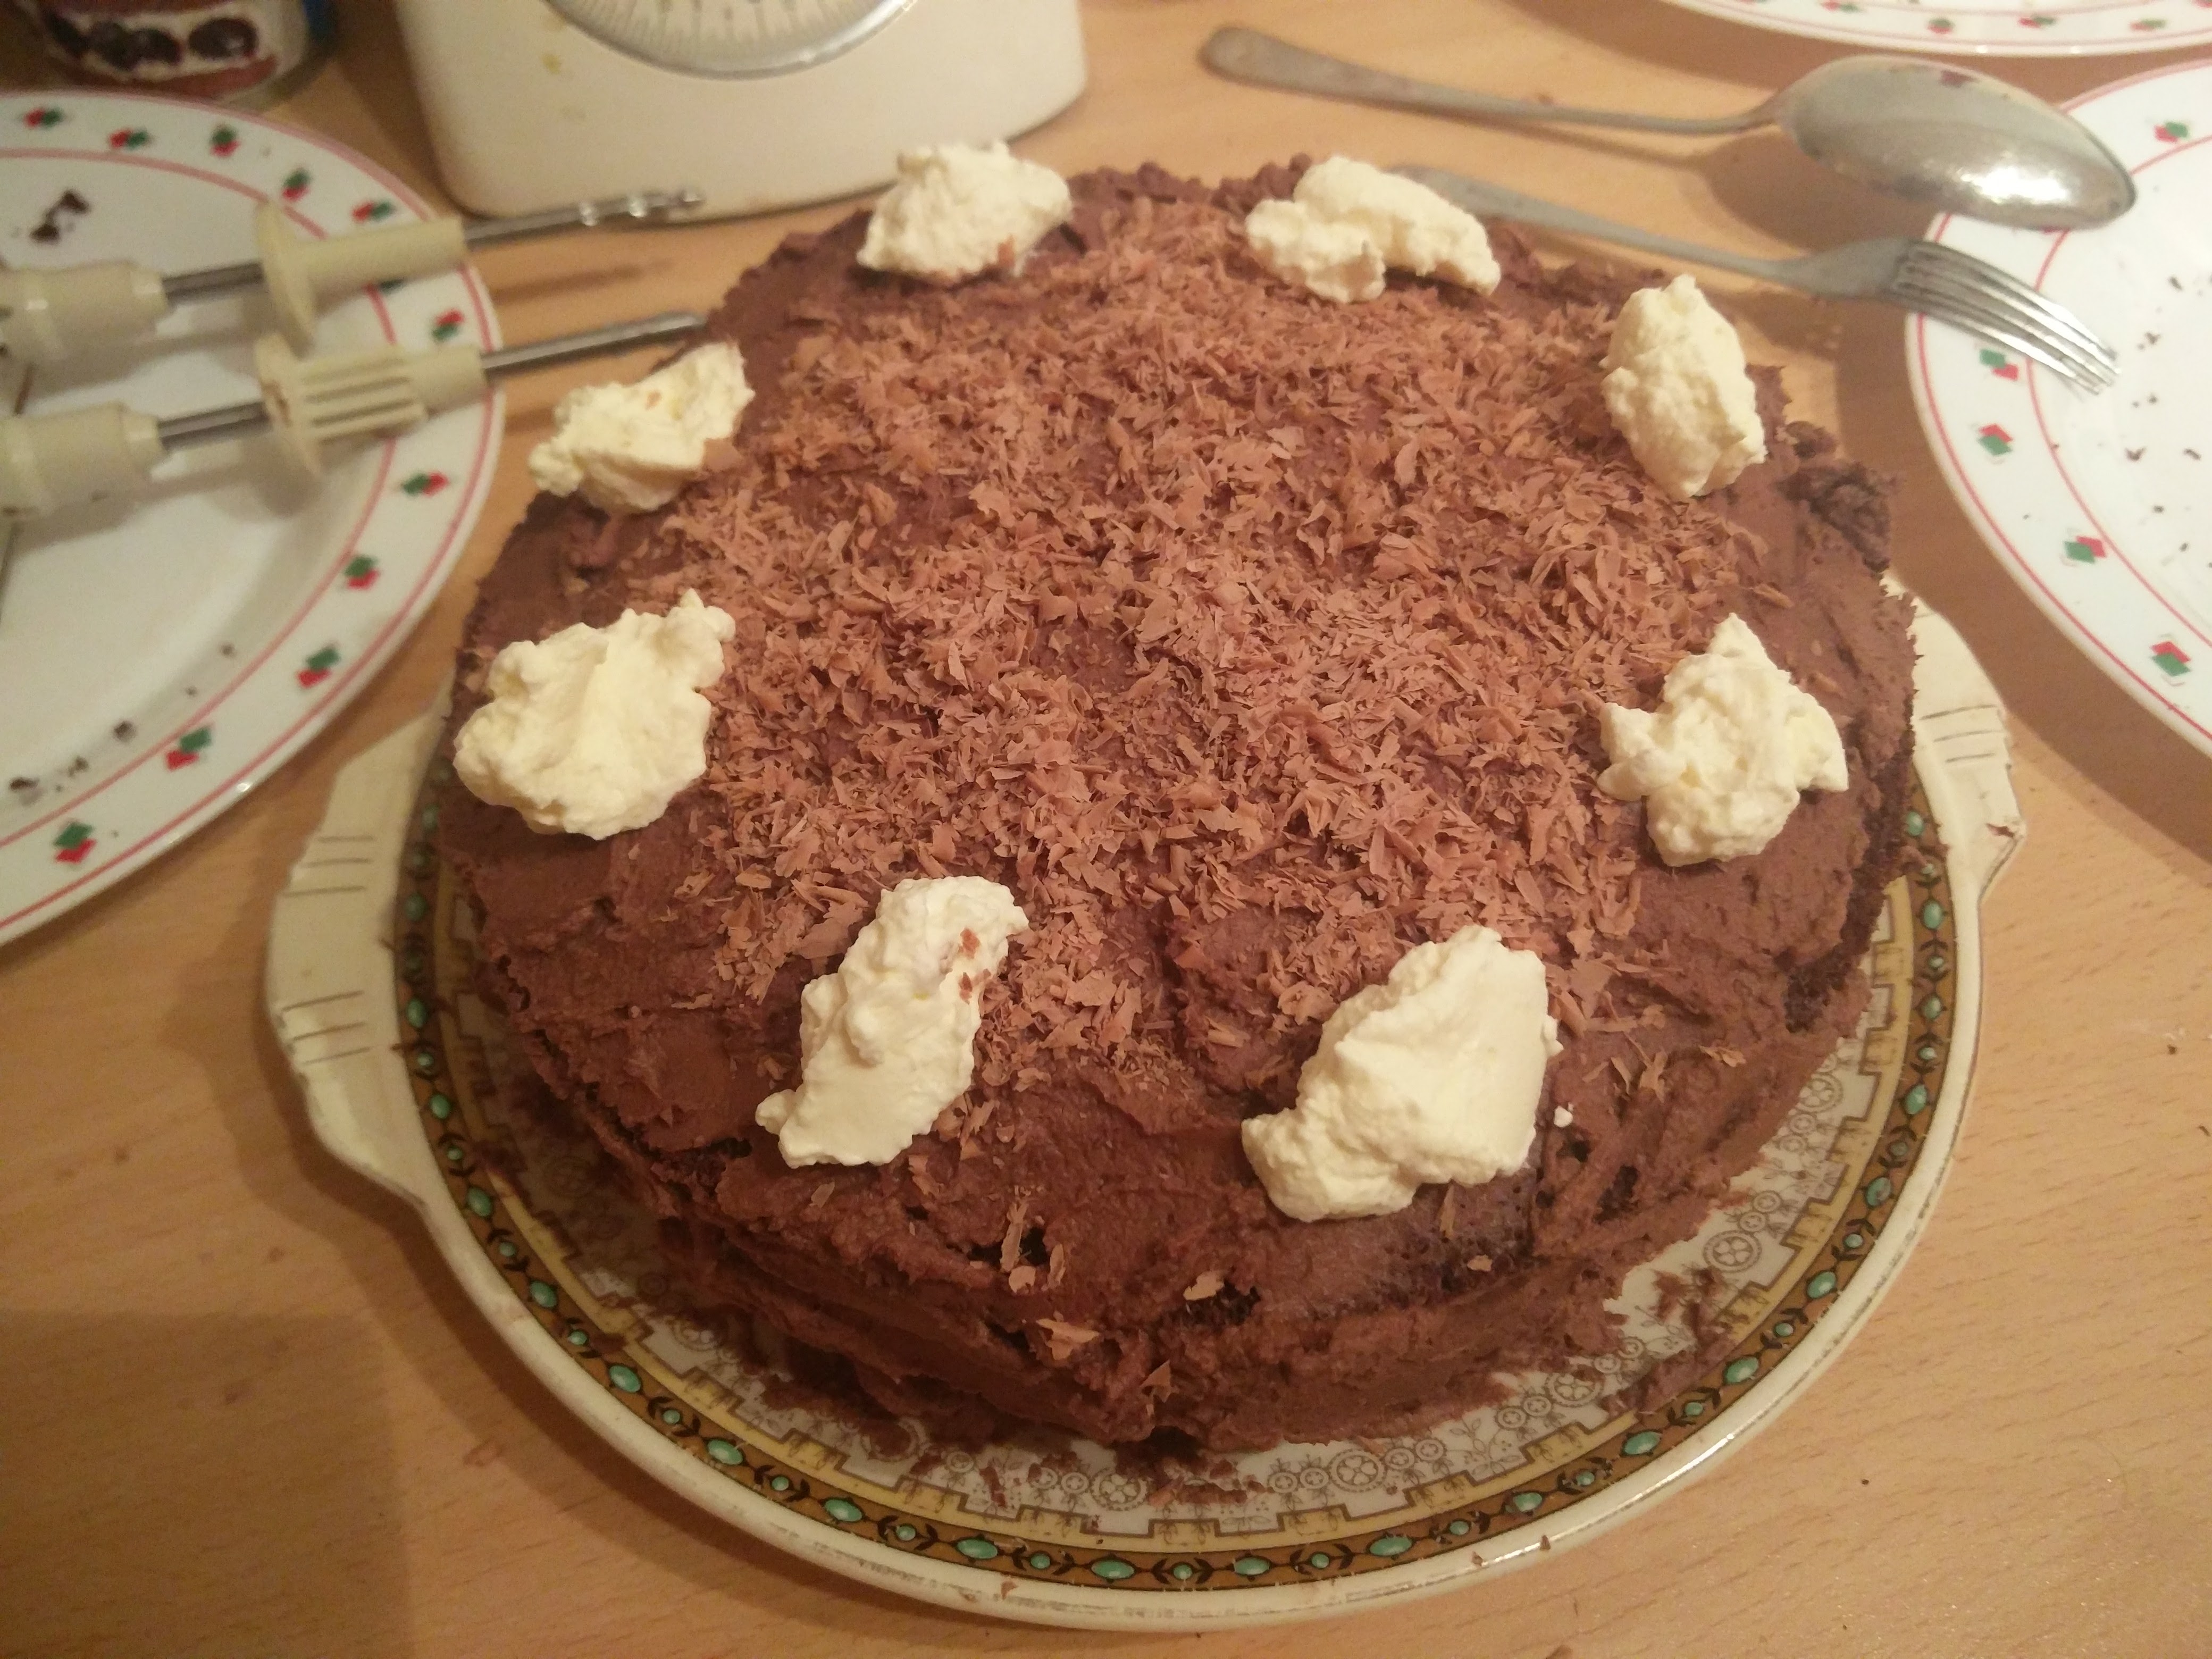
It was now time to put the cherry cherries on the cake. To do that, I needed to use the whipped cream set aside earlier to place eight small circles around the top of the cake, then place the non-stemmed maraschino cherries on each one. You’ll be pleased to know I didn’t take a photo for each cherry added.

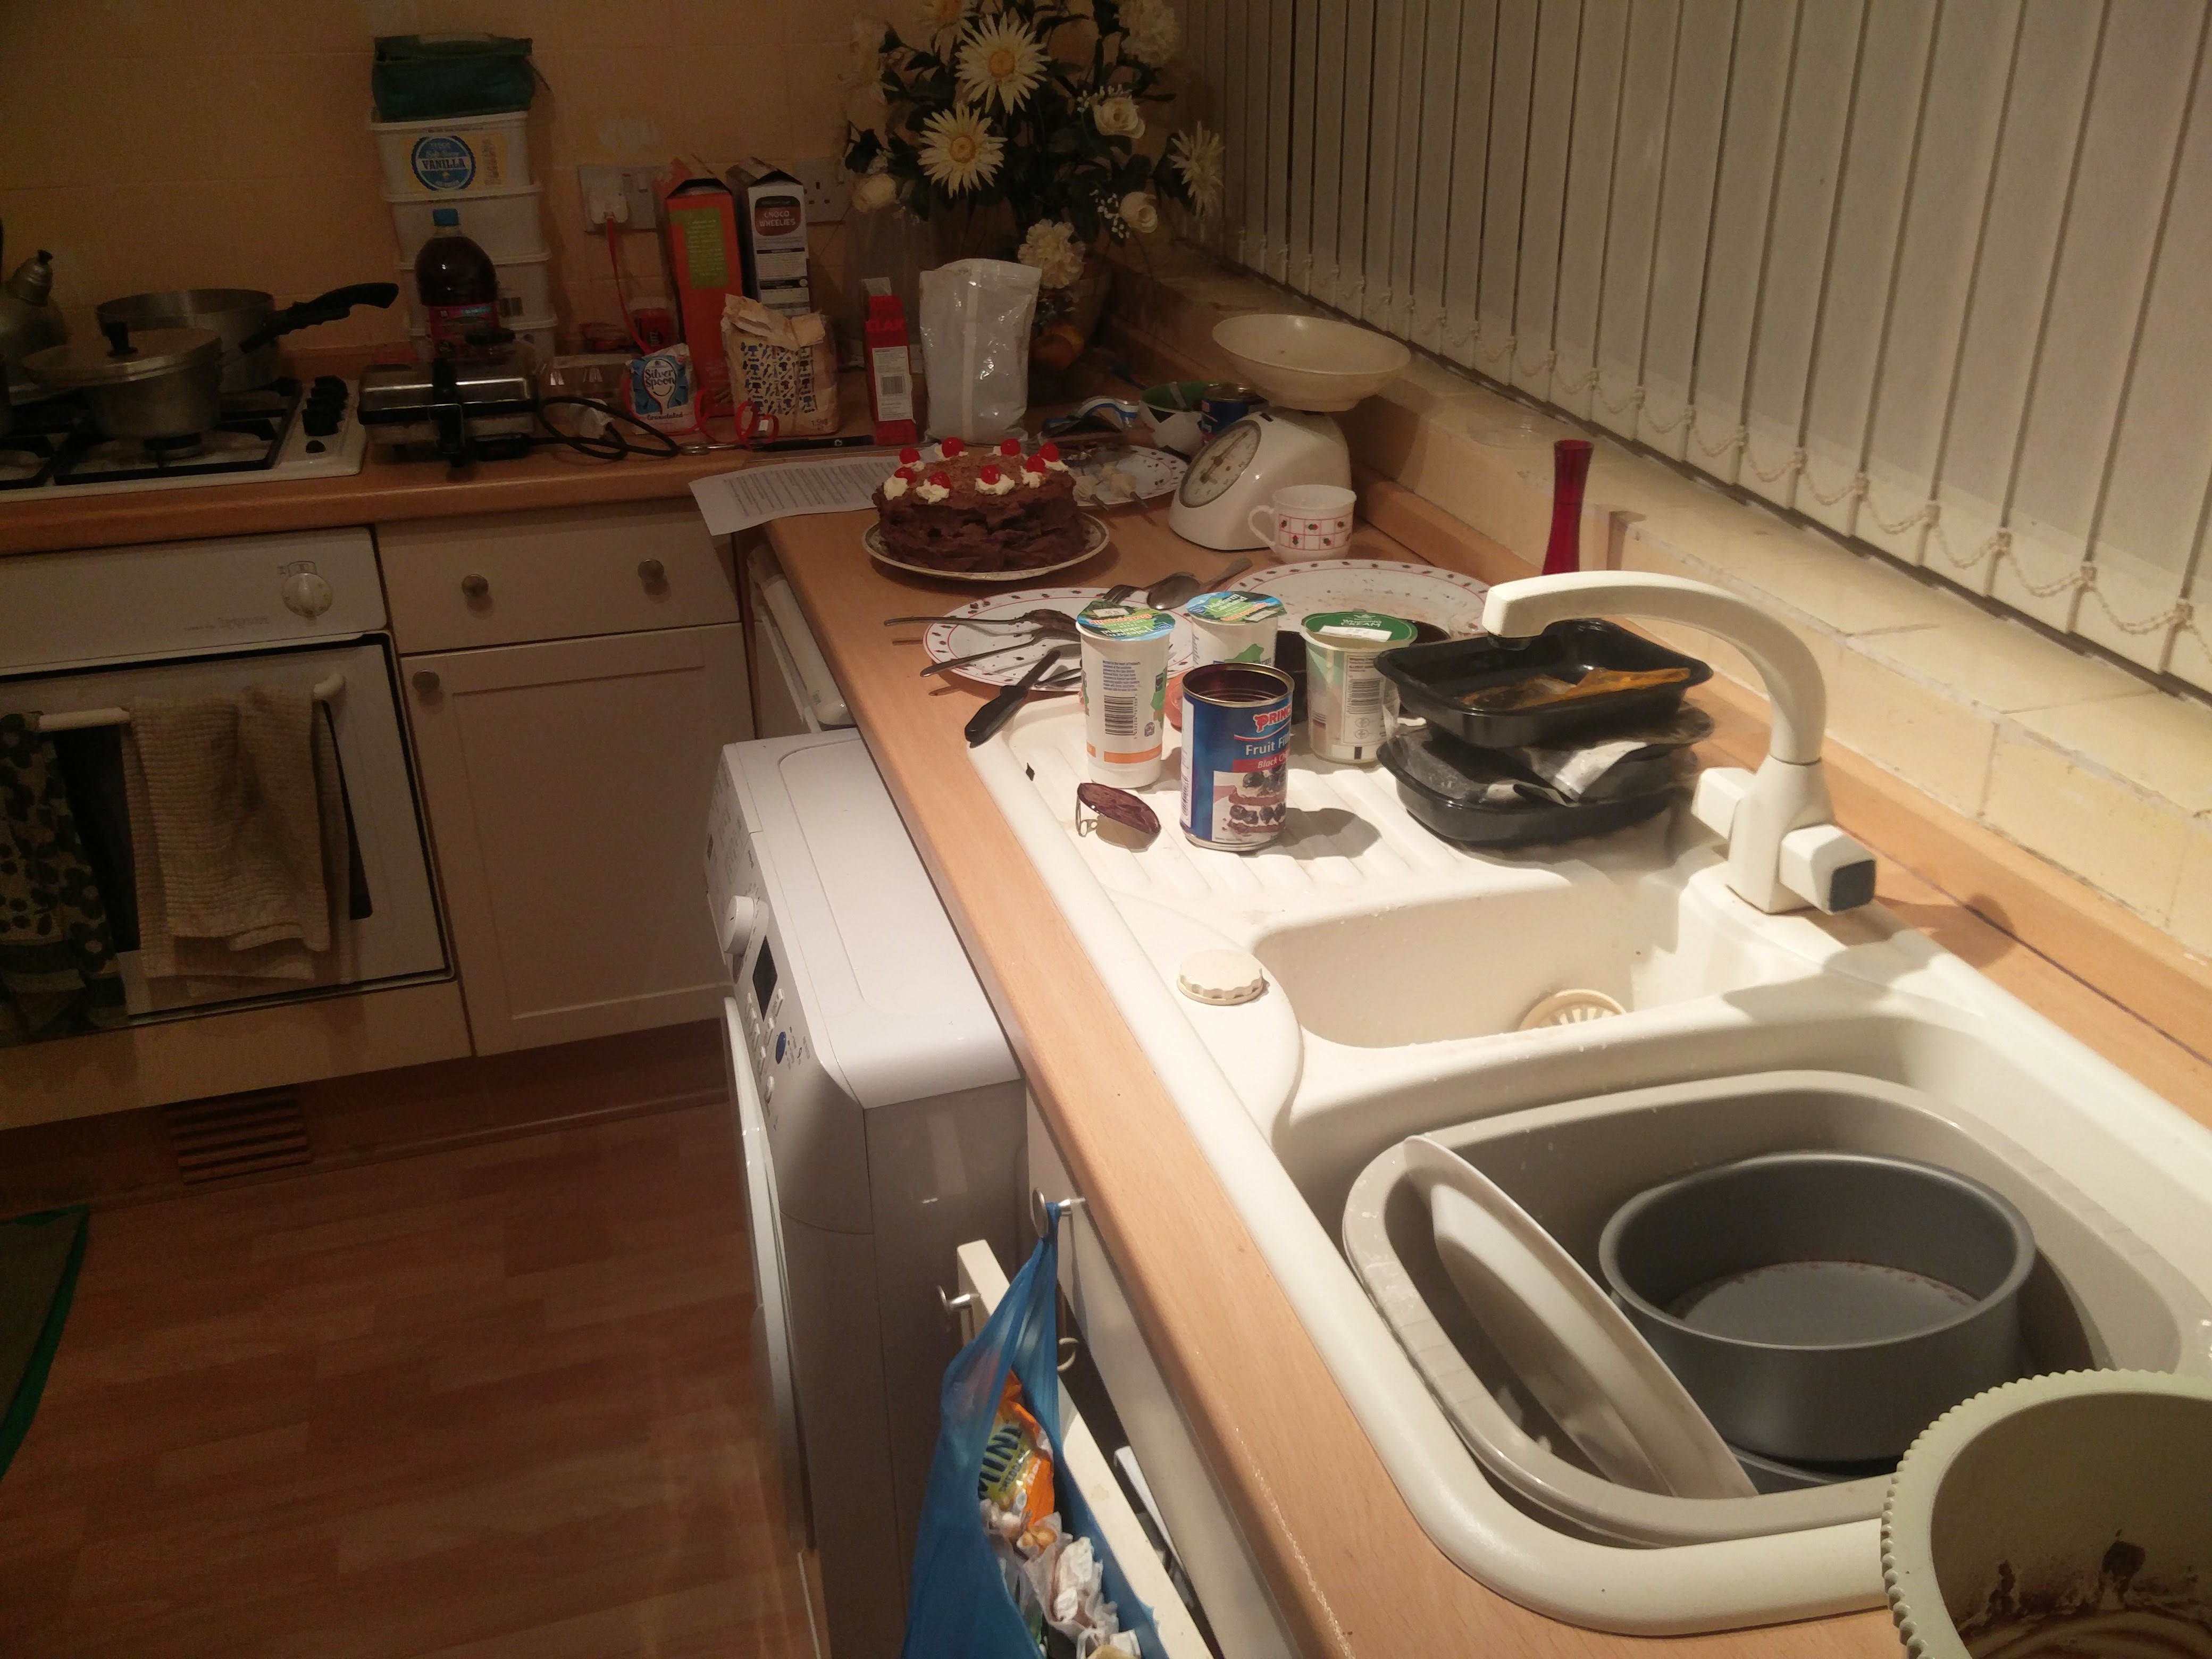
At half 6 in the morning I finally finished making the cake. Now all I needed to do was the washing up, hiding of ingredients to create a surprise for my parents, putting away of equipment, have breakfast and get ready for work. This took over an hour, so I just managed to make it in on time. Although, with the amount of mess I’d made, I’m surprised it didn’t take longer.
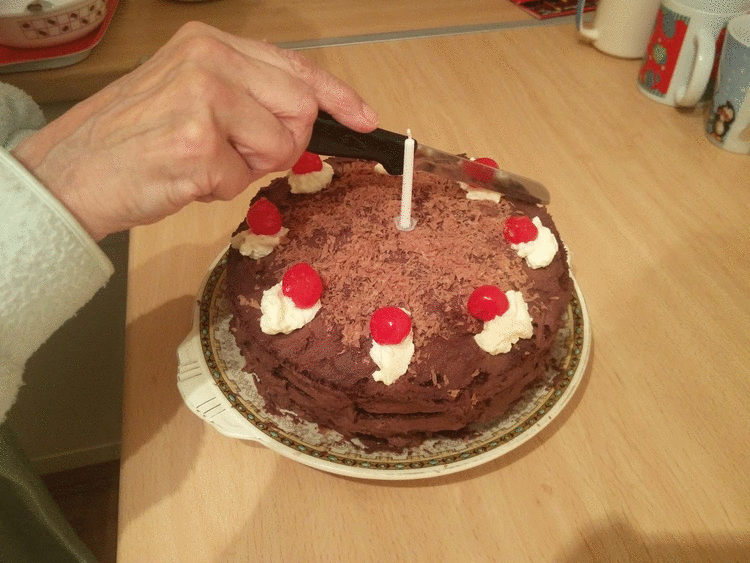
Eventually, that evening after my parents saying “when did you buy the cake?” and “did you get the food tech teacher to make it?” I completed the final step in the recipe: place white candle in the centre.
The cake is no more a lie!

Once everyone had a good look at how the cake was made and a flick through the images (you know, the ones you’re bored of seeing) to prove that I’d actually made it, it was time to eat the cake. This was the worst part for me, as I saw all of my hard work just slowly disappear.

FINAL THOUGHT: I may be a bit late to assume the party escort submission position, but the cake was great, so delicious and moist…
FINAL THOUGHT PS: All credits for the recipe go to The Geeky Chef and their Portal Cake recipe, to which I say thank you.